Page 122 of 516
DTE display will change to “---” when the
fuel level in the tank is getting low, prior to
the fuel gauge reaching 0 (Empty).
NOTE:∙ The DTE value af ter refill is estimated
based on recent fuel economy and
amount of fuel added.
∙ If a small amount of fuel is added, or
the ignition is on during refueling, the
display may not be updated.
∙ Conditions that affect the fuel
economy will also affect the esti-
mated DTE value (city/highway driv-
ing, idle time, remote start time, ter-
rain, seasonal weather, added vehicle
weight, added deflectors, roof racks,
etc.).
ENGINE OIL PRESSURE GAUGE (if
so equipped)
The gauge indicates the engine lubrication
system oil pressure while the engine is run-
ning. The needle should be in the middle of
the gauge when the engine is running.
Page 129 of 516
CHECKING LIGHTS
With all doors closed, apply the parking
brake, fasten the seat belts and place the
ignition switch in the ON position without
starting the engine. The following lights (if
so equipped) will come on:
Page 133 of 516

∙If the light does not illuminate with the
ignition switch placed in the ON posi-
tion, have the vehicle checked as soon
as possible. It is recommended that you
visit a NISSAN dealer for this service.
∙If the light illuminates while driving,
avoid sudden steering maneuvers or
abrupt braking, reduce vehicle speed,
pull off the road to a safe location and
stop the vehicle as soon as possible.
Driving with under-inflated tires may
permanently damage the tires and in-
crease the likelihood of tire failure. Se-
rious vehicle damage could occur and
may lead to an accident and could re-
sult in serious personal injury or death.
Check the tire pressure for all four tires.
Adjust the tire pressure to the recom-
mended COLD tire pressure show on
the Tire and Loading Information label
located in the driver’s door opening to
turn the low tire pressure warning light
off. If the light still illuminates while
driving af ter adjusting the tire pres-
sure, a tire may be flat or the TPMS may
be malfunctioning. If you have a flat
tire, replace it with a spare tire as soon
as possible. If no tire is flat and all tires
are properly inflated, have the vehicle
checked. It is recommended that you
visit a NISSAN dealer for this service.
∙ When replacing a wheel without theTPMS such as the spare tire, the TPMS
will not function and the low tire pres-
sure warning light will flash for ap-
proximately 1 minute. The light will re-
main on af ter 1 minute. Have your
tires replaced and/or TPMS system
reset as soon as possible. It is recom-
mended that you visit a NISSAN dealer
for these services.
∙ Replacing tires with those not origi- nally specified by NISSAN could affect
the proper operation of the TPMS.
Page 148 of 516
The front seats are warmed by built-in
heaters.1. Place the ignition switch in the ON or START position.
2. Push the LO or HI position of the switch, as desired, depending on the tempera-
ture. The indicator light in the switch
will illuminate.
The heater is controlled by a thermo-
stat, automatically turning the heater
on and off. The indicator light will re-
main on as long as the switch is on. 3. When the seat is warmed or before you
leave the vehicle, be sure to turn the
switch off.
Page 152 of 516

WARNING
Pay special attention to your surround-
ings when using the clutch interlock
switch. The vehicle will move forward or
backward according to the gear
selected.
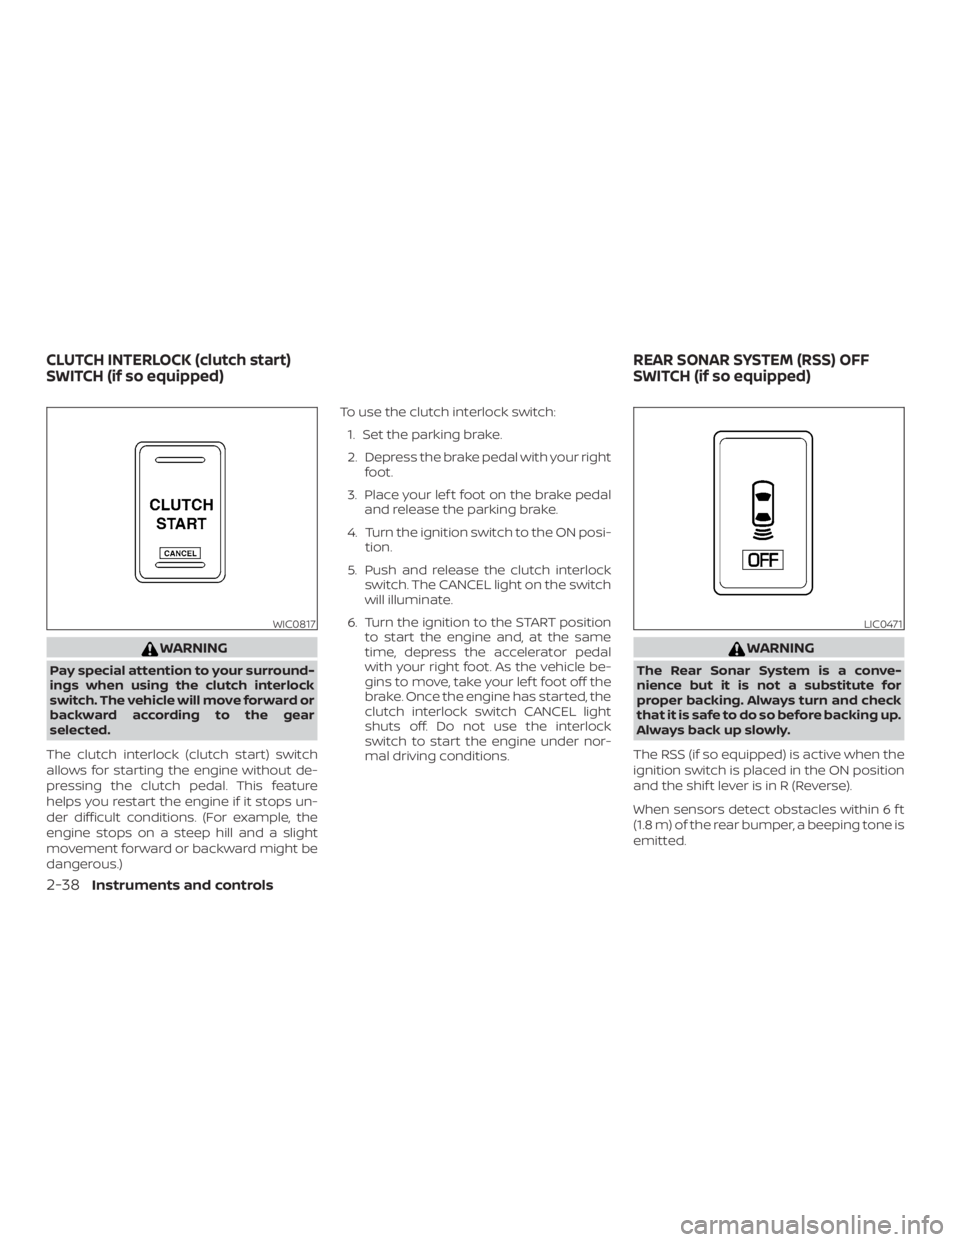
The clutch interlock (clutch start) switch
allows for starting the engine without de-
pressing the clutch pedal. This feature
helps you restart the engine if it stops un-
der difficult conditions. (For example, the
engine stops on a steep hill and a slight
movement forward or backward might be
dangerous.) To use the clutch interlock switch:
1. Set the parking brake.
2. Depress the brake pedal with your right foot.
3. Place your lef t foot on the brake pedal and release the parking brake.
4. Turn the ignition switch to the ON posi- tion.
5. Push and release the clutch interlock switch. The CANCEL light on the switch
will illuminate.
6. Turn the ignition to the START position to start the engine and, at the same
time, depress the accelerator pedal
with your right foot. As the vehicle be-
gins to move, take your lef t foot off the
brake. Once the engine has started, the
clutch interlock switch CANCEL light
shuts off. Do not use the interlock
switch to start the engine under nor-
mal driving conditions.
Page 153 of 516
The RSS can be disabled by pushing the
OFF switch. When the system is disabled,
the indicator light on the switch will illumi-
nate.
The system will automatically reset the
next time the ignition switch is placed in
the ON position.
For additional information, refer to “Rear
Sonar System (RSS)” in the “Starting and
driving” section in this manual.The power outlets are for powering electri-
cal accessories such as cellular tele-
phones. They are rated at 12 volt, 120W (10A)
maximum.
The power outlets are powered only when
the ignition switch is in the ACC or ON po-
sition.
Open the cap to use a power outlet.
Page 164 of 516

∙ To help avoid risk of injury or deaththrough unintended operation of the
vehicle and/or its systems, including
entrapment in windows or inadver-
tent door lock activation, do not leave
children, people who require the as-
sistance of others or pets unattended
in your vehicle. Additionally, the tem-
perature inside a closed vehicle on a
warm day can quickly become high
enough to cause a significant risk of
injury or death to people and pets.
The power windows operate when the ig-
nition switch is placed in the ON position or
for a period of time af ter the ignition switch
is placed in the ACC or OFF position. If the
driver’s or passenger’s door is opened dur-
ing this period of time, the power to the
windows is canceled.
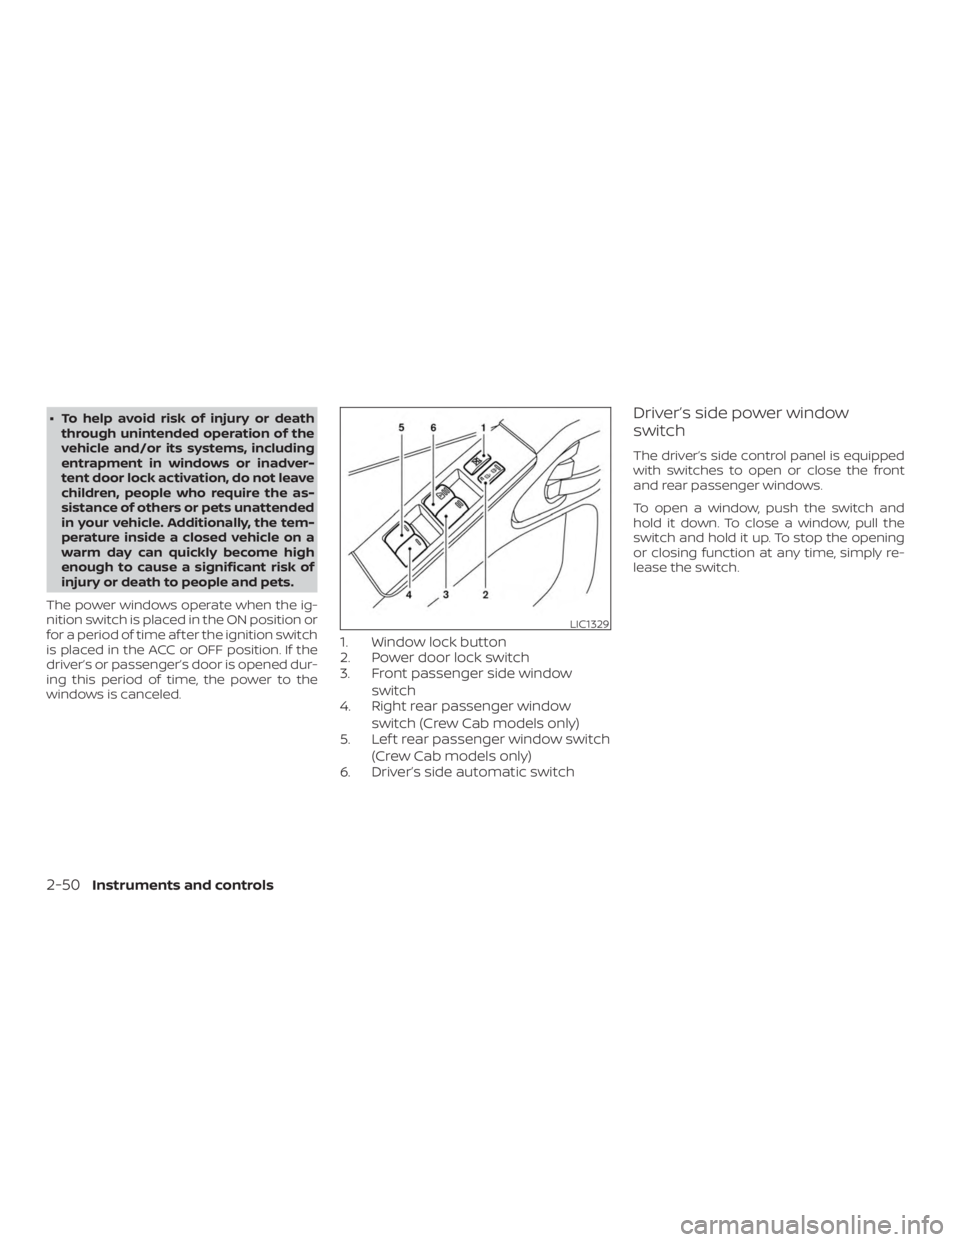
1. Window lock button
2. Power door lock switch
3. Front passenger side window switch
4. Right rear passenger window
switch (Crew Cab models only)
5. Lef t rear passenger window switch
(Crew Cab models only)
6. Driver’s side automatic switch
Driver’s side power window
switch
The driver’s side control panel is equipped
with switches to open or close the front
and rear passenger windows.
To open a window, push the switch and
hold it down. To close a window, pull the
switch and hold it up. To stop the opening
or closing function at any time, simply re-
lease the switch.
Page 167 of 516
To fully close the moonroof, push the
switch toward UP/CLOSE
�2.
To open or close the moonroof part way,
push the switch in any direction while the
moonroof is sliding to stop it in the desired
position.
Tilting the moonroof
Close the moonroof by pushing the switch
toward UP/CLOSE
�2. Release the switch,
then push the UP/CLOSE switch again to
tilt the moonroof up.
To tilt the moonroof down, push the switch
toward DOWN/OPEN
�1.
Auto-reverse function (when
closing or tilting down the
moonroof )
The auto-reverse function can be acti-
vated when the moonroof is closed or
tilted down by automatic operation when
the ignition switch is placed in the ON po-
sition or for a period of time af ter the igni-
tion switch is placed in the OFF position.
Depending on the environment or driv-
ing conditions, the auto-reverse func-
tion may be activated if an impact or
load similar to something being caught
in the moonroof occurs.