2019 MERCEDES-BENZ SPRINTER wiper blades
[x] Cancel search: wiper bladesPage 113 of 354

Switching
there ar window wiper on/off 1
00E2 Single wipe/wash
2 00C5 Intermittent wiping #
Single wipe: press button1tothe point of
re sis tance. #
Wiping with washer fluid: press button 1
be yond the point of resis tan ce. #
Toswitch intermittent wiping on or off:
press button 2.
If th ere ar wind owwiper is swit ched on, the
00C5 symbol will appear on the Instrument
Displa y. Re
placing the windshield wiper blades &
WARNING Risk of becoming trapped if
th e windshield wipers are switched on
while wiper blades are being replaced
If th e windshield wipers begin tomo vewhile
yo u are changing the wiper blades, you can
be trapped bythe wiper arm. #
Always switch off the windshield wipers
and the ignition before changing the
wiper blades. &
WARNING Risk of inju ryfrom using the
windshield wipers while the engine hood
is open
When the engine hood is open and the wind‐
shield wipers are set in motion, you can be
trapped bythe wiper linkage. #
Always switch off the windshield wipers
and ignition before opening the engine
hood. %
If
th e wiper blades are wornout, they will not
wipe the windshield proper ly.Re place the
wiper blades twice a year, preferably in
spring and fall. #
Fold wiper arm 3away from the windshield. #
Hold wiper arm 3and turn the wiper blade
aw ay from wiper arm 3inthe direction of
th e ar row asfar as it will go. #
Slide catch 2upwards in the direction of the
ar row until it engages. #
Fold back the wiper blade onto the wiper arm. #
Remo vewiper blade 1from wiper arm. #
Insert new washer blade 1inthe holder on
wiper arm 3.
When doing so, take into account the dif fere nt
lengths of the wiper blades:
R Driver's side: long wiper blade
R Front-passenger side: short wiper blade #
Slide catch 2down wards until it engages. #
Fold wiper arm 3back onto the windshield. Re
placing the windshield wiper blades (WET
WIPER SYSTEM) &
WARNING Risk of becoming trapped if
th e windshield wipers are switched on
while wiper blades are being replaced
If th e windshield wipers begin tomo vewhile
yo u are changing the wiper blades, you can
be trapped bythe wiper arm. #
Always switch off the windshield wipers
and the ignition before changing the
wiper blades. Light and vision
89
Page 114 of 354

&
WARNING Risk of inju ryfrom using the
windshield wipers while the engine hood
is open
When the engine hood is open and the wind‐
shield wipers are set in motion, you can be
trapped bythe wiper linkage. #
Always switch off the windshield wipers
and ignition before opening the engine
hood. %
If
th e wiper blades are wornout, they will not
wipe the windshield proper ly.Re place the
wiper blades twice a year, preferably in
spring and fall. #
Fold wiper arm 3away from the windshield. #
Hold wiper arm 3and turn the wiper blade
aw ay from wiper arm 3inthe direction of
th e ar row asfar as it will go. #
Slide catch 2upwards in the direction of the
ar row until it engages. #
Remo vewiper blade 1from the wiper arm in
th e direction of ar row4. #
Carefully remo vehose 5from the wiper
blade. #
Attach hose 5tothe new wiper blade. #
Insert new washer blade 1inthe holder on
wiper arm 3.
When doing so, take into account the dif fere nt
lengths of the wiper blades:
R Driver's side: long wiper blade
R front-passenger side: short wiper blade #
Slide catch 2down wards until it engages. #
Fold back the wiper blade onto the wiper arm. #
Fold wiper arm 3back onto the windshield. Re
placing the rear window wiper blade #
Fold wiper arm 3away from there ar win‐
do w. #
Press bo thretaining clips 2inthe direction
of the ar row and swivel the wiper blade away
from the wiper arm. #
Pull wiper blade 1upwards out of the holder
on wiper arm 3. #
Insert new washer blade 1inthe holder on
wiper arm 3. #
Push new wiper blade 1onto wiper arm 3
until there taining clips engage. #
Fold wiper arm 3back onto there ar win‐
do w. Mir
rors Operating
the outside mir rors &
WARNING Risk of inju ryfrom adju sting
th eve hicle settings while theve hicle is in
motion
Yo u could lose control of theve hicle in the
fo llowing situations:
R ifyo u adjust the driver's seat, the head
re stra int, thesteering wheel or the mir ror
while theve hicle is in motion
R ifyo ufast enyour seat belt while theve hi‐
cle is in motion #
Before starting the engine: adjust the
driver's seat, the head restra int, the 90
Light and vision
Page 236 of 354

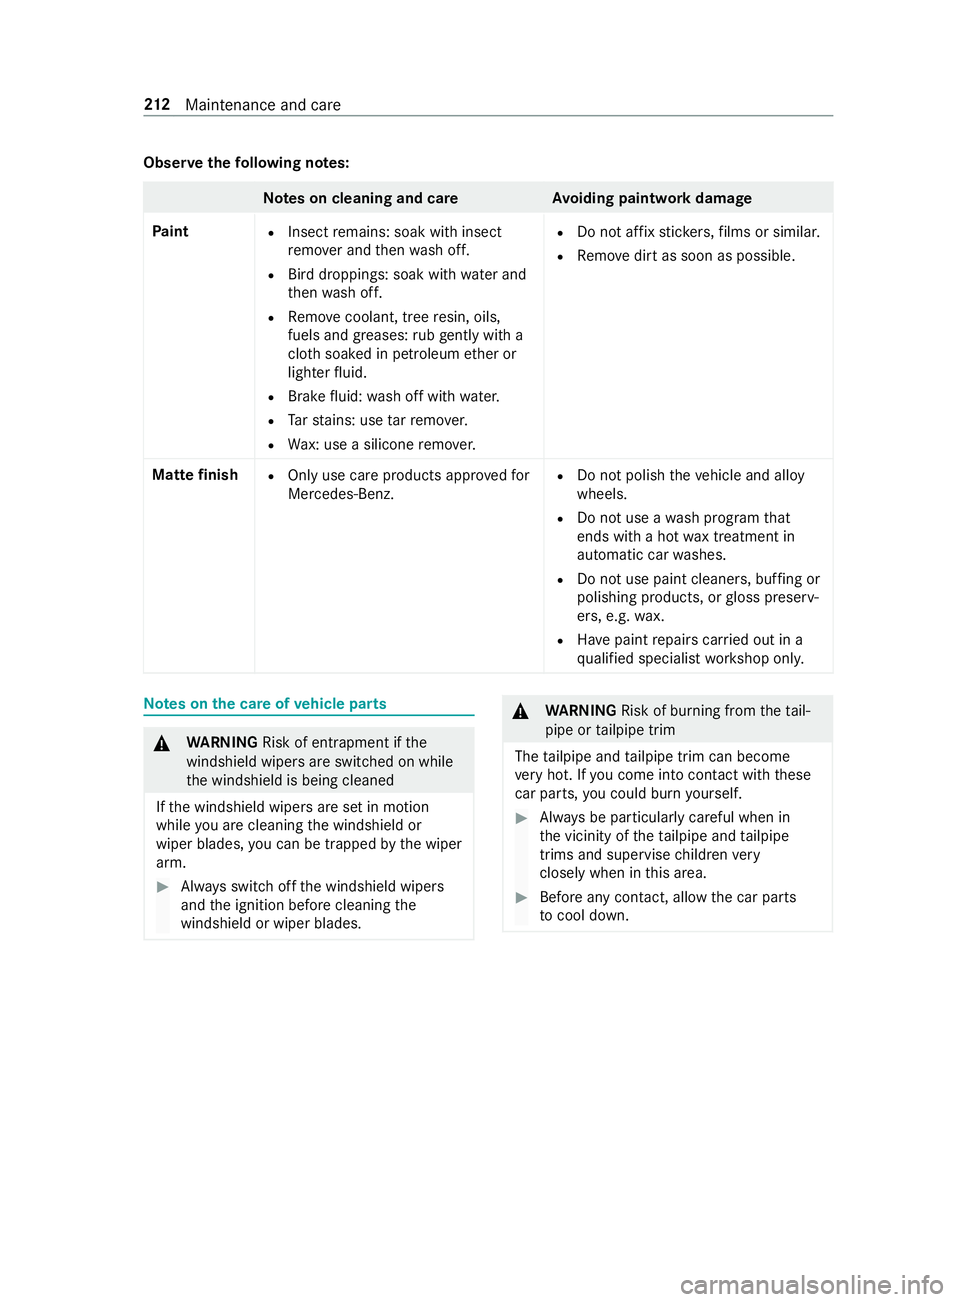
Obser
vethefo llowing no tes: Note
s on cleaning and car eAvoiding paintwork damage
Pa int
R
Insect remains: soak with insect
re mo ver and then wash off.
R Bird droppings: soak with water and
th en wash off.
R Remo vecoolant, tree resin, oils,
fuels and greases: rubge ntly wi th a
clo thsoaked in petroleum ether or
lighter fluid.
R Brake fluid: wash off with water.
R Tarst ains: use tarre mo ver.
R Wax: use a silicone remo ver. R
Do not af fix st icke rs,fi lms or similar.
R Remo vedirt as soon as possible.
Mat tefinish
R
Only use care products appr ovedfor
Mercedes-Benz. R
Do not polish theve hicle and alloy
wheels.
R Do not use a wash program that
ends with a hot wax treatment in
au tomatic car washes.
R Do not use paint cleaners, buf fing or
polishing products, or gloss preserv‐
ers, e.g. wax.
R Have paint repairs car ried out in a
qu alified specialist workshop onl y. Note
s onthe care of vehicle parts &
WARNING Risk of entrapment if the
windshield wipers are swit ched on while
th e windshield is being cleaned
If th e windshield wipers are set in motion
while you are cleaning the windshield or
wiper blades, you can be trapped bythe wiper
arm. #
Always switch off the windshield wipers
and the ignition before cleaning the
windshield or wiper blades. &
WARNING Risk of bu rning from theta il‐
pipe or tailpipe trim
The tailpipe and tailpipe trim can become
ve ry hot. If you come into con tact wi th these
car parts, you could burn yourself. #
Always be particularly careful when in
th e vicinity of theta ilpipe and tailpipe
trims and supervise children very
closely when in this area. #
Before any con tact, allow the car parts
to cool down. 212
Maintenance and care
Page 237 of 354

Obser
vethefo llowing no tes: Note
s on cleaning and car ePreve nting damage totheve hicle
Wheels/rims Usewate r and acid-free wheel cleaner. R
Do not use acidic wheel cleaners to
re mo vebrake dust. Otherwise, wheel
bolts and brake components may be
damaged.
R Toavo id cor rosion of brake discs and
brakepads, drive for a few minutes
af te r cleaning before parking the
ve hicle. The brake discs and brake‐
pads warm up and dry out.
Wi ndo ws
Clean wind owsinside and outside with a
damp clo thand with a cleaning agent
re commended for Mercedes-Benz . Do not use dry clo
ths or abrasive or sol‐
ve nt-based cleaning agents toclean the
inside of windo ws.
Wi per blades
Carefully clean thefo lded-a way wiper
blades with a damp clo th.Do not clean
the wiper blades too of ten.
Ex terior
lighting Clean
the lenses with a wet sponge and
mild cleaning agent, e.g. car sha mpoo. Only use cleaning agents or clo
ths suita‐
ble for plast ic lenses.
Sensors Cleanthe sensors in the front and rear
bumper and in thera diator grill with a
soft clo thand car shampoo. When using a po
werwa sher, keep a min‐
imum dis tance of 11.8 in (30 cm).
Re ar view
camera and
360° Cam‐
era Use clean
water and a soft clo thtoclean
th e camera lens. Do not use a po
werwa sher.
Tr ailer hitch
R
Remo vetraces of rust on the ball,
e.g. with a wire brush.
R Remo vedirt with a lint-free clo th.
R After cleaning, lightly oil or grease
th e ball head.
R Obser vethe no tes on care in the
trailer hitch manufactu rer's operat‐
ing instructions. Do not clean
the ball neck with a po wer
wa sher or sol vent.
Sliding door R
Remo vefore ign objects from the
vicinity of the contact plates and
contact pins of the sliding door.
R Clean the contact plates and contact
pins with a mild cleaning agent and a
soft clo th. Do not oil or grease
the contact plates
and the contact pins. Maintenance and care
213
Page 350 of 354

0024The electric parking brake
malfunctioning
yellow indicator
lamp does not light up ...................... 298
0077Ti repressure monitoring sys‐
te m wa rning lamp flashes ................ 304
0077Ti repressure monitoring sys‐
te m wa rning lamp lights up .............. 305
Wa rranty ................................................. 24
Wa rranty terms and conditions ............ 20
Wa sher fluid
see Windshield washer fluid (no tes)
Wa shing byhand (care) ........................ 211
Wheel rotation ...................................... 24 9
Wheel size categori es.......................... 250
Wheel wrench ...................................... .250
Wheels Care .................................................. 212
Characteristics of the tire ................. 24 5
Checking .......................................... 232
Checking the tire pressure (tire
pressure monitoring sy stem) ............ 239
Definitions ........................................2 46
DO T,Tire Identification Number
(TIN) ................................................. 24 4
Flat tire ............................................. 218
Ins talling .......................................... 253
Load index ........................................ 24 5
Load-bearing capacity ...................... 24 5
Maximum tire load ........................... 24 4
Maximum tire pressure .................... 24 5
No ise ................................................ 232
No tes on ins talling ............................ 24 8
Overview of tire labeling ...................2 43
Re moving ........................................ .253
Re placing .................................. 248, 251
Re starting the tire pressure moni‐
to r ................................................... .240
Ro tating ............................................ 24 9
Selecting .......................................... 24 8
Size designation ............................... 24 5
Snow chains .................................... .233
Speed rating ..................................... 24 5
St oring ............................................. 250
Te mp erature grade ........................... 24 3
Ti re and Loading In form ation plac‐
ard .................................................... 24 0
Ti re pressure (no tes) ........................ 234
Ti re pressure monitoring sy stem
(function) .......................................... 238
Ti re pressure table ...........................2 35
Ti re qu ality grades ............................ 24 3Tr
action grade .................................. 24 3
Tr ead wear grade .............................. 24 3
Un usual driving characteristics ........ 232
Wi -Fi ....................................................... 180
Overview .......................................... 180
Setting .............................................. 181
Wi ndow curtain airbag .......................... 32
Wi ndo ws
see Side window
Wi ndo ws(care) .................................... .212
Wi ndshield ..............................................89
Re placing the wiper blades ................89
Re placing the wiper blades (WET
WIPER SYSTEM) .................................. 89
Wi ndshield
see Windshield
Wi ndshield washer fluid
Information ....................................... 271
Wi ndshield washer fluid (no tes) ......... 270
Wi ndshield wipers
Re placing the wiper blades ................89
Re placing the wiper blades (WET
WIPER SYSTEM) .................................. 89
Switching on/o ff................................ 88
Wi nter driving (snow chains) .............. 233
Wi nter tires ...........................................2 33
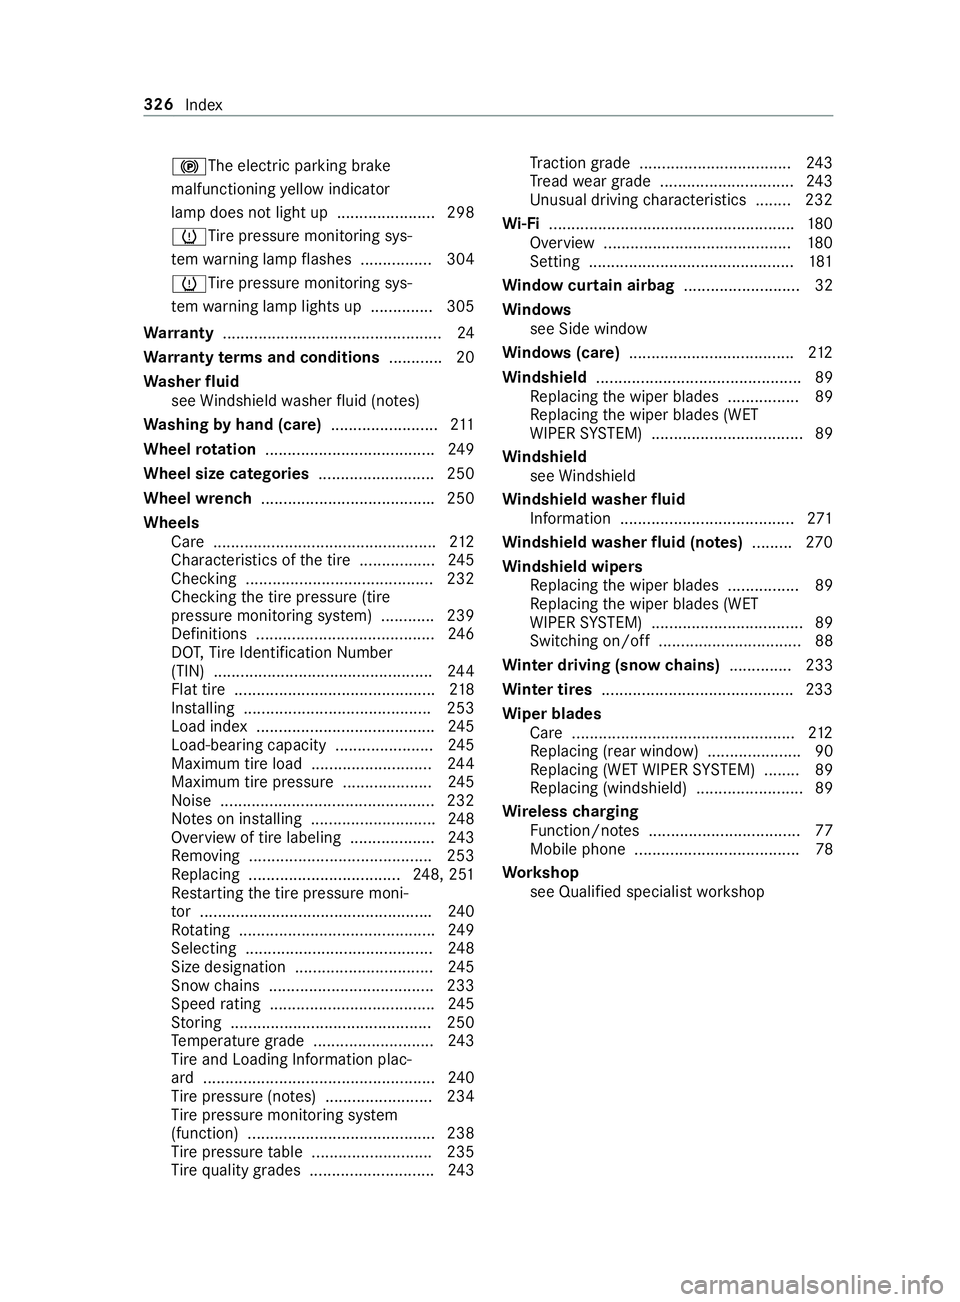
Wi per blades
Ca re .................................................. 212
Re placing (rear window) .....................90
Re placing (WET WIPER SYSTEM) ........ 89
Re placing (windshield) ........................ 89
Wire lesscharging
Fu nction/no tes ..................................77
Mobile phone .....................................78
Wo rkshop
see Qualified specialist workshop 326
Index