2019 MERCEDES-BENZ SLC key
[x] Cancel search: keyPage 224 of 306
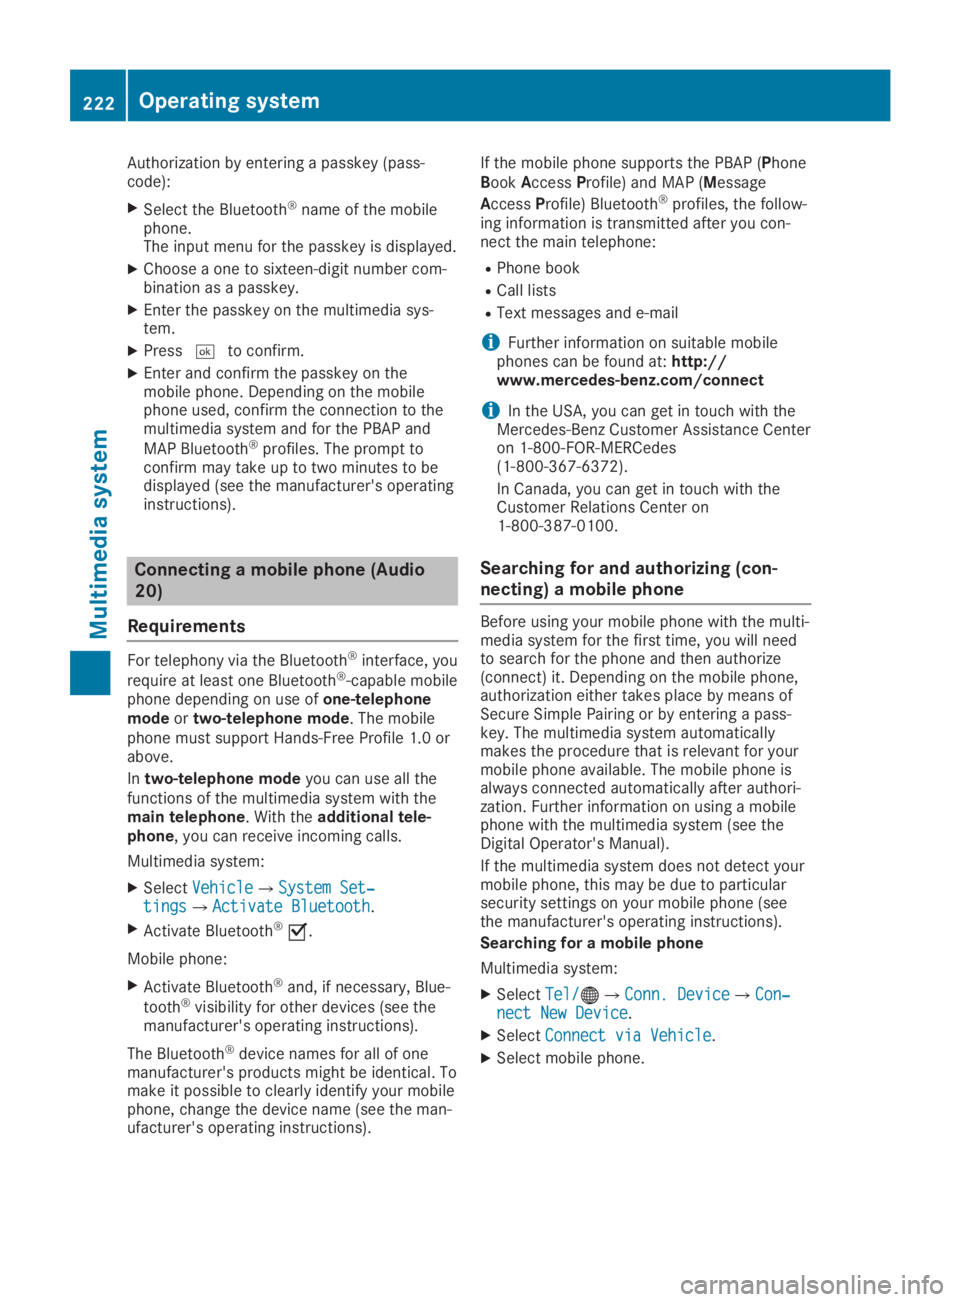
Authorization by entering a passkey (pass-code):
XSelect the Bluetooth®name of the mobilephone.The input menu for the passkey is displayed.
XChoose a one to sixteen-digit number com-bination as a passkey.
XEnter the passkey on the multimedia sys-tem.
XPress�Tto confirm.
XEnter and confirm the passkey on themobile phone. Depending on the mobilephone used, confirm the connection to themultimedia system and for the PBAP and
MAP Bluetooth®profiles. The prompt toconfirm may take up to two minutes to bedisplayed (see the manufacturer's operatinginstructions).
Connecting a mobile phone (Audio
20)
Requirements
For telephony via the Bluetooth®interface, you
require at least one Bluetooth®-capable mobilephone depending on use ofone-telephonemodeortwo-telephone mode. The mobilephone must support Hands-Free Profile 1.0 orabove.
Intwo-telephone modeyou can use all thefunctions of the multimedia system with themain telephone. With theadditional tele-phone, you can receive incoming calls.
Multimedia system:
XSelectVehicleVehicle�{System Set‐System Set‐tingstings�{Activate BluetoothActivate Bluetooth.
XActivate Bluetooth®�s.
Mobile phone:
XActivate Bluetooth®and, if necessary, Blue-
tooth®visibility for other devices (see themanufacturer's operating instructions).
The Bluetooth®device names for all of onemanufacturer's products might be identical. Tomake it possible to clearly identify your mobilephone, change the device name (see the man-ufacturer's operating instructions).
If the mobile phone supports the PBAP (PhoneBookAccessProfile) and MAP (Message
AccessProfile) Bluetooth®profiles, the follow-ing information is transmitted after you con-nect the main telephone:
RPhone book
RCall lists
RText messages and e-mail
iFurther information on suitable mobilephones can be found at:http://www.mercedes-benz.com/connect
iIn the USA, you can get in touch with theMercedes-Benz Customer Assistance Centeron 1-800-FOR-MERCedes(1-800-367-6372).
In Canada, you can get in touch with theCustomer Relations Center on1-800-387-0100.
Searching for and authorizing (con-
necting) a mobile phone
Before using your mobile phone with the multi-media system for the first time, you will needto search for the phone and then authorize(connect) it. Depending on the mobile phone,authorization either takes place by means ofSecure Simple Pairing or by entering a pass-key. The multimedia system automaticallymakes the procedure that is relevant for yourmobile phone available. The mobile phone isalways connected automatically after authori-zation. Further information on using a mobilephone with the multimedia system (see theDigital Operator's Manual).
If the multimedia system does not detect yourmobile phone, this may be due to particularsecurity settings on your mobile phone (seethe manufacturer's operating instructions).
Searching for a mobile phone
Multimedia system:
XSelectTel/Tel/�
Page 225 of 306
Connecting a mobile phone
XOne-telephone mode:selectConnect asConnect as
New Main PhoneNew Main Phone.
XTwo-telephone mode:selectConnect asConnect as
Additional PhoneAdditional Phonewhen a mobile phone isalready connected.
XAuthorization using Secure Simple Pair-ing:
A code is displayed in the multimedia sys-tem and on the mobile phone.
XConfirm code on the mobile phone. Depend-ing on the mobile phone used, confirm theconnection to the multimedia system and
for the PBAP and MAP Bluetooth®profiles.The prompt to confirm may take up to twominutes to be displayed (see the manufac-turer's operating instructions).
XIf the codes are different: selectNoNoon themultimedia system.The process is canceled.
Repeat authorization.
or
XAuthorization by entering a passkey(passcode):enter any one- to sixteen-digitnumber sequence which you have chosenyourself into the passkey input menu.
XPress�Tto confirm.
XEnter and confirm the passkey on themobile phone. Depending on the mobilephone used, confirm the connection to themultimedia system and for the PBAP and
MAP Bluetooth®profiles. The prompt toconfirm may take up to two minutes to bedisplayed (see the manufacturer's operatinginstructions).
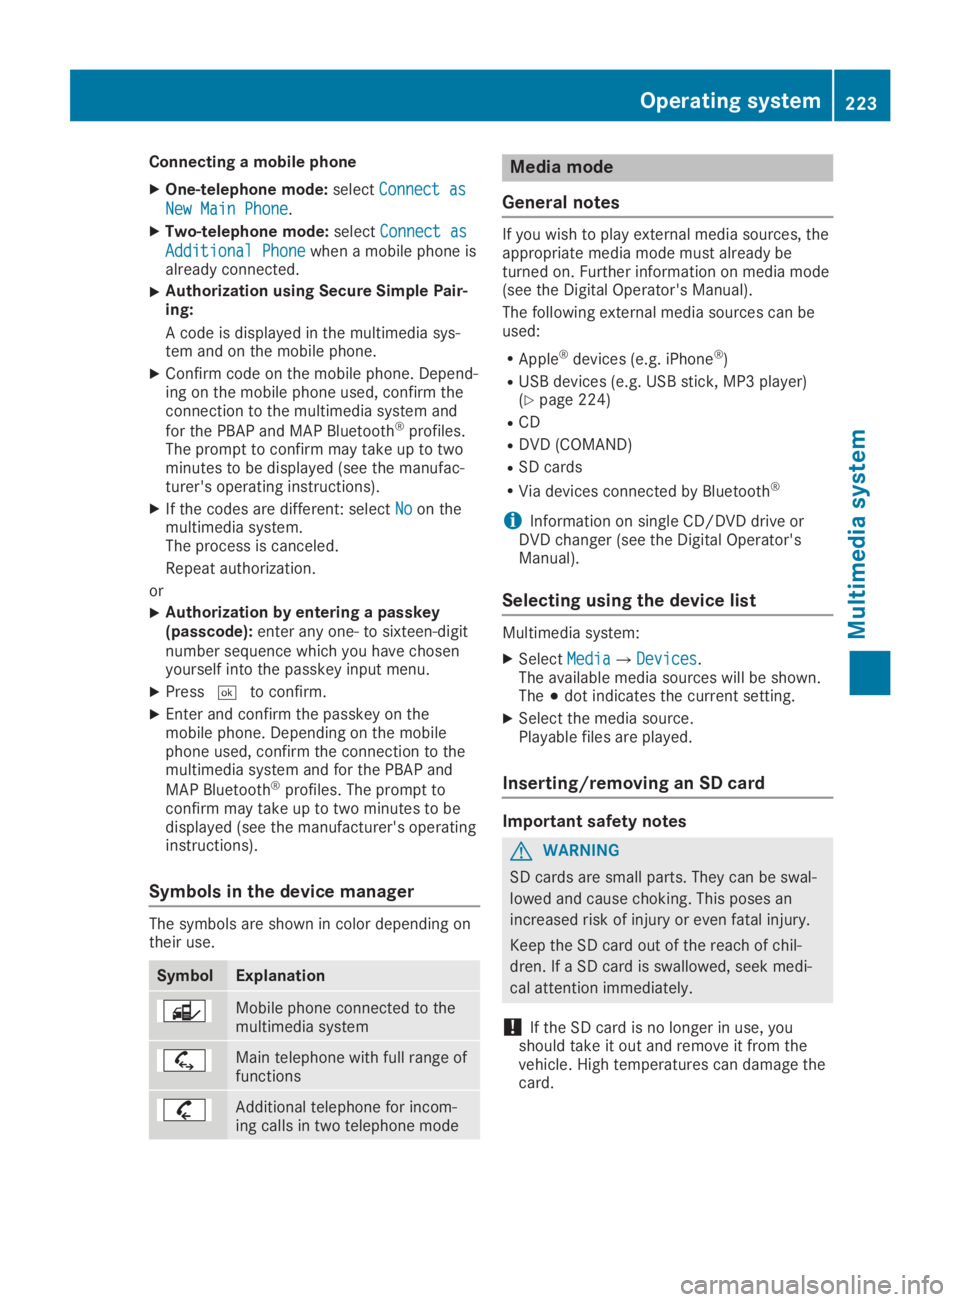
Symbols in the device manager
The symbols are shown in color depending ontheir use.
SymbolExplanation
Mobile phone connected to themultimedia system
Main telephone with full range offunctions
Additional telephone for incom-ing calls in two telephone mode
Media mode
General notes
If you wish to play external media sources, theappropriate media mode must already beturned on. Further information on media mode(see the Digital Operator's Manual).
The following external media sources can beused:
RApple®devices (e.g. iPhone®)
RUSB devices (e.g. USB stick, MP3 player)(Ypage 224)
RCD
RDVD (COMAND)
RSD cards
RVia devices connected by Bluetooth®
iInformation on single CD/DVD drive orDVD changer (see the Digital Operator'sManual).
Selecting using the device list
Multimedia system:
XSelectMediaMedia�{DevicesDevices.The available media sources will be shown.The�;dot indicates the current setting.
XSelect the media source.Playable files are played.
Inserting/removing an SD card
Important safety notes
GWARNING
SD cards are small parts. They can be swal-
lowed and cause choking. This poses an
increased risk of injury or even fatal injury.
Keep the SD card out of the reach of chil-
dren. If a SD card is swallowed, seek medi-
cal attention immediately.
!If the SD card is no longer in use, youshould take it out and remove it from thevehicle. High temperatures can damage thecard.
Operating system223
Multimedia system
Z
Page 227 of 306
Stowage areas
Stowage spaces
Important safety notes
GWARNING
If objects in the passenger compartment are
stowed incorrectly, they can slide or be
thrown around and hit vehicle occupants. In
addition, cup holders, open stowage spaces
and mobile phone brackets cannot always
retain all objects they contain. There is a
risk of injury, particularly in the event of sud-
den braking or a sudden change in direction.
RAlways stow objects so that they cannot
be thrown around in such situations.
RAlways make sure that objects do not pro-
trude from stowage spaces, parcel nets or
stowage nets.
RClose the lockable stowage spaces before
starting a journey.
RAlways stow and secure heavy, hard, poin-
ted, sharp-edged, fragile or bulky objects
in the trunk.
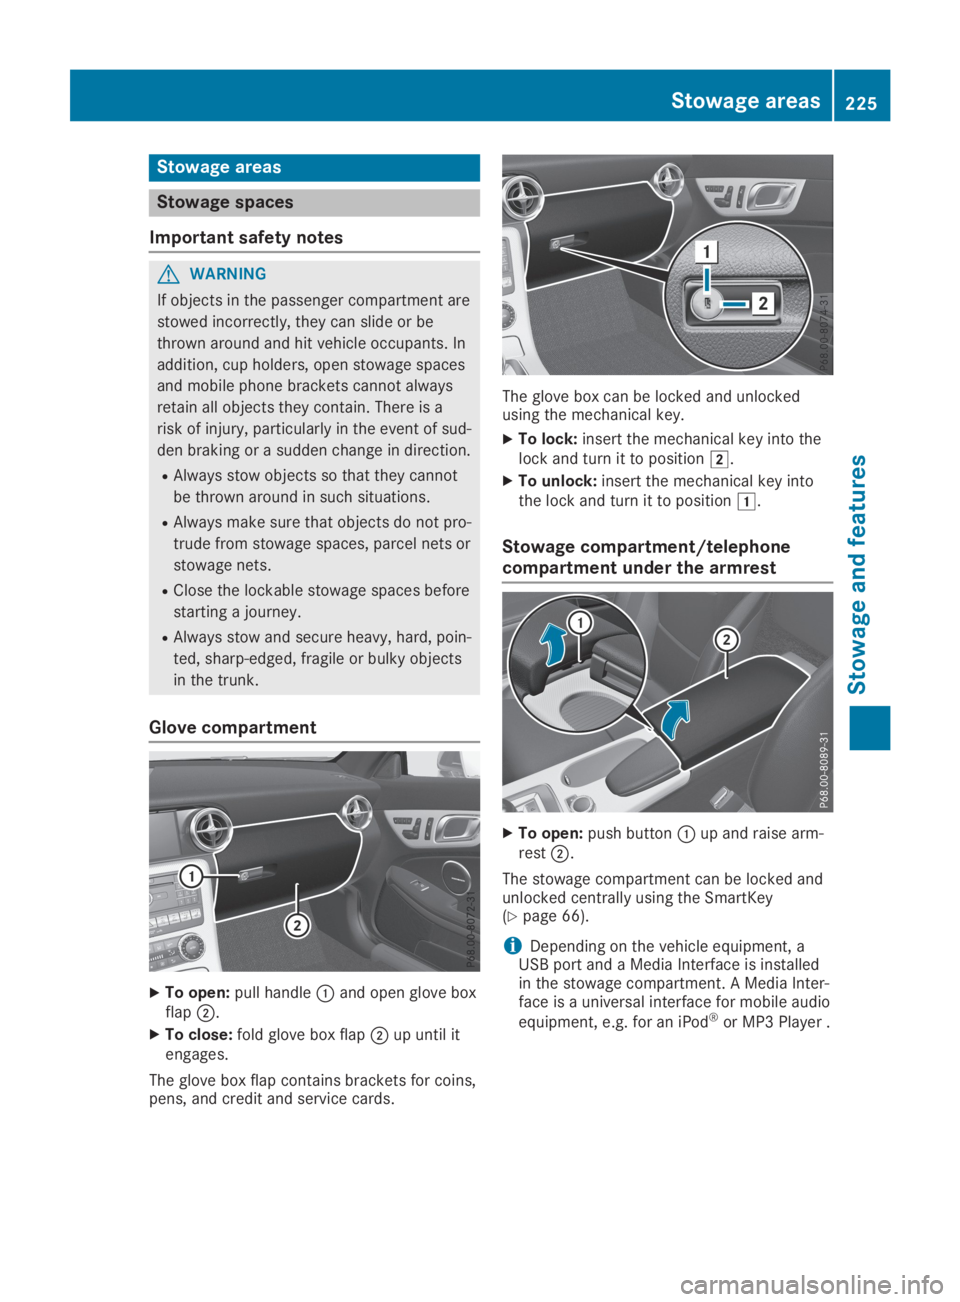
Glove compartment
XTo open:pull handle�Cand open glove boxflap�D.
XTo close:fold glove box flap�Dup until itengages.
The glove box flap contains brackets for coins,pens, and credit and service cards.
The glove box can be locked and unlockedusing the mechanical key.
XTo lock:insert the mechanical key into thelock and turn it to position�H.
XTo unlock:insert the mechanical key intothe lock and turn it to position�G.
Stowage compartment/telephone
compartment under the armrest
XTo open:push button�Cup and raise arm-rest�D.
The stowage compartment can be locked andunlocked centrally using the SmartKey(Ypage 66).
iDepending on the vehicle equipment, aUSB port and a Media Interface is installedin the stowage compartment. A Media Inter-face is a universal interface for mobile audio
equipment, e.g. for an iPod®or MP3 Player .
Stowage areas225
Stowage and features
Z
Page 236 of 306
Customer Assistance Center. The customerservice representative can use the receiveddata to decide what kind of assistance isrequired. You are then, for example, guided tothe nearest Mercedes-Benz Service Center ora recovery vehicle is called.
If vehicle data needs to be transferred duringan MB Info call or a Roadside Assistance call,this is initiated by the Customer AssistanceCenter. You will see theRoadside Assis‐Roadside Assis‐tance Connectedtance Connectedmessage in the COMANDdisplay. If the Vehicle Health Check can bestarted, theRequest for vehicle diagno‐Request for vehicle diagno‐sis received. Start vehicle diagno‐sis received. Start vehicle diagno‐sis?sis?message appears in the display.
XConfirm the message withYesYes.
XWhen theVehicle Diagnosis: PleaseVehicle Diagnosis: Pleasestart ignition.start ignition.message appears, turnthe SmartKey to position�Hin the ignitionlock (Ypage 118).
XWhen thePlease follow the instruc‐Please follow the instruc‐tions received by phone and movetions received by phone and moveyour vehicle to a safe positionyour vehicle to a safe positionmes-sage appears, follow the customer servicerepresentative's instructions.The message in the display disappears.
If you selectCancelCancelthe Vehicle HealthCheck is canceled completely.
The vehicle operating state check begins.You will see theVehicle diagnosisVehicle diagnosisactivated.activated.message.
When the check is completed, theSendSendvehicle diagnostics data (Voice con‐vehicle diagnostics data (Voice con‐nection may be interrupted duringnection may be interrupted duringdata transfer)data transfer)message appears. The vehi-cle data can now be sent to the CustomerAssistance Center.
XPressOKOKto confirm the message.The voice connection with the CustomerAssistance Center is terminated.
You will see theVehicle Diagnosis:Vehicle Diagnosis:Transferring data...Transferring data...message.
The vehicle data is sent to the CustomerAssistance Center.
Depending on what the customer service rep-resentative agreed with you, the voice connec-tion is re-established after the transfer is com-plete. If necessary, you will be contacted at alater time by another means, e.g. by e-mail orphone.
Another function of the Vehicle Health Checkis the transfer of service data to the Customer
Assistance Center. If a service is overdue, theCOMAND display shows a message about vari-ous special offers at your workshop.
USA only: this information can also be calledup under "Owners Online" at http://www.mbusa.com.
Information on the data stored in the vehicle(Ypage 28).
Information on Roadside Assistance(Ypage 25).
Garage door opener
General notes
The HomeLink®garage door opener integratedin the rear-view mirror allows you to operateup to three different door and gate systems.
Use the integrated garage door opener only ongarage doors that:
Rhave safety stop and reverse features and
Rmeet current U.S. federal safety standards
Once programed, the integrated garage dooropener in the rear-view mirror will assume thefunction of the garage door system's remotecontrol. Please also read the operating instruc-tions for the garage door system.
When programming a garage door opener,park the vehicle outside the garage. Do notrun the engine while programming.
Certain garage door drives are incompatiblewith the integrated garage door opener. If youhave difficulty programing the integratedgarage door opener, contact an authorizedMercedes-Benz Center.
Alternatively, you can call the following tele-phone assistance services:
RUSA:Mercedes-Benz Customer AssistanceCenter at 1-800-FOR-MERCedes
RCanada:Customer Service at1-800-387-0100
RHomeLink®hotline 1-800-355-3515 (free ofcharge)
More information on HomeLink®and/or com-patible products is also available online athttp://www.homelink.com.
Notes on the declaration of conformity(Ypage 26).
USA: FCC ID: CB2HMIHL4
Canada: IC: 279B-HMIHL4
234Features
Stowage and features
Page 238 of 306
located on the door drive unit on the garageceiling.
Familiarize yourself with the garage door driveoperating instructions, e.g. under "Program-ming additional remote controls", before carry-ing out the following steps.
Your vehicle must be within reach of thegarage door or gate opener drive. Make surethat neither your vehicle nor any persons/objects are present within the sweep of thedoor or gate.
XTurn the SmartKey to position�Hin the igni-tion lock (Ypage 118).
XGet out of the vehicle.
XPress the programming button on the doordrive unit.
Usually, you now have 30 seconds to initiatethe next step.
XGet into the vehicle.
XPress previously programed button�D,�
Page 245 of 306
If you need to do any work inside the engine
compartment:
Rswitch off the ignition
Rnever reach into the area where there is a
risk of danger from moving components,
such as the fan rotation area
Rremove jewelry and watches
Rkeep items of clothing and hair, for exam-
ple, away from moving parts
GWARNING
The cooling system is pressurized, particu-
larly when the motor is warm. If you open
the cap, you could be scalded if hot coolant
sprays out. There is a risk of injury.
Let the engine cool down before you open
the cap. Wear protective gloves and protec-
tive eyewear when opening. Open the cap
slowly to release pressure.
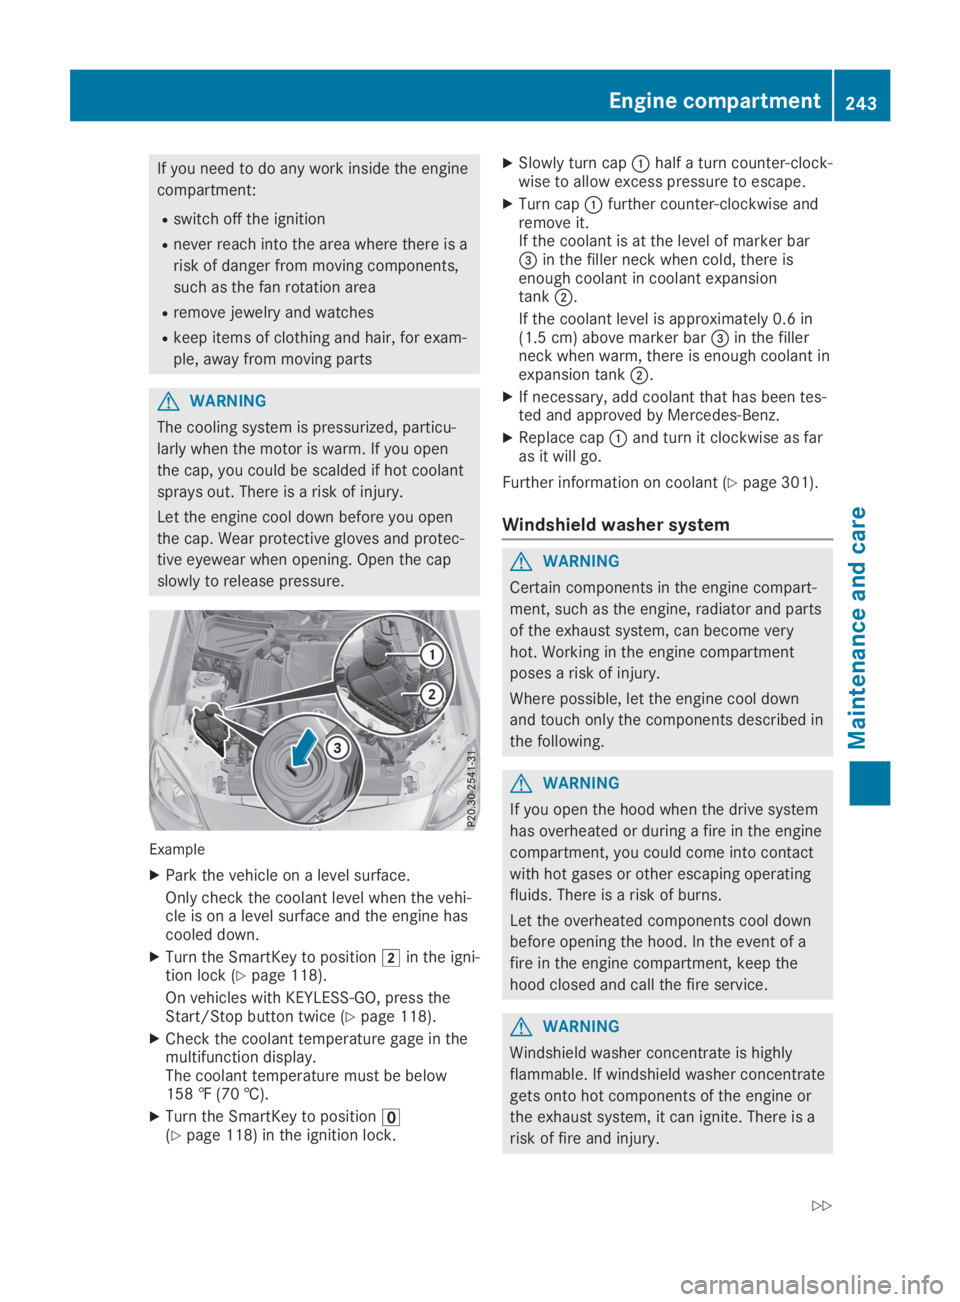
Example
XPark the vehicle on a level surface.
Only check the coolant level when the vehi-cle is on a level surface and the engine hascooled down.
XTurn the SmartKey to position�Hin the igni-tion lock (Ypage 118).
On vehicles with KEYLESS-GO, press theStart/Stop button twice (Ypage 118).
XCheck the coolant temperature gage in themultifunction display.The coolant temperature must be below158 ‡ (70 †).
XTurn the SmartKey to position�
Page 255 of 306
teristics, e.g. winter tires. A TIREFIT kit may beobtained from a qualified specialist workshop.
Information on changing and mounting wheels(Ypage 288).
XStop the vehicle on solid, non-slippery andlevel ground, as far away as possible fromtraffic.
XSwitch on the hazard warning lamps.
XSecure the vehicle against rolling away(Ypage 134).
XIf possible, bring the front wheels into thestraight-ahead position.
XSwitch off the engine.
XVehicles without KEYLESS-GO:removethe SmartKey from the ignition lock.
XVehicles with KEYLESS-GO:open the driv-er's door.The vehicle electronics are now in position�Z. This is the same as the SmartKey havingbeen removed.
XVehicles with KEYLESS-GO:remove theStart/Stop button from the ignition lock(Ypage 118).
XMake sure that the passengers are notendangered as they do so. Make sure thatno one is near the danger area while awheel is being changed. Anyone who is notdirectly assisting in the wheel changeshould, for example, stand behind the bar-rier.
XGet out of the vehicle. Pay attention to traf-fic conditions when doing so.
XClose the driver's door.
MOExtended tires (tires with run-flat
properties)
General notes
With MOExtended tires (tires with run flatcharacteristics), you can continue to drive yourvehicle even if there is a total loss of pressurein one or more tires. The affected tire must notshow any clearly visible damage.
You can recognize an MOExtended tire by theMOExtended marking which appears on thesidewall of the tire. You will find this markingnext to the tire size designation, the load-bear-ing capacity and the speed index(Ypage 283).
MOExtended tires may only be used in con-junction with an active tire pressure loss warn-ing system or with an active tire pressure mon-itor.
If a pressure loss warning messageappears in the multifunction display:
Robserve the instructions in the display mes-sages (Ypage 201)
Rcheck the tire for damage
Rif driving on, observe the following notes
The driving distance possible in run-flat modeis approximately 50 miles (80 kilometers)when the vehicle is partially laden and approx-imately 19 miles (30 kilometers) when thevehicle is fully laden.
In addition to the vehicle load, the driving dis-tance possible depends upon:
RVehicle speed
RRoad condition
ROutside temperature
The driving distance possible in run-flat modemay be reduced by extreme driving conditionsor maneuvers, or it can be increased through amoderate style of driving.
The driving distance possible in run-flat modeis counted from the moment the tire pressureloss warning appears in the multifunction dis-play.
You must not exceed a maximum designspeed of 50 mph (80 km/h).
When replacing one or all tires, please observethe following specifications for your vehicle'stires:
RSize
RType and
RThe "MOExtended" mark
If a tire has gone flat and cannot be replacedwith an MOExtended tire, a standard tire maybe used as a temporary measure. Make surethat you use the proper size and type (summeror winter tire).
Vehicles equipped with MOExtended tires arenot equipped with a TIREFIT kit at the factory.It is therefore recommended that you addition-ally equip your vehicle with a TIREFIT kit if youmount tires that do not feature run-flat charac-teristics, e.g. winter tires. A TIREFIT kit can beobtained from a qualified specialist workshop,for example.
Flat tire253
Breakdown assistance
Page 261 of 306
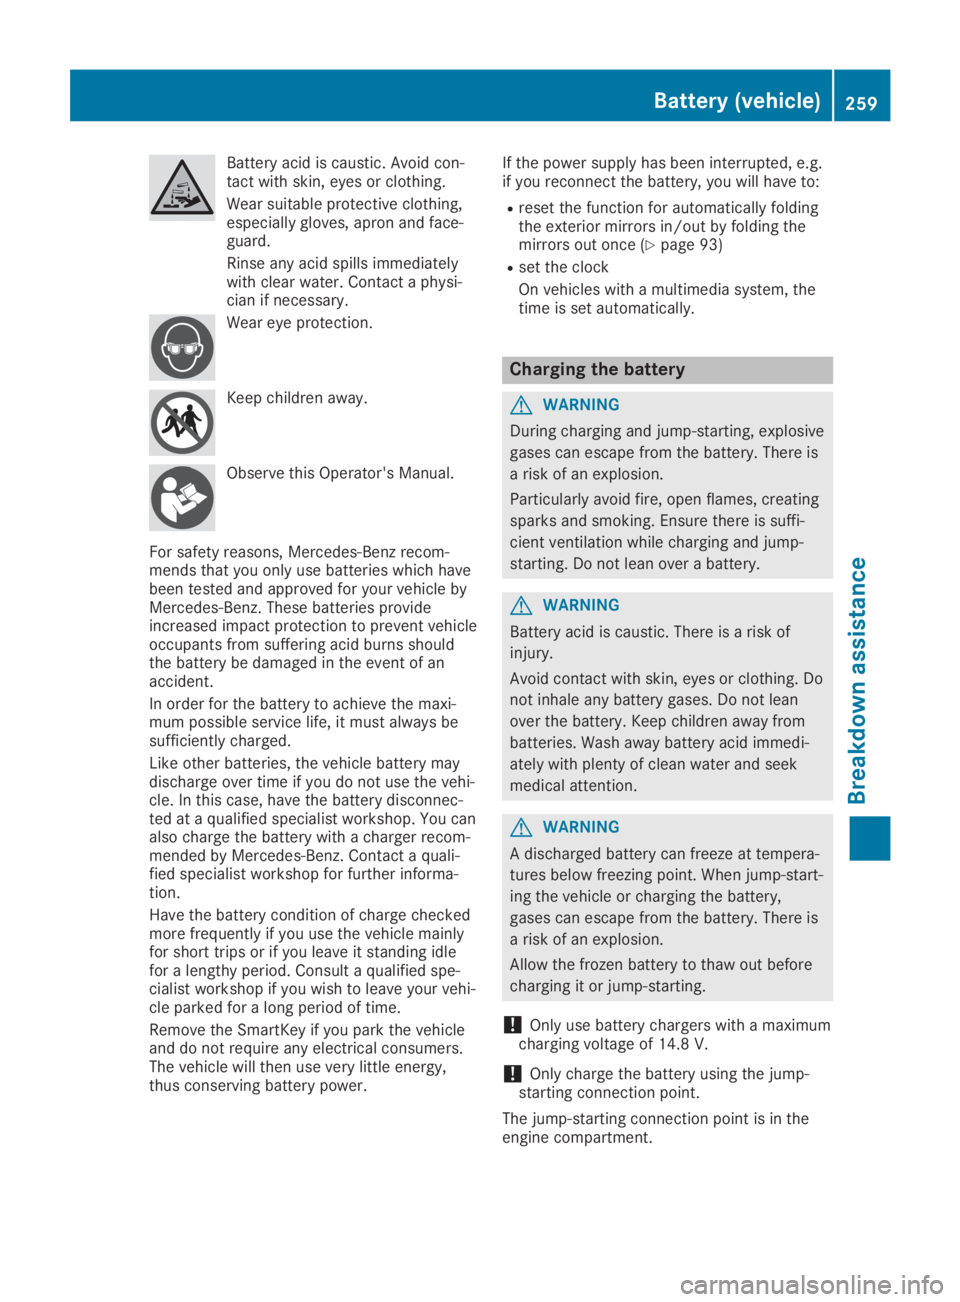
Battery acid is caustic. Avoid con-tact with skin, eyes or clothing.
Wear suitable protective clothing,especially gloves, apron and face-guard.
Rinse any acid spills immediatelywith clear water. Contact a physi-cian if necessary.
Wear eye protection.
Keep children away.
Observe this Operator's Manual.
For safety reasons, Mercedes-Benz recom-mends that you only use batteries which havebeen tested and approved for your vehicle byMercedes-Benz. These batteries provideincreased impact protection to prevent vehicleoccupants from suffering acid burns shouldthe battery be damaged in the event of anaccident.
In order for the battery to achieve the maxi-mum possible service life, it must always besufficiently charged.
Like other batteries, the vehicle battery maydischarge over time if you do not use the vehi-cle. In this case, have the battery disconnec-ted at a qualified specialist workshop. You canalso charge the battery with a charger recom-mended by Mercedes-Benz. Contact a quali-fied specialist workshop for further informa-tion.
Have the battery condition of charge checkedmore frequently if you use the vehicle mainlyfor short trips or if you leave it standing idlefor a lengthy period. Consult a qualified spe-cialist workshop if you wish to leave your vehi-cle parked for a long period of time.
Remove the SmartKey if you park the vehicleand do not require any electrical consumers.The vehicle will then use very little energy,thus conserving battery power.
If the power supply has been interrupted, e.g.if you reconnect the battery, you will have to:
Rreset the function for automatically foldingthe exterior mirrors in/out by folding themirrors out once (Ypage 93)
Rset the clock
On vehicles with a multimedia system, thetime is set automatically.
Charging the battery
GWARNING
During charging and jump-starting, explosive
gases can escape from the battery. There is
a risk of an explosion.
Particularly avoid fire, open flames, creating
sparks and smoking. Ensure there is suffi-
cient ventilation while charging and jump-
starting. Do not lean over a battery.
GWARNING
Battery acid is caustic. There is a risk of
injury.
Avoid contact with skin, eyes or clothing. Do
not inhale any battery gases. Do not lean
over the battery. Keep children away from
batteries. Wash away battery acid immedi-
ately with plenty of clean water and seek
medical attention.
GWARNING
A discharged battery can freeze at tempera-
tures below freezing point. When jump-start-
ing the vehicle or charging the battery,
gases can escape from the battery. There is
a risk of an explosion.
Allow the frozen battery to thaw out before
charging it or jump-starting.
!Only use battery chargers with a maximumcharging voltage of 14.8V.
!Onlycharge the battery using the jump-starting connection point.
The jump-starting connection point is in theengine compartment.
Battery (vehicle)259
Breakdown assistance
Z