2019 MERCEDES-BENZ GLS SUV brake
[x] Cancel search: brakePage 548 of 729
Note
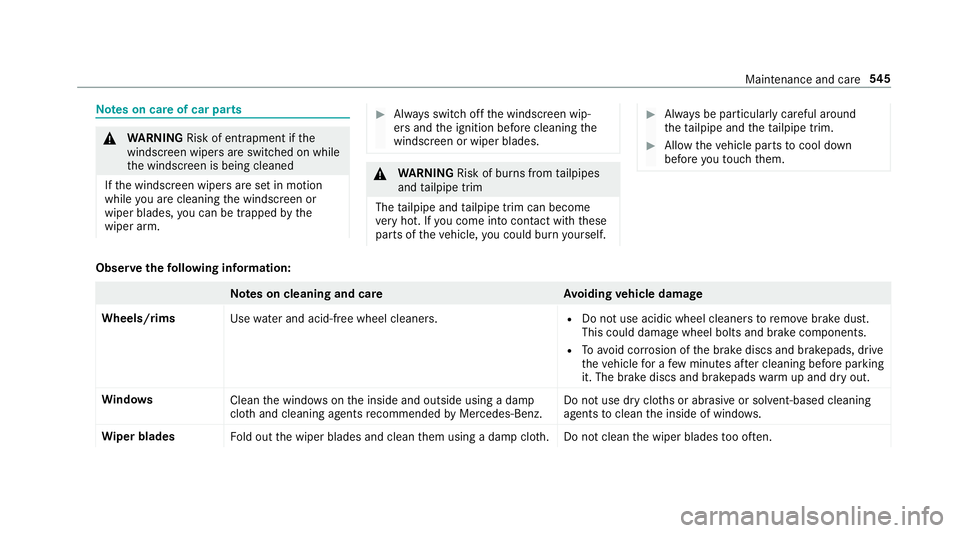
s on care of car parts &
WARNING Risk of entrapment if the
windscreen wipers are swit ched on while
th e windscreen is being cleaned
If th e windscreen wipers are set in motion
while you are cleaning the windscreen or
wiper blades, you can be trapped bythe
wiper arm. #
Alw ays switch off the windscreen wip‐
ers and the ignition before cleaning the
windscreen or wiper blades. &
WARNING Risk of bu rns from tailpipes
and tailpipe trim
The tailpipe and tailpipe trim can become
ve ry hot. If you come into contact with these
parts of theve hicle, you could burn yourself. #
Alw ays be particular lycareful around
th eta ilpipe and theta ilpipe trim. #
Allow theve hicle parts tocool down
before youto uch them. Obser
vethefo llowing information: Note
s on cleaning and car eA voiding vehicle damage
Wheels/rims Usewate r and acid-free wheel cleaners. R
Do not use acidic wheel cleaners toremo vebrake dust.
This could damage wheel bolts and brake components.
R Toavoid cor rosion of the brake discs and brakepads, drive
th eve hicle for a few minutes af ter cleaning before parking
it. The brake discs and brakepads warm up and dry out.
Wi ndo ws
Cleanthe windo wsonthe inside and outside using a damp
clo thand cleaning agents recommended byMercedes-Benz. Do not use dry clo
ths or abrasive or sol vent-based cleaning
agents toclean the inside of windo ws.
Wi per blades
Fold out the wiper blades and clean them using a damp clo th.D o not clean the wiper blades too of ten. Maintenance and care
545
Page 549 of 729
Note
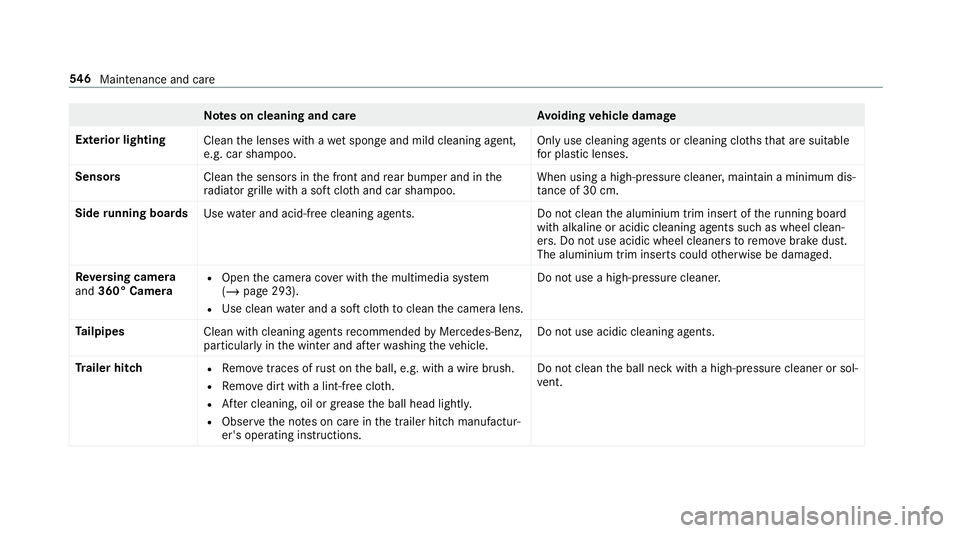
s on cleaning and car eA voiding vehicle damage
Exterior lighting Cleanthe lenses with a wet sponge and mild cleaning agent,
e.g. car sha mpoo. Only use cleaning agents or cleaning clo
thsth at are suitable
fo r plast ic lenses.
Sensors Cleanthe sensors in the front and rear bumper and in the
ra diator grille with a soft clo thand car shampoo. When using a high-pressure cleaner, main
tain a minimum dis‐
ta nce of 30 cm.
Side running boards
Usewate r and acid-free cleaning agents. Do not cleanthe aluminium trim insert of theru nning board
wi th alkaline or acidic cleaning agents such as wheel clean‐
ers. Do not use acidic wheel cleaners toremo vebrake dust.
The aluminium trim inserts could otherwise be damaged.
Re versing camera
and 360° Camera R
Open the camera co ver with the multimedia sy stem
(/ page 293).
R Use clean water and a soft clo thtoclean the camera lens. Do not use a high-pressure cleaner.
Ta ilpipes
Clean with cleaning agents recommended byMercedes-Benz,
particularly in the winter and af terwa shing theve hicle. Do not use acidic cleaning agents.
Tr ailer hitch R
Remo vetraces of rust on the ball, e.g. with a wire brush.
R Remo vedirt with a lint-free clo th.
R After cleaning, oil or grease the ball head lightl y.
R Obser vethe no tes on care in the trailer hitch manufactur‐
er's operating instructions. Do not clean
the ball neck with a high-pressure cleaner or sol‐
ve nt. 546
Maintenance and care
Page 564 of 729
St
arting assi stance and charging the12 V
battery Re
quirements:
R The vehicle is secured with the electric park‐
ing brake.
R Vehicles with automatic transmission: the
transmission is in position j.
R The ignition and all electrical consumers are
switched off.
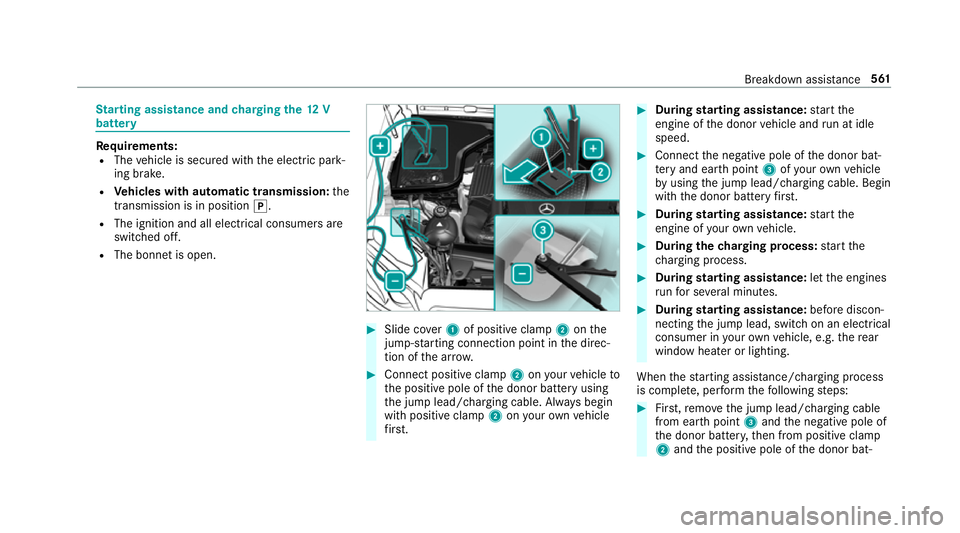
R The bonnet is open. #
Slide co ver1 of positive clamp 2onthe
jump-s tarting connection point in the direc‐
tion of the ar row. #
Connect positive clamp 2onyour vehicle to
th e positive pole of the donor battery using
th e jump lead/charging cable. Alw ays begin
with positive clamp 2onyour ow nve hicle
fi rs t. #
During starting assi stance: start the
engine of the donor vehicle and run at idle
speed. #
Connect the negative pole of the donor bat‐
te ry and ear thpoint 3ofyour ow nve hicle
by using the jump lead/charging cable. Begin
with the donor battery firs t. #
During starting assi stance: start the
engine of your ow nve hicle. #
During thech arging process: start the
ch arging process. #
During starting assi stance: letthe engines
ru nfo r se veral minutes. #
During starting assi stance: before discon‐
necting the jump lead, switch on an electrical
consumer in your ow nve hicle, e.g. there ar
wind owheater or lighting.
When thest arting assis tance/charging process
is compl ete, per form thefo llowing steps: #
First,re mo vethe jump lead/charging cable
from ear thpoint 3and the negative pole of
th e donor batter y,then from positive clamp
2 and the positive pole of the donor bat‐ Breakdown assis
tance 561
Page 566 of 729
Pe
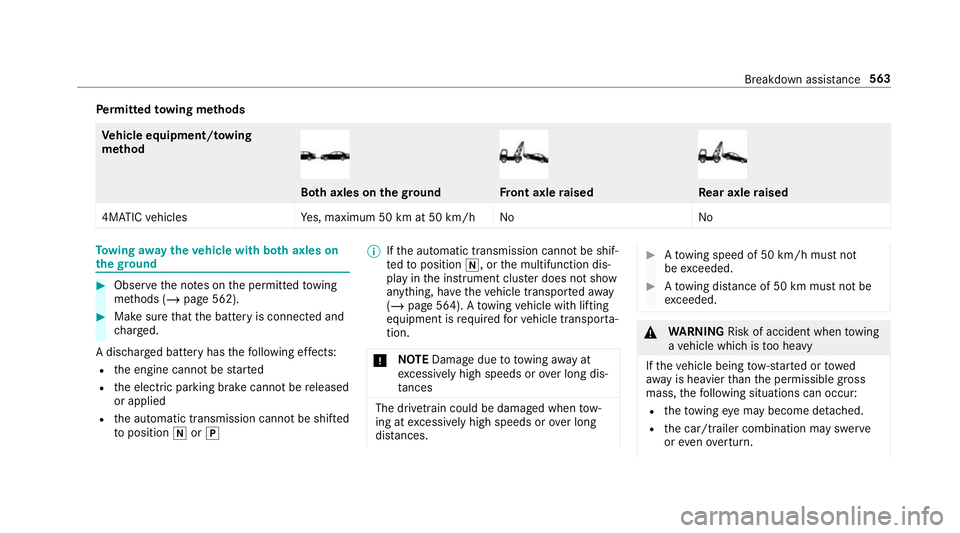
rm itted towing me thods Ve
hicle equipment/ towing
me thod Bo
th axles on thegr ound Fr
ont axle raised Re
ar axle raised
4MATIC vehicles Yes, maximum 50 km at 50 km/h No NoTo
wing away theve hicle with bo thaxles on
th egr ound #
Obser vethe no tes on the permitted towing
me thods (/ page 562). #
Make sure that the battery is connected and
ch arge d.
A dischar ged battery has thefo llowing ef fects:
R the engine cann otbe star ted
R the electric parking brake cann otbe released
or applied
R the automatic transmission cann otbe shif ted
to position iorj %
Ifth e automatic transmission cann otbe shif‐
te dto position i, orthe multifunction dis‐
play in the instrument clus ter does not show
anything, ha vetheve hicle transpor tedaw ay
( / page 564). A towing vehicle with lifting
equipment is requiredforve hicle transpor ta‐
tion.
* NO
TEDama gedue to to wing away at
exc essively high speeds or over long dis‐
ta nces The driv
etra in could be damaged when tow‐
ing at excessively high speeds or over long
dis tances. #
Atowing speed of 50 km/h must not
be exc eeded. #
Atowing dis tance of 50 km must not be
exc eeded. &
WARNING Risk of accident when towing
a ve hicle which is too heavy
If th eve hicle being tow- star ted or towed
aw ay is heavier than the permissible gross
mass, thefo llowing situations can occur:
R theto wing eye may become de tach ed.
R the car/t railer combination may swer ve
or eve nove rturn. Breakdown assis
tance 563
Page 567 of 729
#
If ano ther vehicle is tow- star ted or
to we daw ay, its weight must not exceed
th e permissible gross mass of your own
ve hicle. #
Information on the permissible gross mass of
th eve hicle can be found on theve hicle iden‐
tification plate (/ page 595).#
Do not open the driver's door or front
passenger door, otherwise the automatic
transmission automatically shifts toposition
j. #
Fittheto wing eye (/ page 566). #
Fasten theto w bar.
* NO
TEDama gedue toincor rect connec‐
tion of theto w bar #
Onlyconnect theto w rope or tow bar to
th eto wing eyes. %
You can also attach theto w bar tothe trailer
hitch. #
Deactivate the automatic locking mechanism
(/ page 90). #
Do not activate the HOLD function. #
Deactivate theto w- aw ay protection
(/ page 110). #
Deactivate Active Brake Assi st (/ page 241). #
Shift the automatic transmission toposition
i. #
Release the electric parking brake. &
WARNING Risk of accident due tolimi‐
te d saf ety-re lated functions during the
to wing process
Saf ety-re lated functions are limited or no lon‐
ge rav ailable in thefo llowing situations:
R the ignition is switched off.
R the brake sy stem or po werst eering sys‐
te m is malfunctioning.
R the energy supply or the on-board electri‐
cal sy stem is malfunctioning. When
your vehicle is then towe daw ay, signif‐
icantly more ef fort may be requ ired tosteer
and brake than is no rmally requ ired. #
Use a tow bar. #
Make sure that thesteering wheel can
mo vefreely, before towing theve hicle
aw ay. *
NO
TEDama gedue toexcessive tracti ve
po wer If
yo u pull away sharpl y,the tractive po wer
may be too high and theve hicles could be
damaged. #
Pull away slowly and smoo thly. Loading the
vehicle for transport #
Obser vethe no tes on towing away
( / page 563). #
Connect theto w bar totheto wing eye in
order toload theve hicle. 564
Breakdown assis tance
Page 568 of 729
%
You can also attach theto w bar tothe trailer
hitch. #
Shift the automatic transmission toposition
i.
% The automatic transmission may be loc ked
in position jintheeve nt of dama getothe
electrics. Toshift toi , pr ovide the on-
board electrical sy stem with po wer
( / page 561). #
Load theve hicle onto the transpor ter. #
Shift the automatic transmission toposition
j. #
Use the electric parking brake tosecure the
ve hicle against rolling away. #
Only secure theve hicle bythe wheels. Ve
hicles with ADS PLUS except Mercedes-
AMG vehicles and vehicles with ACTIVE
BO DY CONT ROL &
WARNING Risk of an accident when
transporting vehicles with Adaptive
Damping Sy stem PLUS
The reduced damping forc es on theve hicle
being transpor ted can cause theve hicle/
trailer combination tostart toswing.
As a result, when transporting vehicles with
th eAd aptive Damping Sy stem PLUS, the
ve hicle/trailer combination may start toskid.
Consequentl y,yo u could lose cont rol of your
ve hicle. #
When transporting, ensure that:
R theve hicle has been loaded onto
th e transpor ter cor rectly
R theve hicle is secured at all four
wheels with suitable tensioning
st ra ps
R the maximum permissible speed of
60 km/h is not exceeded when
transporting *
NO
TEDama getotheve hicle from secur‐
ing it incor rectly #
After loading, theve hicle must be
secured on all four wheels. Otherwise,
th eve hicle could be damaged. #
A minimum dis tance of 20 cm up wards
and 10cm down wards must be kept to
th e transport platform. #
Secure theve hicle on all four wheels af ter
loading.
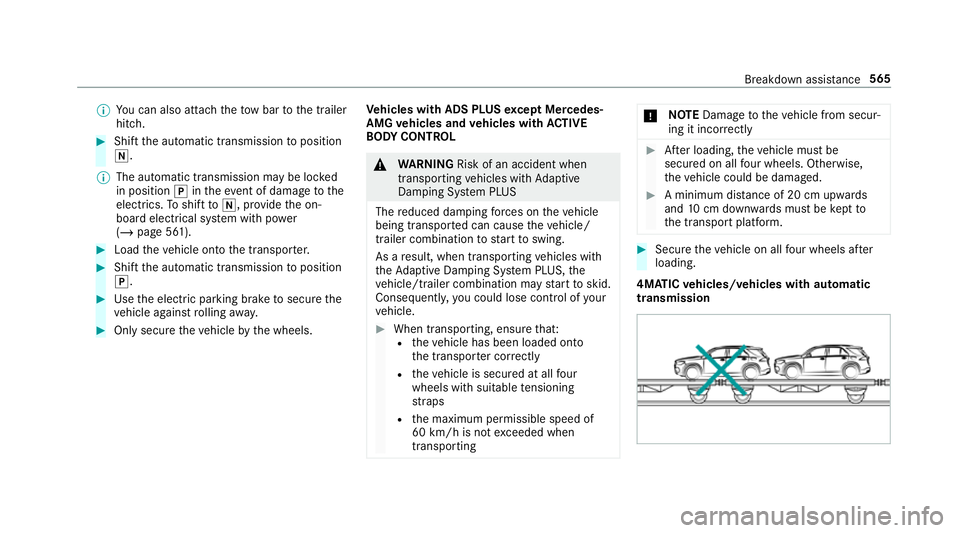
4MATIC vehicles/ vehicles with automatic
transmission Breakdown assi
stance 565
Page 583 of 729
Af
teryo u ha vedriven for a few minutes, the
tyre pressu reloss warning sy stem monitors
th e set tyre pressures of all the tyres.
Be sure toalso obse rveth efo llowing fur ther
re lated subjects:
R Notes on tyre pressure (/ page571) Wheel
change Note
s on selecting, fitting and replacing
tyres Yo
u can ask for information rega rding permit ted
wheel/tyre combinations at a Mercedes-Benz
Service Cent re. &
WARNING Risk of accident due toincor‐
re ct dimensions of wheels and tyres
If wheels and tyres of the wrong size are
used, the wheel brakes or wheel suspension
components may become damaged. #
Alw aysre place wheels and tyres with
th ose that fulfil the specifications of the
original part. When
replacing wheels, make sure tofit the
cor rect:
R Designation
R Type
When replacing tyres, make sure tofit the
cor rect:
R Designation
R Manufactu rer
R Type &
WARNING Risk of inju rythro ugh exceed‐
ing the specified tyre load-bearing capa‐
city or the permissible speed rating
Exceeding the specified tyre load-bearing
capacity or the permissible speed rating may
lead totyre dama geand tothe tyres bur st‐
ing. #
Therefore, only use tyre types and sizes
appr ovedfo ryo ur vehicle model. #
Obser vethe tyre load-bearing capacity
ra ting and speed rating requ iredfor
yo ur vehicle. *
NO
TEVehicle and tyre damage thro ugh
tyre types and sizes that ha venot been
appr oved Fo
r saf etyre asons, on lyuse tyres, wheels
and accessories which ha vebeen specially
appr ovedby Mercedes-Benz foryo ur vehicle.
These tyres are specially adap tedto the con‐
trol sy stems, such as ABS, ESP ®
and
4MATIC, and mar ked as follo ws:
R MO = Mercedes-Benz Original
R MOE = Mercedes-Benz Original Extended
(run-flat tyres only for cer tain wheels)
R MO1 = Mercedes-Benz Original (only cer‐
tain AMG tyres)
Cer tain characteristics, such as handling,
ve hicle noise emissions, fuel consum ption,
et c. may otherwise be adversely af fected.
Fu rthermore, other tyre sizes could result in 580
Wheels and tyres
Page 585 of 729
#
Switch on the ESP ®
and adapt your
driving style accordingly. #
Use M+S tyres at outside temp eratures
of less than 50 °F. Obse
rveth efo llowing when selecting, fitting and
re placing tyres:
R Countr y-specific requirements for tyre
appro valth at define a specific tyre type for
yo ur vehicle.
Fu rthermore, the use of cer tain tyre types in
cer tain regions and areas of operation can
be highly beneficial.
R Only use tyres and wheels of the same type
(summer tyres, winter tyres, MOEx tended
tyres) and the same make.
R Only fit wheels of the same size on one axle
(left and right).
It is only permissible tofit a di fferent wheel
size in theeve nt of a flat tyre in order to
drive tothe specialist workshop.
R Only fit tyres of the cor rect size onto the
wheels. R
Do not make any modifications tothe brake
sy stem, the wheels or the tyres.
The use of shims or brake dust shields is not
permitted and may in validate theve hicle's
ge neral operating pe rmit.
R Vehicles with a tyre pressure monitoring
sy stem: allfitted wheels mu stbe equipped
with functioning sensors forth e tyre pres‐
sure monitoring sy stem.
R Attemp eratures below 7 °C, use winter tyres
or all-season tyres mar ked M+S for all
wheels.
Wi nter tyres bearing thei snowflake
symbol in addition tothe M+S marking pro‐
vide the best possible grip in wintry road
conditions.
R For M+S tyres, only use tyres with the same
tread.
R Obser vethe maximum permissible speed for
th e M+S tyres fitted.
If th is is below theve hicle's maximum speed,
th is must be indicated byan appropriate
label in the driver's field of vision. R
Run in new tyres at moderate speeds forthe
fi rs t10 0 km.
R Replace the tyres af ter six years at the latest,
re ga rdless of wear.
R When replacing with tyres that do not
fe ature run-flat characteristics: vehicles
with MOExtended tyres are not equipped
with a TIREFIT kit at thefa ctor y.Equip the
ve hicle with a TIREFIT kit af terre placing with
tyres that do not feature run-flat characteris‐
tics, e.g. winter tyres.
% You can permanently limit the maximum
ve hicle speed for driving with winter tyres
(/ page 245).
Fo r more information on wheels and tyres, con‐
ta ct a qualified specialist workshop.
Be sure toalso obse rveth efo llowing fur ther
re lated subjects:
R Notes on tyre pressure (/ page571)
R Tyre pressure table (/ page572)
R Notes on the emer gency spa rewheel
(/ page 588) 582
Wheels and tyres