2019 MASERATI LEVANTE check engine
[x] Cancel search: check enginePage 203 of 436

NOTE:
• For further details refer to the
“Maserati Touch Control Plus
(MTC+)” guide.
• All settings must be edited with
ignition device set to RUN position.
To display the programmable features
menu on MTC+, you can also touch
soft-key to view all available
applications and then select
“Settings”. In this mode the MTC+ System allows
you to access the following
programmable features (some of them
are optional or for a specific
model/version and may not be
available on your vehicle): Display,
Units, Voice Commands, Clock, Safety
& Driving Assistant, Lights, Doors &
Locks, Auto-On Comfort & Remote
Start, Engine Off Options, Suspension,
Audio, Phone/Bluetooth, SiriusXM
Setup, Restore Settings and Clear
Personal Data.
NOTE:
• Only one touch screen area/soft-key
may be selected at a time.
• Menu navigation indications refer to
the use of soft-keys on MTC+ display:
the same operations can be
performed using the manual
controls on central console. To make a selection, and enter the
desired function, touch the
corresponding soft-key on the menu
(the picture shown is “Engine Off
Options”).
To scroll through the functions, move
the cursor up or down, or touch the
arrow
or . Once the desired
mode is entered, press and release the
touch screen area of the setting that
you wish to modify. The new setting
will be highlighted with one or more
boxes to indicate status or possible
variants of the function status. A
check mark in a box indicates the
current status of the function. Touch
the check mark to cancel, or the
empty box to insert the check mark,
and change the status of the function.With ADAS Dashboard Instruments and Controls
4
199
Page 208 of 436
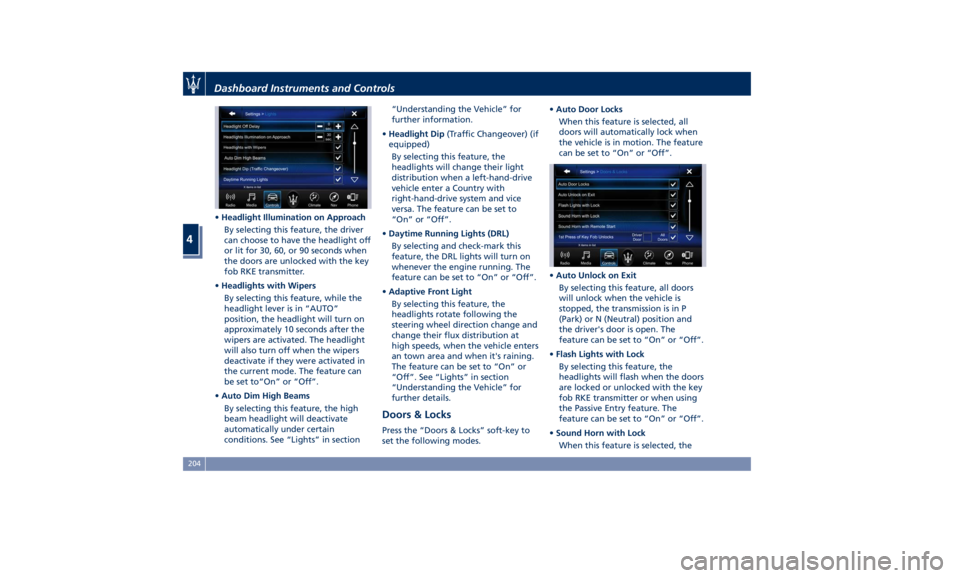
• Headlight Illumination on Approach
By selecting this feature, the driver
can choose to have the headlight off
or lit for 30, 60, or 90 seconds when
the doors are unlocked with the key
fob RKE transmitter.
• Headlights with Wipers
By selecting this feature, while the
headlight lever is in “AUTO”
position, the headlight will turn on
approximately 10 seconds after the
wipers are activated. The headlight
will also turn off when the wipers
deactivate if they were activated in
the current mode. The feature can
be set to“On” or “Off”.
• Auto Dim High Beams
By selecting this feature, the high
beam headlight will deactivate
automatically under certain
conditions. See “Lights” in section “Understanding the Vehicle” for
further information.
• Headlight Dip (Traffic Changeover) (if
equipped)
By selecting this feature, the
headlights will change their light
distribution when a left-hand-drive
vehicle enter a Country with
right-hand-drive system and vice
versa. The feature can be set to
“On” or “Off”.
• Daytime Running Lights (DRL)
By selecting and check-mark this
feature, the DRL lights will turn on
whenever the engine running. The
feature can be set to “On” or “Off”.
• Adaptive Front Light
By selecting this feature, the
headlights rotate following the
steering wheel direction change and
change their flux distribution at
high speeds, when the vehicle enters
an town area and when it's raining.
The feature can be set to “On” or
“Off”. See “Lights” in section
“Understanding the Vehicle” for
further details.
Doors & Locks Press the “Doors & Locks” soft-key to
set the following modes. • Auto Door Locks
When this feature is selected, all
doors will automatically lock when
the vehicle is in motion. The feature
can be set to “On” or “Off”.
• Auto Unlock on Exit
By selecting this feature, all doors
will unlock when the vehicle is
stopped, the transmission is in P
(Park) or N (Neutral) position and
the driver's door is open. The
feature can be set to “On” or “Off”.
• Flash Lights with Lock
By selecting this feature, the
headlights will flash when the doors
are locked or unlocked with the key
fob RKE transmitter or when using
the Passive Entry feature. The
feature can be set to “On” or “Off”.
• Sound Horn with Lock
When this feature is selected, theDashboard Instruments and Controls
4
204
Page 232 of 436
Normal Starting of the
Engine WARNING!
It is dangerous to run the engine in an
enclosed area. The engine consumes
oxygen and discharges carbon
dioxide, carbon monoxide and other
toxic gases in the atmosphere.
WARNING!
California Proposition 65
Operating, servicing and maintaining
a passenger vehicle or off-road vehicle
can expose you to chemicals including
such as, engine exhaust, carbon
monoxide, phthalates and lead, that
which are known to the State of
California to cause cancer and birth
defects or other reproductive harm. To
minimize exposure, avoid breathing
exhaust, do not idle the engine except
as necessary, service your vehicle in a
well-ventilated area and wear gloves
or wash your hands frequently when
servicing your vehicle. For more
information go to: www.P65Warnings.ca.gov/passenger-
vehicle
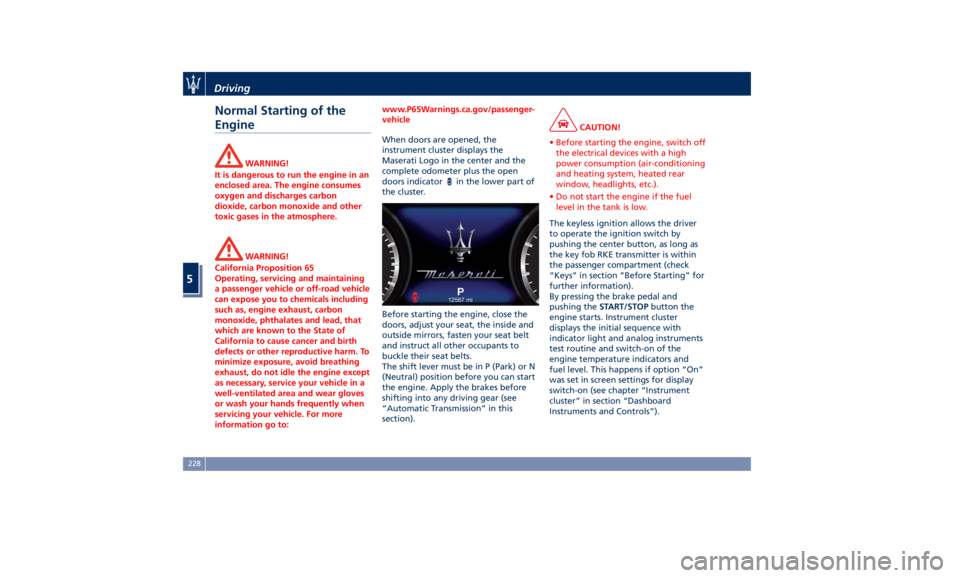
When doors are opened, the
instrument
cluster displays the
Maserati
Logo in the center and the
complete odometer plus the open
doors indicator
in the lower part of
the cluster.
Before starting the engine, close the
doors, adjust your seat, the inside and
outside mirrors, fasten your seat belt
and instruct all other occupants to
buckle their seat belts.
The shift lever must be in P (Park) or N
(Neutral) position before you can start
the engine. Apply the brakes before
shifting into any driving gear (see
“Automatic Transmission” in this
section). CAUTION!
• Before starting the engine, switch off
the electrical devices with a high
power consumption (air-conditioning
and heating system, heated rear
window, headlights, etc.).
• Do not start the engine if the fuel
level in the tank is low.
The keyless ignition allows the driver
to
operate the ignition
switch by
pushing the center button, as long as
the key fob RKE transmitter is within
the passenger compartment (check
“Keys” in section “Before Starting” for
further information).
By pressing the brake pedal and
pushing the START/STOP button the
engine starts. Instrument cluster
displays the initial sequence with
indicator light and analog instruments
test routine and switch-on of the
engine temperature indicators and
fuel level. This happens if option “On”
was set in screen settings for display
switch-on (see chapter “Instrument
cluster” in section “Dashboard
Instruments and Controls”).Driving
5
228
Page 234 of 436
Starting with a Cold Engine
Start-off slowly, avoiding sudden
acceleration and rev the engine up at
low medium speeds. High-
performance driving should be
avoided until the engine temperature
reaches 149-158°F (65-70°C).
Engine Turn-Off • With the shift lever in P (Park), D
(Drive) or R (Reverse) positions (see
“Automatic Transmission” in this
section) and vehicle standstill, press
and release the START/STOP button
to switch off the engine. A burst on
the accelerator pedal before turning
off the engine has no purpose and
increases fuel consumption.
• If the shift lever is in N (Neutral) and
the START/STOP button is pressed
once, the instrument cluster will
display a “Vehicle Not in Park”
message and the engine will remain
running.
WARNING!
Never leave a vehicle out of the P
(Park) position, as it could move. NOTE:
If
the ignition switch is left in the ACC
or RUN (engine not running) position
and the transmission is in P (Park), the
system will automatically time out
after 30 minutes of inactivity and the
ignition will switch to OFF position.
Engine Turn Off when in Automatic
Start&Stop
When the engine has been turned off
by the Start&Stop system, press and
release the START/STOP button. The
ignition switch will return to the OFF
position and the vehicle is off.
“Panic Stop” Strategy In panic conditions, if driver stops
engine in any non-standard manner
while driving at a speed over 5 mph
(8 km/h), the “Panic Stop” strategy can
manage the situation by checking
gearchange condition upon engine
cutting, driver’s action on brakes, road
condition (flat or slope) so as to set
gearchange to the most suitable
condition.Automatic Start&Stop
System The Maserati Start&Stop system allows
the engine to automatically switch off
when the vehicle stops and to restart
when the driver intends to drive. This
feature helps reduce fuel
consumption. During the “Stop
(AutoStop)” phase the ignition is still
on and all security features are
available.
In order for the Start&Stop to activate,
the vehicle must be stationary and the
brake pedal adequately pressed.
NOTE:
If the brake pedal is not sufficiently
pressed the Start&Stop may not
function even if the vehicle is stopped.
When the Start&Stop switches off the
engine, the related light
illuminates on the instrument
cluster.
As soon as the brake pedal is released,
the engine turns on.
While the vehicle is stopped, the
transmission can be placed in P (Park)
pressing the “P” button on the shift
lever.
In this case it is possible to release the
brake pedal and the vehicle willDriving
5
230
Page 236 of 436
Automatic Restarting of the
Engine The engine may automatically restart,
before the brake pedal has been
released, when one of the following
conditions occurs:
• The SPORT drive mode or
(ESC
OFF) drive mode is being activated.
• If the Start&Stop function has been
disabled through the main menu
voice “Start & Stop” (see chapter
“Instrument cluster” in section
“Dashboard Instruments and
Controls”) or via MTC+ in the
“Controls” page (see “MTC+
“Controls “Screen” in the section
“Dashboard Instruments and
Controls”).
• If shift lever is moved to R (Reverse).
• If the steering wheel is moved to
steer the wheels.
• When the temperature conditions
inside the vehicle do not correspond
to the air conditioning setting.
• When changing the temperature
setting on the air conditioning.
• When the defroster function is being
activated.
• When the battery charge is below
safety value. • When the accelerator pedal is being
pressed (together with the brake
pedal).
• If a long time has passed since the
last automatic stop of the engine.
Occupants Safety Function To enhance occupants safety, the
Start&Stop system monitors if the
driver is present and does not allow
automatic restarting of the engine if
one of the following maneuvers is
being performed while in “AutoStop”
condition:
• The driver unbuckles his/her seat belt
and releases the brake pedal.
• The driver opens the door and
releases the brake pedal.
• The driver unbuckles the seat belt
and opens the door.
• The driver opens the hood.
All the above-mentioned conditions
deactive the Start&Stop function (the
“AutoStart” is deactivated and the
engine remains off) and the
transmission shift automatically in P
(Park).
The
telltale will flash to indicate
the Start&Stop function disabling. To
restart the engine it is necessary to
press the brake pedal and push the
START/STOP button. Move the shift lever to D (Drive) to
drive away.
WARNING!
• Even when the vehicle is stopped in
the “Stop (AutoStop)” phase, the
driver is responsible for the vehicle
and the occupants and shall take
care of what happens inside and
outside the vehicle.
• Even when the vehicle is stopped
within the “Stop (AutoStop)” phase,
the vehicle driver is responsible for
the vehicle, the vehicle’s occupants
and the vehicle’s surrounding area.
Never leave the vehicle unattended
with the engine running; doing so
poses a risk of danger. It is a good
practice to always ensure to set the
parking brake and place the
transmission gear selector lever into
the P (Park) position, thereby
ensuring the vehicle will not move,
when performing any vehicle checks,
maintenance and/or service
procedures on the vehicle.
Start&Stop Function Disabling Under certain driving conditions, when
frequent stops and restarts of the
engine may become annoying, it isDriving
5
232
Page 238 of 436
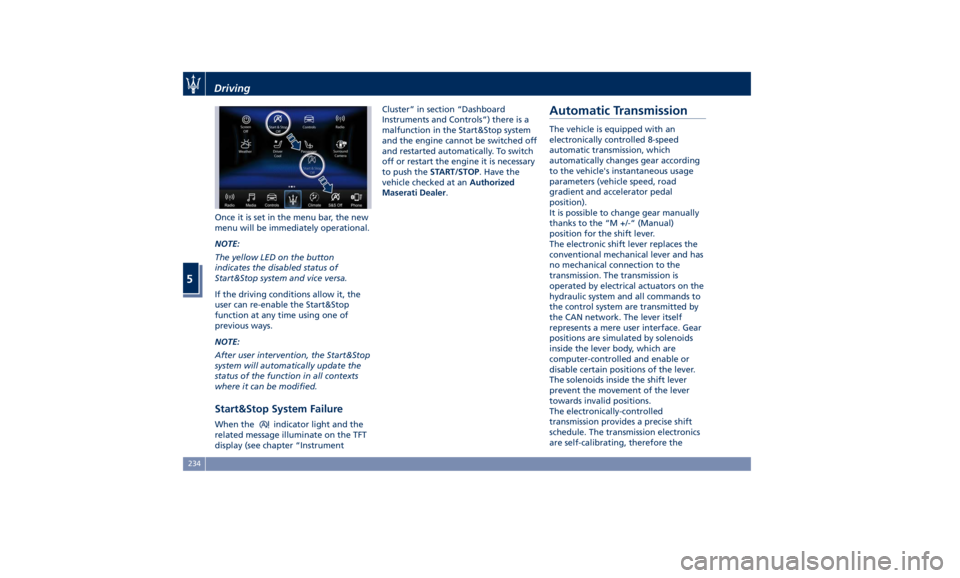
Once it is set in the menu bar, the new
menu will be immediately operational.
NOTE:
The yellow LED on the button
indicates the disabled status of
Start&Stop system and vice versa.
If the driving conditions allow it, the
user can re-enable the Start&Stop
function at any time using one of
previous ways.
NOTE:
After user intervention, the Start&Stop
system will automatically update the
status of the function in all contexts
where it can be modified.
Start&Stop System Failure When the indicator light and the
related message illuminate on the TFT
display (see chapter “Instrument Cluster” in section “Dashboard
Instruments and Controls”) there is a
malfunction in the Start&Stop system
and the engine cannot be switched off
and restarted automatically. To switch
off or restart the engine it is necessary
to push the START/STOP . Have the
vehicle checked at an Authorized
Maserati Dealer .
Automatic Transmission The vehicle is equipped with an
electronically controlled 8-speed
automatic transmission, which
automatically changes gear according
to the vehicle's instantaneous usage
parameters (vehicle speed, road
gradient and accelerator pedal
position).
It is possible to change gear manually
thanks to the “M +/-“ (Manual)
position for the shift lever.
The electronic shift lever replaces the
conventional mechanical lever and has
no mechanical connection to the
transmission. The transmission is
operated by electrical actuators on the
hydraulic system and all commands to
the control system are transmitted by
the CAN network. The lever itself
represents a mere user interface. Gear
positions are simulated by solenoids
inside the lever body, which are
computer-controlled and enable or
disable certain positions of the lever.
The solenoids inside the shift lever
prevent the movement of the lever
towards invalid positions.
The electronically-controlled
transmission provides a precise shift
schedule. The transmission electronics
are self-calibrating, therefore theDriving
5
234
Page 264 of 436
the position of the vehicle with little
suspension movements to ensure a
proper appearance.
Display Messages
After shifting selector to change
position, a pop-up message will
indicate for 5 seconds when set
position has been reached (after
pneumatic suspension system
intervention that might last up to 30
seconds).
This type of message will be displayed
only if the option to view all
pneumatic suspension system messages
was set (For further details, refer to
“MTC+ Settings” in section
“Dashboard Instruments and
Controls”).
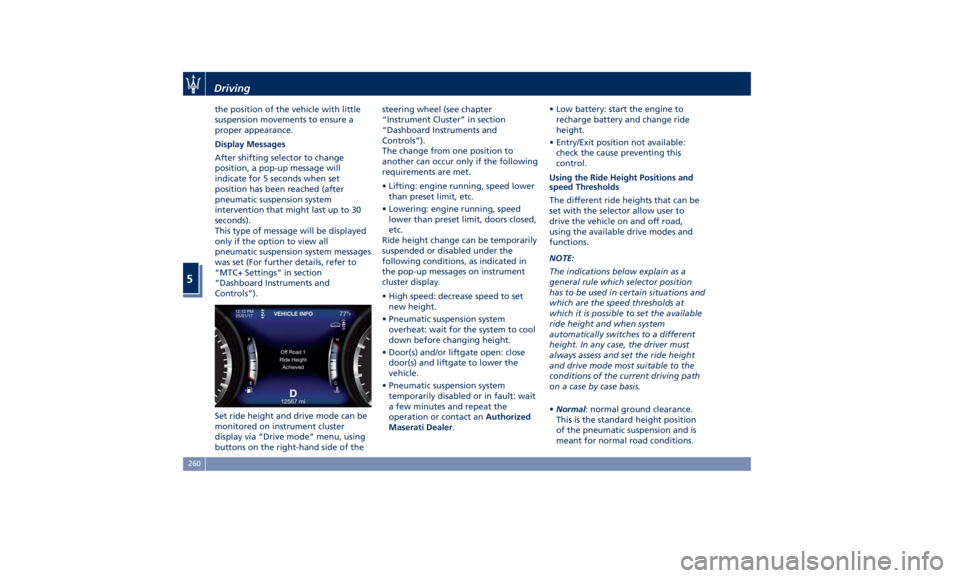
Set ride height and drive mode can be
monitored on instrument cluster
display via “Drive mode” menu, using
buttons on the right-hand side of the steering wheel (see chapter
“Instrument Cluster” in section
“Dashboard Instruments and
Controls”).
The change from one position to
another can occur only if the following
requirements are met.
• Lifting: engine running, speed lower
than preset limit, etc.
• Lowering: engine running, speed
lower than preset limit, doors closed,
etc.
Ride height change can be temporarily
suspended or disabled under the
following conditions, as indicated in
the pop-up messages on instrument
cluster display.
• High speed: decrease speed to set
new height.
• Pneumatic suspension system
overheat: wait for the system to cool
down before changing height.
• Door(s) and/or liftgate open: close
door(s) and liftgate to lower the
vehicle.
• Pneumatic suspension system
temporarily disabled or in fault: wait
a few minutes and repeat the
operation or contact an Authorized
Maserati Dealer . • Low battery: start the engine to
recharge battery and change ride
height.
• Entry/Exit position not available:
check the cause preventing this
control.
Using the Ride Height Positions and
speed Thresholds
The different ride heights that can be
set with the selector allow user to
drive the vehicle on and off road,
using the available drive modes and
functions.
NOTE:
The indications below explain as a
general rule which selector position
has to be used in certain situations and
which are the speed thresholds at
which it is possible to set the available
ride height and when system
automatically switches to a different
height. In any case, the driver must
always assess and set the ride height
and drive mode most suitable to the
conditions of the current driving path
on a case by case basis.
• Normal : normal ground clearance.
This is the standard height position
of the pneumatic suspension and is
meant for normal road conditions.Driving
5
260
Page 269 of 436
“Off Road 2” ride height is limited
instead up to a max speed of 25 mph
(40 km/h). In case the vehicle speed
should exceed this limit, ride height
will be put automatically to “Off Road
1” while driving mode will remain
“OFF ROAD”.
An advantage of the higher ground
clearance is a better view of the road,
allowing you to anticipate problems.
A higher clearance and the longer
travel of the suspension might allow
the vehicle to overcome some
obstacles.
A higher ground clearance means a
higher center of gravity. If at all
possible, avoid sharp turns or abrupt
maneuvers. Failure to operate this
vehicle correctly may result in loss of
control or vehicle rollover .
Although the pneumatic suspension
system contributes to limiting these
risks by setting precautionary speed
thresholds, the driver must always pay
utmost attention and drive carefully.
WARNING!
“Off Road 2” ride height must always
be selected in case of water fording.
Please remember water fording limits:
max depth of the water must be lower than 19 in (50 cm) and crossing
speed lower than 5 mph (8 km/h).
In “OFF ROAD” drive mode, also
engine,
transmission settings are
changed in order to provide the most
suitable level of torque and selected
gear to improve traction on
low-adherence condition and uphill
climbing.
WARNING!
In case of downhill, the use of the Hill
Descent Control (HDC) is
recommended, especially for relevant
slope and in case of low-adherence
conditions.
Also suspensions (Skyhook Continuous
Damping
Control) are set
to a specific
calibration in “OFF ROAD” drive
mode, in order to obtain the right
damping force provided by the shock
absorbers, combined with the
increased ride heights “Off Road 1”
and “Off Road 2”.
Driving Through Water Set maximum ride height “Off Road
2” before driving through water.
Although your vehicle is capable of
driving through water, a number precautions must be considered
before entering the water.
NOTE:
Your vehicle is capable of water
fording to a maximum of 19 in (50 cm)
of water. To maintain optimal
performance of your vehicle’s heating
and ventilation system it is
recommended to switch the system
into recirculation mode during water
fording.
CAUTION!
When driving through water, do not
exceed 5 mph (8 km/h). Always check
water depth before entering, as a
precaution. Check all fluids
afterwards: driving through water
may cause damage to engine and
driveline that may not be covered by
the new vehicle limited warranty.
Driving through water more than a
few
inches/centimeters deep will
require extra caution to ensure safety
and prevent damage to your vehicle. If
you must drive through water, try to
determine the depth and the bottom
condition (and location of any
obstacles) prior to entering. Proceed
with caution and maintain a steadyDriving
5
265