2019 MASERATI LEVANTE Instrument cluster lights
[x] Cancel search: Instrument cluster lightsPage 232 of 436
Normal Starting of the
Engine WARNING!
It is dangerous to run the engine in an
enclosed area. The engine consumes
oxygen and discharges carbon
dioxide, carbon monoxide and other
toxic gases in the atmosphere.
WARNING!
California Proposition 65
Operating, servicing and maintaining
a passenger vehicle or off-road vehicle
can expose you to chemicals including
such as, engine exhaust, carbon
monoxide, phthalates and lead, that
which are known to the State of
California to cause cancer and birth
defects or other reproductive harm. To
minimize exposure, avoid breathing
exhaust, do not idle the engine except
as necessary, service your vehicle in a
well-ventilated area and wear gloves
or wash your hands frequently when
servicing your vehicle. For more
information go to: www.P65Warnings.ca.gov/passenger-
vehicle
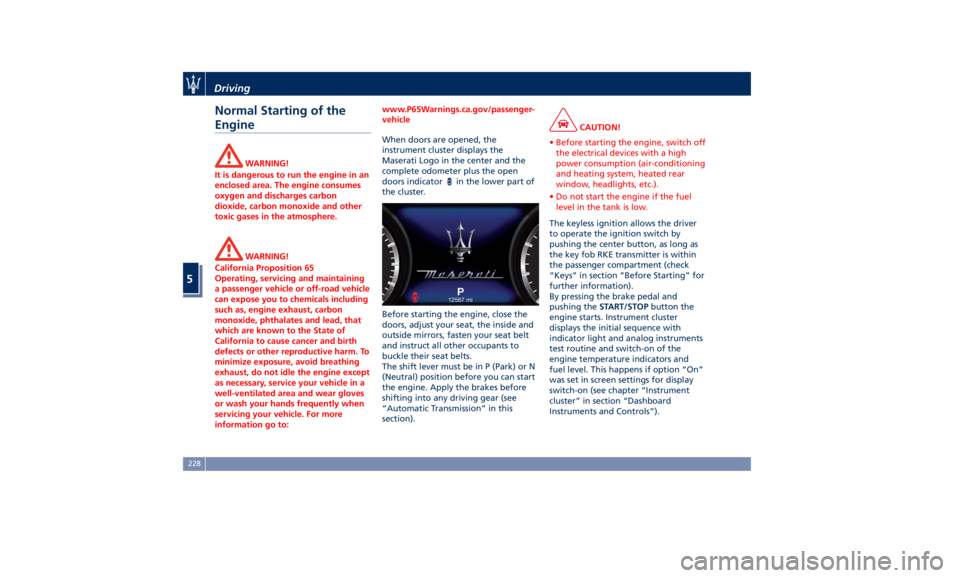
When doors are opened, the
instrument
cluster displays the
Maserati
Logo in the center and the
complete odometer plus the open
doors indicator
in the lower part of
the cluster.
Before starting the engine, close the
doors, adjust your seat, the inside and
outside mirrors, fasten your seat belt
and instruct all other occupants to
buckle their seat belts.
The shift lever must be in P (Park) or N
(Neutral) position before you can start
the engine. Apply the brakes before
shifting into any driving gear (see
“Automatic Transmission” in this
section). CAUTION!
• Before starting the engine, switch off
the electrical devices with a high
power consumption (air-conditioning
and heating system, heated rear
window, headlights, etc.).
• Do not start the engine if the fuel
level in the tank is low.
The keyless ignition allows the driver
to
operate the ignition
switch by
pushing the center button, as long as
the key fob RKE transmitter is within
the passenger compartment (check
“Keys” in section “Before Starting” for
further information).
By pressing the brake pedal and
pushing the START/STOP button the
engine starts. Instrument cluster
displays the initial sequence with
indicator light and analog instruments
test routine and switch-on of the
engine temperature indicators and
fuel level. This happens if option “On”
was set in screen settings for display
switch-on (see chapter “Instrument
cluster” in section “Dashboard
Instruments and Controls”).Driving
5
228
Page 263 of 436
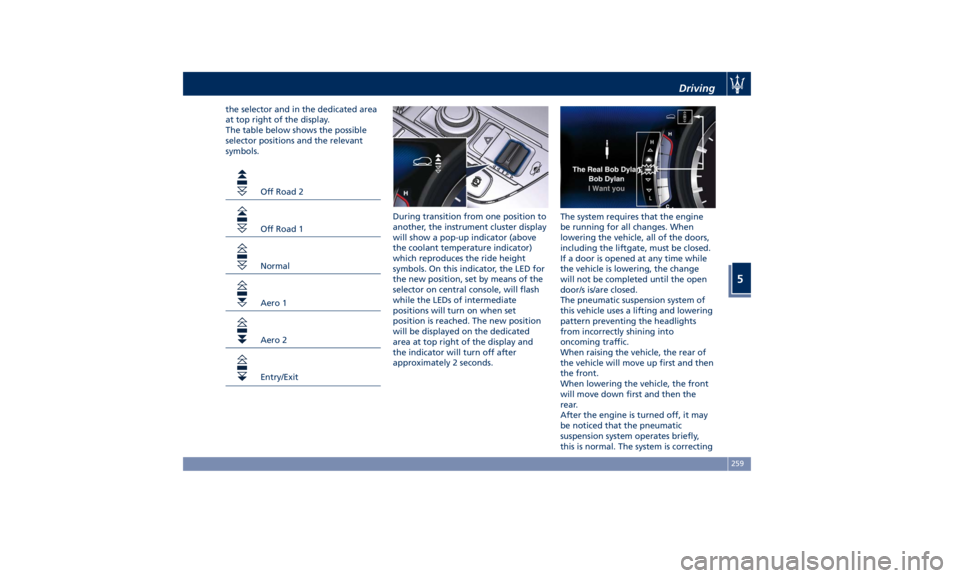
the selector and in the dedicated area
at top right of the display.
The table below shows the possible
selector positions and the relevant
symbols.
Off Road 2
Off Road 1
Normal
Aero 1
Aero 2
Entry/Exit During transition from one position to
another, the instrument cluster display
will show a pop-up indicator (above
the coolant temperature indicator)
which reproduces the ride height
symbols. On this indicator, the LED for
the new position, set by means of the
selector on central console, will flash
while the LEDs of intermediate
positions will turn on when set
position is reached. The new position
will be displayed on the dedicated
area at top right of the display and
the indicator will turn off after
approximately 2 seconds. The system requires that the engine
be running for all changes. When
lowering the vehicle, all of the doors,
including the liftgate, must be closed.
If a door is opened at any time while
the vehicle is lowering, the change
will not be completed until the open
door/s is/are closed.
The pneumatic suspension system of
this vehicle uses a lifting and lowering
pattern preventing the headlights
from incorrectly shining into
oncoming traffic.
When raising the vehicle, the rear of
the vehicle will move up first and then
the front.
When lowering the vehicle, the front
will move down first and then the
rear.
After the engine is turned off, it may
be noticed that the pneumatic
suspension system operates briefly,
this is normal. The system is correctingDriving
5
259
Page 272 of 436
Parking Brake The vehicle is equipped with an
electric automatic parking brake, also
called EPB (Electric Parking Brake).
The braking action is ensured by a
power actuator directly working on
the brake pad inside each caliper of
the rear brake system.
It can be automatically engaged when
the engine is turned off and
disengaged with engine running,
driver seatbelt latched and driver door
closed, while pressing the brake pedal
and operating the shift lever.
Furthermore, EPB can be automatically
engaged above a slope threshold with
gearshift in park to avoid damage to
the vehicle. EPB can be disengaged
before turning off the vehicle.
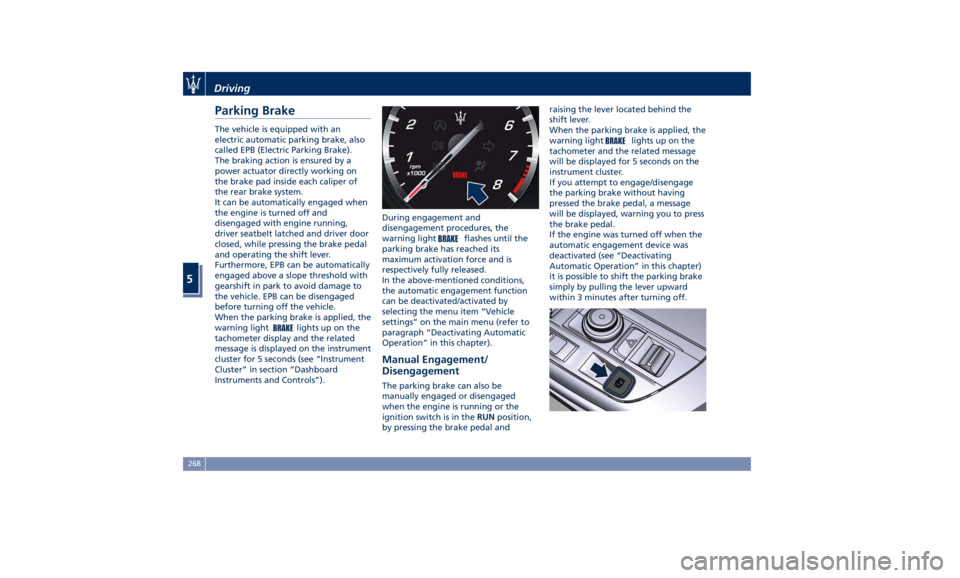
When the parking brake is applied, the
warning light
lights up on the
tachometer display and the related
message is displayed on the instrument
cluster for 5 seconds (see “Instrument
Cluster” in section “Dashboard
Instruments and Controls”). During engagement and
disengagement procedures, the
warning light
flashes until the
parking brake has reached its
maximum activation force and is
respectively fully released.
In the above-mentioned conditions,
the automatic engagement function
can be deactivated/activated by
selecting the menu item “Vehicle
settings” on the main menu (refer to
paragraph “Deactivating Automatic
Operation” in this chapter).
Manual Engagement/
Disengagement The parking brake can also be
manually engaged or disengaged
when the engine is running or the
ignition switch is in the RUN position,
by pressing the brake pedal and raising the lever located behind the
shift lever.
When the parking brake is applied, the
warning light
lights up on the
tachometer and the related message
will be displayed for 5 seconds on the
instrument cluster.
If you attempt to engage/disengage
the parking brake without having
pressed the brake pedal, a message
will be displayed, warning you to press
the brake pedal.
If the engine was turned off when the
automatic engagement device was
deactivated (see “Deactivating
Automatic Operation” in this chapter)
it is possible to shift the parking brake
simply by pulling the lever upward
within 3 minutes after turning off.Driving
5
268
Page 285 of 436
Use of the Engine Breaking-In Today's most modern production
methods are designed to provide
extremely precise construction and
assembly of components. However,
moving parts do undergo a settling
process, basically in the first hours of
vehicle operation.
Do not drive keeping at a constant
high speed rate for a prolonged time.
While cruising, brief full-throttle
acceleration within the limits of local
traffic laws contributes to a good
break-in. Wide-open throttle
acceleration in low gear can be
detrimental and should be avoided.
The engine oil installed in the engine
at the factory is a high-quality energy
conserving type lubricant. Oil changes
should be consistent with anticipated
climate conditions under which vehicle
operations will occur. For the
recommended viscosity and quality
grades, see “Refillings” in section
“Features and Specifications”.
A new engine may consume some oil
during its first few thousand
miles/kilometers of operation. This
should be considered as a normal part of the break-in and not interpreted as
an indication of malfunction.
Specific Requirements
Avoid exceeding 5000 rpm for the first
620 mi trip (1000 km).
After starting the vehicle, do not
exceed 4000 rpm until the engine has
warmed up sufficiently (coolant
temperature: 149-158°F /65 70°).
Trailer Towing
During the first 620 mi (1000 km) of a
new vehicle it is advisable not to tow a
trailer. This allows to limit the load on
the engine and on the other parts of
the vehicle.
While Driving Never travel with the tachometer
indicator approaching the peak rpm,
not even downhill. When the
tachometer indicator is approaching
the peak rpm (red colored zone), take
precautions to avoid exceeding that
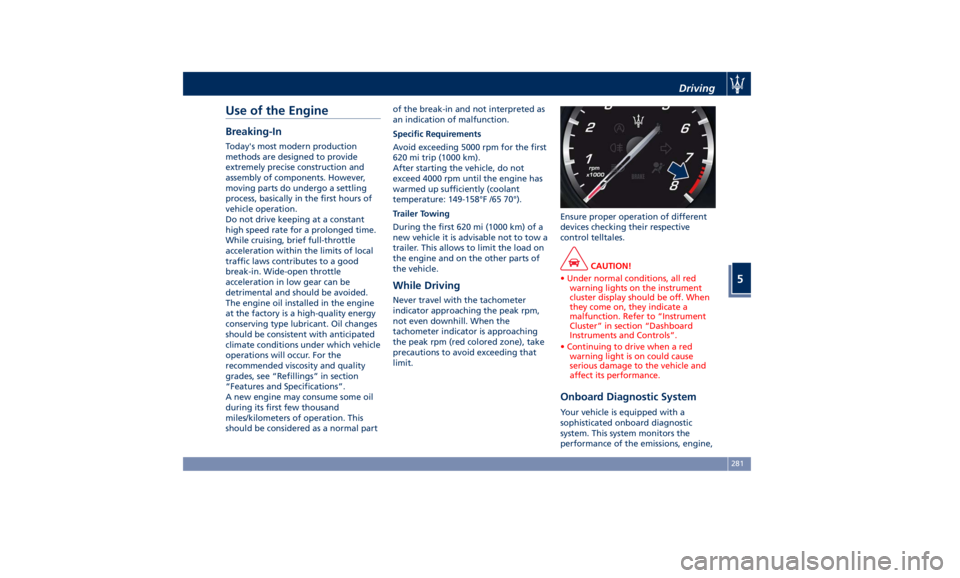
limit. Ensure proper operation of different
devices checking their respective
control telltales.
CAUTION!
• Under normal conditions, all red
warning lights on the instrument
cluster display should be off. When
they come on, they indicate a
malfunction. Refer to “Instrument
Cluster” in section “Dashboard
Instruments and Controls”.
• Continuing to drive when a red
warning light is on could cause
serious damage to the vehicle and
affect its performance.
Onboard Diagnostic System Your vehicle is equipped with a
sophisticated onboard diagnostic
system. This system monitors the
performance of the emissions, engine,Driving
5
281
Page 318 of 436
vibrate and a graphic will display on
the instrument cluster.
WARNING!
• In case the vehicle approaches a
curve that is too tight in relation to
the current speed the system will
disengage, therefore the driver must
be prepared to take over control of
the vehicle immediately at any time.
To avoid this situation it is important
that the vehicle speed is not set
higher than the current speed limit
of the road.
• Highway Assist (HAS) is a hands-on
feature! You must keep your hands
on the steering wheel at all times.
The HAS system will disengage and
ACC will cancel if your hands are
removed from the steering wheels
for a set amount of time.
• HAS is intended for use only on
highways or limited access freeways
with a fully attentive driver. When
using HAS, hold the steering wheel
and be aware of surrounding traffic
and road conditions. Always be
prepared to immediately take over
control of the vehicle from the HAS
system. Failure to follow these instructions could result in serious
injury or death.
• The following list does not fully
represent all situations in which HAS
may not function as intended. Do
NOT solely rely on the HAS system
to control the vehicle. It is the
driver’s responsibility to stay alert
and safely control the vehicle at all
times.
• If the windshield is replaced, you
must have the forward-facing
camera remounted and aligned by
an Authorized Maserati Dealer.
Many factors can impact the
performance
of HAS causing
the
system to be unable to function as
intended. These include (but are not
limited to):
• Narrow, winding or curvy roads.
• Poor visibility (due to heavy rain,
snow, fog, etc.).
• Bright light (oncoming headlights or
direct sunlight) or shadows.
• Damage or obstruction caused by
mud, ice, snow, etc.
• A damaged or misaligned bumper.
• Interference from other equipment
that generates electromagnetic
waves. • Wet roads, roads covered or partially
covered by snow.
• Construction zones.
HAS Operation With ACC set (see “Adaptive Cruise
Crontrol – ACC” in this section), HAS
system activates by simply pressing the
button on the steering wheel.
Once the conditions are met, HAS will
engage.
CAUTION!
The Highway Assist (HAS) system may
take up to 5 seconds to engage once
all conditions are met.
The conditions for HAS to engage are
as
follows:
• HAS must be turned on or enabled.
NOTE:
In case of wet road or raining
conditions the function could be
disabled by the system in order to
minimize the risks.
• The vehicle must be on the highway
or limited access freeway.
• Adaptive Cruise Control (ACC) must
be engaged.
• Left and right visible lane lines.Driving
5
314
Page 347 of 436
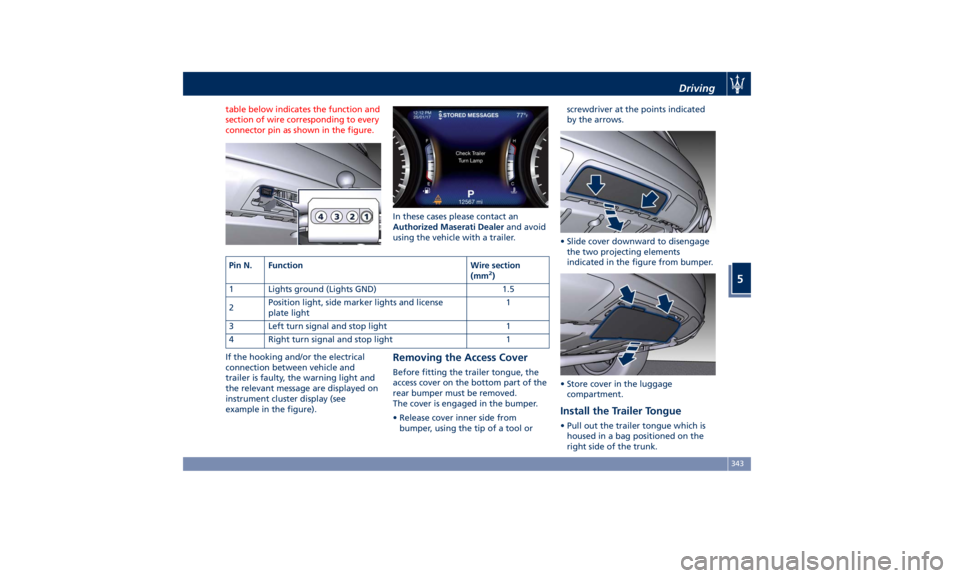
table below indicates the function and
section of wire corresponding to every
connector pin as shown in the figure.
If the hooking and/or the electrical
connection between vehicle and
trailer is faulty, the warning light and
the relevant message are displayed on
instrument cluster display (see
example in the figure). In these cases please contact an
Authorized Maserati Dealer and avoid
using the vehicle with a trailer.
Removing the Access Cover Before fitting the trailer tongue, the
access cover on the bottom part of the
rear bumper must be removed.
The cover is engaged in the bumper.
• Release cover inner side from
bumper, using the tip of a tool or screwdriver at the points indicated
by the arrows.
• Slide cover downward to disengage
the two projecting elements
indicated in the figure from bumper.
• Store cover in the luggage
compartment.
Install the Trailer Tongue • Pull out the trailer tongue which is
housed in a bag positioned on the
right side of the trunk.Pin N. Function Wire section
(mm 2
)
1 Lights ground (Lights GND) 1.5
2 Position light, side marker lights and license
plate light 1
3 Left turn signal and stop light 1
4 Right turn signal and stop light 1 Driving
5
343
Page 354 of 436
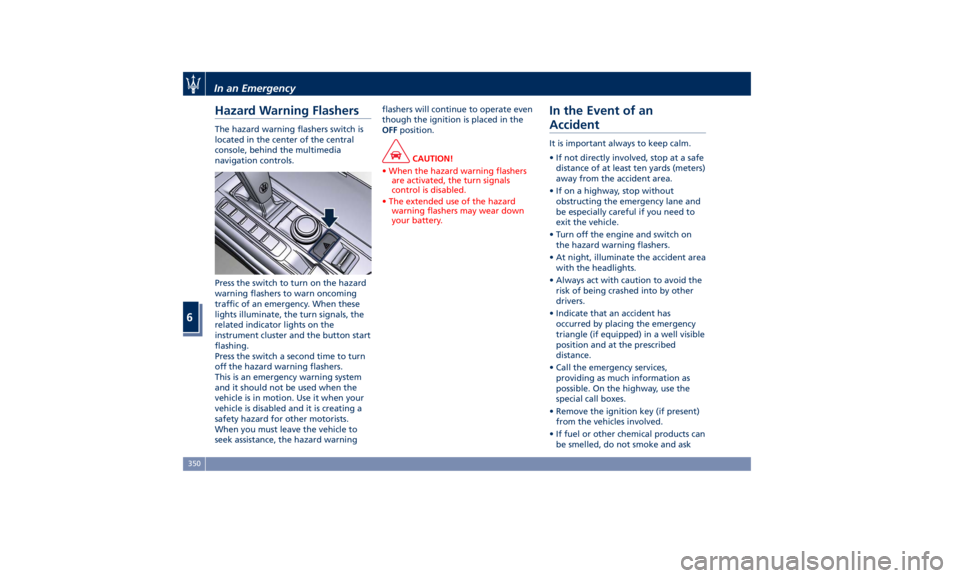
Hazard Warning Flashers The hazard warning flashers switch is
located in the center of the central
console, behind the multimedia
navigation controls.
Press the switch to turn on the hazard
warning flashers to warn oncoming
traffic of an emergency. When these
lights illuminate, the turn signals, the
related indicator lights on the
instrument cluster and the button start
flashing.
Press the switch a second time to turn
off the hazard warning flashers.
This is an emergency warning system
and it should not be used when the
vehicle is in motion. Use it when your
vehicle is disabled and it is creating a
safety hazard for other motorists.
When you must leave the vehicle to
seek assistance, the hazard warning flashers will continue to operate even
though the ignition is placed in the
OFF position.
CAUTION!
• When the hazard warning flashers
are activated, the turn signals
control is disabled.
• The extended use of the hazard
warning flashers may wear down
your battery.
In the Event of an
Accident It is important always to keep calm.
• If not directly involved, stop at a safe
distance of at least ten yards (meters)
away from the accident area.
• If on a highway, stop without
obstructing the emergency lane and
be especially careful if you need to
exit the vehicle.
• Turn off the engine and switch on
the hazard warning flashers.
• At night, illuminate the accident area
with the headlights.
• Always act with caution to avoid the
risk of being crashed into by other
drivers.
• Indicate that an accident has
occurred by placing the emergency
triangle (if equipped) in a well visible
position and at the prescribed
distance.
• Call the emergency services,
providing as much information as
possible. On the highway, use the
special call boxes.
• Remove the ignition key (if present)
from the vehicles involved.
• If fuel or other chemical products can
be smelled, do not smoke and askIn an Emergency
6
350
Page 369 of 436

the next scheduled maintenance is
due or has already overdue.
When the scheduled maintenance has
overdue, the indicator light
and
message will be displayed on the
instrument cluster.
The service indicator and message will
illuminate approximately from 620 mi
(1000 km) or 30 days to the next
scheduled maintenance.
Have your vehicle serviced as soon as
possible. NOTE:
The service indicator will not monitor
the time elapsed from the last
scheduled maintenance.
To check the mi/km and the days that
remain at the inspiration of the next
scheduled maintenance, consult the
“Maintenance” submenu of “VEHICLE
INFO” main menu (see paragraph ”TFT
Dispaly : Warning/Indicator Lights of
the Set Modes/ Functions” in chapter
“Instrument Cluster” of section
“Dashboard Instruments and
Controls” for more details).
An Authorized Maserati Dealer will
reset the service indicator message
after completing the scheduled
maintenance operations.Scheduled Service Plan The Scheduled Maintenance services
listed in this manual must be done
within the times or mileages specified
to protect your vehicle warranty and
ensure the best vehicle performance
and reliability.
More frequent maintenance may be
needed for vehicles in operating
conditions, such as dusty areas,
extremely hot or cold ambient
temperatures and very short trip
driving.
Inspection and service should also be
done anytime a malfunction is
suspected.
Maserati recommends that these
maintenance intervals be performed
at an Authorized Maserati Dealer . The
technicians at your dealership know
your vehicle best, and have access to
factory-approved information,
genuine Maserati parts, and specially
designed electronic and mechanical
tools that can help prevent future
costly repairs.Maintenance and Care
7
365