2019 LINCOLN MKZ warning lights
[x] Cancel search: warning lightsPage 198 of 595

WARNING: You must remain in yourvehicle when the system turns on. At alltimes, you are responsible for controllingyour vehicle, supervising the system andintervening, if required. Failure to take caremay result in the loss of control of yourvehicle, serious personal injury or death.
WARNING: The system will turn off ifa malfunction is apparent. Failure to takecare may result in the loss of control of yourvehicle, serious personal injury or death.
Auto Hold uses your vehicle's brakes to holdyour vehicle at a stop once your vehicle hasreached a standstill condition. For example,Auto Hold can assist you while stopping attraffic lights or while in traffic jams by holdingthe brake pressure for you once you bringyour vehicle to a stop.
Switch Auto Hold off during vehicle or trailertowing.
Note:In case of a malfunction in the systemwhile Auto Hold actively holds the vehicle(for example, low power supply), a messageappears in the information display askingyou to press the brake pedal. If you see thismessage, press the brake pedalimmediately.
Note:Auto Hold only activates if the systemrecognizes it is applying enough brakepressure. On a steep hill or incline, you mayneed to make sure the brake pedal ispressed sufficiently to activate the Auto Holdsystem.
Note:In some cases, Auto Hold might handover to the parking brake. When the parkingbrake automatically applies, the red brakelamp appears. This is normal. When youpress the accelerator pedal, the drive awayrelease feature automatically releases theparking brake.
Note:Auto Hold works on all road grades.Press the Auto Hold button to switch thesystem on and off. The Auto Hold indicatorlight illuminates in the Auto Hold buttonwhen the system is on.
Note:You can only switch Auto Hold on ifyou close the door and fasten your seatbelt.
195
MKZ (CC9) Canada/United States of America, enUSA, Edition date: 201805, First-Printing
BrakesE227185
Page 200 of 595

PRINCIPLE OF OPERATION
The traction control system helps avoid drivewheel spin and loss of traction.
If your vehicle begins to slide, the systemapplies the brakes to individual wheels and,when needed, reduces engine power at thesame time. If the wheels spin whenaccelerating on slippery or loose surfaces,the system reduces engine power in orderto increase traction.
USING TRACTION CONTROL
WARNING: The stability and tractioncontrol light illuminates steadily if the systemdetects a failure. Make sure you did notmanually disable the traction control systemusing the information display controls or theswitch. If the stability control and traction
control light is still illuminating steadily, havethe system serviced by an authorized dealerimmediately. Operating your vehicle with thetraction control disabled could lead to anincreased risk of loss of vehicle control,vehicle rollover, personal injury and death.
The system automatically turns on each timeyou switch the ignition on.
If your vehicle is stuck in mud or snow,switching traction control off may bebeneficial as this allows the wheels to spin.
Note:When you switch traction control off,stability control remains fully active.
Switching the System Off
When you switch the system off or on, amessage appears in the information displayshowing system status.
You can switch the system off by either usingthe information display controls or the switch.
Using the Information Display Controls
You can switch this feature off or on in theinformation display. See General Information(page 110).
Using a Switch (If Equipped)
Use the traction control switch on theinstrument panel to switch the system off oron.
System Indicator Lights and Messages
The stability and traction controllight:
•Temporarily illuminates on enginestart-up.
•Flashes when a driving conditionactivates either of the systems.
•Illuminates if a problem occurs in eitherof the systems.
The stability and traction controloff light temporarily illuminates onengine start-up and stays on whenyou switch the traction control system off.
197
MKZ (CC9) Canada/United States of America, enUSA, Edition date: 201805, First-Printing
Traction ControlE138639 E130458
Page 218 of 595

Active guidelinesA
CenterlineB
Fixed guideline: Green zoneC
Fixed guideline: Yellow zoneD
Fixed guideline: Red zoneE
Rear bumperF
Active guidelines are only shown with fixedguidelines. To use active guidelines, turn thesteering wheel to point the guidelines towardan intended path. If you change the steeringwheel position while reversing, your vehiclemight deviate from the original intendedpath.
The fixed and active guidelines fade in andout depending on your steering wheelposition. When your steering wheel positionis straight, the active guidelines are notvisible.
Always use caution while reversing. Objectsin the red zone are closest to your vehicleand objects in the green zone are fartheraway. Objects are getting closer to yourvehicle as they move from the green zoneto the yellow or red zones. Use the side viewmirrors and rear view mirror to get bettercoverage on both sides and rear of yourvehicle.
Enhanced Park Aids
Note:The reverse sensing system is noteffective at speeds above 3 mph (5 km/h)and may not detect certain angular ormoving objects.
The system uses red, yellow and greenhighlights that appear on top of the videoimage when the reverse sensing systemdetects an object. The alert highlights theclosest object detected. You can disable thereverse sensing alert if you have enhancedpark aids enabled, you will still see thedisplayed highlighted areas.
Selectable settings for this feature are ONand OFF.
Manual Zoom
WARNING: When manual zoom is on,the full area behind your vehicle is notshown. Be aware of your surroundings whenusing the manual zoom feature.
Note:Manual zoom is only available whenthe transmission is in reverse (R).
215
MKZ (CC9) Canada/United States of America, enUSA, Edition date: 201805, First-Printing
Parking AidsABCD
F
E
E142436
Page 244 of 595

Note:A high crown in the road or highcrosswinds may also make the steeringseem to wander or pull.
Adaptive Learning
The electronic power steering systemadaptive learning helps correct roadirregularities and improves overall handlingand steering feel. It communicates with thebrake system to help operate advancedstability control and accident avoidancesystems. Additionally, whenever the batteryis disconnected or a new battery installed,you must drive your vehicle a short distancebefore the system relearns the strategy andreactivates all systems.
PRE-COLLISION ASSIST (If Equipped)
WARNING: You are responsible forcontrolling your vehicle at all times. Thesystem is designed to be an aid and doesnot relieve you of your responsibility to drivewith due care and attention. Failure to followthis instruction could result in the loss ofcontrol of your vehicle, personal injury ordeath.
WARNING: The system does not detectvehicles that are driving in a differentdirection, pedestrians at night, cyclists oranimals. Failure to take care may result inthe loss of control of your vehicle, seriouspersonal injury or death.
WARNING: The system does notoperate during hard acceleration or steering.Failure to take care may lead to a crash orpersonal injury.
WARNING: The system may fail oroperate with reduced function during coldand severe weather conditions. Snow, ice,rain, spray and fog can adversely affect thesystem. Keep the front camera and radar freeof snow and ice. Failure to take care mayresult in the loss of control of your vehicle,serious personal injury or death.
WARNING: In situations where thevehicle camera has limited detectioncapability, this may reduce systemperformance. These situations include butare not limited to direct or low sunlight,vehicles at night without tail lights,unconventional vehicle types, pedestrianswith complex backgrounds, runningpedestrians, partly obscured pedestrians, orpedestrians that the system cannotdistinguish from a group. Failure to take caremay result in the loss of control of yourvehicle, serious personal injury or death.
241
MKZ (CC9) Canada/United States of America, enUSA, Edition date: 201805, First-Printing
Driving Aids
Page 263 of 595

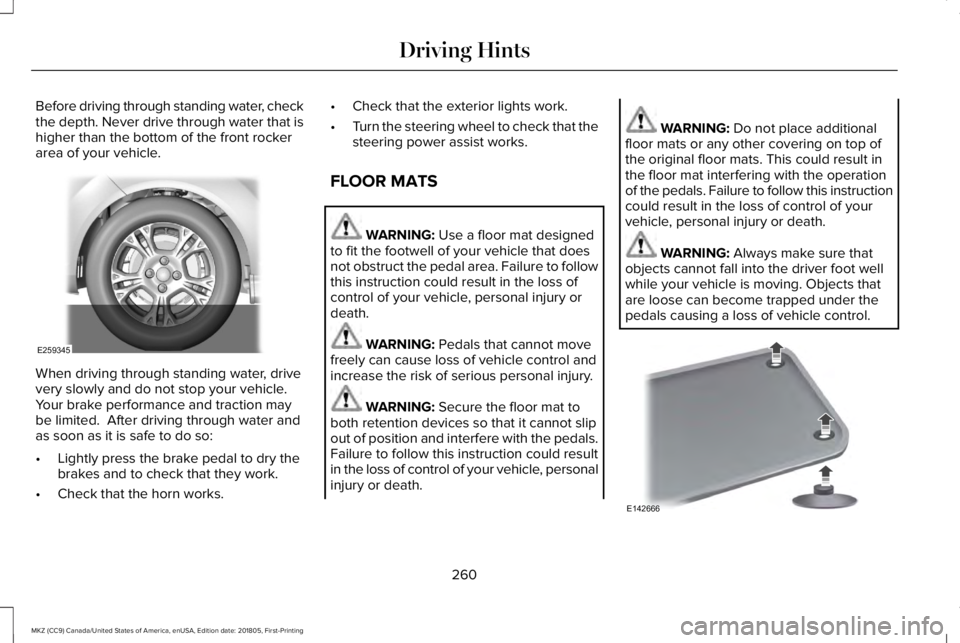
Before driving through standing water, checkthe depth. Never drive through water that ishigher than the bottom of the front rockerarea of your vehicle.
When driving through standing water, drivevery slowly and do not stop your vehicle. Your brake performance and traction maybe limited. After driving through water andas soon as it is safe to do so:
•Lightly press the brake pedal to dry thebrakes and to check that they work.
•Check that the horn works.
•Check that the exterior lights work.
•Turn the steering wheel to check that thesteering power assist works.
FLOOR MATS
WARNING: Use a floor mat designedto fit the footwell of your vehicle that doesnot obstruct the pedal area. Failure to followthis instruction could result in the loss ofcontrol of your vehicle, personal injury ordeath.
WARNING: Pedals that cannot movefreely can cause loss of vehicle control andincrease the risk of serious personal injury.
WARNING: Secure the floor mat toboth retention devices so that it cannot slipout of position and interfere with the pedals.Failure to follow this instruction could resultin the loss of control of your vehicle, personalinjury or death.
WARNING: Do not place additionalfloor mats or any other covering on top ofthe original floor mats. This could result inthe floor mat interfering with the operationof the pedals. Failure to follow this instructioncould result in the loss of control of yourvehicle, personal injury or death.
WARNING: Always make sure thatobjects cannot fall into the driver foot wellwhile your vehicle is moving. Objects thatare loose can become trapped under thepedals causing a loss of vehicle control.
260
MKZ (CC9) Canada/United States of America, enUSA, Edition date: 201805, First-Printing
Driving HintsE259345 E142666
Page 334 of 595

What to do when a Tire Is Punctured
A tire puncture within the tire's tread areacan be repaired in two stages with the kit:
•In the first stage, the tire is reinflated witha sealing compound and air. After the tirehas been inflated, you need to drive thevehicle about 3.7 mi (6 km) to distributethe sealant in the tire.
•In the second stage, you need to checkthe tire pressure and adjust, if necessary,to the vehicle's specified tire inflationpressure.
First Stage: Reinflating the Tire withSealing Compound and Air
WARNING: Do not stand directlybeside the tire while the compressor isoperating. This could cause personal injuryif the tire bursts.
Note:If the tire does not inflate to therecommended tire pressure within 15minutes, stop and call roadside assistance.
WARNING: Watch the sidewall of thetire when inflating. If any cracks, bumps orsimilar damage appears, switch thecompressor off and let the air out by meansof the pressure relief valve. Do not continuedriving with this tire. This could cause lossof vehicle control.
WARNING: Do not run the enginewhen operating the air compressor unlessthe vehicle is outdoors or in a well-ventilatedarea.
Preparation: Park the vehicle in a safe, leveland secure area, away from moving traffic.
Turn the hazard lights on. Apply the parkingbrake and turn the engine off. Inspect theflat tire for visible damage.
Sealant compound contains latex. Useappropriate precautions to avoid any allergicreactions.
Do not remove any foreign object that haspierced the tire. If a puncture is located inthe tire sidewall, stop and call roadsideassistance.
1.Remove the valve cap from the tire valve.
2. Unwrap the dual purpose hose (blacktube) from the back of the compressorhousing.
3. Fasten the hose to the tire valve byturning the connector clockwise. Tightenthe connection securely.
331
MKZ (CC9) Canada/United States of America, enUSA, Edition date: 201805, First-Printing
Wheels and TiresE252191