2019 LINCOLN CONTINENTAL lights
[x] Cancel search: lightsPage 258 of 627
System Lights, Messages and Audible
Alerts
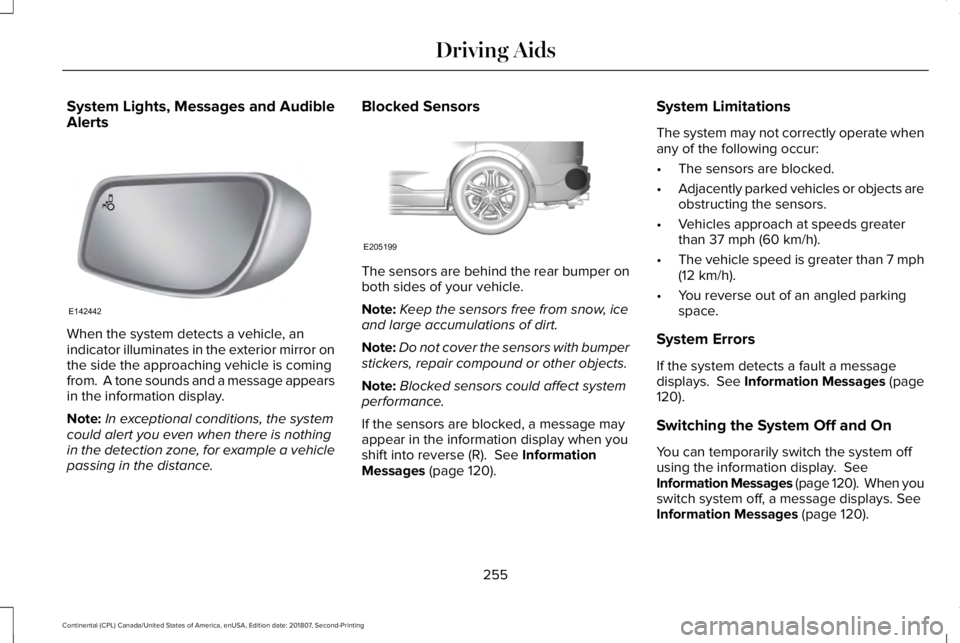
When the system detects a vehicle, an
indicator illuminates in the exterior mirror on
the side the approaching vehicle is coming
from. A tone sounds and a message appears
in the information display.
Note:
In exceptional conditions, the system
could alert you even when there is nothing
in the detection zone, for example a vehicle
passing in the distance. Blocked Sensors
The sensors are behind the rear bumper on
both sides of your vehicle.
Note:
Keep the sensors free from snow, ice
and large accumulations of dirt.
Note: Do not cover the sensors with bumper
stickers, repair compound or other objects.
Note: Blocked sensors could affect system
performance.
If the sensors are blocked, a message may
appear in the information display when you
shift into reverse (R). See Information
Messages (page 120). System Limitations
The system may not correctly operate when
any of the following occur:
•
The sensors are blocked.
• Adjacently parked vehicles or objects are
obstructing the sensors.
• Vehicles approach at speeds greater
than
37 mph (60 km/h).
• The vehicle speed is greater than 7 mph
(12 km/h)
.
• You reverse out of an angled parking
space.
System Errors
If the system detects a fault a message
displays.
See Information Messages (page
120).
Switching the System Off and On
You can temporarily switch the system off
using the information display.
See
Information Messages (page 120). When you
switch system off, a message displays.
See
Information Messages (page 120).
255
Continental (CPL) Canada/United States of America, enUSA, Edition date: 201807, Second-Printing Driving AidsE142442 E205199
Page 261 of 627

WARNING: The system may fail or
operate with reduced function during cold
and severe weather conditions. Snow, ice,
rain, spray and fog can adversely affect the
system. Keep the front camera and radar
free of snow and ice. Failure to take care
may result in the loss of control of your
vehicle, serious personal injury or death. WARNING:
In situations where the
vehicle camera has limited detection
capability, this may reduce system
performance. These situations include but
are not limited to direct or low sunlight,
vehicles at night without tail lights,
unconventional vehicle types, pedestrians
with complex backgrounds, running
pedestrians, partly obscured pedestrians,
or pedestrians that the system cannot
distinguish from a group. Failure to take
care may result in the loss of control of
your vehicle, serious personal injury or
death. WARNING:
The system cannot help
prevent all crashes. Do not rely on this
system to replace driver judgment and the
need to maintain a safe distance and
speed.
Using the Pre-Collision Assist System
The system is active at speeds above
approximately 3 mph (5 km/h) and pedestrian
detection is active at speeds up to
50 mph
(80 km/h). If your vehicle is rapidly approaching another
stationary vehicle, a vehicle traveling in the
same direction as yours, or a pedestrian
within your driving path, the system is
designed to provide three levels of
functionality:
1. Alert
2. Brake Support
3. Active Braking Alert: When active, a visual warning appears
in the cluster. Some vehicles may also have
a red light bar that flashes on the windshield.
Brake Support: Assists the driver in reducing
collision speed by preparing the brake
system for rapid braking. Brake support does
not automatically activate the brakes, but if
the brake pedal is pressed even lightly by
the driver, brake support could add
additional braking up to full force.
Active Braking
: Active braking may activate
if the system determines that a collision is
imminent. The system may help the driver
reduce impact damage or avoid the crash
completely.
258
Continental (CPL) Canada/United States of America, enUSA, Edition date: 201807, Second-Printing Driving AidsE156130 E255268
Page 274 of 627

Trailer lamps are required on most towed
vehicles. Make sure all running lights, brake
lights, turn signals and hazard lights are
working.
Before Towing a Trailer
Practice turning, stopping and backing up to
get the feel of your vehicle-trailer
combination before starting on a trip. When
turning, make wider turns so the trailer
wheels clear curbs and other obstacles.
When Towing a Trailer
•
Do not drive faster than 70 mph
(113 km/h) during the first 500 mi
(800 km).
• Do not make full-throttle starts.
• Check your hitch, electrical connections
and trailer wheel lug nuts thoroughly after
you have traveled
50 mi (80 km).
• When stopped in congested or heavy
traffic during hot weather, place the
transmission in park (P) to aid engine and
transmission cooling and to help A/C
performance. •
Turn off the speed control with heavy
loads or in hilly terrain. The speed control
may turn off automatically when you are
towing on long, steep grades.
• Shift to a lower gear when driving down
a long or steep hill. Do not apply the
brakes continuously, as they may
overheat and become less effective.
• If your transmission is equipped with a
Grade Assist or Tow/Haul feature, use
this feature when towing. This provides
engine braking and helps eliminate
excessive transmission shifting for
optimum fuel economy and transmission
cooling.
• Allow more distance for stopping with a
trailer attached. Anticipate stops and
brake gradually.
• Avoid parking on a grade. However, if
you must park on a grade:
1. Turn the steering wheel to point your vehicle tires away from traffic flow.
2. Set your vehicle parking brake.
3. Place the transmission in park (P). 4. Place wheel chocks in front and back of
the trailer wheels. Chocks are not
included with your vehicle.
Launching or Retrieving a Boat or
Personal Watercraft (PWC)
Note: Disconnect the wiring to the trailer
before
backing the trailer into the water.
Note: Reconnect the wiring to the trailer
after
removing the trailer from the water.
When backing down a ramp during boat
launching or retrieval:
• Do not allow the static water level to rise
above the bottom edge of the rear
bumper.
• Do not allow waves to break higher than
6 in (15 cm)
above the bottom edge of
the rear bumper.
Exceeding these limits may allow water to
enter vehicle components:
• Causing internal damage to the
components.
• Affecting driveability, emissions, and
reliability.
271
Continental (CPL) Canada/United States of America, enUSA, Edition date: 201807, Second-Printing Towing
Page 277 of 627
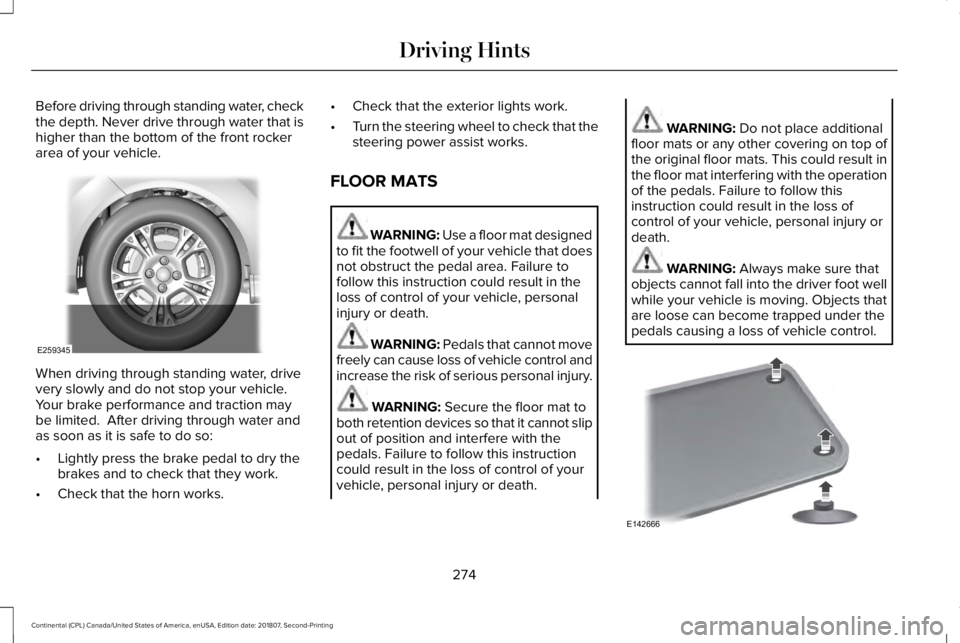
Before driving through standing water, check
the depth. Never drive through water that is
higher than the bottom of the front rocker
area of your vehicle.
When driving through standing water, drive
very slowly and do not stop your vehicle.
Your brake performance and traction may
be limited. After driving through water and
as soon as it is safe to do so:
•
Lightly press the brake pedal to dry the
brakes and to check that they work.
• Check that the horn works. •
Check that the exterior lights work.
• Turn the steering wheel to check that the
steering power assist works.
FLOOR MATS WARNING: Use a floor mat designed
to fit the footwell of your vehicle that does
not obstruct the pedal area. Failure to
follow this instruction could result in the
loss of control of your vehicle, personal
injury or death. WARNING: Pedals that cannot move
freely can cause loss of vehicle control and
increase the risk of serious personal injury. WARNING:
Secure the floor mat to
both retention devices so that it cannot slip
out of position and interfere with the
pedals. Failure to follow this instruction
could result in the loss of control of your
vehicle, personal injury or death. WARNING:
Do not place additional
floor mats or any other covering on top of
the original floor mats. This could result in
the floor mat interfering with the operation
of the pedals. Failure to follow this
instruction could result in the loss of
control of your vehicle, personal injury or
death. WARNING:
Always make sure that
objects cannot fall into the driver foot well
while your vehicle is moving. Objects that
are loose can become trapped under the
pedals causing a loss of vehicle control. 274
Continental (CPL) Canada/United States of America, enUSA, Edition date: 201807, Second-Printing Driving HintsE259345 E142666
Page 407 of 627
Trade Number
Function
LED.
Backup lamp. 1
LED.
License plate lamp. 1
LED.
High-mount brake lamp. 1
LED.
Interior lamps. 1
1 To replace these lamps, see an authorized dealer.
Note: To replace instrument panel lights, see an authorized dealer.
404
Continental (CPL) Canada/United States of America, enUSA, Edition date: 201807, Second-Printing Capacities and Specifications
Page 464 of 627
AUTO: Touch the button to switch on automatic operation of the fan speed, air d\
istribution, air conditioning and outside or recirculated
air, in order to maintain your set temperature. Multiple presses of the AUTO button will change the maximum fan speed allowed
during AUTO. The AUTO Fan Limit set point shall be indicated by the number of AUTO indicator lights and a pop-up, when not on
the climate screen.
A
AUTO Fan Limit High: When three indicators are on (High), the fan speed will not be limite\
d. It will be automatically controlled at
higher speeds in order to reach the selected temperature as quickly as p\
ossible.
AUTO Fan Limit Medium:
When two indicators are on (Medium), the fan will be automatically co\
ntrolled and limited to moderate
speeds in order to reach the selected temperature with a reduced amount \
of cabin noise.
AUTO Fan Limit Low: When one indicator is on (Low), the fan will be automatically controlled and limited to lower spee\
ds in order
to reach the selected temperature with the least amount of cabin noise. This means that the cabin will not be heated or cooled as
quickly as possible.
Note: The system will start at the previously selected Auto fan setting \
when Auto is turned on.
Once Auto is selected air distribution, A/C operation, and outside or re\
circulated air will also be automatically adjusted to heat or
cool the vehicle in order to maintain the selected temperature.
The AUTO button can also be used to turn off dual zone operation by pressing an\
d holding the button for greater than 2 seconds.
Power:
Touch the button to switch the system on and off. Switch off the climate control system to prevent outside air from enterin\
g
the vehicle.
B
DUAL:
This button lights up when the passenger controls are active. To switch them off and link the passenger temperature to the
driver temperature, touch the DUAL button.
C
Note:
the passenger side temperature and the DUAL indication automatically turn on when you or your passenger adjust th\
e
passenger temperature.
Passenger temperature:
Touch up or down to adjust the temperature.
D
Fan speed:
Touch up or down to increase or decrease the volume of air that circulate\
s in your vehicle.
E
461
Continental (CPL) Canada/United States of America, enUSA, Edition date: 201807, Second-Printing SYNC™ 3
Page 475 of 627
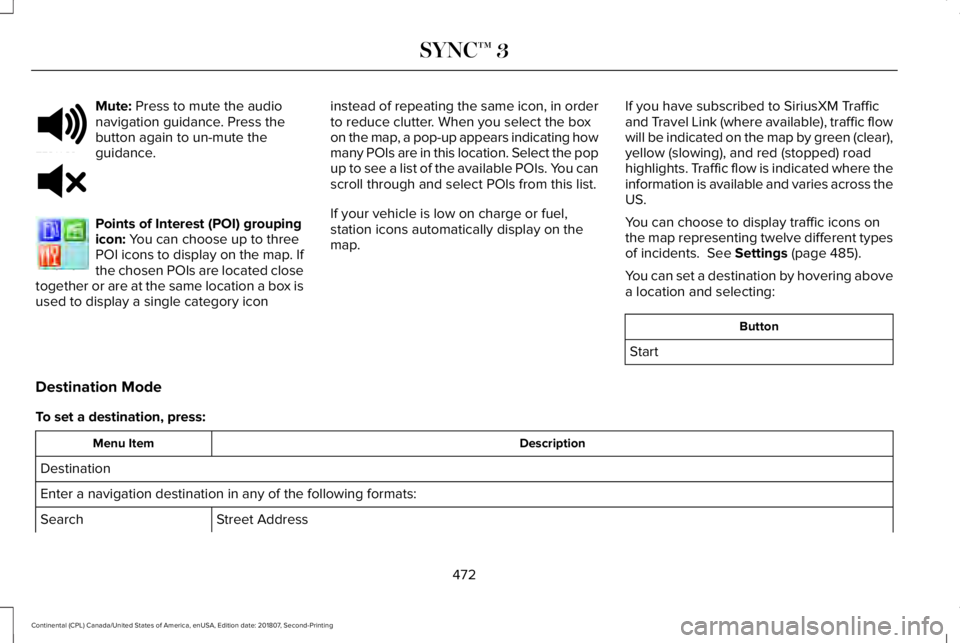
Mute: Press to mute the audio
navigation guidance. Press the
button again to un-mute the
guidance. Points of Interest (POI) grouping
icon:
You can choose up to three
POI icons to display on the map. If
the chosen POIs are located close
together or are at the same location a box is
used to display a single category icon instead of repeating the same icon, in order
to reduce clutter. When you select the box
on the map, a pop-up appears indicating how
many POIs are in this location. Select the pop
up to see a list of the available POIs. You can
scroll through and select POIs from this list.
If your vehicle is low on charge or fuel,
station icons automatically display on the
map.
If you have subscribed to SiriusXM Traffic
and Travel Link (where available), traffic flow
will be indicated on the map by green (clear),
yellow (slowing), and red (stopped) road
highlights. Traffic flow is indicated where the
information is available and varies across the
US.
You can choose to display traffic icons on
the map representing twelve different types
of incidents. See Settings (page 485).
You can set a destination by hovering above
a location and selecting: Button
Start
Destination Mode
To set a destination, press: Description
Menu Item
Destination
Enter a navigation destination in any of the following formats: Street Address
Search
472
Continental (CPL) Canada/United States of America, enUSA, Edition date: 201807, Second-Printing SYNC™ 3E251780 E251779 E207754
Page 533 of 627
Make sure to change your vehicle
’s oils and
fluids at the specified intervals or in
conjunction with a repair. Flushing is a viable
way to change fluid for many vehicle
sub-systems during scheduled maintenance. It is critical that systems are flushed only with
new fluid that is the same as that required
to fill and operate the system or using a
Ford-approved flushing chemical.
Owner Checks and Services
Make sure you perform the following basic
maintenance checks and inspections every
month or at six-month intervals. Check Every Month
Engine oil level.
Function of all interior and exterior lights.
Tires (including spare) for wear and proper pressure. Windshield washer fluid level.
Fuel and water separator. Drain if necessary (or if indicated by the information display). Holes and slots in the tail pipe to make sure they are functional and clear of debris. Check Every Six Months
Battery connections. Clean if necessary.
Body and door drain holes for obstructions. Clean if necessary. Cooling system fluid level and coolant strength.
Door weatherstrips for wear. Lubricate if necessary.
530
Continental (CPL) Canada/United States of America, enUSA, Edition date: 201807, Second-Printing Scheduled Maintenance