2019 LINCOLN CONTINENTAL transmission
[x] Cancel search: transmissionPage 79 of 627

WARNING: Keep keys out of the
reach of children. Do not allow children to
operate or play near an open or moving
power decklid. You should supervise the
operation of the power decklid at all times.
Note: Do not drive with the decklid open
unless you switch off the power feature.
Make sure you fully close the decklid before
you drive your vehicle.
You can switch the power decklid feature on
or off in the information display. See
General
Information (page 112). The remote control
and instrument panel button still operates
the decklid regardless of the setting.
Opening and Closing the Power
Decklid WARNING:
Make sure all persons
are clear of the power decklid area before
using the power decklid control. Note:
You can reverse the decklid
movement. Press the instrument panel or
decklid button again, or press the remote
control button twice.
Note: Do not push or pull on the power
decklid while it is under operation, as this
may cause damage to your vehicle.
The decklid only operates with the
transmission in park (P).
If the decklid starts to close after it has fully
opened, this indicates there may be
excessive weight on the decklid or a possible
strut failure. A repetitive tone sounds and
the decklid closes under control. Remove
any excessive weight from the decklid. If the
decklid continues to close after opening,
have the system checked by an authorized
dealer.
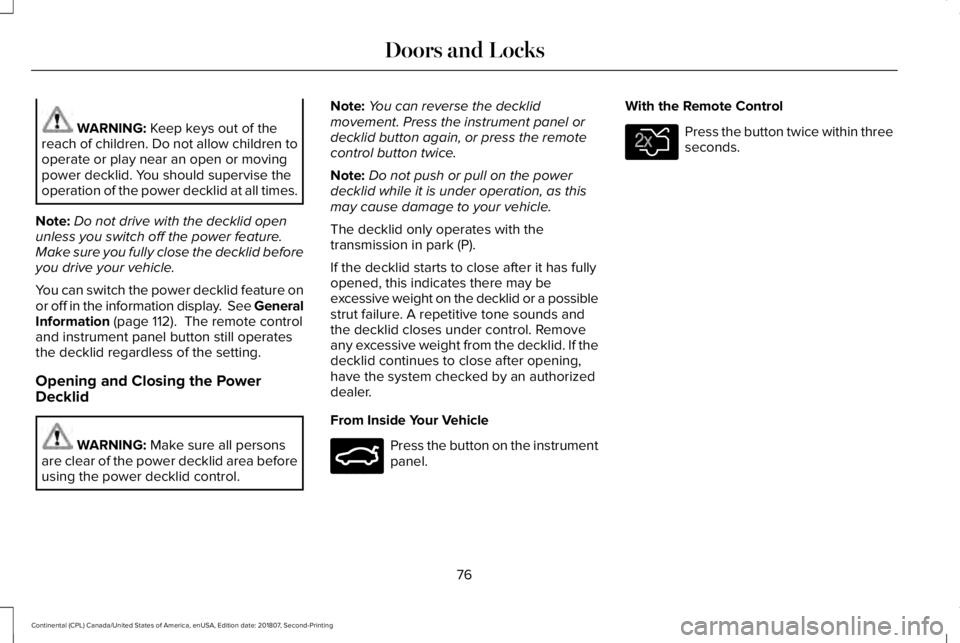
From Inside Your Vehicle Press the button on the instrument
panel.With the Remote Control Press the button twice within three
seconds.
76
Continental (CPL) Canada/United States of America, enUSA, Edition date: 201807, Second-Printing Doors and LocksE159323 E138630
Page 97 of 627

Type One - Conventional (Non-
Configurable)
The daytime running lamps turn on when:
1. Switching the ignition on.
2. The transmission is not in park (P) for
vehicles with automatic transmissions, or
releasing the parking brake for vehicles
with manual transmissions.
3. The lighting control is in the off, parking lamp or autolamps positions.
4. The headlamps are off.
Type Two - Configurable
Switch the daytime running lamps on or off
using the information display. See
Information Displays (page 112).
The daytime running lamps turn on when:
1. The lamps are on in the information display.
2. Switching the ignition on.
3. The transmission is not in park (P) for vehicles with automatic transmissions, or
releasing the parking brake for vehicles
with manual transmissions. 4. The lighting control is in the autolamps
position.
5. The headlamps are off.
The other lighting control switch positions
do not turn on the daytime running lamps.
If the daytime running lamps are off in the
information display, the lamps stay off in all
switch positions.
AUTOMATIC HIGH BEAM
CONTROL WARNING:
The system does not
relieve you of your responsibility to drive
with due care and attention. You may need
to override the system if it does not turn
the high beams on or off. The system turns on high beams if it is dark
enough and no other traffic is present. If it
detects an approaching vehicle
’s headlamps
or tail lamps, or street lighting ahead, the
system turns off high beams before they can
distract other road users. Low beams remain
on.
Note: The system may not operate properly
if the sensor is blocked. Keep the windshield
free from obstruction or damage.
Note: The system may not operate properly
in cold or inclement conditions. You can
switch on the high beams by overriding the
system.
Note: If the system detects a blockage, for
example bird droppings, bug splatter, snow
or ice, the system goes into low beam mode
until you clear the blockage. A message may
appear in the information display if the
camera is blocked.
Note: Using much larger tires or equipping
vehicle accessories such as snowplows can
modify your vehicle's ride height and
degrade automatic high beam control
performance.
94
Continental (CPL) Canada/United States of America, enUSA, Edition date: 201807, Second-Printing Lighting
Page 104 of 627

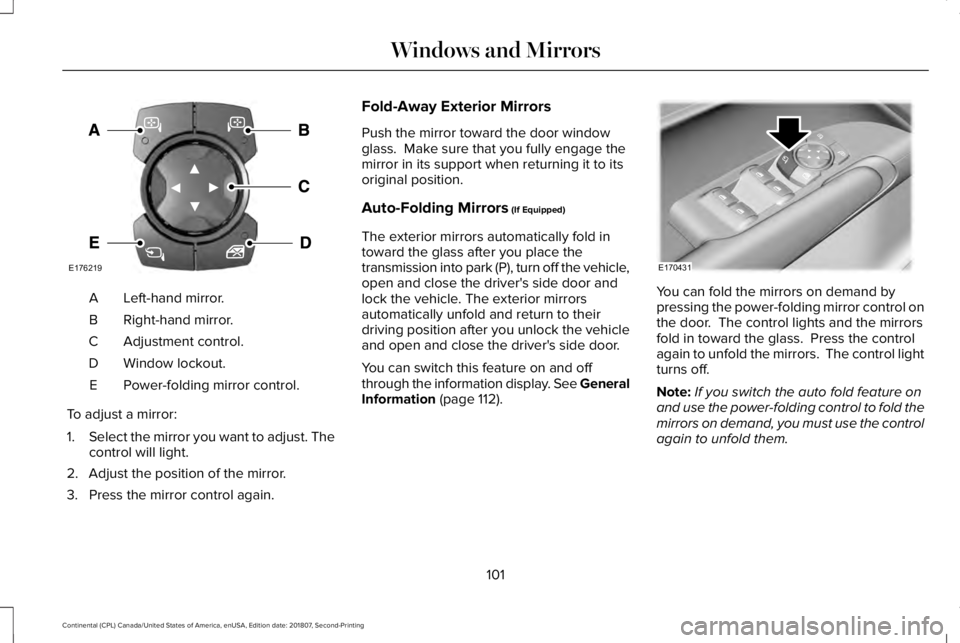
Left-hand mirror.
A
Right-hand mirror.
B
Adjustment control.
C
Window lockout.
D
Power-folding mirror control.
E
To adjust a mirror:
1. Select the mirror you want to adjust. The
control will light.
2. Adjust the position of the mirror.
3. Press the mirror control again. Fold-Away Exterior Mirrors
Push the mirror toward the door window
glass. Make sure that you fully engage the
mirror in its support when returning it to its
original position.
Auto-Folding Mirrors (If Equipped)
The exterior mirrors automatically fold in
toward the glass after you place the
transmission into park (P), turn off the vehicle,
open and close the driver's side door and
lock the vehicle. The exterior mirrors
automatically unfold and return to their
driving position after you unlock the vehicle
and open and close the driver's side door.
You can switch this feature on and off
through the information display. See General
Information
(page 112). You can fold the mirrors on demand by
pressing the power-folding mirror control on
the door. The control lights and the mirrors
fold in toward the glass. Press the control
again to unfold the mirrors. The control light
turns off.
Note:
If you switch the auto fold feature on
and use the power-folding control to fold the
mirrors on demand, you must use the control
again to unfold them.
101
Continental (CPL) Canada/United States of America, enUSA, Edition date: 201807, Second-Printing Windows and MirrorsE176219 E170431
Page 107 of 627

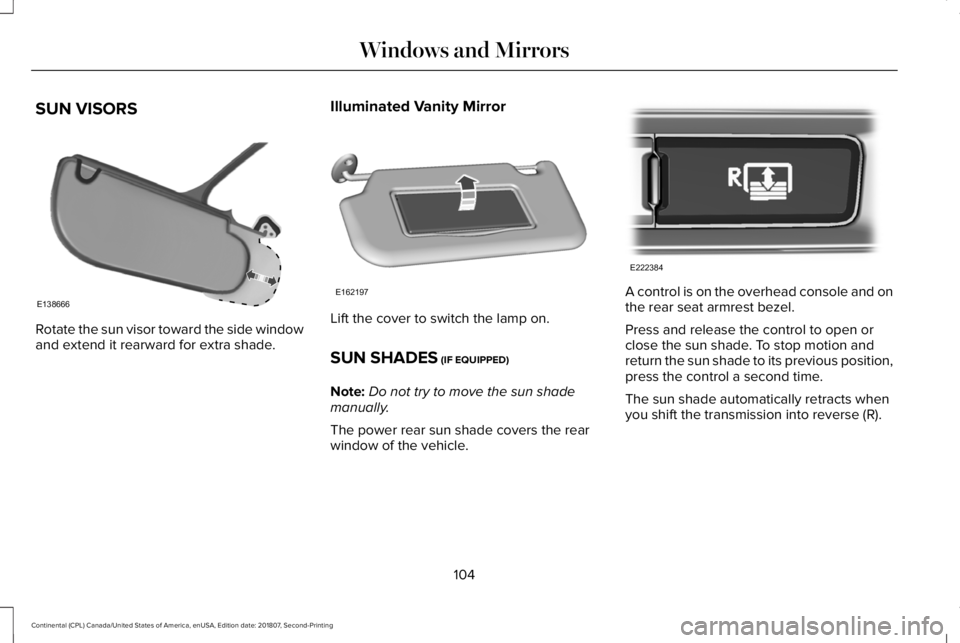
SUN VISORS
Rotate the sun visor toward the side window
and extend it rearward for extra shade.
Illuminated Vanity Mirror Lift the cover to switch the lamp on.
SUN SHADES (IF EQUIPPED)
Note: Do not try to move the sun shade
manually.
The power rear sun shade covers the rear
window of the vehicle. A control is on the overhead console and on
the rear seat armrest bezel.
Press and release the control to open or
close the sun shade. To stop motion and
return the sun shade to its previous position,
press the control a second time.
The sun shade automatically retracts when
you shift the transmission into reverse (R).
104
Continental (CPL) Canada/United States of America, enUSA, Edition date: 201807, Second-Printing Windows and MirrorsE138666 E162197 E222384
Page 140 of 627

Tire Pressure Monitoring System
Action
Message
One or more tires on your vehicle have low tire pressure. See Tire Pressure Monitoring System (page 357).
Tire Pressure Low
The tire pressure monitoring system is malfunctioning. If the warning st\
ays on or continues tocome on, contact an authorized dealer.
See Tire Pressure Monitoring System (page 357).
Tire Pressure Monitor Fault
A tire pressure sensor is malfunctioning, or your spare tire is in use. For more information on
how the system operates under these conditions, See Tire Pressure Monitoring System (page
357
). If the warning stays on or continues to come on, contact an authorized \
dealer as soon as possible.
Tire Pressure Sensor Fault
Transmission Action
Message
You switched the engine off and shift select lever is in any position oth\
er than park (P).
Shift to Park
Transmission is too cold. Wait for it to warm up before you drive.
Transmission Warming Up Please Wait
Displays when the brake pedal needs to be depressed.
Press Brake Pedal
The transmission is overheating and needs to cool. Stop in a safe place as soon as it’ s possible.
Transmission Over Temperature Stop
Safely
See an authorized dealer.
Transmission Service Required
137
Continental (CPL) Canada/United States of America, enUSA, Edition date: 201807, Second-Printing Information Displays
Page 141 of 627

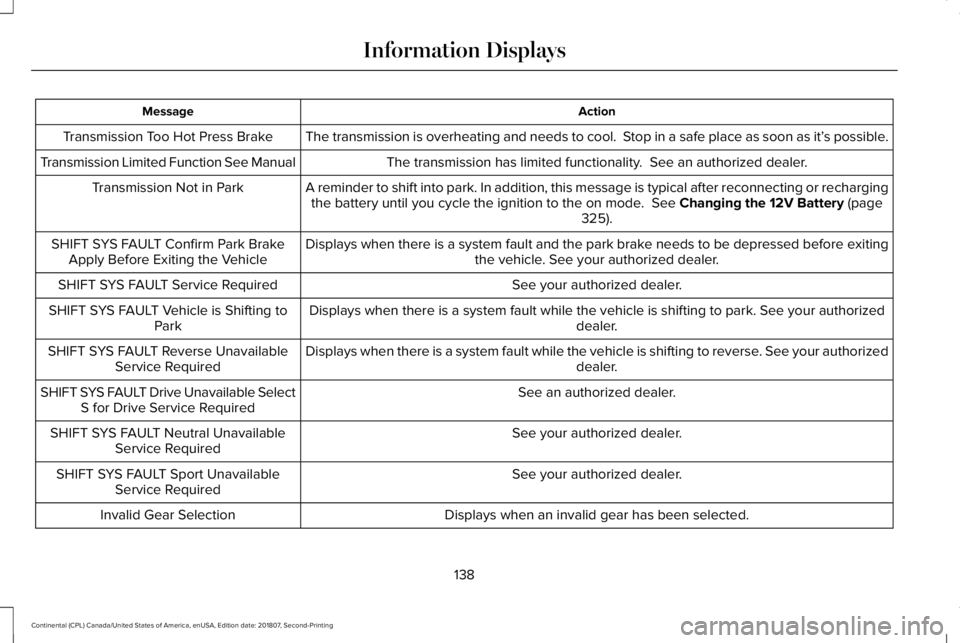
Action
Message
The transmission is overheating and needs to cool. Stop in a safe place as soon as it’ s possible.
Transmission Too Hot Press Brake
The transmission has limited functionality. See an authorized dealer.
Transmission Limited Function See Manual
A reminder to shift into park. In addition, this message is typical afte\
r reconnecting or rechargingthe battery until you cycle the ignition to the on mode. See Changing the 12V Battery (page
325).
Transmission Not in Park
Displays when there is a system fault and the park brake needs to be depressed before exitingthe vehicle. See your authorized dealer.
SHIFT SYS FAULT Confirm Park Brake
Apply Before Exiting the Vehicle
See your authorized dealer.
SHIFT SYS FAULT Service Required
Displays when there is a system fault while the vehicle is shifting to p\
ark. See your authorized dealer.
SHIFT SYS FAULT Vehicle is Shifting to
Park
Displays when there is a system fault while the vehicle is shifting to r\
everse. See your authorized dealer.
SHIFT SYS FAULT Reverse Unavailable
Service Required
See an authorized dealer.
SHIFT SYS FAULT Drive Unavailable Select
S for Drive Service Required
See your authorized dealer.
SHIFT SYS FAULT Neutral Unavailable
Service Required
See your authorized dealer.
SHIFT SYS FAULT Sport Unavailable
Service Required
Displays when an invalid gear has been selected.
Invalid Gear Selection
138
Continental (CPL) Canada/United States of America, enUSA, Edition date: 201807, Second-Printing Information Displays
Page 142 of 627

Action
Message
Displays when the brake pedal needs to be depressed to enable the transmission to shift from park.
Depress Brake to Shift from Park
Displays when neutral hold is active. See Automatic Transmission (page 191).
Stay in Neutral Mode Engaged
Displays when the neutral button N needs to be pressed again to enter ne\
utral hold. See Auto-matic Transmission
(page 191).
To Stay in Neutral When Exiting Vehicle
Select N Again
HEAD UP DISPLAY
(IF EQUIPPED)
Head Up Display (HUD)
This is a visual system that shows information
in your field of view as you drive. The
information comes from various vehicle
systems and includes vehicle speed, speed
limit, navigation, and advanced driver
assistance systems (ADAS), such as adaptive
cruise control (ACC) and the lane keeping
system. This system projects the information
off the windshield, and focuses the image near the end of the hood approximately
7 ft
(2 m) in front of the driver. Viewing this
information does not require you to
significantly move your head, allowing you
to keep your eyes on the road while having
quick and easy access to information. Head Up Display Information Signaling and Traffic Indication.
A
Left Information Group.
B
ADAS Display Area.
C
139
Continental (CPL) Canada/United States of America, enUSA, Edition date: 201807, Second-Printing Information DisplaysE228521
Page 143 of 627

Navigation Display Area.
D
Status Bar.
E
Speedometer Display Area.
F
Signaling and Traffic Indication
Displays direction indicators, blind spot
information (if direction indicators are active)
and cross traffic alert.
Left Information Group
Displays incoming call information.
ADAS Display Area
Displays ACC and lane keeping system
status and warnings.
Navigation Display Area
Displays navigation next turn instructions. Status Bar
Displays distance to empty (DTE), time and
outside air temperature. Next to DTE, the
fuel gauge fill color changes to yellow in low
fuel conditions. You can switch off the status
bar in the HUD settings menu.
Speedometer Display Area
Displays current vehicle speed, speed limit
(if available in the map database) and your
transmission gear selection.
Configuring The Head Up Display
You can control the system's options through
the information display by using the HUD,
OK and arrow buttons on the right-hand side
of your steering wheel.
See General
Information (page 112). You can adjust the
display according to your height to make
viewing the content easier. You can also
adjust what content displays and the
brightness of the content. The system's
options appear in the instrument cluster
while the updates happen in the HUD. Note:
If HUD On is unchecked, other options
of the system are hidden.
Note: The HUD menu automatically closes
after a certain period of inactivity.
Note: The HUD image brightness
automatically adjusts to the brightness of
the ambient environment. You have the
ability to adjust the brightness further
according to your preference.
Note: In some instances, sunlight can cause
some reflections in and around the HUD
image.
140
Continental (CPL) Canada/United States of America, enUSA, Edition date: 201807, Second-Printing Information Displays