Page 317 of 452
3176-3. Do-it-yourself maintenance
6
Maintenance and care
6-3.Do-it-yourself maintenance
Do-it-yourself service pre-
cautions
If you perform maintenance by
yourself, be sure to follow the cor-
rect procedure as given in these
sections.
Maintenance
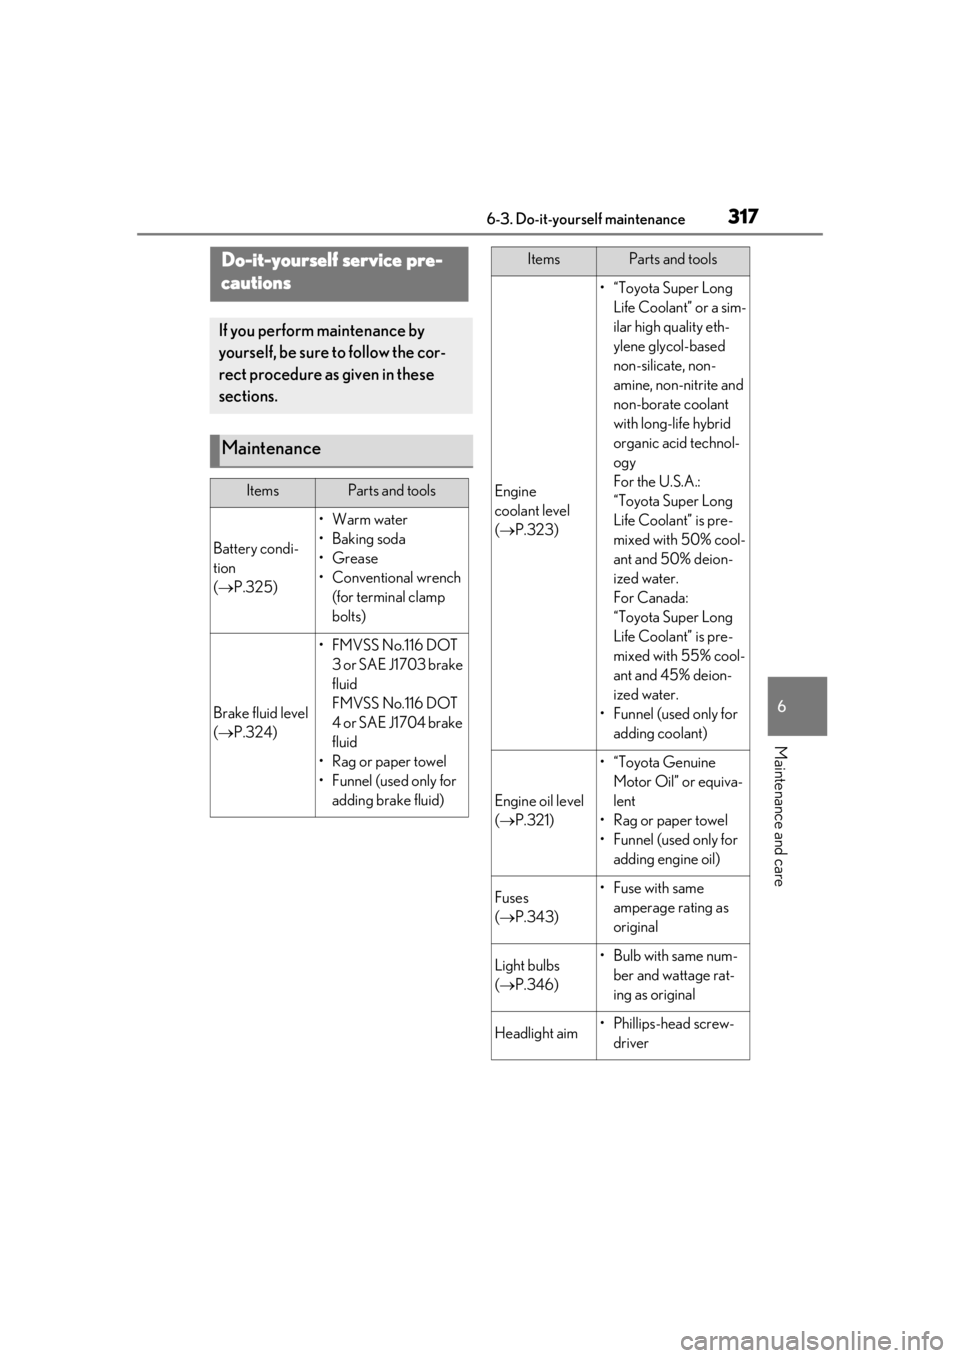
ItemsParts and tools
Battery condi-
tion
( P.325)
•Warm water
• Baking soda
•Grease
• Conventional wrench
(for terminal clamp
bolts)
Brake fluid level
( P.324)
•FMVSS No.116 DOT
3 or SAE J1703 brake
fluid
FMVSS No.116 DOT
4 or SAE J1704 brake
fluid
• Rag or paper towel
• Funnel (used only for adding brake fluid)
Engine
coolant level
( P.323)
•“Toyota Super Long
Life Coolant” or a sim-
ilar high quality eth-
ylene glycol-based
non-silicate, non-
amine, non-nitrite and
non-borate coolant
with long-life hybrid
organic acid technol-
ogy
For the U.S.A.:
“Toyota Super Long
Life Coolant” is pre-
mixed with 50% cool-
ant and 50% deion-
ized water.
For Canada:
“Toyota Super Long
Life Coolant” is pre-
mixed with 55% cool-
ant and 45% deion-
ized water.
• Funnel (used only for adding coolant)
Engine oil level
( P.321)
•“Toyota Genuine
Motor Oil” or equiva-
lent
• Rag or paper towel
• Funnel (used only for adding engine oil)
Fuses
( P.343)•Fuse with same
amperage rating as
original
Light bulbs
( P.346)• Bulb with same num-
ber and wattage rat-
ing as original
Headlight aim• Phillips-head screw-driver
ItemsParts and tools
Page 321 of 452
3216-3. Do-it-yourself maintenance
6
Maintenance and care
Fuse boxes (P.343)
Engine coolant reservoir ( P.323)
Engine oil filler cap ( P.322)
Battery ( P.325)
Brake fluid reservoir ( P.324)
Radiator ( P.324)
Condenser ( P.324)
Electric cooling fan
Engine oil level dipstick ( P.321)
Washer fluid tank ( P.327)
With the engine at operating tempera-
ture and turned off, check the oil level on the dipstick.
■Checking the engine oil
1 Park the vehicle on level ground.
After warming up the engine and
Engine compartment
Components
A
B
C
D
E
F
G
H
I
J
Checking and adding the engine
oil
Page 324 of 452
![LEXUS UX200 2019 Owners Manual 3246-3. Do-it-yourself maintenance
water.
(Minimum temperature: -31°F [-35°C])
Canada:
“Toyota Super Long Life Coolant” is a mix-
ture of 55% coolant and 45% deionized
water.
(Minimum temperatu LEXUS UX200 2019 Owners Manual 3246-3. Do-it-yourself maintenance
water.
(Minimum temperature: -31°F [-35°C])
Canada:
“Toyota Super Long Life Coolant” is a mix-
ture of 55% coolant and 45% deionized
water.
(Minimum temperatu](/manual-img/36/58038/w960_58038-323.png)
3246-3. Do-it-yourself maintenance
water.
(Minimum temperature: -31°F [-35°C])
Canada:
“Toyota Super Long Life Coolant” is a mix-
ture of 55% coolant and 45% deionized
water.
(Minimum temperature: -44°F [-42°C])
For more details about coolant, contact
your Lexus dealer.
■If the coolant level drops within a short
time of replenishing
Visually check the radiator, hoses, engine
coolant reservoir cap, drain cock and water
pump.
If you cannot find a leak, have your Lexus
dealer test the cap and check for leaks in
the cooling system.
Check the radiator and condenser and
clear away any foreign objects.
If either of the above parts is extremely
dirty or you are not sure of their condi- tion, have your vehicle inspected by
your Lexus dealer.
■Checking fluid level
The brake fluid level should be
between the “MAX” and “MIN” lines
on the tank.
■Adding fluid
Make sure to check the fluid type and
prepare the necessary item.
Fluid type
FMVSS No.116 DOT 3 or SAE J1703
brake fluid
FMVSS No.116 DOT 4 or SAE J1704
WARNING
■When the engine is hot
Do not remove the engine coolant reser-
voir cap.
The cooling system may be under pres-
sure and may spray hot coolant if the cap
is removed, causing serious injuries, such
as burns.
NOTICE
■When adding coolant
Coolant is neither plain water nor
straight antifreeze. The correct mixture
of water and antifreeze must be used to
provide proper lubrication, corrosion
protection and cooling. Be sure to read
the antifreeze or coolant label.
■If you spill coolant
Be sure to wash it off with water to pre-
vent it from damagi ng parts or paint.
Checking the radiator and con-
denser
WARNING
■When the engine is hot
Do not touch the radiator or condenser
as they may be hot and cause serious
injuries, such as burns.
■When the electric cooling fan is oper-
ating
Do not touch the engine compartment.
With the engine switch in ON, the elec-
tric cooling fan may automatically start to
run if the air conditioning is on and/or the
coolant temperature is high. Be sure the
engine switch is OFF when working near
the electric cooling fan or radiator grille.
Checking and adding the brake
fluid
Page 325 of 452
3256-3. Do-it-yourself maintenance
6
Maintenance and care
brake fluid
Items
Clean funnel
■Brake fluid can absorb moisture from
the air
Excess moisture in the brake fluid can cause
a dangerous loss of braking efficiency. Use
only newly opened brake fluid.
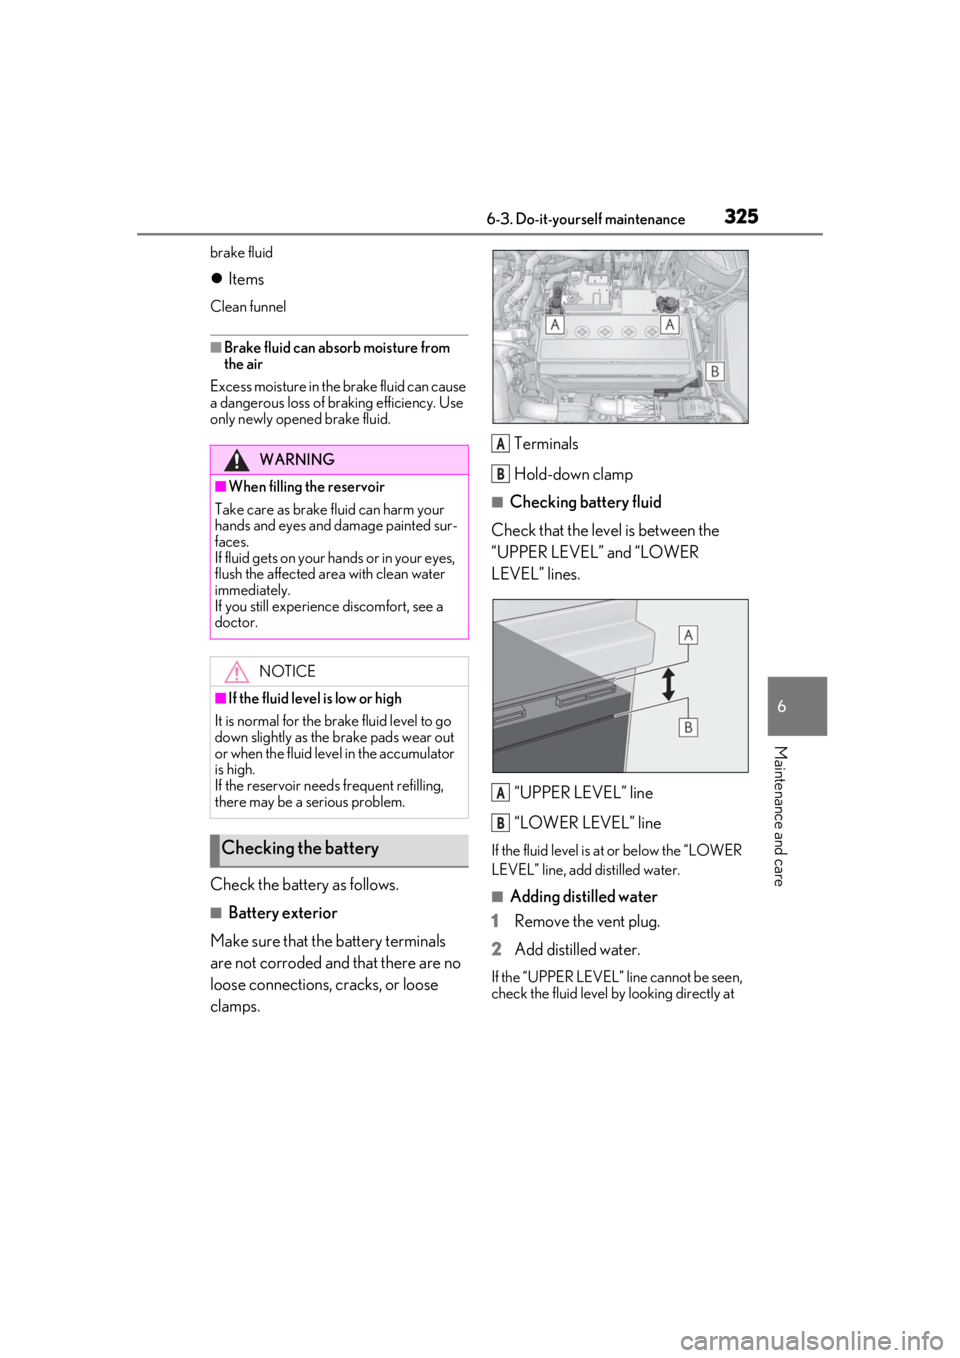
Check the battery as follows.
■Battery exterior
Make sure that the battery terminals
are not corroded and that there are no
loose connections, cracks, or loose
clamps. Terminals
Hold-down clamp
■Checking battery fluid
Check that the level is between the
“UPPER LEVEL” and “LOWER
LEVEL” lines.
“UPPER LEVEL” line
“LOWER LEVEL” line
If the fluid level is at or below the “LOWER
LEVEL” line, add distilled water.
■Adding distilled water
1
Remove the vent plug.
2
Add distilled water.
If the “UPPER LEVEL” line cannot be seen,
check the fluid level by looking directly at
WARNING
■When filling the reservoir
Take care as brake fluid can harm your
hands and eyes and damage painted sur-
faces.
If fluid gets on your hands or in your eyes,
flush the affected area with clean water
immediately.
If you still experience discomfort, see a
doctor.
NOTICE
■If the fluid level is low or high
It is normal for the brake fluid level to go
down slightly as the brake pads wear out
or when the fluid level in the accumulator
is high.
If the reservoir need s frequent refilling,
there may be a serious problem.
Checking the battery
A
B
A
B
Page 350 of 452
3507-1. Essential information
7-1.Essential information
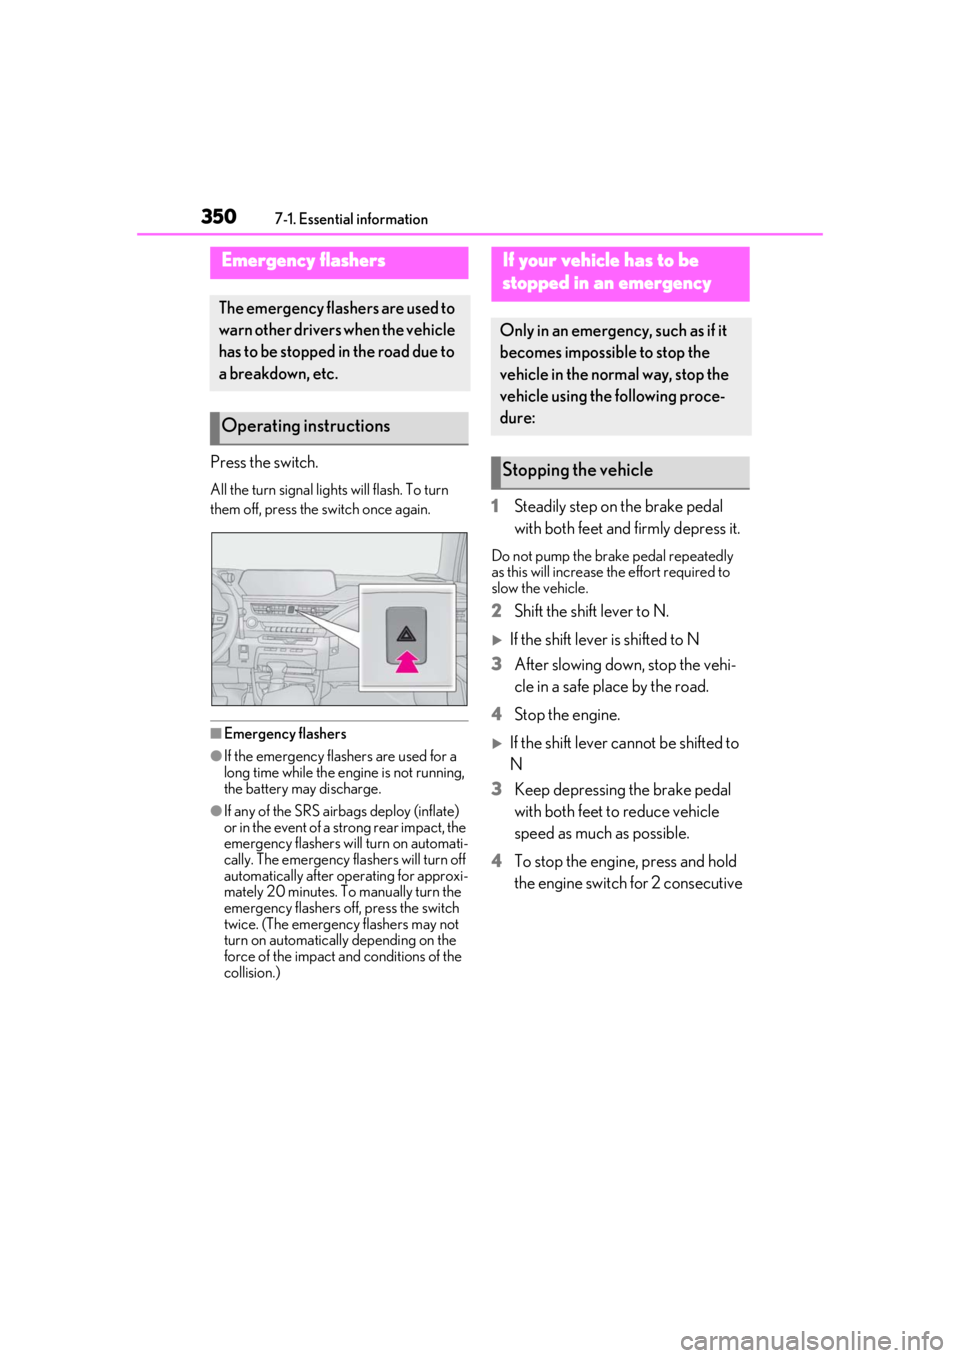
Press the switch.
All the turn signal lights will flash. To turn
them off, press the switch once again.
■Emergency flashers
●If the emergency flashers are used for a
long time while the engine is not running,
the battery may discharge.
●If any of the SRS airbags deploy (inflate)
or in the event of a strong rear impact, the
emergency flashers will turn on automati-
cally. The emergency flashers will turn off
automatically after operating for approxi-
mately 20 minutes. To manually turn the
emergency flashers off, press the switch
twice. (The emergency flashers may not
turn on automatically depending on the
force of the impact and conditions of the
collision.)
1Steadily step on the brake pedal
with both feet and firmly depress it.
Do not pump the brake pedal repeatedly
as this will increase the effort required to
slow the vehicle.
2Shift the shift lever to N.
If the shift lever is shifted to N
3 After slowing down, stop the vehi-
cle in a safe place by the road.
4 Stop the engine.
If the shift lever cannot be shifted to
N
3 Keep depressing the brake pedal
with both feet to reduce vehicle
speed as much as possible.
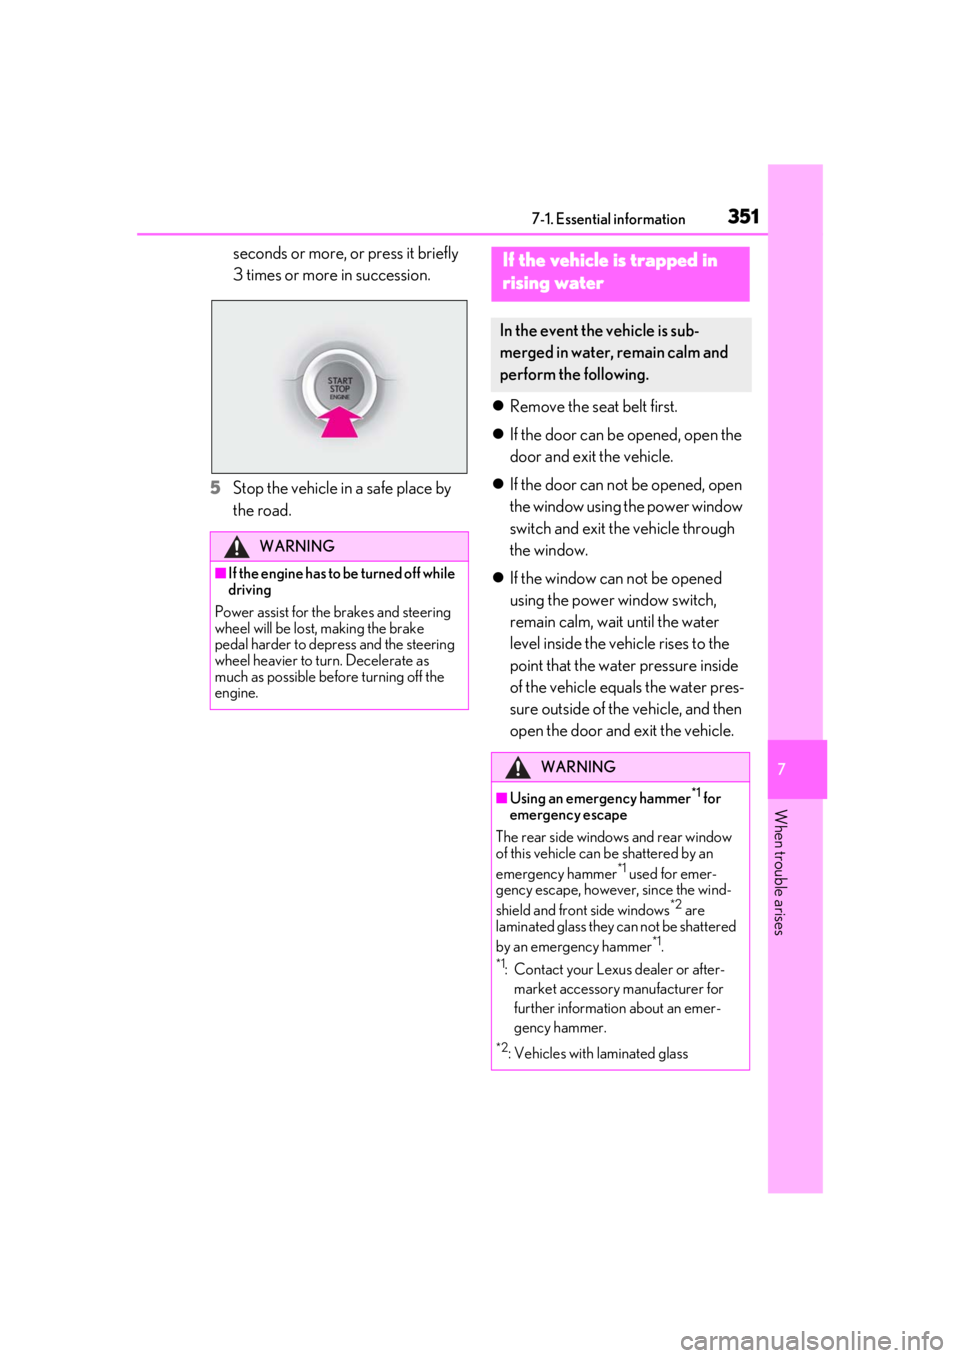
4 To stop the engine, press and hold
the engine switch for 2 consecutive
Emergency flashers
The emergency flashers are used to
warn other drivers when the vehicle
has to be stopped in the road due to
a breakdown, etc.
Operating instructions
If your vehicle has to be
stopped in an emergency
Only in an emergency, such as if it
becomes impossible to stop the
vehicle in the normal way, stop the
vehicle using the following proce-
dure:
Stopping the vehicle
Page 351 of 452
3517-1. Essential information
7
When trouble arises
seconds or more, or press it briefly
3 times or more in succession.
5
Stop the vehicle in a safe place by
the road.
Remove the seat belt first.
If the door can be opened, open the
door and exit the vehicle.
If the door can not be opened, open
the window using the power window
switch and exit the vehicle through
the window.
If the window can not be opened
using the power window switch,
remain calm, wait until the water
level inside the vehicle rises to the
point that the water pressure inside
of the vehicle equals the water pres-
sure outside of the vehicle, and then
open the door and exit the vehicle.
WARNING
■If the engine has to be turned off while
driving
Power assist for the brakes and steering
wheel will be lost, making the brake
pedal harder to depress and the steering
wheel heavier to turn. Decelerate as
much as possible before turning off the
engine.
If the vehicle is trapped in
r
ising water
In the event the vehicle is sub-
merged in water, remain calm and
perform the following.
WARNING
■Using an emergency hammer*1 for
emergency escape
The rear side windows and rear window
of this vehicle can be shattered by an
emergency hammer
*1 used for emer-
gency escape, however, since the wind-
shield and front side windows
*2 are
laminated glass they can not be shattered
by an emergency hammer
*1.
*1: Contact your Lexus dealer or after-
market accessory manufacturer for
further information about an emer-
gency hammer.
*2: Vehicles with laminated glass
Page 354 of 452
3547-2. Steps to take in an emergency
Do not tow with a sling-type truck to
prevent body damage.
From the front
Release the parking brake.
From the rear
Use a towing dolly under the front
wheels. If your vehicle is transported by a flat-
bed truck, it should be tied down at the
locations shown in the illustration.
If you use chains or cables to tie down
your vehicle, the angles shaded in
black must be 45°.
Do not overly tighten the tie downs or
the vehicle may be damaged.
If a tow truck is not available in an
emergency, your vehicle may be tem-
porarily towed using cables or chains
secured to the emergency towing eye-
lets. This should only be attempted on
hard surfaced roads for at most 50
miles (80 km) at under 18 mph (30
km/h).
A driver must be in the vehicle to steer
Towing with a sling-type truck
Towing with a wheel-lift type
truck
Using a flatbed truck
Emergency towing
Page 355 of 452
3557-2. Steps to take in an emergency
7
When trouble arises
and operate the brakes. The vehicle’s
wheels, drivetrain, axles, steering and
brakes must be in good condition.
To have your vehicle towed by another
vehicle, the towing eyelet must be
installed to your vehicle. Install the tow-
ing eyelet by following the specified
procedure.
1 Take out the towing eyelet.
(P.280)
2 Remove the eyelet cover using a
flathead screwdriver.
To protect the bodywork, place a rag
between the screwdriver and the vehicle
body as shown in the illustration.
3Insert the towing eyelet into the
hole and tighten partially by hand. 4
Tighten down the towing eyelet
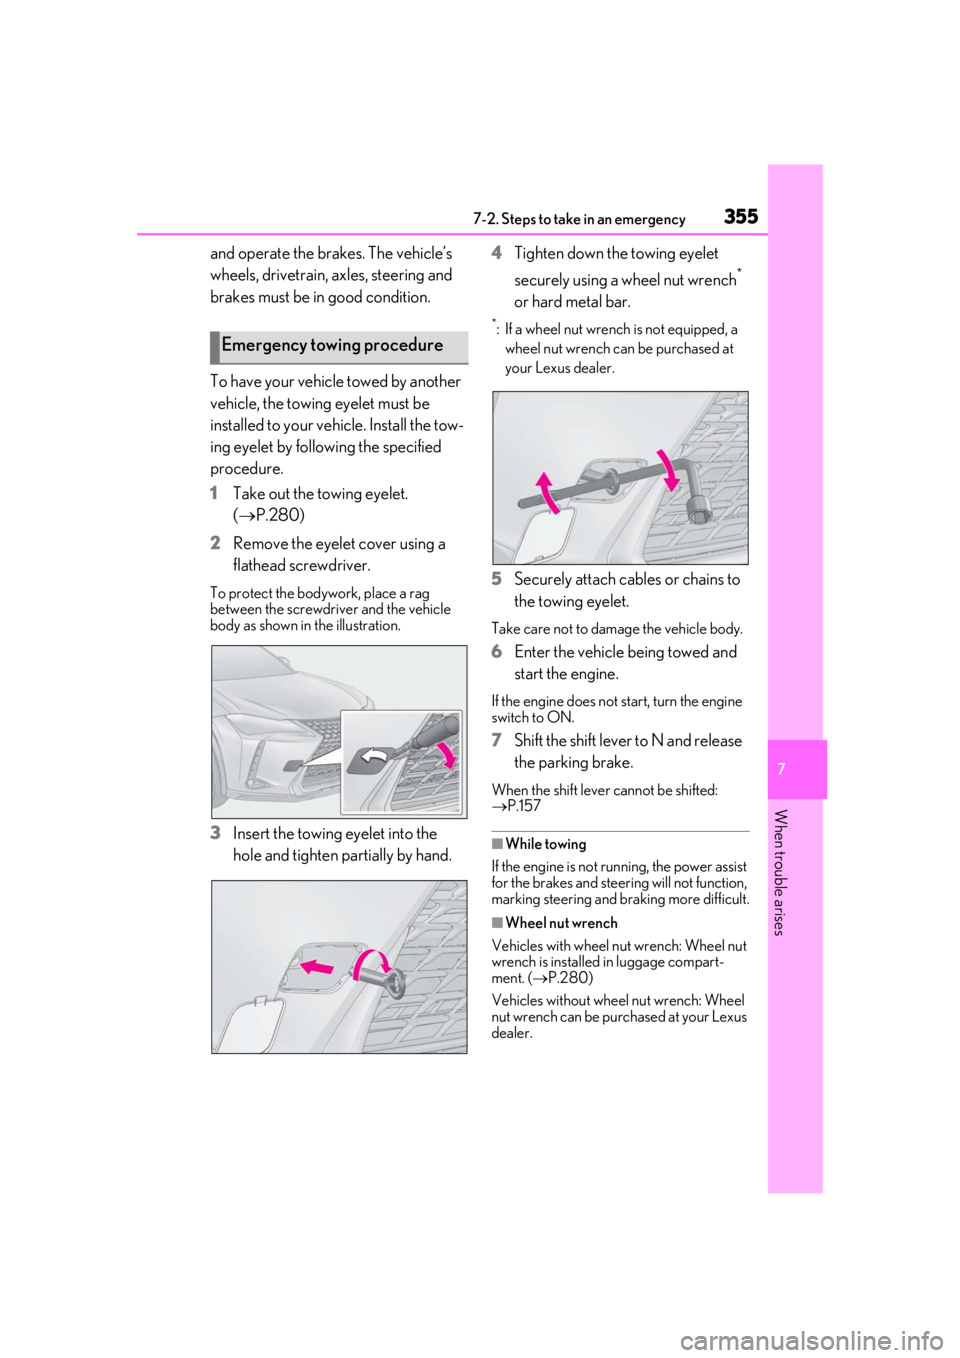
securely using a wheel nut wrench
*
or hard metal bar.
*: If a wheel nut wrench is not equipped, a wheel nut wrench can be purchased at
your Lexus dealer.
5 Securely attach cables or chains to
the towing eyelet.
Take care not to damage the vehicle body.
6Enter the vehicle being towed and
start the engine.
If the engine does not start, turn the engine
switch to ON.
7Shift the shift lever to N and release
the parking brake.
When the shift lever cannot be shifted:
P.157
■While towing
If the engine is not running, the power assist
for the brakes and steering will not function,
marking steering and braking more difficult.
■Wheel nut wrench
Vehicles with wheel nut wrench: Wheel nut
wrench is installed in luggage compart-
ment. ( P.280)
Vehicles without wheel nut wrench: Wheel
nut wrench can be purchased at your Lexus
dealer.
Emergency towing procedure