Page 510 of 600

5107-2. Steps to take in an emergency
GS450h_300h_OM_OM30F92E_(EE)
●Stop the vehicle in a safe place on a hard, flat surface.
●Set the parking brake.
●Shift the shift lever to P.
●Stop the hybrid system.
●Turn on the emergency flashers. (P. 452)
●Check the degree of the tire damage.
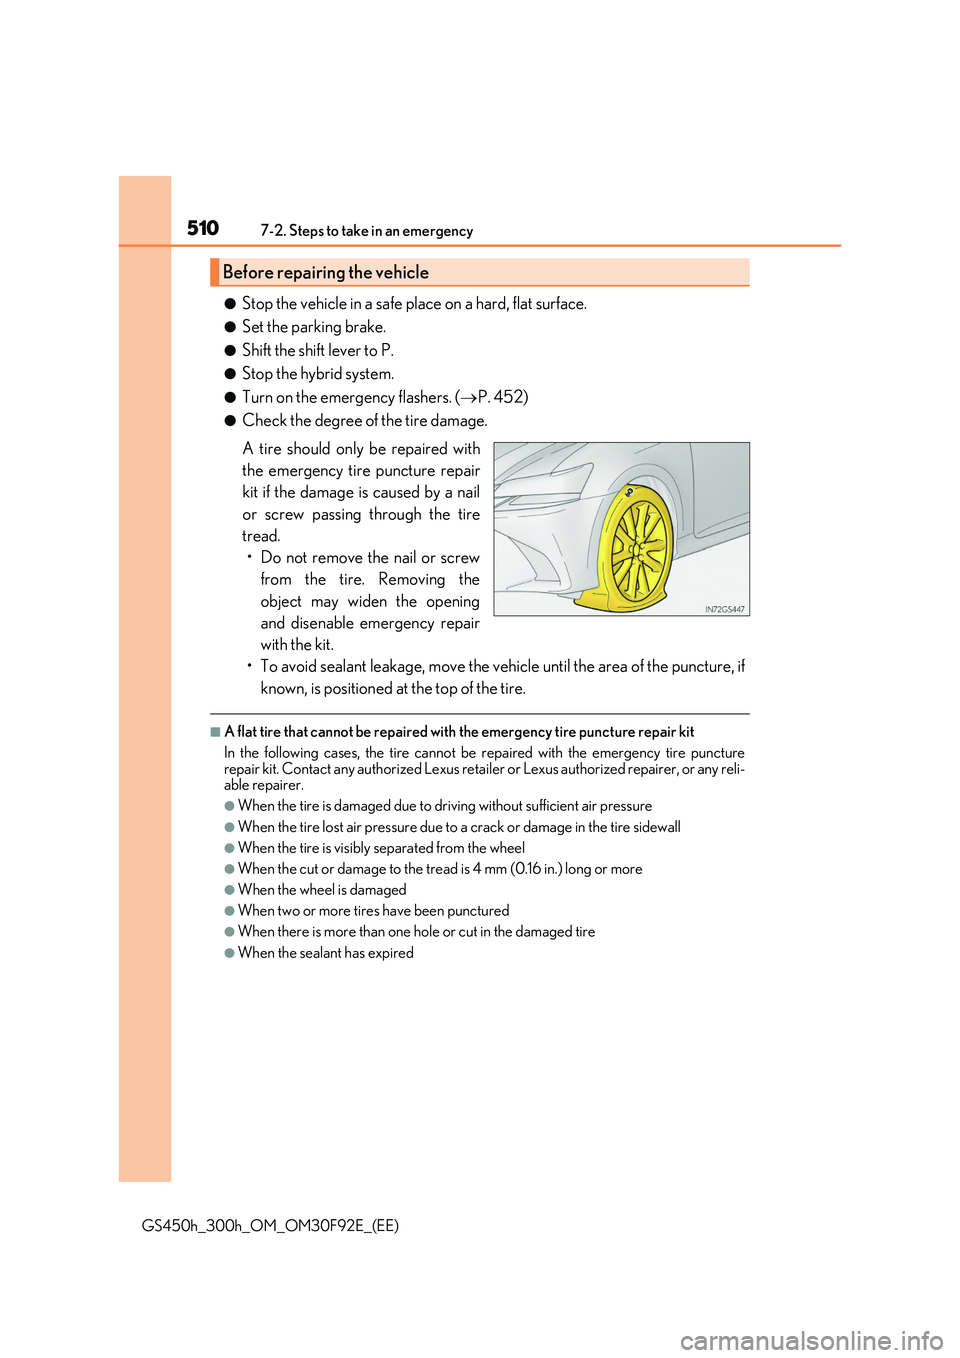
A tire should only be repaired with
the emergency tire puncture repair
kit if the damage is caused by a nail
or screw passing through the tire
tread.
• Do not remove the nail or screw
from the tire. Removing the
object may widen the opening
and disenable emergency repair
with the kit.
• To avoid sealant leakage, move the vehicle until the area of the puncture, if
known, is positioned at the top of the tire.
■A flat tire that cannot be repaired with the emergency tire puncture repair kit
In the following cases, the tire cannot be repaired with the emergency tire puncture
repair kit. Contact any authorized Lexus reta iler or Lexus authorized repairer, or any reli- able repairer.
●When the tire is damaged due to driving without sufficient air pressure
●When the tire lost air pressure due to a crack or damage in the tire sidewall
●When the tire is visibly separated from the wheel
●When the cut or damage to the tread is 4 mm (0.16 in.) long or more
●When the wheel is damaged
●When two or more tires have been punctured
●When there is more than one hole or cut in the damaged tire
●When the sealant has expired
Before repairing the vehicle
Page 511 of 600
5117-2. Steps to take in an emergency
7
When trouble arises
GS450h_300h_OM_OM30F92E_(EE)
*: Use of the jack (P. 502)
Location of the emergency tire puncture repair kit, jack and tools
Jack handle
Emergency tire puncture repair kit
Parking brake release tool
Screwdriver
Towing eyelet
Wheel nut wrench
Jack*
1
2
3
4
5
6
7
Page 516 of 600
5167-2. Steps to take in an emergency
GS450h_300h_OM_OM30F92E_(EE)
Attach the 2 stickers as shown.
Remove any dirt and moisture from the
wheel before attaching the sticker.
If you are unable to apply the stickers, inform the nearest any authorized Lexus
retailer or Lexus authorized repairer, or any reliable repairer that sealant hasbeen applied to the puncture when hav-
ing the tire repaired or replaced.
Check the specified tire inflation
pressure.
Tire inflation pressure is specified on the
label as shown. ( P. 555)
Start the hybrid system. (P. 217)
To inject the sealant and inflate the
tire, turn the compressor switch on.
8
9
10
11
Page 519 of 600

5197-2. Steps to take in an emergency
7
When trouble arises
GS450h_300h_OM_OM30F92E_(EE)
Turn the compressor switch on to inflate the tire until the recommended tire
inflation pressure is reached. Drive for about 5 km (3 miles) and then perform
step .
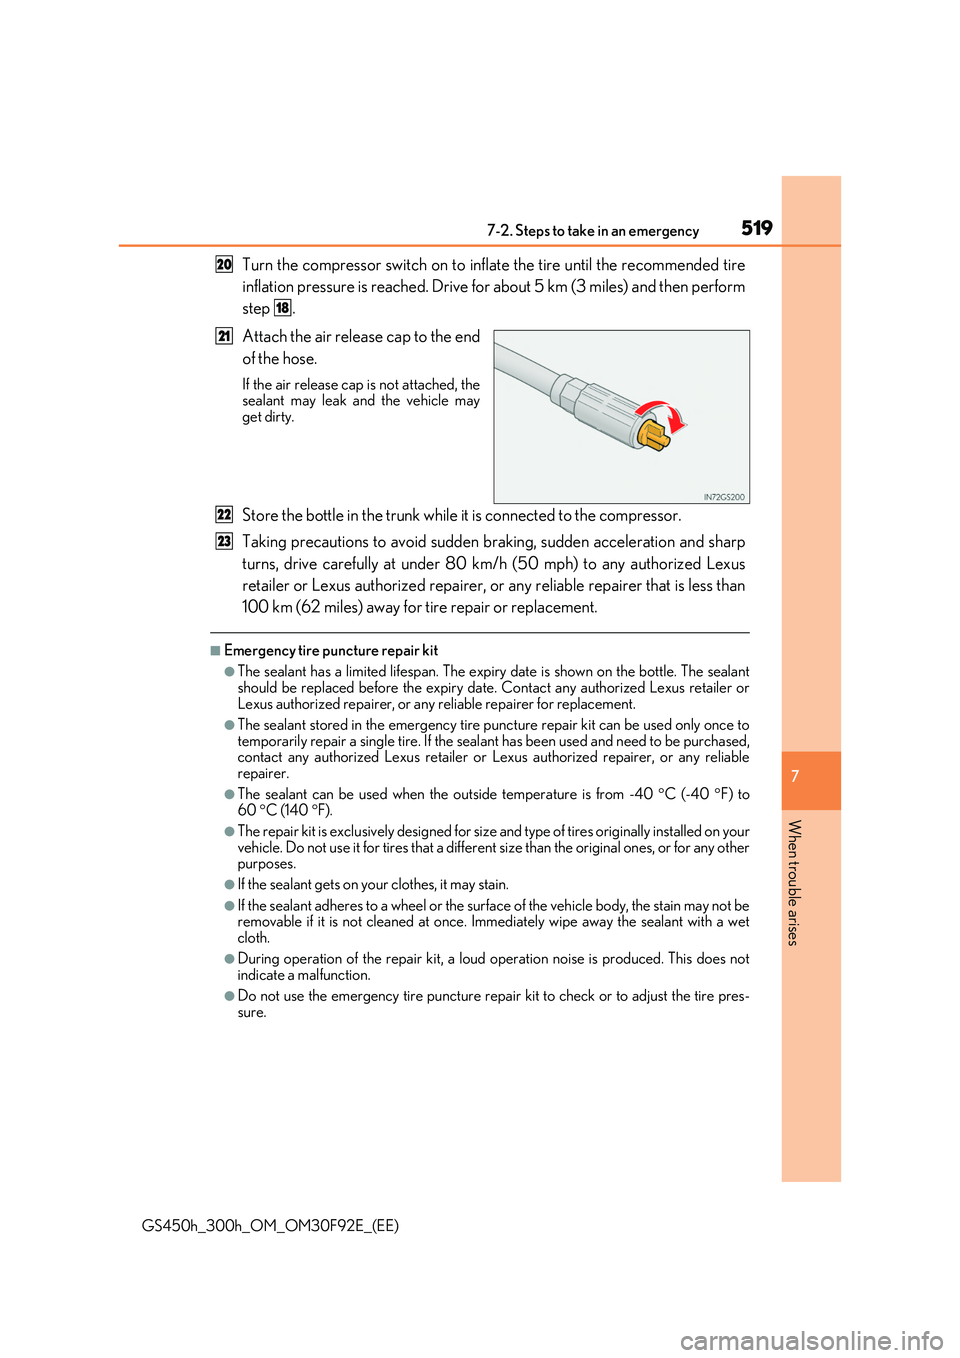
Attach the air release cap to the end
of the hose.
If the air release cap is not attached, the sealant may leak and the vehicle mayget dirty.
Store the bottle in the trunk while it is connected to the compressor.
Taking precautions to avoid sudden braking, sudden acceleration and sharp
turns, drive carefully at under 80 km /h (50 mph) to any authorized Lexus
retailer or Lexus authorized repairer, or any reliable repairer that is less than
100 km (62 miles) away for tire repair or replacement.
■Emergency tire puncture repair kit
●The sealant has a limited lifespa n. The expiry date is shown on the bottle. The sealant
should be replaced before the expiry date. Contact any authorized Lexus retailer or Lexus authorized repairer, or any reliable repairer for replacement.
●The sealant stored in the emergency tire puncture repair kit can be used only once to
temporarily repair a single tire. If the sealant has been used and need to be purchased, contact any authorized Lexus retailer or Lexus authorized repairer, or any reliable repairer.
●The sealant can be used when the outside temperature is from -40 C (-40 F) to 60 C (140 F).
●The repair kit is exclusively designed for size and type of tires originally installed on your
vehicle. Do not use it for tires that a different size than the original ones, or for any other purposes.
●If the sealant gets on your clothes, it may stain.
●If the sealant adheres to a wheel or the surface of the vehicle body, the stain may not beremovable if it is not cleaned at once. Immediately wipe away the sealant with a wetcloth.
●During operation of the repair kit, a loud operation noise is produced. This does not indicate a malfunction.
●Do not use the emergency tire puncture repair kit to check or to adjust the tire pres-
sure.
20
18
21
22
23
Page 521 of 600

5217-2. Steps to take in an emergency
7
When trouble arises
GS450h_300h_OM_OM30F92E_(EE)
WARNING
■When fixing the flat tire
●Stop your vehicle in a safe and flat area.
●Do not touch the wheels or the area around the brakes immediately after the vehicle
has been driven. After the vehicle has been driven, the wheels and the area around the brakes may beextremely hot. Touching these areas with hands, feet or other body parts may result in
burns.
●Connect the valve and hose securely with the tire installed on the vehicle.
●If the hose is not properly connected to the valve, air leakage may occur or sealant
may be sprayed out.
●If the hose comes off the valve while inflating the tire, there is a risk that the hose will move abruptly due to air pressure.
●After inflation of the tire has completed, the sealant may splatter when the hose is dis-connected or some air is let out of the tire.
●Follow the operation procedure to repair the tire. If the procedures not followed, the
sealant may spray out.
●Keep back from the tire while it is being repaired, as there is a chance of it bursting while the repair operation is being performe d. If you notice any cracks or deforma-
tion of the tire, turn off the compressor switch and stop the repair operation immedi- ately.
●The repair kit may overheat if operated for a long period of time. Do not operate the
repair kit continuously for more than 35 minutes.
●Parts of the repair kit become hot during op eration. Be careful handling the repair kit during and after operation. Do not touch the metal part connecting the bottle and the
compressor. It will be extremely hot.
●Do not attach the vehicle speed warning sticker to an area other than the one indi- cated. If the sticker is attached to an area where an SRS airbag is located, such as the
pad of the steering wheel, it may prevent the SRS air bag from operating properly.
■Driving to spread the liquid sealant evenly
●Drive the vehicle carefully at a low speed. Be especially careful when turning and cor-
nering.
●If the vehicle does not drive straight or you feel a pull through the steering wheel, stop the vehicle and check the following:
• Tire condition. The tire may have separated from the wheel. • Tire inflation pressure. If tire inflation pressure is 130 kPa (1.3 kgf/cm2 or b ar, 1 9 p si)or less, the tire may be severely damaged.
Page 542 of 600

5427-2. Steps to take in an emergency
GS450h_300h_OM_OM30F92E_(EE)
If the vehicle becomes stuck
Stop the hybrid system. Set the parking brake and shift the shift lever to P.
Remove the mud, snow or sand from around the rear wheels.
Place wood, stones or some other materi al under the rear wheels to help pro-
vide traction.
Restart the hybrid system.
Shift the shift lever to D or R and rele ase the parking brake. Then, while exer-
cising caution, depress the accelerator pedal.
■When it is difficult to free the vehicle
Carry out the following procedures if the tires spin or the vehicle becomes
stuck in mud, dirt or snow:
Press to turn off TRC. ( P. 326)
WARNING
■When attempting to free a stuck vehicle
If you choose to push the vehicle back and forth to free it, make sure the surrounding area is clear to avoid striking other vehi cles, objects or people. The vehicle may also
lunge forward or lunge back suddenly as it becomes free. Use extreme caution.
■When shifting the shift lever
Be careful not to shift the shift lever with the accelerator pedal depressed.
This may lead to unexpected rapid acceleration of the vehicle that may cause an acci- dent resulting in death or serious injury.
1
2
3
4
5
Page 543 of 600
5437-2. Steps to take in an emergency
7
When trouble arises
GS450h_300h_OM_OM30F92E_(EE)
NOTICE
■To avoid damaging the transmission and other components
●Avoid spinning the rear wheels and depressing the accelerator pedal more than nec- essary.
●If the vehicle remains stuck even after these procedures are performed, the vehiclemay require towing to be freed.
Page 546 of 600

5468-1. Specifications
GS450h_300h_OM_OM30F92E_(EE)
Maintenance data (fuel, oil level, etc.)
*1: Unladen vehicle
*2: Vehicles with 265/35R19 tires
*3: AWL10L-BEXEHW and AWL10R-BEXEHW models*10
*4: AWL10L-BEXQHW and AWL10R-BEXQHW models*10
*5: GWL10L-BEXEBW and GWL10R-BEXEBW models*10
*6: GWL10L-BEXQBW and GWL10R-BEXQBW models*10
*7: Vehicles with towing package
*8:GS300h
*9:GS450h
*10: The model code is indicated on the manufacturer’s label. (P. 547)
Dimensions and weights
Overall length 4850 mm (190.9 in.)
Overall width 1840 mm (72.4 in.)
Overall height*11455 mm (57.3 in.)
Wheelbase 2850 mm (112.2 in.)
Tread*1Front 1575 mm (62.0 in.)
Rear 1590 mm (62.6 in.) 1560 mm (61.4 in.)*2
Gross vehicle mass
2235 kg (4927 lb.)*3
2265 kg (4993 lb.)*4
2305 kg (5082 lb.)*5
2335 kg (5148 lb.)*6
Maximum permissible axle
capacity
Front 1120 kg (2469 lb.)
Rear 1270 kg (2800 lb.)
Drawbar load*780 kg (176 lb.)
Towing capacity*7
With brake 500 kg (1102 lb.)*8
1500 kg (3307 lb.)*9
Without brake0 kg (0 lb.)*8
750 kg (1653 lb.)*9