Page 206 of 593
Features of your vehicle
102
4
The Master Warning Light illumi-
nates when more than one of the
above warning situations occur.
If the warning situation is solved, the
master warning light will be turned
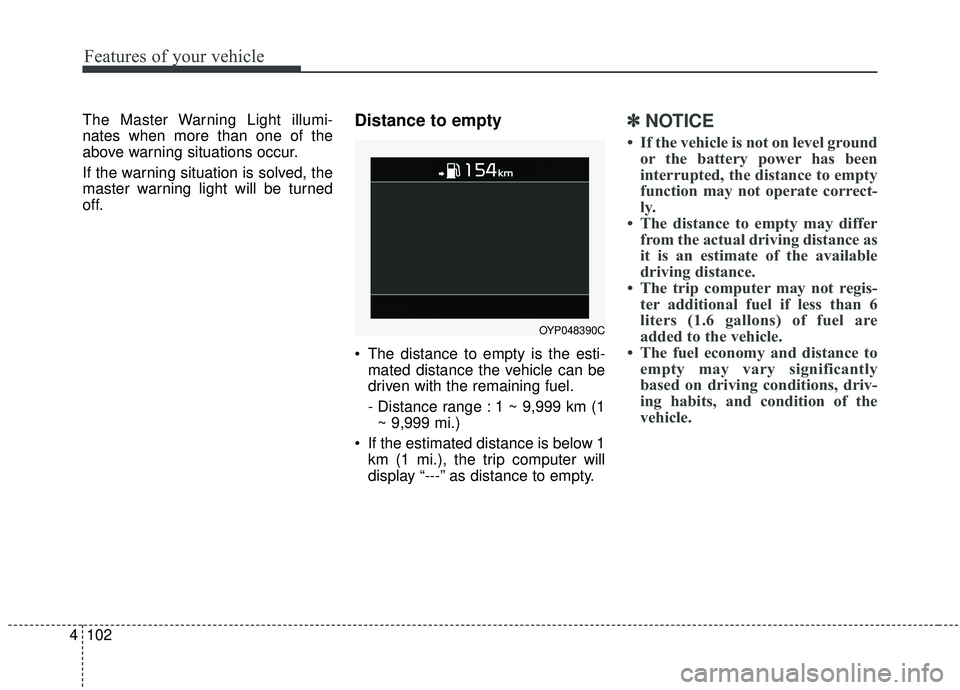
off.Distance to empty
The distance to empty is the esti-
mated distance the vehicle can be
driven with the remaining fuel.
- Distance range : 1 ~ 9,999 km (1~ 9,999 mi.)
If the estimated distance is below 1 km (1 mi.), the trip computer will
display “---” as distance to empty.
✽ ✽ NOTICE
• If the vehicle is not on level ground
or the battery power has been
interrupted, the distance to empty
function may not operate correct-
ly.
• The distance to empty may differ from the actual driving distance as
it is an estimate of the available
driving distance.
• The trip computer may not regis- ter additional fuel if less than 6
liters (1.6 gallons) of fuel are
added to the vehicle.
• The fuel economy and distance to empty may vary significantly
based on driving conditions, driv-
ing habits, and condition of the
vehicle.
OYP048390C
Page 211 of 593

4107
Features of your vehicle
Other features
Fuel Economy Auto Reset - Off : The average fuel economywill not reset automatically when-
ever refueling.
- After Ignition : The average fuel economy will reset automatically
whenever it has passed 4 hours
after turning OFF the engine.
- After Refueling : The average fuel economy will reset automatically
when refueling.
❈ For more information, refer to “Trip
Computer” in this chapter.
Fuel Economy Unit - Choose the fuel economy unit.(US gallon/UK gallon)
Temperature Unit - Choose the temperature u (°C,°F)
Tire Pressure Unit (if equipped) - Choose the tire pressure u (psi,kPa, bar) Language (if equipped)
Choose the language
Reset
You can reset the menus in the User
Settings Mode. All menus in the User
Settings Mode are initialized, except
language and service interval.Warning Messages
Shift to P position
(for smart key system)
This warning message illuminates if you try to turn off the engine without
the shift lever in P (Park) position.
At this time, the Engine Start/Stop Button turns to the ACC position (If
you press the Engine Start/Stop
Button once more, it will turn to the
ON position).
Low Key Battery
(for smart key system)
This warning message illuminates if the battery of the smart key is
discharged when the Engine
Start/Stop Button changes to the
OFF position.
Page 226 of 593
Features of your vehicle
122
4
This indicator light illuminates for 2
seconds and goes off:
When the vehicle can not detect
the smart key which is in the vehi-
cle while the Engine Start/Stop
Button is ON.
In this case, have your vehicle
inspected by an authorized Kia
dealer.
This indicator light blinks:
When the battery of the smart key is weak.
- At this time, you can not start theengine. However, you can start
the engine if you press the Engine
Start/Stop Button with the smart
key. (For more details, refer to
“Starting the Engine” in section 5).
When there is a malfunction with the immobilizer system.
In this case, have your vehicle
inspected by an authorized Kia
dealer.Turn Signal Indicator
Light
This indicator light blinks:
When you turn the turn signal light on.
If any of the following occurs, there
may be a malfunction with the turn
signal system. In this case, have your
vehicle inspected by an authorized
Kia dealer. - The indicator light does not blinkbut illuminates.
- The indicator light blinks more rapidly.
- The indicator light does not illumi- nate at all.
High Beam Indicator
Light
This indicator light illuminates:
When the headlights are on and in the high beam position
When the turn signal lever is pulled into the Flash-to-Pass position.
High beam assist indica-
tor (if equipped)
This warning light illuminates :
When the high-Beam is on with the light switch in the AUTO light posi-
tion.
If your vehicle detects oncoming or preceding vehicles, the High beam
assist system will switch the high
beam to low beam automatically.
❈ For more details, refer to “High
beam assist” in this chapter.
Page 239 of 593
4135
Features of your vehicle
Battery saver function
The purpose of this feature is toprevent the battery from being dis-
charged if the lights are left in the
ON position. The system automati-
cally shuts off the parking lights 30
seconds after the ignition key is
removed and the driver’s door is
opened and closed.
With this feature, the parking lights will turn off automatically if the driver
parks on the side of the road at night
and opens the driver’s side door.
If necessary, to keep the parking
lights on when the ignition key is
removed, perform the following:
1) Open the driver-side door.
2) Turn the parking lights OFF and ON again using the light switch
on the steering column.
Headlight escort function
If you turn the ignition switch to the
ACC or OFF position with the head-
lights ON, the headlights remain on
for about 5 minutes. However, if the
driver's door is opened and closed,
the headlights are turned off after 15
seconds.
The headlights can be turned off by
pressing the lock button on the trans-
mitter (or smart key) twice or turning
the light switch to the OFF position.
If the driver gets out of the vehicle
through other doors (except driver’s
door), the battery saver function
does not operate and the headlight
escort function does not turn off
automatically. Therefore, It causes
the battery to be discharged. In this
case, make sure to turn off the lamp
before getting out of the vehicle.
Daytime running light
(if equipped)
The Daytime Running Lights (DRL)
can make it easier for others to see
the front of your vehicle during the
day. DRL can be helpful in many dif-
ferent driving conditions, and it is
especially helpful after dawn and
before sunset.
The DRL system turns OFF when:
1. The headlight switch is on
2. The engine is off
3. The front fog light is on.
4. Engaging the Parking Brake
LIGHTING
Page 241 of 593

4137
Features of your vehicle
Auto light position (if equipped)
When the light switch is in the AUTO
light position, the taillights and head-
lights will turn ON or OFF automati-
cally depending on the amount of
light outside the vehicle.
When the light switch is positioned at
an auto light position, at first, the
wiper will turn on and then, after 5
seconds the head lamp will turn on
automatically.
If the head lamp has been turned on
due to this function of the vehicle, the
head lamp will turn off 60 seconds
after the wiper has been turned off.
Headlights On with Wipers(Available With Auto lights Only)
- When the light switch is in the AUTO light position, the headlights
will turn ON automatically the next
5 seconds with wiper is ON.
If this feature allows headlights to turn
On, the headlights will be turned off on
the next 60 seconds with wiper is off.
Never place anything over the sen- sor (1) located on the instrument
panel. This will ensure better auto-
light system control.
Don’t clean the sensor using a win- dow cleaner. The cleaner may
leave a light film which could inter-
fere with sensor operation.
If your vehicle has window tint or other types of metallic coating on
the front windshield, the Auto light
system may not work properly.
High beam operation
To turn on the high beam headlights,
push the lever away from you. The
lever will return to its original posi-
tion.
The high beam indicator will light
when the headlight high beams are
switched on.
To prevent the battery from being
discharged, do not leave the lights
on for a prolonged time while the
engine is not running.
OYP047359OYP047363N
Page 252 of 593
Features of your vehicle
148
4
Do not use the interior lights for
extended periods when the engine is
not running.
It may cause battery discharge.Automatic turn off function
(if equipped)
The interior lights automatically turn
off approximately 20 minutes after
the ignition switch is turned off, if the
lights are in the ON position.
If your vehicle is equipped with the
theft alarm system, the interior lights
automatically turn off approximately
5 seconds after the system in armed
stage.
Room lamp
Press the button(1) or lens(1) to turn
the light on or off.
If the front map lamp turns on by the
front map lamp switch, the room
lamp will turn on.
INTERIOR LIGHTS
WARNING- Interior lights
Do not use the interior lights
when driving in the dark.
Accidents could happen
because the view may be
obscured by interior lights.
OYP044067K
OYP044068N
■ Type B
■ Type A
Page 277 of 593
4173
Features of your vehicle
Adjusting the driver and passenger
side temperature equally
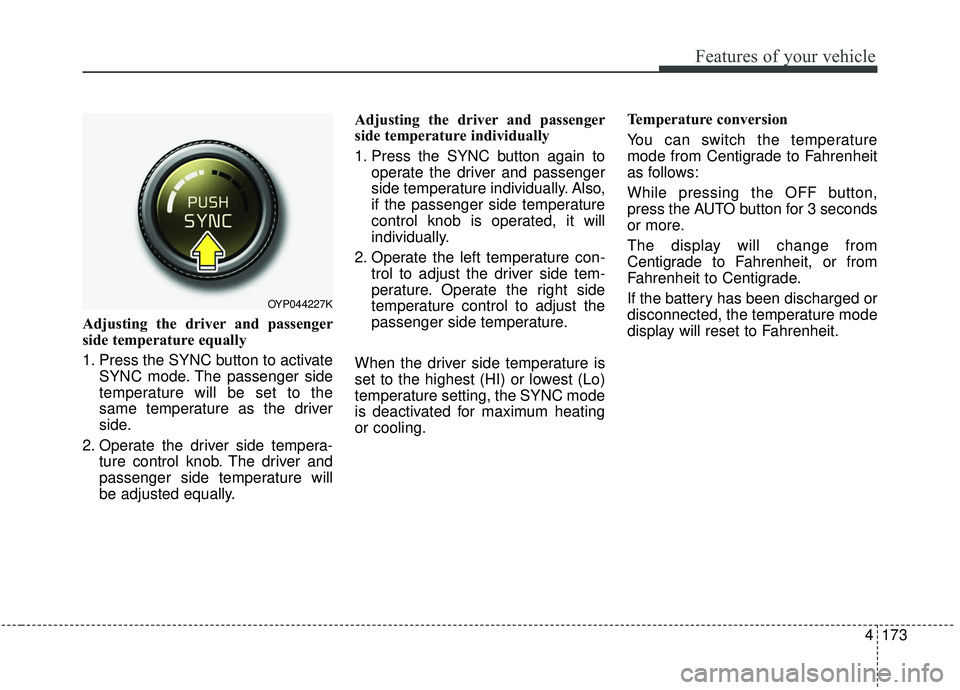
1. Press the SYNC button to activateSYNC mode. The passenger side
temperature will be set to the
same temperature as the driver
side.
2. Operate the driver side tempera- ture control knob. The driver and
passenger side temperature will
be adjusted equally. Adjusting the driver and passenger
side temperature individually
1. Press the SYNC button again to
operate the driver and passenger
side temperature individually. Also,
if the passenger side temperature
control knob is operated, it will
individually.
2. Operate the left temperature con- trol to adjust the driver side tem-
perature. Operate the right side
temperature control to adjust the
passenger side temperature.
When the driver side temperature is
set to the highest (HI) or lowest (Lo)
temperature setting, the SYNC mode
is deactivated for maximum heating
or cooling. Temperature conversion
You can switch the temperature
mode from Centigrade to Fahrenheit
as follows:
While pressing the OFF button,
press the AUTO button for 3 seconds
or more.
The display will change from
Centigrade to Fahrenheit, or from
Fahrenheit to Centigrade.
If the battery has been discharged or
disconnected, the temperature mode
display will reset to Fahrenheit.
OYP044227K
Page 292 of 593
Features of your vehicle
188
4
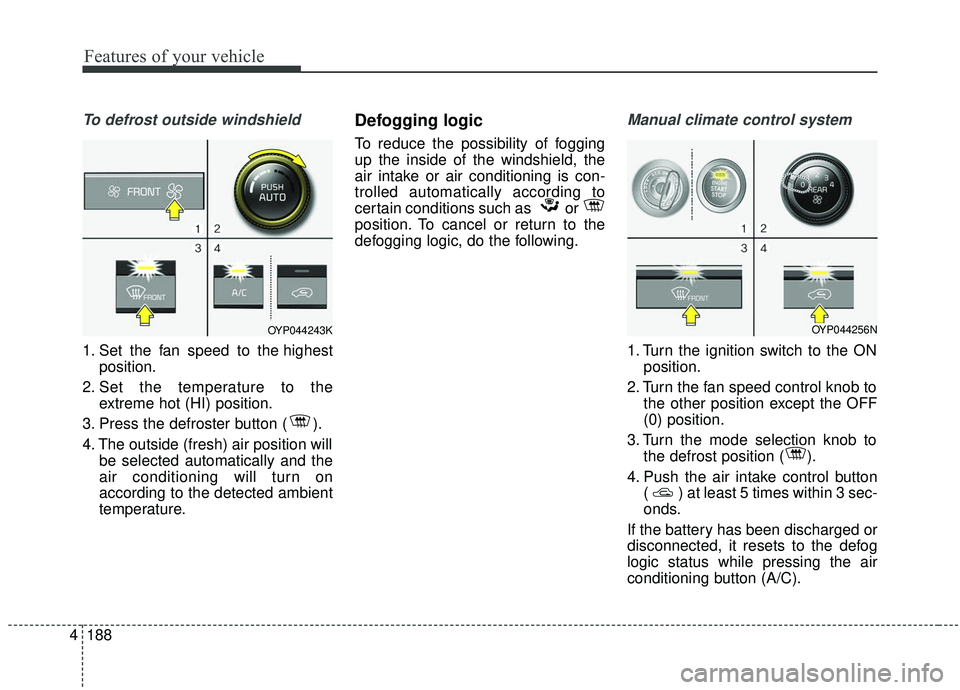
To defrost outside windshield
1. Set the fan speed to the highest
position.
2. Set the temperature to the extreme hot (HI) position.
3. Press the defroster button ( ).
4. The outside (fresh) air position will be selected automatically and the
air conditioning will turn on
according to the detected ambient
temperature.
Defogging logic
To reduce the possibility of fogging
up the inside of the windshield, the
air intake or air conditioning is con-
trolled automatically according to
certain conditions such as or
position. To cancel or return to the
defogging logic, do the following.
Manual climate control system
1. Turn the ignition switch to the ONposition.
2. Turn the fan speed control knob to the other position except the OFF
(0) position.
3. Turn the mode selection knob to the defrost position ( ).
4. Push the air intake control button ( ) at least 5 times within 3 sec-
onds.
If the battery has been discharged or
disconnected, it resets to the defog
logic status while pressing the air
conditioning button (A/C).
OYP044243KOYP044256N