2019 KIA RIO brakes
[x] Cancel search: brakesPage 372 of 503

739
What to do in an emergency
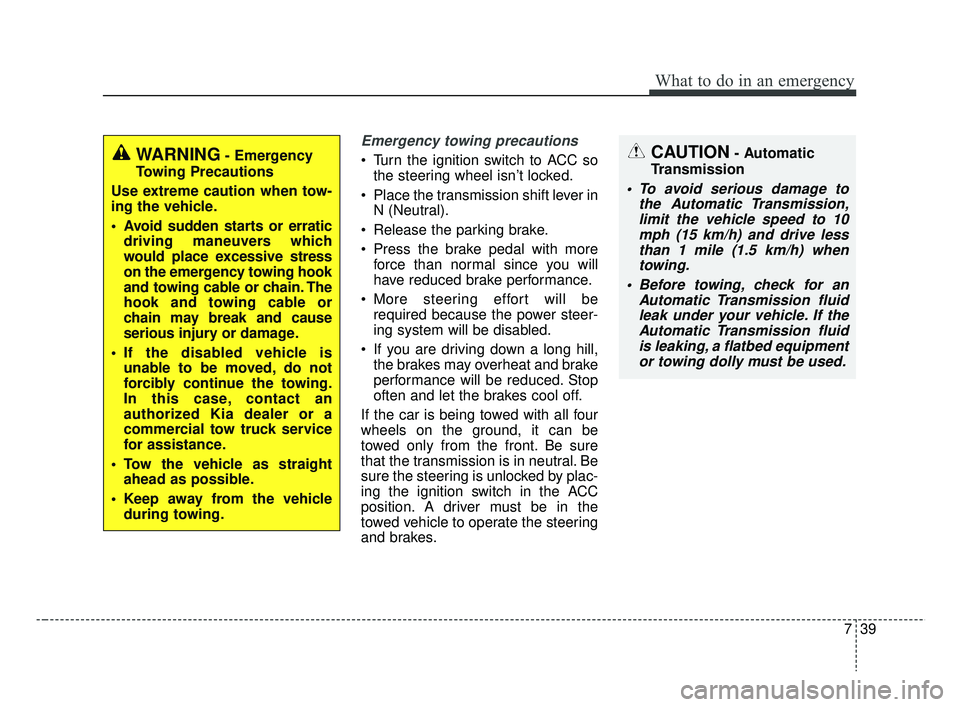
Emergency towing precautions
Turn the ignition switch to ACC sothe steering wheel isn’t locked.
Place the transmission shift lever in N (Neutral).
Release the parking brake.
Press the brake pedal with more force than normal since you will
have reduced brake performance.
More steering effort will be required because the power steer-
ing system will be disabled.
If you are driving down a long hill, the brakes may overheat and brake
performance will be reduced. Stop
often and let the brakes cool off.
If the car is being towed with all four
wheels on the ground, it can be
towed only from the front. Be sure
that the transmission is in neutral. Be
sure the steering is unlocked by plac-
ing the ignition switch in the ACC
position. A driver must be in the
towed vehicle to operate the steering
and brakes.WARNING- Emergency
Towing Precautions
Use extreme caution when tow-
ing the vehicle.
Avoid sudden starts or erratic driving maneuvers which
would place excessive stress
on the emergency towing hook
and towing cable or chain. The
hook and towing cable or
chain may break and cause
serious injury or damage.
If the disabled vehicle is unable to be moved, do not
forcibly continue the towing.
In this case, contact an
authorized Kia dealer or a
commercial tow truck service
for assistance.
Tow the vehicle as straight ahead as possible.
Keep away from the vehicle during towing.CAUTION- Automatic
Transmission
To avoid serious damage to the Automatic Transmission,limit the vehicle speed to 10mph (15 km/h) and drive lessthan 1 mile (1.5 km/h) whentowing.
Before towing, check for an Automatic Transmission fluidleak under your vehicle. If theAutomatic Transmission fluidis leaking, a flatbed equipmentor towing dolly must be used.
SC CAN (ENG) 7.qxp 7/18/2018 5:40 PM Page 39
Page 423 of 503

851
Maintenance
Production options weight:The
combined weight of installed regular
production options weighing over 2.3
kg (5 lb.) in excess of the standard
items which they replace, not previ-
ously considered in curb weight or
accessory weight, including heavy
duty brakes, ride levelers, roof rack,
heavy duty battery, and special trim.
Recommended Inflation Pressure:
Vehicle manufacturer's recommend-
ed tire inflation pressure and shown
on the tire placard.
Radial Ply Tire: A pneumatic tire in
which the ply cords that extend to the
beads are laid at 90 degrees to the
centerline of the tread.
Rim: A metal support for a tire and
upon which the tire beads are seat-
ed.
Sidewall: The portion of a tire
between the tread and the bead. Speed Rating:
An alphanumeric
code assigned to a tire indicating the
maximum speed at which a tire can
operate.
Traction: The friction between the
tire and the road surface. The
amount of grip provided.
Tread: The portion of a tire that
comes into contact with the road.
Treadwear Indicators: Narrow
bands, sometimes called "wear
bars," that show across the tread of a
tire when only 1/16 inch of tread
remains.
UTQGS: Uniform Tire Quality
Grading Standards, a tire information
system that provides consumers with
ratings for a tire's traction, tempera-
ture and treadwear. Ratings are
determined by tire manufacturers
using government testing proce-
dures. The ratings are molded into
the sidewall of the tire.
Vehicle Capacity Weight: The num-
ber of designated seating positions
multiplied by 68kg (150 lbs.) plus the
rated cargo and luggage load. Vehicle Maximum Load on the
Tire:
Load on an individual tire due
to curb and accessory weight plus
maximum occupant and cargo
weight.
Vehicle Normal Load on the Tire:
Load on an individual tire that is
determined by distributing to each
axle its share of the curb weight,
accessory weight, and normal occu-
pant weight and driving by 2.
Vehicle Placard: A label permanent-
ly attached to a vehicle showing the
original equipment tire size and rec-
ommended inflation pressure.
SC CAN (ENG) 8.qxp 7/18/2018 5:34 PM Page 51
Page 471 of 503

899
Maintenance
Exterior care
Exterior general caution
It is very important to follow the label
directions when using any chemical
cleaner or polish. Read all warning
and caution statements that appear
on the label.
Finish maintenance
Washing
To help protect your vehicle’s finish
from rust and deterioration, wash it
thoroughly and frequently at least
once a month with lukewarm or cold
water.
If you use your vehicle for off-road
driving, you should wash it after each
off-road trip. Pay special attention to
the removal of any accumulation of
salt, dirt, mud, and other foreign mate-
rials. Make sure the drain holes in the
lower edges of the doors and rocker
panels are kept clear and clean.
Insects, tar, tree sap, bird droppings,
industrial pollution and similar
deposits can damage your vehicle’s
finish if not removed immediately.
Even prompt washing with plain water
may not completely remove all these
deposits. A mild soap, safe for use on
painted surfaces, may be used.
After washing, rinse the vehicle thor-
oughly with lukewarm or cold water.
Do not allow soap to dry on the finish.
APPEARANCE CARE
WARNING
After washing the vehicle, test
the brakes while driving slowly
to see if they have been affected
by water. If braking performance
is impaired, dry the brakes by
applying them lightly while
maintaining a slow forward
speed.
SC CAN (ENG) 8.qxp 7/18/2018 5:37 PM Page 99
Page 474 of 503

Maintenance
102
8
Do a thorough washing of the
undercarriage at the end of the
winter.
Use professional service techni- cians or governmental inspection
stations to annually inspect for cor-
rosion.
Immediately seek an inspection of your vehicle if you become visually
aware of corrosion flaking or scal-
ing or if you become aware of a
change in vehicle performance,
such as soft or spongey brakes,
fluids leaking, impairment of direc-
tional control, suspension noises
or rattling metal straps.Aluminum wheel maintenance
The aluminum wheels are coated
with a clear protective finish.
Do not use any abrasive cleaner,polishing compound, solvent, or
wire brushes on aluminum wheels.
They may scratch the finish.
Clean the wheel when it has cooled.
Use only a mild soap or neutral detergent, and rinse thoroughly
with water. Also, be sure to clean
the wheels after driving on salted
roads. This helps prevent corro-
sion.
Avoid washing the wheels with highspeed vehicle wash brushes.
Do not use any alkaline or acid detergents It may damage and cor-
rode the aluminum wheels coated
with a clear protective finish.
Corrosion protection
Protecting your vehicle from corrosion
By using the most advanced design
and construction practices to combat
corrosion, we produce vehicles of
the highest quality. However, this is
only part of the job. To achieve the
long-term corrosion resistance your
vehicle can deliver, the owner's
cooperation and assistance is also
required.
Common causes of corrosion
The most common causes of corro-
sion on your vehicle are:
Road salt, dirt and moisture that isallowed to accumulate underneath
the vehicle.
Removal of paint or protective coatings by stones, gravel, abra-
sion or minor scrapes and dents
which leave unprotected metal
exposed to corrosion.
SC CAN (ENG) 8.qxp 7/18/2018 5:37 PM Page 102
Page 496 of 503

I3
Index
Power brakes ..............................................................6-24
Vehicle Stability Management (VSM)........................6-35
Brake/clutch fluid ..........................................................8-26 Checking the brake/clutch fluid level ........................8-26
Bulb wattage ....................................................................9-3
Checking fluid levels ....................................................8-20
Child Restraint System (CRS) ......................................3-26 Using a child restraint system ....................................3-27
Climate control air filter ................................................8-31 Filter inspection ..........................................................8-31
Cruise Control System ..................................................6-50 Cruise Control Switch ................................................6-50
To cancel cruise control ..............................................6-53
To decrease the cruising speed ..................................6-52
To increase cruise control set speed ..........................6-52
To resume cruising speed at more than approximately 30 km/h (20 mph) ....................................................6-53
To set cruise control speed..........................................6-51
To temporarily accelerate with the cruise control on 6-52
To turn cruise control off ............................................6-54
Declaration of conformity ............................................5-42 IC ........................................................................\
........5-42 Defroster ......................................................................4-\
108
Rear window defroster ..............................................4-108
Dimensions ......................................................................9-\
2
Door locks......................................................................4-\
19 Auto door lock/unlock feature ....................................4-22
Child-protector rear door lock ....................................4-22
Impact sensing door unlock system ............................4-22
Operating door locks from inside the vehicle ............4-20
Operating door locks from outside the vehicle ..........4-19
Speed sensing door lock system ................................4-22
Economical operation ....................................................6-56
Emergency starting ..........................................................7-5 Jump starting ..............................................................7-5
Emission control system ..............................................8-107 Crankcase emission control system ..........................8-107
Evaporative emission control (including ORVR: Onboard Refueling Vapor Recovery) system ........8-107
Exhaust emission control system ..............................8-108
Engine .................................................................\
...........9-2
Engine compartment ................................................2-7, 8-4
Engine coolant ..............................................................8-23 Changing the coolant ..................................................8-25
Checking the coolant level..........................................8-23\
Engine number ..............................................................9-11
C
D
E
SC CAN (ENG) Index.qxp 7/18/2018 5:31 PM Page 3