Page 118 of 503

Features of your vehicle
40
4
Closing the hood
1. Before closing the hood, check the
following:
partment must be correctly
installed.
bustible material must be
removed from the engine com-
partment.
2. Return the support rod to its clip to prevent it from rattling.
3. Lower the hood until it is about 30 cm (1 ft ) above the closed position
and let it drop. Make sure that it
locks into place.
4. Check that the hood has engaged properly. If the hood can be raised
slightly, it is not properly engaged.
Open it again and close it with a lit-
tle more force.
Hood open warning
(if equipped)
The warning message will appear on
the LCD display when hood is open.
The warning chime will operate when
the vehicle is being driven at or
above 3 km/h (2 mph) with the hood
open.
WARNING- Fire risk
Do not leave gloves, rags or any
other combustible material in the
engine compartment. Doing so
may cause a heat-induced fire.
OSC047125N
WARNING - Unsecured
engine hood
Always double check to be sure
that the hood is firmly latched
before driving away. If it is not
latched, the hood could fly open
while the vehicle is being driven,
causing a total loss of visibility,
which might result in an accident.
CAUTION
Before closing the hood, ensure that all obstructions areremoved from the engine com-partment and surrounding bodysheet metal. Closing the hoodwith an obstruction presentcould result in damage to theengine, sheet metal or theimpacted objects.
SC CAN (ENG) 4.QXP 7/18/2018 5:47 PM Page 40
Page 120 of 503

Features of your vehicle
42
4
Opening the fuel filler lid
The fuel filler lid must be opened
from inside the vehicle by pulling up
the fuel filler lid opener.
If the fuel filler lid does not open
because ice has formed around it,
tap lightly or push on the lid to break
the ice and release the lid. Do not pry
on the lid. If necessary, spray around
the lid with an approved de-icer fluid
(do not use radiator anti-freeze) or
move the vehicle to a warm place
and allow the ice to melt. 1. Stop the engine.
2. To open the fuel filler lid, pull the
fuel filler lid opener up.
3. Pull open the fuel filler lid (1) out to fully open.
4. To remove the cap turn the fuel filler cap (2) counterclockwise.
5. Refuel as needed.
Closing the fuel filler lid
1. To install the cap, turn it clockwise until it “clicks” one time. This indi-
cates that the cap is securely tight-
ened.
2. Close the fuel filler lid and push it lightly and make sure that it is
securely closed.
FUEL FILLER LID
WARNING - Refueling
Always remove the fuel cap
carefully and slowly. If the cap
is venting fuel or if you hear a
hissing sound, wait until the
condition stops before com-
pletely removing the cap.
If pressurized fuel sprays out, it
can cover your clothes or skin
and subject you to the risk of
fire and burns.
OYB046025
OYB046026
SC CAN (ENG) 4.QXP 7/18/2018 5:47 PM Page 42
Page 121 of 503

443
Features of your vehicle
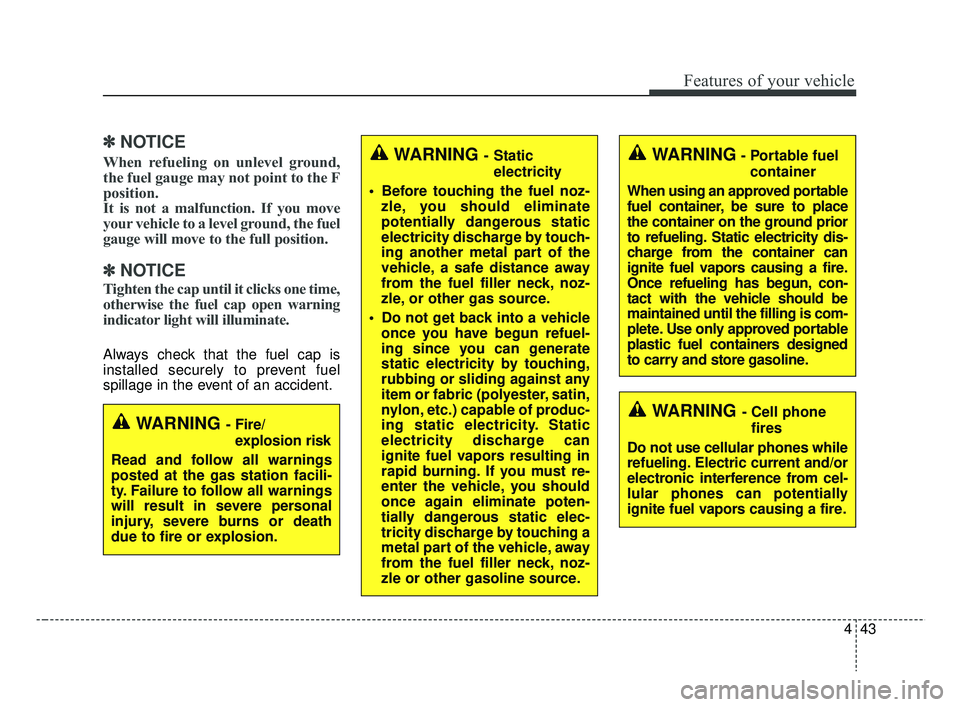
✽ ✽NOTICE
When refueling on unlevel ground,
the fuel gauge may not point to the F
position.
It is not a malfunction. If you move
your vehicle to a level ground, the fuel
gauge will move to the full position.
✽ ✽NOTICE
Tighten the cap until it clicks one time,
otherwise the fuel cap open warning
indicator light will illuminate.
Always check that the fuel cap is
installed securely to prevent fuel
spillage in the event of an accident.
WARNING - Fire/
explosion risk
Read and follow all warnings
posted at the gas station facili-
ty. Failure to follow all warnings
will result in severe personal
injury, severe burns or death
due to fire or explosion.WARNING - Cell phone fires
Do not use cellular phones while
refueling. Electric current and/or
electronic interference from cel-
lular phones can potentially
ignite fuel vapors causing a fire.
WARNING- Portable fuel container
When using an approved portable
fuel container, be sure to place
the container on the ground prior
to refueling. Static electricity dis-
charge from the container can
ignite fuel vapors causing a fire.
Once refueling has begun, con-
tact with the vehicle should be
maintained until the filling is com-
plete. Use only approved portable
plastic fuel containers designed
to carry and store gasoline.WARNING - Static electricity
Before touching the fuel noz- zle, you should eliminate
potentially dangerous static
electricity discharge by touch-
ing another metal part of the
vehicle, a safe distance away
from the fuel filler neck, noz-
zle, or other gas source.
Do not get back into a vehicle once you have begun refuel-
ing since you can generate
static electricity by touching,
rubbing or sliding against any
item or fabric (polyester, satin,
nylon, etc.) capable of produc-
ing static electricity. Static
electricity discharge can
ignite fuel vapors resulting in
rapid burning. If you must re-
enter the vehicle, you should
once again eliminate poten-
tially dangerous static elec-
tricity discharge by touching a
metal part of the vehicle, away
from the fuel filler neck, noz-
zle or other gasoline source.
SC CAN (ENG) 4.QXP 7/18/2018 5:47 PM Page 43
Page 122 of 503

Features of your vehicle
44
4
Make sure to refuel your vehicle
according to the “Fuel requirements”
suggested in chapter 1.
If the fuel filler cap requires replace-
ment, use only a genuine Kia cap or
the equivalent specified for your vehi-
cle. An incorrect fuel filler cap can
result in a serious malfunction of the
fuel system or emission control sys-
tem.
CAUTION- Exterior paint
Do not spill fuel on the exterior
surfaces of the vehicle. Anytype of fuel spilled on paintedsurfaces may damage the paint.
WARNING - Refueling&
Vehicle fires
When refueling, always shut the
engine off. Sparks produced by
electrical components related
to the engine can ignite fuel
vapors causing a fire. Once
refueling is complete, check to
make sure the filler cap and
filler door are securely closed,
before starting the engine.
WARNING - Smoking
DO NOT use matches or a lighter
and DO NOT SMOKE or leave a
lit cigarette in your vehicle while
at a gas station especially during
refueling. Automotive fuel is
highly flammable and can, when
ignited, result in fire.
SC CAN (ENG) 4.QXP 7/18/2018 5:47 PM Page 44
Page 124 of 503
Features of your vehicle
46
4
Sunroof open warning
(if equipped)
If the driver removes the ignition key
(smart key: turns off the engine) and
opens the driver-side door when the
sunroof is not fully closed, the warning
chime will sound for a few seconds
and a warning image will appear on
the LCD display.
Close the sunroof securely when
leaving your vehicle.CAUTION
Do not extend any luggage out-
side the sunroof while driving.
WARNING
In order to prevent accidental
operation of the sunroof, espe-
cially by a child, do not let a
child operate the sunroof.
WARNING
Do not sit on the top of the vehi-
cle. It may cause vehicle dam-
age.
OSC047126N
CAUTION
Make sure the sunroof is fullyclosed when leaving your vehi-cle. If the sunroof is opened, rainor snow may leak through thesunroof and wet the interior aswell as allow theft to occur.
SC CAN (ENG) 4.QXP 7/18/2018 5:47 PM Page 46
Page 164 of 503
Features of your vehicle
86
4
Door Ajar Warning
Light (if equipped)
This warning light illuminates:
When a door is not closed securely.
Trunk (tailgate) OpenWarning Light(if equipped)
This warning light illuminates:
When the trunk (tailgate) is not
closed securely.
Washer Fluid WarningLight (if equipped)
This warning light illuminates:
When the washer fluid level in the reservoir is nearly empty.
In this case, you should refill the
washer fluid.
Master Warning Mode
(if equipped)
This warning light informs the driv- er of the following situations:
- Forward Collision-AvoidanceAssist (FCA) malfunction (if
equipped)
- Forward Collision Warning (FCW) malfunction (if equipped)
- Forward Collision-Avoidance Assist (FCA) radar blind (if
equipped)
If the warning situation is solved, the
master warning light will turn off.
SC CAN (ENG) 4.QXP 7/18/2018 5:49 PM Page 86
Page 184 of 503
Features of your vehicle
106
4
Luggage room lamp
The luggage room lamp comes on
when the trunk (tailgate) is opened. The luggage lamp comes on as long
as the trunk lid (tailgate) is open. To
prevent unnecessary charging sys-
tem drain, close the trunk lid (tail-
gate) securely after using the lug-
gage room.
Glove box lamp
The glove box lamp comes on when
the glove box is opened. To prevent
unnecessary charging system drain,
close the glove box securely after
use.
OYB046407
OSC047412N
OYB046405
SC CAN (ENG) 4.QXP 7/18/2018 5:50 PM Page 106
Page 215 of 503

4137
Features of your vehicle
Seat warmer (if equipped)
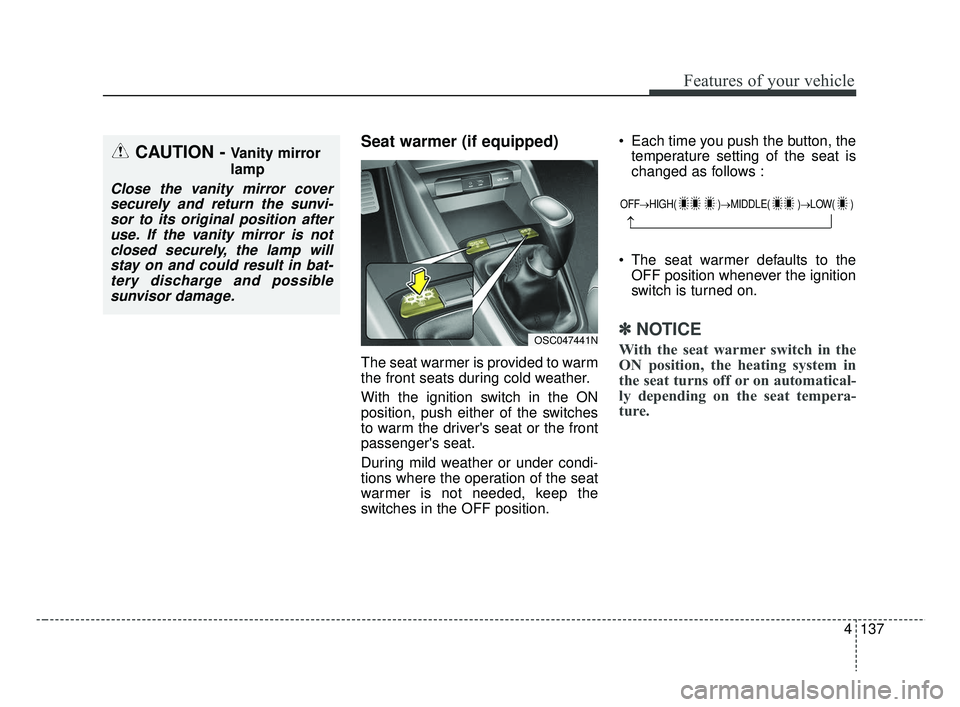
The seat warmer is provided to warm
the front seats during cold weather.
With the ignition switch in the ON
position, push either of the switches
to warm the driver's seat or the front
passenger's seat.
During mild weather or under condi-
tions where the operation of the seat
warmer is not needed, keep the
switches in the OFF position. Each time you push the button, the
temperature setting of the seat is
changed as follows :
The seat warmer defaults to the OFF position whenever the ignition
switch is turned on.
✽ ✽ NOTICE
With the seat warmer switch in the
ON position, the heating system in
the seat turns off or on automatical-
ly depending on the seat tempera-
ture.
CAUTION - Vanity mirror
lamp
Close the vanity mirror cover
securely and return the sunvi-sor to its original position afteruse. If the vanity mirror is notclosed securely, the lamp willstay on and could result in bat-tery discharge and possiblesunvisor damage.
OFF→ HIGH( )→ MIDDLE( )→LOW( )
→
OSC047441N
SC CAN (ENG) 4.QXP 7/18/2018 5:53 PM Page 137