Page 22 of 626
KEYS
Key Fob
Your vehicle uses a keyless ignition system. The ignition
system consists of a key fob with Remote Keyless Entry
(RKE) and a START/STOP push button ignition system.
The Remote Keyless Entry system consists of a key fob and
Keyless Enter-N-Go feature if equipped.
NOTE:The key fob may not be found if it is located next to
a mobile phone, laptop or other electronic device; these
devices may block the key fob’s wireless signal.
The key fob allows you to lock or unlock the doors and
liftgate from distances up to approximately 66 ft (20 m)
using a handheld key fob. The key fob does not need to be
pointed at the vehicle to activate the system.
NOTE:
• With ignition on/start and the vehicle moving at 5 mph
(8 km/h), all RKE commands are disabled.
Page 39 of 626
If the door lock switch is pushed while the ignition is in
ACC or ON/RUN and the driver’s door is open, the doors
will not lock.
If a rear door is locked, it cannot be opened from inside the
vehicle without first unlocking the door. The door may be
unlocked manually by raising the lock knob.
Keyless Enter-N-Go — Passive Entry
The Passive Entry system is an enhancement to the vehi-
cle’s key fob and a feature of Keyless Enter-N-Go —
Passive Entry. This feature allows you to lock and unlock
the vehicle’s door(s) and fuel door without having to push
the key fob lock or unlock buttons.
NOTE:
•Passive Entry may be programmed ON/OFF; refer to
“Uconnect Settings” in “Multimedia” for further infor-
mation. •
The key fob may not be able to be detected by the vehicle
passive entry system if it is located next to a mobile
phone, laptop, or other electronic device; these devices
may block the key fob’s wireless signal and prevent the
passive entry system from locking/unlocking the ve-
hicle.
• Passive Entry Unlock initiates illuminated approach
(Low Beams, License Plate Lamp, Position Lamps) for
whichever time duration is set between 0, 30 (default),
60 or 90 seconds. Passive Entry Unlock also initiates two
flashes of the turn signal lamps.
• If wearing gloves on your hands, or if it has been
raining/snowing on the Passive Entry door handle, the
unlock sensitivity can be affected, resulting in a slower
response time.
• If the vehicle is unlocked by Passive Entry and no door
is opened within 60 seconds, the vehicle will re-lock and
if equipped will arm the security alarm.
3
GETTING TO KNOW YOUR VEHICLE 37
Page 512 of 626
▫Important Notes For Dual Video Screen
System ............................. .572
▫ Blu-ray Disc Player Remote Control — If
Equipped ........................... .573
▫ Headphones Operation .................. .574
▫ Controls ............................ .574
▫ Replacing The Headphone Batteries ..........575
▫ Accessibility — If Equipped ...............575
▫ Stereo Headphone Lifetime Limited Warranty . . .576
� RADIO OPERATION AND MOBILE PHONES . . .581
▫ Regulatory And Safety Information ..........581
� UCONNECT VOICE RECOGNITION
QUICK TIPS .......................... .582
▫ Introducing Uconnect ................... .582
▫ Get Started .......................... .583
▫ Basic Voice Commands .................. .584
▫ Radio .............................. .584
▫ Media .............................. .585▫
Phone .............................. .586
▫ Voice Text Reply — If Equipped ............587
▫ Climate ............................. .589
▫ Navigation (4C NAV) — If Equipped .........590
▫ SiriusXM Guardian (4C/4C NAV) — If
Equipped ........................... .591
▫ Register (4C/4C NAV) .................. .591
▫ Vehicle Health Report/Alert (4C/4C NAV) .....592
▫ Mobile App (4C/4C NAV) ................592
▫ SiriusXM Travel Link (4C NAV) .............593
▫ Siri Eyes Free — If Equipped ..............594
▫ Do Not Disturb ....................... .595
▫ Andr oid
Auto — If Equipped ..............595
▫ Apple CarPlay — If Equipped ..............597
▫ General Information .....................599
▫ Additional Information .................. .599
� CD/DVD DISC MAINTENANCE ............599
510 MULTIMEDIA
Page 516 of 626
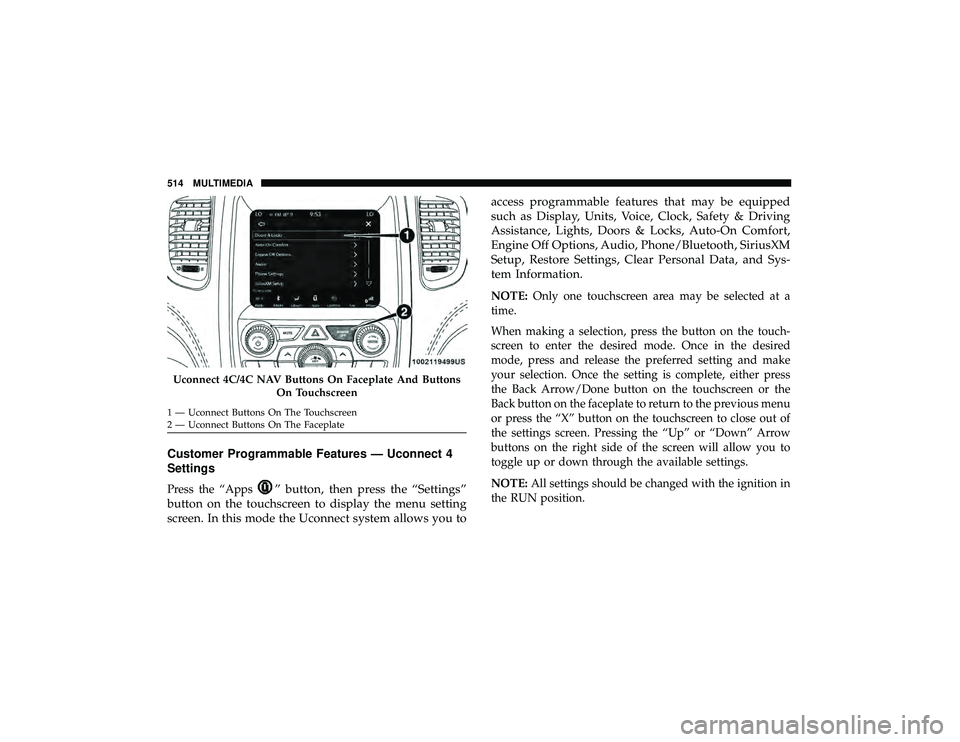
Customer Programmable Features — Uconnect 4
Settings
Press the “Apps” button, then press the “Settings”
button on the touchscreen to display the menu setting
screen. In this mode the Uconnect system allows you to access programmable features that may be equipped
such as Display, Units, Voice, Clock, Safety & Driving
Assistance, Lights, Doors & Locks, Auto-On Comfort,
Engine Off Options, Audio, Phone/Bluetooth, SiriusXM
Setup, Restore Settings, Clear Personal Data, and Sys-
tem Information.
NOTE:
Only one touchscreen area may be selected at a
time.
When making a selection, press the button on the touch-
screen to enter the desired mode. Once in the desired
mode, press and release the preferred setting and make
your selection. Once the setting is complete, either press
the Back Arrow/Done button on the touchscreen or the
Back button on the faceplate to return to the previous menu
or press the “X” button on the touchscreen to close out of
the settings screen. Pressing the “Up” or “Down” Arrow
buttons on the right side of the screen will allow you to
toggle up or down through the available settings.
NOTE: All settings should be changed with the ignition in
the RUN position.
Page 531 of 626
Compass CalibrationStart
NOTE:
Press “Compass Calibration” on the touchscreen to enter calibration. To start calibration of the compass, press the
“Yes” button on the touchscreen and complete one or more 360-degree turns (in an area free from large metal or me-
tallic objects). A message will appear on the touchscreen when the compass has been successfully calibrated.
Keep magnetic materials away from the rear view mirror, such as Mobile Phones, Laptops and Radar Detectors. This
is where the compass module is located, and it can cause interference with the compass sensor, and it may give false
readings.
Page 538 of 626
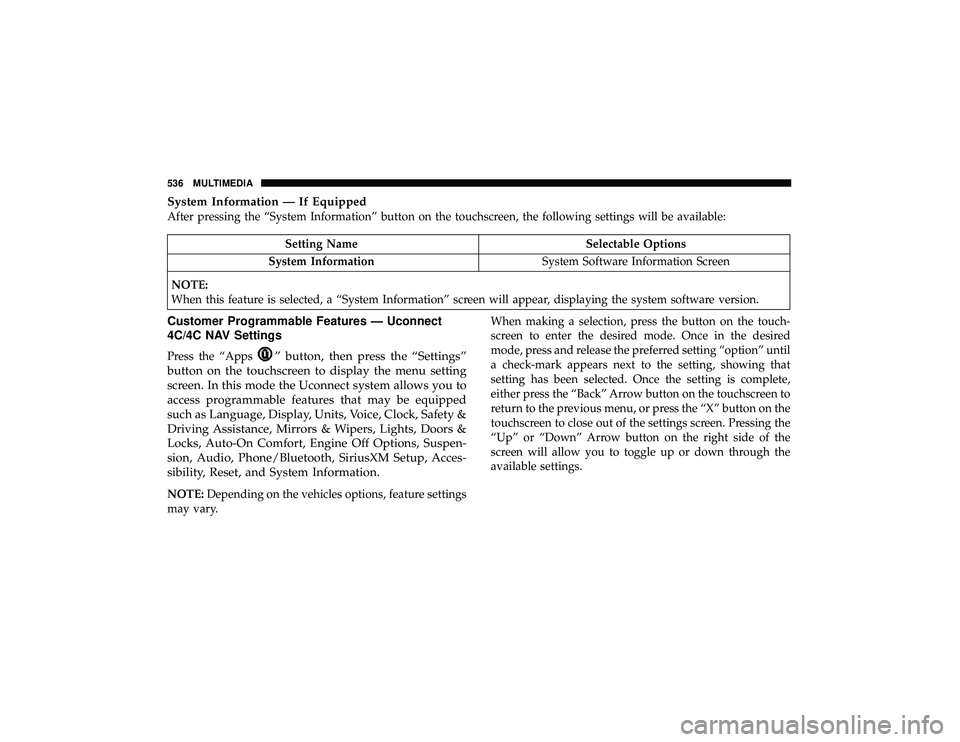
System Information — If Equipped
After pressing the “System Information” button on the touchscreen, the following settings will be available:
” button, then press the “Settings”
button on the touchscreen to display the menu setting
screen. In this mode the Uconnect system allows you to
access programmable features that may be equipped
such as Language, Display, Units, Voice, Clock, Safety &
Driving Assistance, Mirrors & Wipers, Lights, Doors &
Locks, Auto-On Comfort, Engine Off Options, Suspen-
sion, Audio, Phone/Bluetooth, SiriusXM Setup, Acces-
sibility, Reset, and System Information.
NOTE: Depending on the vehicles options, feature settings
may vary. When making a selection, press the button on the touch-
screen to enter the desired mode. Once in the desired
mode, press and release the preferred setting “option” until
a check-mark appears next to the setting, showing that
setting has been selected. Once the setting is complete,
either press the “Back” Arrow button on the touchscreen to
return to the previous menu, or press the “X” button on the
touchscreen to close out of the settings screen. Pressing the
“Up” or “Down” Arrow button on the right side of the
screen will allow you to toggle up or down through the
available settings.
536 MULTIMEDIA
Page 541 of 626
Setting NameSelectable Options
Navigation Turn-By-Turn In Cluster — If Equipped On
Off
NOTE:
When the “Navigation Turn-By-Turn In Cluster” feature is selected, the turn-by-turn directions will appear in the in-
strument cluster display as the vehicle approaches a designated turn within a programmed route. Phone Pop-ups Displayed In Cluster On
Off
Units
After pressing the “Units” button on the touchscreen, the following settings will be available:
Page 567 of 626
IPOD/USB/MP3 CONTROL — IF EQUIPPED
This feature allows an iPod or external USB device to be
plugged into the USB port.
iPod control supports Mini, 4G, Photo, Nano, 5G iPod and
iPhone devices. Some iPod software versions may not fully
support the iPod control features. Please visit Apple’s
website for software updates.
For further information, refer to the Uconnect Owner ’s
Manual Supplement.
UCONNECT REAR SEAT ENTERTAINMENT (RSE)
SYSTEM — IF EQUIPPED
Your Rear Seat Entertainment System is designed to give
your family years of enjoyment. You can play your favorite
CDs, DVDs or Blu-ray Discs, listen to audio over the
wireless headphones, or plug and play a variety of stan-
dard video games or audio devices.
Please review this Owner’s Manual to become familiar
with its features and operation.
Getting Started
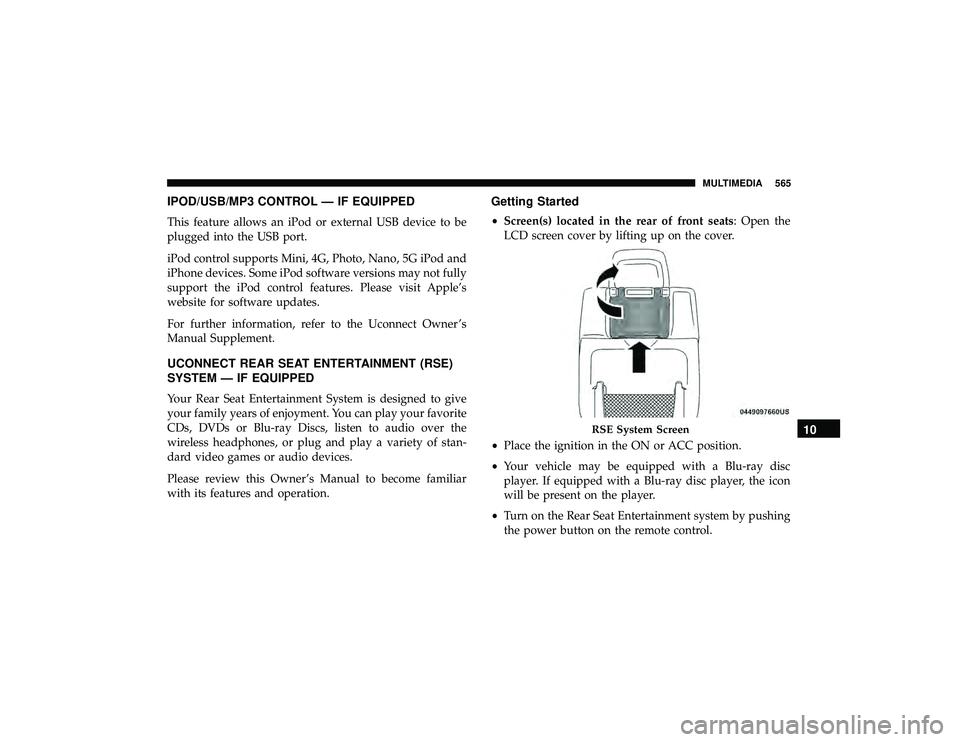
•Screen(s) located in the rear of front seats: Open the
LCD screen cover by lifting up on the cover.
• Place the ignition in the ON or ACC position.
• Your vehicle may be equipped with a Blu-ray disc
player. If equipped with a Blu-ray disc player, the icon
will be present on the player.
• Turn on the Rear Seat Entertainment system by pushing
the power button on the remote control.