Page 254 of 626

�REFUELING THE VEHICLE — GASOLINE
ENGINE ............................. .359
▫ Emergency Fuel Filler Door Release ..........361
� VEHICLE LOADING .....................362
▫ Certification Label ..................... .362
� TRAILER TOWING ..................... .364
▫ Common Towing Definitions ...............364
▫ Trailer Hitch Classification ................366
▫ Trailer Towing Weights (Maximum Trailer Weight
Ratings) ............................ .367
▫ Trailer Hitch Receiver Cover Removal (Summit
Models) — If Equipped ..................368
▫ Trailer And Tongue Weight ...............369
▫ Towing Requirements .................. .370▫
Towing Tips ......................... .374
� SNOW PLOW ......................... .375
� RECREATIONAL TOWING (BEHIND
MOTORHOME, ETC.) ................... .376
▫ Towing This Vehicle Behind Another Vehicle. . . .376
▫ Recreational Towing — Two Wheel Drive
Models ............................. .377
▫ Recreational Towing — Quadra-Trac I (Single-Speed
Transfer Case) Four-Wheel Drive Models ......378
▫ Recreational Towing — Quadra–Trac II/Quadra–
Drive II Four-Wheel Drive Models ...........378
� DRIVING TIPS ......................... .382
▫ On-Road Driving Tips .................. .382
▫ Off-Road Driving Tips .................. .383
252 STARTING AND OPERATING
Page 361 of 626
NOTE:If snow, ice, mud, or any foreign substance builds
up on the camera lens, clean the lens, rinse with water, and
dry with a soft cloth. Do not cover the lens.
Rear Camera — Viewing At Speed
When the vehicle is in park, neutral or drive, the Rear View
Camera can be activated with the “Rear View Camera”
button
in the Controls menu. This feature allows the
customer to monitor the area directly behind the vehicle
(or trailer, if equipped) for up to ten seconds while at
speed. If the vehicle speed remains below 8 mph
(13 km/h), the Rear View Camera image will be dis-
played continuously until deactivated via the “X” but-
ton on the touchscreen. REFUELING THE VEHICLE — GASOLINE ENGINE
1. Push the fuel filler door release switch (located under
the headlamp switch).
2. Open the fuel filler door.
Page 362 of 626

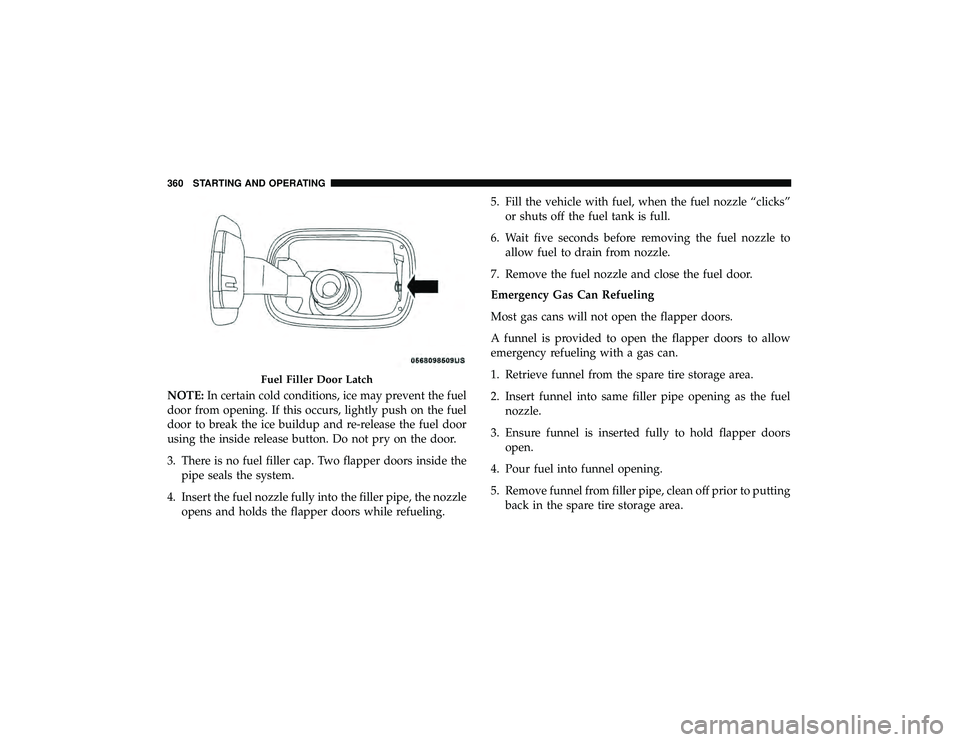
NOTE:In certain cold conditions, ice may prevent the fuel
door from opening. If this occurs, lightly push on the fuel
door to break the ice buildup and re-release the fuel door
using the inside release button. Do not pry on the door.
3. There is no fuel filler cap. Two flapper doors inside the pipe seals the system.
4. Insert the fuel nozzle fully into the filler pipe, the nozzle opens and holds the flapper doors while refueling. 5. Fill the vehicle with fuel, when the fuel nozzle “clicks”
or shuts off the fuel tank is full.
6. Wait five seconds before removing the fuel nozzle to allow fuel to drain from nozzle.
7. Remove the fuel nozzle and close the fuel door.
Emergency Gas Can Refueling
Most gas cans will not open the flapper doors.
A funnel is provided to open the flapper doors to allow
emergency refueling with a gas can.
1. Retrieve funnel from the spare tire storage area.
2. Insert funnel into same filler pipe opening as the fuel nozzle.
3. Ensure funnel is inserted fully to hold flapper doors open.
4. Pour fuel into funnel opening.
5. Remove funnel from filler pipe, clean off prior to putting back in the spare tire storage area.
Page 363 of 626

WARNING!
•Never have any smoking materials lit in or near the
vehicle when the fuel door is open or the tank is
being filled.
• Never add fuel when the engine is running. This is
in violation of most state and federal fire regulations
and may cause the “Malfunction Indicator Light” to
turn on.
• A fire may result if fuel is pumped into a portable
container that is inside of a vehicle. You could be
burned. Always place fuel containers on the ground
while filling.
CAUTION!
To avoid fuel spillage and overfilling, do not “top off”
the fuel tank after filling.
Emergency Fuel Filler Door Release
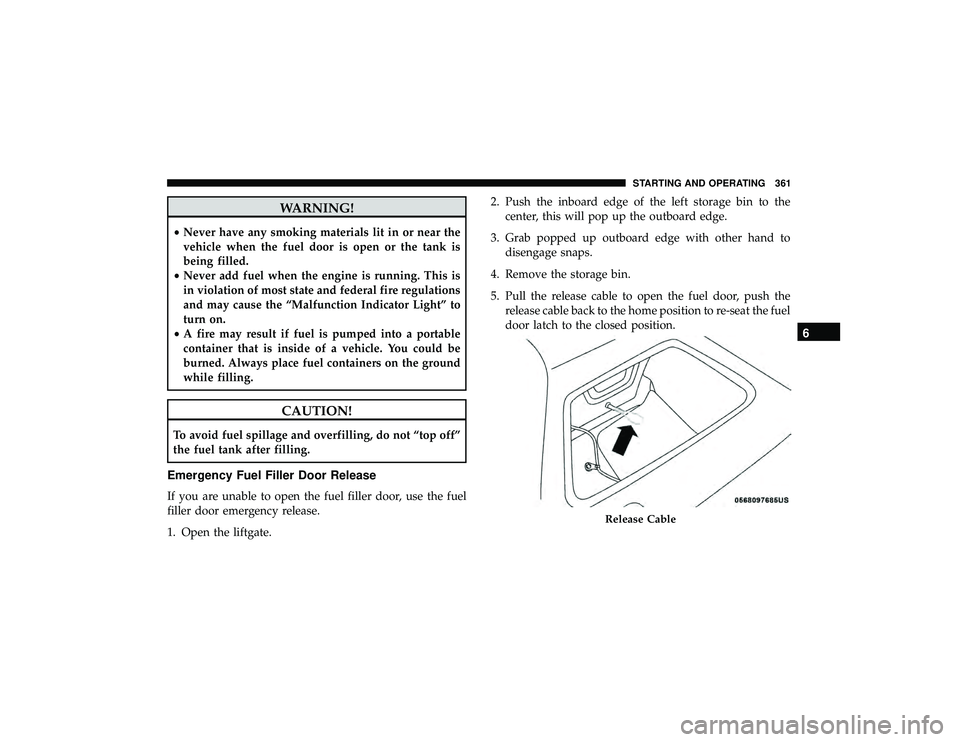
If you are unable to open the fuel filler door, use the fuel
filler door emergency release.
1. Open the liftgate. 2. Push the inboard edge of the left storage bin to the
center, this will pop up the outboard edge.
3. Grab popped up outboard edge with other hand to disengage snaps.
4. Remove the storage bin.
5. Pull the release cable to open the fuel door, push the release cable back to the home position to re-seat the fuel
door latch to the closed position.