2019 JEEP GRAND CHEROKEE LIMITED load capacity
[x] Cancel search: load capacityPage 133 of 626
Distribute cargo weight evenly on the roof rack crossbars.
The roof rack does not increase the total load carrying
capacity of the vehicle. Be sure the total load of cargo inside
the vehicle plus that on the external rack does not exceed
the maximum vehicle load capacity.
To move the crossbars, loosen the attachments, located at
the upper edge of each crossbar, approximately eight turns
using the anti-theft wrench provided with the Mopar
crossbars. Then, move the crossbar to the desired position,
keeping the crossbars parallel to the rack frame. Once the
crossbar is in the desired position, retighten the with the
wrench to lock the crossbar into position.
NOTE:
•To help control wind noise when the crossbars are not in
use, place the front and rear crossbars approximately 24
inches (61 cm) apart. Optimal noise reduction can then
be achieved by adjusting the front crossbar forward or
aft using increments of 1 inch (2.5 cm). •
If any cargo (or any metallic object) is placed over the
satellite radio antenna (if equipped), you may experi-
ence interruption of satellite radio reception. For im-
proved satellite radio reception, avoid placing the rear
crossbar over the satellite radio antenna.
CAUTION!
•To prevent damage to the roof of your vehicle, do not
carry any loads on the roof rack without the crossbars
installed. The load should be secured and placed on
top of the crossbars, not directly on the roof. If it is
necessary to place the load on the roof, place a
blanket or some other protection between the load
and the roof surface.
(Continued)
3
GETTING TO KNOW YOUR VEHICLE 131
Page 134 of 626
CAUTION!(Continued)
•To avoid damage to the roof rack and vehicle, do not
exceed the maximum roof rack load capacity of 150 lb
(68 kg). Always distribute heavy loads as evenly as
possible and secure the load appropriately.
• Long loads which extend over the windshield, such
as wood panels or surfboards, or loads with large
frontal area should be secured to both the front and
rear of the vehicle.
• Place a blanket or other protection between the
surface of the roof and the load.
• Travel at reduced speeds and turn corners carefully
when carrying large or heavy loads on the roof rack.
Wind forces, due to natural causes or nearby truck
traffic, can add sudden upward lift to a load. This is
especially true on large flat loads and may result in
damage to the cargo or your vehicle.
• The use of Sport Mode is not recommended when
using the Roof Luggage Rack to carry a load.
132 GETTING TO KNOW YOUR VEHICLE
Page 364 of 626
NOTE:If the fuel door does not latch after the manual
release cable has been activated, the actuator latch should
be manually returned to the closed position.
VEHICLE LOADING
Certification Label
As required by National Highway Traffic Safety Adminis-
tration regulations, your vehicle has a certification label
affixed to the driver’s side door or pillar.
This label contains the month and year of manufacture,
Gross Vehicle Weight Rating (GVWR), Gross Axle Weight
Rating (GAWR) front and rear, and Vehicle Identification
Number (VIN). A Month-Day-Hour (MDH) number is
included on this label and indicates the Month, Day and
Hour of manufacture. The bar code that appears on the
bottom of the label is your VIN.
Gross Vehicle Weight Rating (GVWR)
The GVWR is the total permissible weight of your vehicle
including driver, passengers, vehicle, options and cargo.
The label also specifies maximum capacities of front and
rear axle systems (GAWR). Total load must be limited so
GVWR and front and rear GAWR are not exceeded.
Payload
The payload of a vehicle is defined as the allowable load
weight a truck can carry, including the weight of the driver,
all passengers, options and cargo.
Gross Axle Weight Rating (GAWR)
The GAWR is the maximum permissible load on the front
and rear axles. The load must be distributed in the cargo
area so that the GAWR of each axle is not exceeded.
Each axle GAWR is determined by the components in the
system with the lowest load carrying capacity (axle,
springs, tires or wheels). Heavier axles or suspension
components sometimes specified by purchasers for in-
creased durability does not necessarily increase the vehi-
cle’s GVWR.
Tire Size
The tire size on the Vehicle Certification Label represents
the actual tire size on your vehicle. Replacement tires must
be equal to the load capacity of this tire size.
362 STARTING AND OPERATING
Page 365 of 626
Rim Size
This is the rim size that is appropriate for the tire size
listed.
Inflation Pressure
This is the cold tire inflation pressure for your vehicle for
all loading conditions up to full GAWR.
Curb Weight
The curb weight of a vehicle is defined as the total weight
of the vehicle with all fluids, including vehicle fuel, at full
capacity conditions, and with no occupants or cargo loaded
into the vehicle. The front and rear curb weight values are
determined by weighing your vehicle on a commercial
scale before any occupants or cargo are added.
Loading
The actual total weight and the weight of the front and rear
of your vehicle at the ground can best be determined by
weighing it when it is loaded and ready for operation.The entire vehicle should first be weighed on a commercial
scale to insure that the GVWR has not been exceeded. The
weight on the front and rear of the vehicle should then be
determined separately to be sure that the load is properly
distributed over the front and rear axle. Weighing the
vehicle may show that the GAWR of either the front or rear
axles has been exceeded but the total load is within the
specified GVWR. If so, weight must be shifted from front to
rear or rear to front as appropriate until the specified
weight limitations are met. Store the heavier items down
low and be sure that the weight is distributed equally. Stow
all loose items securely before driving.
Improper weight distributions can have an adverse effect
on the way your vehicle steers and handles and the way
the brakes operate.
Page 367 of 626
Gross Axle Weight Rating (GAWR)
The GAWR is the maximum capacity of the front and rear
axles. Distribute the load over the front and rear axles
evenly. Make sure that you do not exceed either front or
rear GAWR. Refer to “Vehicle Loading/Vehicle Certifica-
tion Label” in “Starting And Operating” for further infor-
mation.
Page 374 of 626
•Check the trailer tires for proper tire inflation pressures
before trailer usage.
• Check for signs of tire wear or visible tire damage before
towing a trailer. Refer to “Tires” in “Servicing And
Maintenance” for the proper inspection procedure.
• When replacing tires, refer to “Tires” in “Servicing And
Maintenance” for the proper tire replacement proce-
dures. Replacing tires with a higher load carrying capac-
ity will not increase the vehicle’s GVWR and GAWR
limits.
Towing Requirements — Trailer Brakes
•Do not interconnect the hydraulic brake system or
vacuum system of your vehicle with that of the trailer.
This could cause inadequate braking and possible per-
sonal injury.
• An electronically actuated trailer brake controller is
required when towing a trailer with electronically actu-
ated brakes. When towing a trailer equipped with a
hydraulic surge actuated brake system, an electronic
brake controller is not required. •
Trailer brakes are recommended for trailers over
1,000 lbs (453 kg) and required for trailers in excess of
2,000 lbs (907 kg).
CAUTION!
If the trailer weighs more than 1,000 lbs (453 kg)
loaded, it should have its own brakes and they should
be of adequate capacity. Failure to do this could lead to
accelerated brake lining wear, higher brake pedal
effort, and longer stopping distances.
372 STARTING AND OPERATING
Page 477 of 626
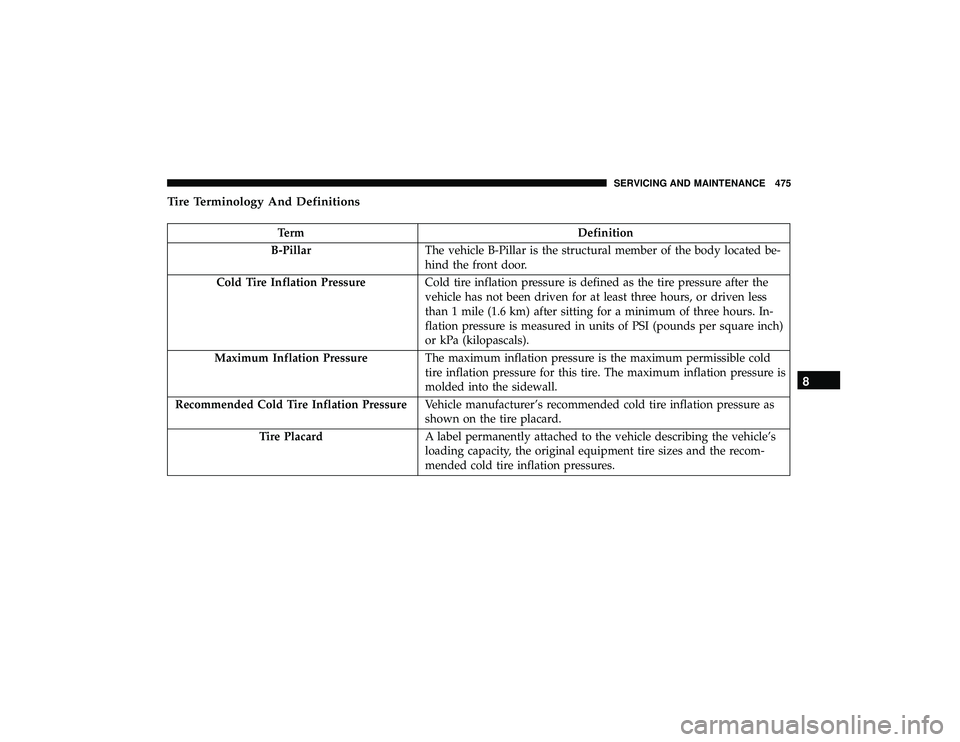
Tire Terminology And Definitions
TermDefinition
B-Pillar The vehicle B-Pillar is the structural member of the body located be-
hind the front door.
Cold Tire Inflation Pressure Cold tire inflation pressure is defined as the tire pressure after the
vehicle has not been driven for at least three hours, or driven less
than 1 mile (1.6 km) after sitting for a minimum of three hours. In-
flation pressure is measured in units of PSI (pounds per square inch)
or kPa (kilopascals).
Maximum Inflation Pressure The maximum inflation pressure is the maximum permissible cold
tire inflation pressure for this tire. The maximum inflation pressure is
molded into the sidewall.
Recommended Cold Tire Inflation Pressure Vehicle manufacturer’s recommended cold tire inflation pressure as
shown on the tire placard.
Tire Placard A label permanently attached to the vehicle describing the vehicle’s
loading capacity, the original equipment tire sizes and the recom-
mended cold tire inflation pressures.
8
SERVICING AND MAINTENANCE 475
Page 482 of 626
Radial Ply Tires
WARNING!
Combining radial ply tires with other types of tires on
your vehicle will cause your vehicle to handle poorly.
The instability could cause a collision. Always use
radial ply tires in sets of four. Never combine them
with other types of tires.
Tire Repair
If your tire becomes damaged, it may be repaired if it meets
the following criteria:
• The tire has not been driven on when flat.
• The damage is only on the tread section of your tire
(sidewall damage is not repairable).
• The puncture is no greater thana¼ofaninch (6 mm).
Consult an authorized tire dealer for tire repairs and
additional information.
Damaged Run Flat tires, or Run Flat tires that have experi-
enced a loss of pressure should be replaced immediately with
another Run Flat tire of identical size and service description (Load Index and Speed Symbol). Replace the tire pressure
sensor as well as it is not designed to be reused.
Run Flat Tires — If Equipped
Run Flat tires allow you the capability to drive 50 miles
(80 km) at 50 mph (80 km/h) after a rapid loss of inflation
pressure. This rapid loss of inflation is referred to as the
Run Flat mode. A Run Flat mode occurs when the tire
inflation pressure is of/or below 14 psi (96 kPa). Once a
Run Flat tire reaches the run flat mode it has limited
driving capabilities and needs to be replaced immediately.
A Run Flat tire is not repairable. When a run flat tire is
changed after driving with underinflated tire condition,
please replace the TPM sensor as it is not designed to be
reused when driven under run flat mode (14 psi (96 kPa))
condition.
NOTE:
TPM Sensor must be replaced after driving the
vehicle on a flat tire condition.
It is not recommended driving a vehicle loaded at full
capacity or to tow a trailer while a tire is in the run flat
mode.
See the tire pressure monitoring section for more informa-
tion.
480 SERVICING AND MAINTENANCE