Page 257 of 546

3-166
Convenient features of your vehicle
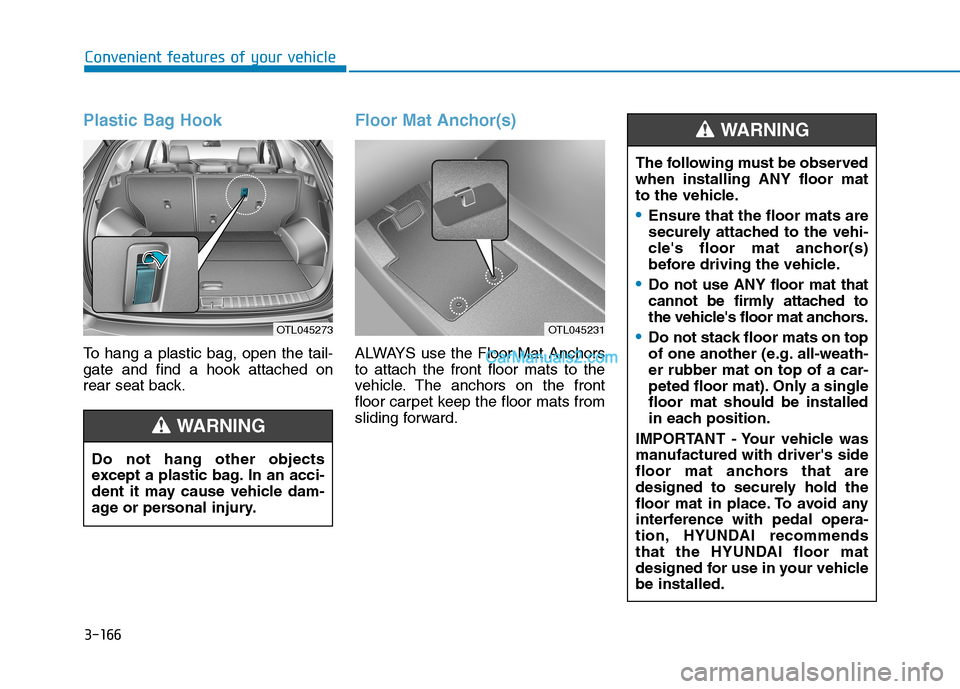
Plastic Bag Hook
To hang a plastic bag, open the tail-
gate and find a hook attached on
rear seat back.
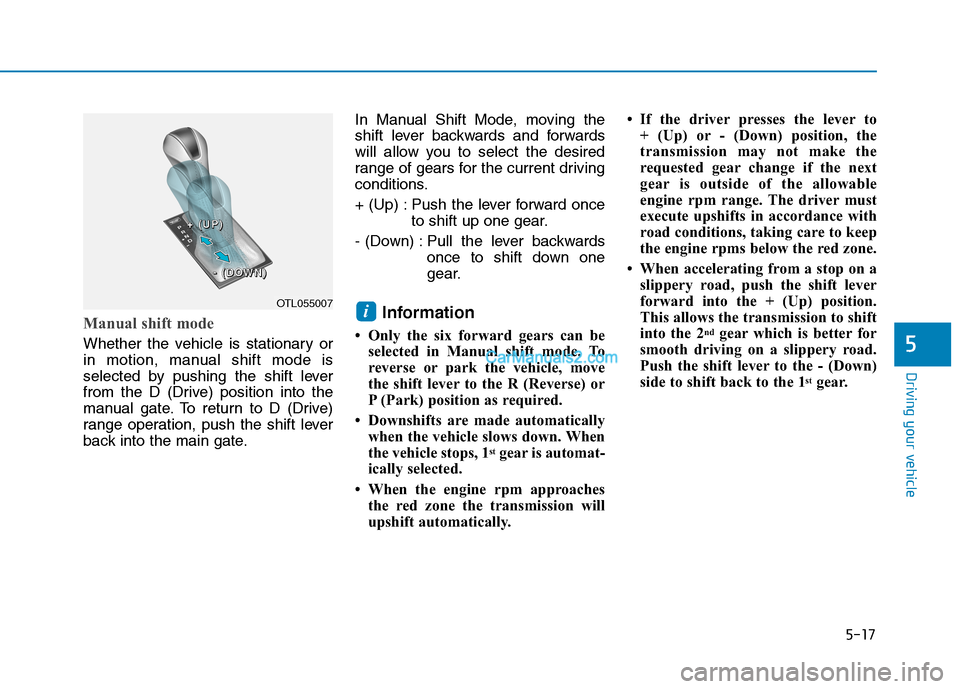
Floor Mat Anchor(s)
ALWAYS use the Floor Mat Anchors
to attach the front floor mats to the
vehicle. The anchors on the front
floor carpet keep the floor mats from
sliding forward.
OTL045273
Do not hang other objects
except a plastic bag. In an acci-
dent it may cause vehicle dam-
age or personal injury.
WARNING
OTL045231
The following must be observed
when installing ANY floor mat
to the vehicle.
Ensure that the floor mats are
securely attached to the vehi-
cle's floor mat anchor(s)
before driving the vehicle.
Do not use ANY floor mat that
cannot be firmly attached to
the vehicle's floor mat anchors.
Do not stack floor mats on top
of one another (e.g. all-weath-
er rubber mat on top of a car-
peted floor mat). Only a single
floor mat should be installed
in each position.
IMPORTANT - Your vehicle was
manufactured with driver's side
floor mat anchors that are
designed to securely hold the
floor mat in place. To avoid any
interference with pedal opera-
tion, HYUNDAI recommends
that the HYUNDAI floor mat
designed for use in your vehicle
be installed.
WARNING
Page 261 of 546
3-170
Convenient features of your vehicle
Since the cargo security screen
may be damaged or malformed,
do not put luggage on it when it is
used.
Luggage Tray (if equipped)
You can place a first aid kit, a reflec-
tor triangle, tools, etc. under the rear
cargo floorboard. Grasp the handle on the top of the
cover and lift it.
NOTICE
Do not place objects on the
cargo security screen. Such
objects may be thrown about
inside the vehicle and possi-
bly injure vehicle occupants
during an accident or when
braking.
Never allow anyone to ride in
the luggage compartment. It is
designed for luggage only.
Maintain the balance of the
vehicle and locate the weight
as forward as possible.
WARNING
OTL045274
■Type A
OTLE048274
■Type B
Page 267 of 546

Driving your vehicle
5
Before Driving ........................................................5-4
Before Entering the Vehicle ...........................................5-4
Before Starting ..................................................................5-4
Ignition Switch ........................................................5-6
Key Ignition Switch ...........................................................5-6
Engine Start/Stop Button................................................5-9
Automatic Transmission ......................................5-14
Automatic transmission operation ..............................5-14
Good Driving Practices ..................................................5-19
Braking System ....................................................5-21
Power Brakes ...................................................................5-21
Disc Brakes Wear Indicator ..........................................5-22
Parking Brake...................................................................5-22
Electronic Parking Brake (EPB)...................................5-24
Auto Hold ..........................................................................5-30
Anti-lock Brake System (ABS) ....................................5-33
Electronic Stability Control (ESC)................................5-35
Vehicle Stability Management (VSM).........................5-39
Hill-Start Assist Control (HAC) ....................................5-40
Downhill Brake Control (DBC) ......................................5-40
Good Braking Practices .................................................5-42
All Wheel Drive (AWD) ........................................5-43
AWD operation.................................................................5-45
Emergency precautions .................................................5-49
Drive Mode Integrated Control System ............5-51
Blind-Spot Collision Warning (BCW) System...5-52
BCW (Blind-Spot Collision Warning) ..........................5-53
RCCW (Rear Cross-Traffic Collision Warning) .........5-55
Blind-Spot Collision Warning - Sensor Location ....5-57
Limitations of the System .............................................5-58
Forward Collision-Avoidance Assist (FCA)
System - Camera Type........................................5-60
System Setting and Activation.....................................5-60
FCA Warning Message and System Control ............5-63
FCA Sensor .......................................................................5-65
System Not Operating....................................................5-67
Limitations of the System .............................................5-68
Forward Collision-Avoidance Assist (FCA)
System - Sensor Fusion Type
(Front Radar + Front Camera) ...........................5-73
System Setting and Activation.....................................5-73
FCA Warning Message and System Control ............5-76
FCA Sensor .......................................................................5-78
System Not Operating....................................................5-80
Limitations of the System .............................................5-81
Page 280 of 546
5-14
Driving your vehicle
Automatic transmission opera-
tion
The automatic transmission has six
forward speeds and one reverse
speed.
The individual speeds are selected
automatically in the D (Drive) posi-
tion.
A AU
UT
TO
OM
MA
AT
TI
IC
C
T
TR
RA
AN
NS
SM
MI
IS
SS
SI
IO
ON
N
Move shift lever. Press the shift button, then move shift lever.
Depress the brake pedal, press ths shift button, and then move shift lever.OTL055006
Page 283 of 546

5-17
Driving your vehicle
5
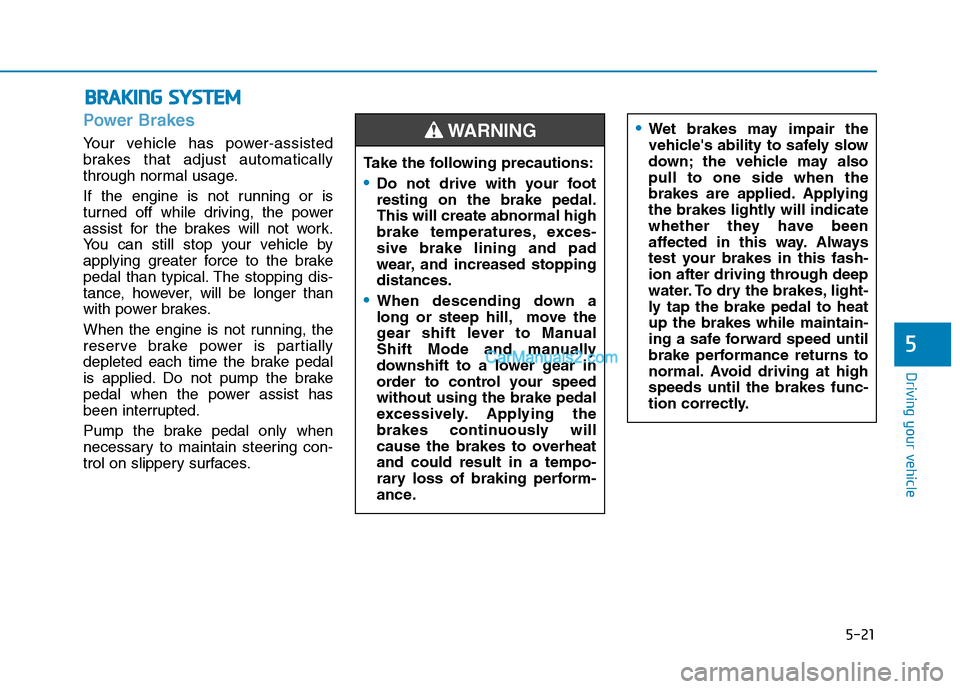
Manual shift mode
Whether the vehicle is stationary or
in motion, manual shift mode is
selected by pushing the shift lever
from the D (Drive) position into the
manual gate. To return to D (Drive)
range operation, push the shift lever
back into the main gate.In Manual Shift Mode, moving the
shift lever backwards and forwards
will allow you to select the desired
range of gears for the current driving
conditions.
+ (Up) : Push the lever forward once
to shift up one gear.
- (Down) : Pull the lever backwards
once to shift down one
gear.
Information
• Only the six forward gears can be
selected in Manual shift mode. To
reverse or park the vehicle, move
the shift lever to the R (Reverse) or
P (Park) position as required.
• Downshifts are made automatically
when the vehicle slows down. When
the vehicle stops, 1
stgear is automat-
ically selected.
• When the engine rpm approaches
the red zone the transmission will
upshift automatically.• If the driver presses the lever to
+ (Up) or - (Down) position, the
transmission may not make the
requested gear change if the next
gear is outside of the allowable
engine rpm range. The driver must
execute upshifts in accordance with
road conditions, taking care to keep
the engine rpms below the red zone.
• When accelerating from a stop on a
slippery road, push the shift lever
forward into the + (Up) position.
This allows the transmission to shift
into the 2
ndgear which is better for
smooth driving on a slippery road.
Push the shift lever to the - (Down)
side to shift back to the 1
stgear.
iOTL055007
+ + + +
( ( ( (
U U U U
P P P P
) ) ) )
- - - -
( ( ( (
D D D D
O O O O
W W W W
N N N N
) ) ) )
Page 287 of 546

5-21
Driving your vehicle
5
Power Brakes
Your vehicle has power-assisted
brakes that adjust automatically
through normal usage.
If the engine is not running or is
turned off while driving, the power
assist for the brakes will not work.
You can still stop your vehicle by
applying greater force to the brake
pedal than typical. The stopping dis-
tance, however, will be longer than
with power brakes.
When the engine is not running, the
reserve brake power is partially
depleted each time the brake pedal
is applied. Do not pump the brake
pedal when the power assist has
been interrupted.
Pump the brake pedal only when
necessary to maintain steering con-
trol on slippery surfaces.
B BR
RA
AK
KI
IN
NG
G
S
SY
YS
ST
TE
EM
M
Take the following precautions:
Do not drive with your foot
resting on the brake pedal.
This will create abnormal high
brake temperatures, exces-
sive brake lining and pad
wear, and increased stopping
distances.
When descending down a
long or steep hill, move the
gear shift lever to Manual
Shift Mode and manually
downshift to a lower gear in
order to control your speed
without using the brake pedal
excessively. Applying the
brakes continuously will
cause the brakes to overheat
and could result in a tempo-
rary loss of braking perform-
ance.
Wet brakes may impair the
vehicle's ability to safely slow
down; the vehicle may also
pull to one side when the
brakes are applied. Applying
the brakes lightly will indicate
whether they have been
affected in this way. Always
test your brakes in this fash-
ion after driving through deep
water. To dry the brakes, light-
ly tap the brake pedal to heat
up the brakes while maintain-
ing a safe forward speed until
brake performance returns to
normal. Avoid driving at high
speeds until the brakes func-
tion correctly.WARNING
Page 314 of 546

5-48
Driving your vehicle
Driving through water
Try to avoid driving in deep stand-
ing water. It may stall your engine
and clog your exhaust system.
If you need to drive in water, stop
your vehicle, set the vehicle in
AWD LOCK mode and drive under
5 mph (8 km/h).
Do not change gear while driving in
water.
Additional driving conditions
Become familiar with the off-road
conditions before driving.
Always pay attention when driving
off-road and avoid dangerous
areas.
Drive slowly when driving in heavy
wind.
Reduce vehicle speed when cor-
nering. The center of gravity of
AWD vehicles is higher than con-
ventional 2WD vehicles, making
them more likely to roll over when
you rapidly turn corners.
Always drive slowly in water. If
you drive too fast, water may
get into the engine compart-
ment and wet the ignition sys-
tem causing your vehicle to
suddenly stop.
CAUTION
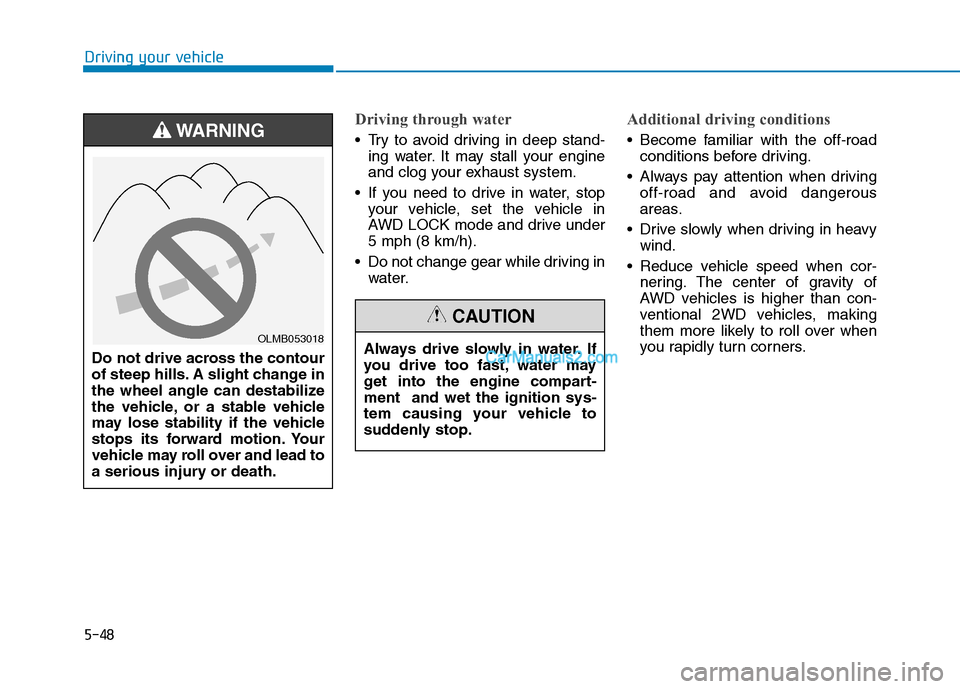
Do not drive across the contour
of steep hills. A slight change in
the wheel angle can destabilize
the vehicle, or a stable vehicle
may lose stability if the vehicle
stops its forward motion. Your
vehicle may roll over and lead to
a serious injury or death.
WARNING
OLMB053018
Page 316 of 546
5-50
Driving your vehicle
A full-time AWD vehicle should not
be tested on a 2WD roll tester. If a
2WD roll tester must be used, per-
form the following procedure:
1. Check the tire pressures recom-
mended for your vehicle.
2. Place the front wheels on the roll
tester for a speedometer test as
shown in the illustration.
3. Release the parking brake.
4. Place the rear wheels on the tem-
porary free roller as shown in the
illustration.
OTLE058117Roll Tester (Speedometer)
Temporary Free Roller
Never engage the parking
brake while performing the
test.
When the vehicle is lifted up,
do not operate the front and
rear wheel separately. All four
wheels should be operated.
CAUTION
Keep away from the front of the
vehicle while the vehicle is in
gear on the dynamometer. The
vehicle can jump forward and
cause serious injury or death.
WARNING