2019 Hyundai Sonata Chapter 7
[x] Cancel search: Chapter 7Page 6 of 522

F6
Introduction
We want to help you get the greatest
possible driving pleasure from your
vehicle. Your Owner's Manual can
assist you in many ways. To gain an
overview of the contents of your
Owner’s Manual, use the Table of
Contents in the front of the manual.
The first page of each Chapter
includes a detailed Table of Contents
of the Topics in that Chapter.
To quickly locate information about
your vehicle, use the Index in the
back of the manual. It is an alphabet-
ical list of what is in this manual and
the page number where it can be
found.
For your convenience, we have
incorporated tabs on the right-hand
page edges. These tabs are coded
with the Chapter titles to assist you
with navigating through the manual. Your safety, and the safety of others,
is very important. This Owner's
Manual provides you with many safe-
ty precautions and operating proce-
dures. This information alerts you to
potential hazards that may hurt you
or others, as well as damage to your
vehicle.
Safety messages found on vehicle
labels and in this manual describe
these hazards and what to do to
avoid or reduce the risks.
Warnings and instructions contained
in this manual are for your safety.
Failure to follow safety warnings and
instructions can lead to serious injury
or death.
Throughout this manual DANGER,
WARNING, CAUTION, NOTICE and
the SAFETY ALERT SYMBOL will
be used.
This is the safety alert sym-bol. It is used to alert you to
potential physical injury haz-
ards. Obey all safety mes-
sages that follow this symbol
to avoid possible injury or
death. The safety alert sym-
bol precedes the signal words
DANGER, WARNING and
CAUTION.
H H O
O W
W
T
T O
O
U
U S
SE
E
T
T H
H I
IS
S
M
M A
AN
N U
U A
AL
L
DANGER indicates a hazardous
situation which, if not avoided,
will result in death or serious
injury.
DANGER
WARNING indicates a hazardous
situation which, if not avoided,
could result in death or serious
injury.
WARNING
S SA
A F
FE
E T
T Y
Y
M
M E
ES
SS
SA
A G
G E
ES
S
Page 18 of 522

Safety system of your vehicle
Important Safety Precautions ..............................2-2
Always Wear Your Seat Belt ..........................................2-2
Restrain All Children .........................................................2-2
Air Bag Hazards .................................................................2-2
Driver Distraction ..............................................................2-2
Control Your Speed ...........................................................2-3
Keep Your Vehicle in Safe Condition ............................2-3
Seats ........................................................................\
2-4
Safety Precautions ...........................................................2-5
Front Seats ........................................................................\
.2-6
Rear Seats........................................................................\
.2-12
Head Restraints ...............................................................2-15
Seat Warmers and Air Ventilation Seats ...................2-19
Seat Belts ..............................................................2-22
Seat Belt Safety Precautions .......................................2-22
Seat Belt Warning Light ................................................2-23
Seat Belt Restraint System...........................................2-24
Additional Seat Belt Safety Precautions ...................2-30
Care of Seat Belts...........................................................2-33
Child Restraint System (CRS) .............................2-34
Children Always in the Rear .........................................2-34
Selecting a Child Restraint System (CRS) .................2-35
Installing a Child Restraint System (CRS)..................2-37
Air Bag -
Advanced Supplemental Restraint System.......2-45
Where Are the Air Bags? ..............................................2-47
How Does the Air Bag System Operate?..................2-51
What to Expect After an Air Bag Inflates ................2-55
Occupant Classification System (OCS).......................2-56
Why Didn' t My Air Bag Go Off in a Collision? (Air bags
are not designed to inflate in every collision.) .......2-61
SRS Care ........................................................................\
....2-66
Additional Safety Precautions .....................................2-67
Air Bag Warning Labels .................................................2-68
This chapter provides you with important information about how to protect yourself and your passengers.
It explains how to properly use your seats and seat belts, and how your air bags work.
Additionally, this chapter explains how to properly restrain infants and children in your vehicle.
2
Page 44 of 522

2-27
Safety system of your vehicle
2
Rear Seat Belt – Passenger’s 3-point system with convertiblelocking retractor
This type of seat belt combines the
features of both an emergency locking
retractor seat belt and an automatic
locking retractor seat belt. Convertible
retractor type seat belts are installed in
the rear seat positions to help accom-
modate the installation of child
restraint systems. Although a convert-
ible retractor is also installed in the
front passenger seat position, NEVER
place any infant/child restraint system
in the front seat of the vehicle.
To fasten your seat belt:
Pull the seat belt out of the retractor
and insert the metal tab into the buck-
le. There will be an audible "click"
when the tab locks into the buckle.
When not securing a child restraint,
the seat belt operates in the same way
as the driver's seat belt (Emergency
Locking Retractor Type). It automati-
cally adjusts to the proper length only
after the lap belt portion of the seat
belt is adjusted manually so that it fits
snugly across your hips. When the seat belt is fully extended
from the retractor to allow the instal-
lation of a child restraint system, the
seat belt operation changes to allow
the belt to retract, but not to extend
(Automatic Locking Retractor Type).
Refer to the "Using a Child Restraint
System" section in this chapter.
Although the seat belt retractor
provides the same level of protec-
tion for seated passengers in
either emergency or automatic
locking modes, the emergency
locking mode allows seated pas-
sengers to move freely in their
seat while keeping some tension
on the belt. During a collision or
sudden stop, the retractor auto-
matically locks the belt to help
restrain your body.
To deactivate the automatic lock-
ing mode, allow the unbuckled
seat belt to fully retract.
To release your seat belt:
Press the release button (1) in the
locking buckle.
When it is released, the belt should
automatically draw back into the
retractor. If this does not happen,
check the belt to be sure it is not twist-
ed, then try again.
NOTICE
ODH033057
Page 48 of 522

2-31
Safety system of your vehicle
2
Seat belt use and children
Infant and small children
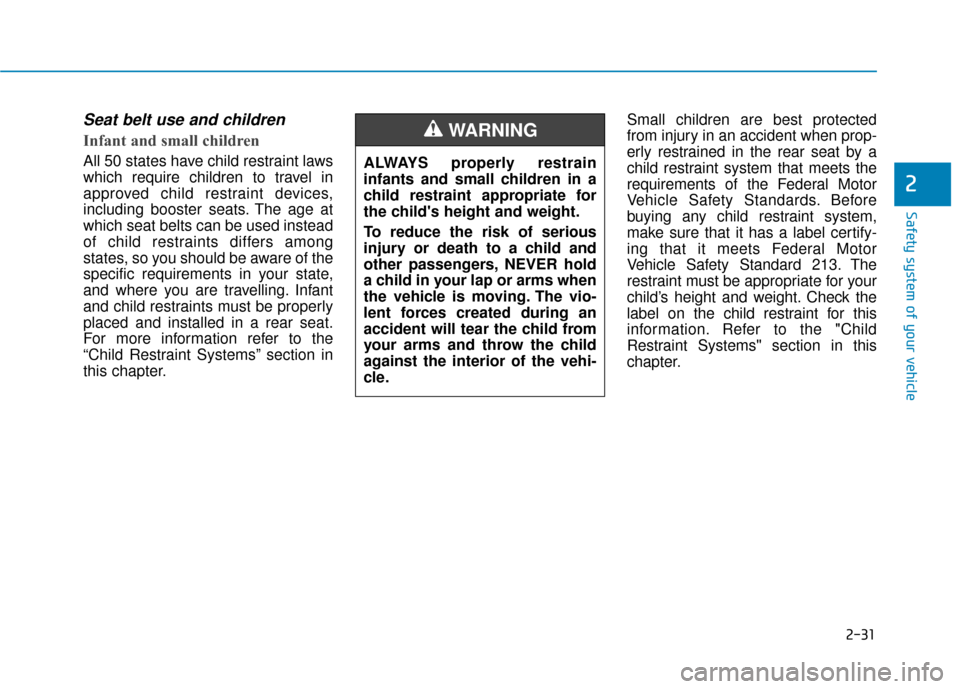
All 50 states have child restraint laws
which require children to travel in
approved child restraint devices,
including booster seats. The age at
which seat belts can be used instead
of child restraints differs among
states, so you should be aware of the
specific requirements in your state,
and where you are travelling. Infant
and child restraints must be properly
placed and installed in a rear seat.
For more information refer to the
“Child Restraint Systems” section in
this chapter.Small children are best protected
from injury in an accident when prop-
erly restrained in the rear seat by a
child restraint system that meets the
requirements of the Federal Motor
Vehicle Safety Standards. Before
buying any child restraint system,
make sure that it has a label certify-
ing that it meets Federal Motor
Vehicle Safety Standard 213. The
restraint must be appropriate for your
child’s height and weight. Check the
label on the child restraint for this
information. Refer to the "Child
Restraint Systems"
section in this
chapter.
ALWAYS properly restrain
infants and small children in a
child restraint appropriate for
the child's height and weight.
To reduce the risk of serious
injury or death to a child and
other passengers, NEVER hold
a child in your lap or arms when
the vehicle is moving. The vio-
lent forces created during an
accident will tear the child from
your arms and throw the child
against the interior of the vehi-
cle.
WARNING
Page 59 of 522

2-42
Safety system of your vehicle
Securing a child restraint witha lap belt or lap/shoulder belt
When not using the LATCH system,
all child restraints must be secured to
a vehicle rear seat with the lap part
of a lap/shoulder belt.
Automatic locking mode
Since all passenger seat belts move
freely under normal conditions and
only lock under extreme or emer-
gency conditions (emergency locking
mode), you must manually pull the
seat belt all the way out to shift the
retractor to the "Automatic Locking"
mode to secure a child restraint.
The "Automatic Locking" mode will
help prevent the normal movement
of the child in the vehicle from caus-
ing the seat belt to loosen and com-
promise the child restraint system. To
secure a child restraint system, use
the following procedure. To install a child restraint system on
the rear seats, do the following:
1. Place the child restraint system on
a rear seat and route the lap/
shoulder belt around or through
the child restraint, following the
restraint manufacturer's instruc-
tions.
Be sure the seat belt webbing is
not twisted.
When using the rear center seat
belt, you should also refer to the
"3-point Rear Center Seat Belt"
section in this chapter.
NOTICE
ALWAYS place a rear-facing
child restraint in the rear seat of
the vehicle.
Placing a rear-facing child
restraint in the front seat can
result in serious injury or death
if the child restraint is struck by
an inflating air bag.
WARNING
OLMB033044
Page 95 of 522

3-10
Convenient features of your vehicle
Panic button
Press the Panic button (4) and hold
for more than one second. The horn
sounds and hazard warning lights
blink for about 30 seconds. To cancel
the panic mode, press any button on
the Smart Key.
Start-up
You can start the engine without
inserting the key.
For more information, refer to the
"Engine Start/Stop Button" sec-
tion in chapter 5.To prevent damaging the smart
key:
Keep the smart key away from
water or any liquid and fire. If the
inside of the smart key gets
damp (due to drinks or mois-
ture), or is heated, internal cir-
cuit may malfunction, excluding
the car from the warranty.
Avoid dropping or throwing the smart key.
Protect the smart key from extreme temperatures.
Always have the smart key with
you when leaving the vehicle. If
the smart key is left near the vehi-
cle, the vehicle battery may be dis-
charged.
Mechanical key
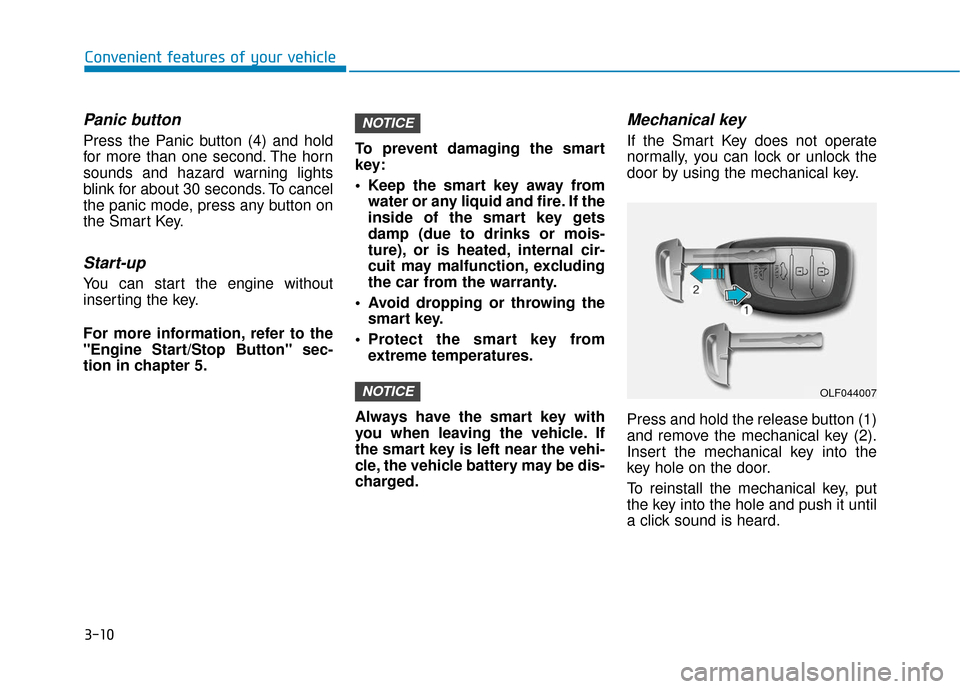
If the Smart Key does not operate
normally, you can lock or unlock the
door by using the mechanical key.
Press and hold the release button (1)
and remove the mechanical key (2).
Insert the mechanical key into the
key hole on the door.
To reinstall the mechanical key, put
the key into the hole and push it until
a click sound is heard.
NOTICE
NOTICE
OLF044007
Page 102 of 522

3-17
Convenient features of your vehicle
3
Auto Door Lock/Unlock Features
Impact sensing door unlocksystem
All doors will be automatically
unlocked when an impact causes the
air bags to deploy.
Speed sensing door lock system
All doors will be automatically locked
when vehicle speed exceeds 9 mph
(15 km/h).
All of the doors will be automatically
unlocked after the engine is turned off.
Shift lever auto door lock
All doors will be automatically locked
when shifting the shift lever out of P
(Park) with the engine running.
You can activate or deactivate the
Auto Door Lock/Unlock features from
the User Settings Mode on the LCD
display.
For more information, refer to the
"LCD Display" section in this
chapter.
Always secure your vehicle.
Leaving your vehicle unlocked
increases the potential risk to
you or others from someone
hiding in your vehicle.
To secure your vehicle, while
depressing the brake, move the
shift lever to the P (Park) posi-
tion, engage the parking brake,
and place the ignition switch in
the LOCK/OFF position, close
all windows, lock all doors, and
always take the key with you.
WARNING
If you stay in the vehicle for a
long time while the weather is
very hot or cold, there are risks
of injuries or danger to life. Do
not lock the vehicle from the
outside when someone is in the
vehicle.
WARNING
Opening a door when some-
thing is approaching may cause
damage or injury. Be careful
when opening doors and watch
for vehicles, motorcycles, bicy-
cles or pedestrians approach-
ing the vehicle in the path of the
door.
CAUTION
Page 106 of 522

3-21
Convenient features of your vehicle
3
Recalling positions from memory
1. Check that the shift lever is in P(Park) while the ignition switch is
in the ON position.
2. Press the desired memory button (1 or 2). The system will beep
once, and then the driver's seat
position, side view mirror position
and instrument panel illumination
intensity will automatically adjust
to the stored positions.
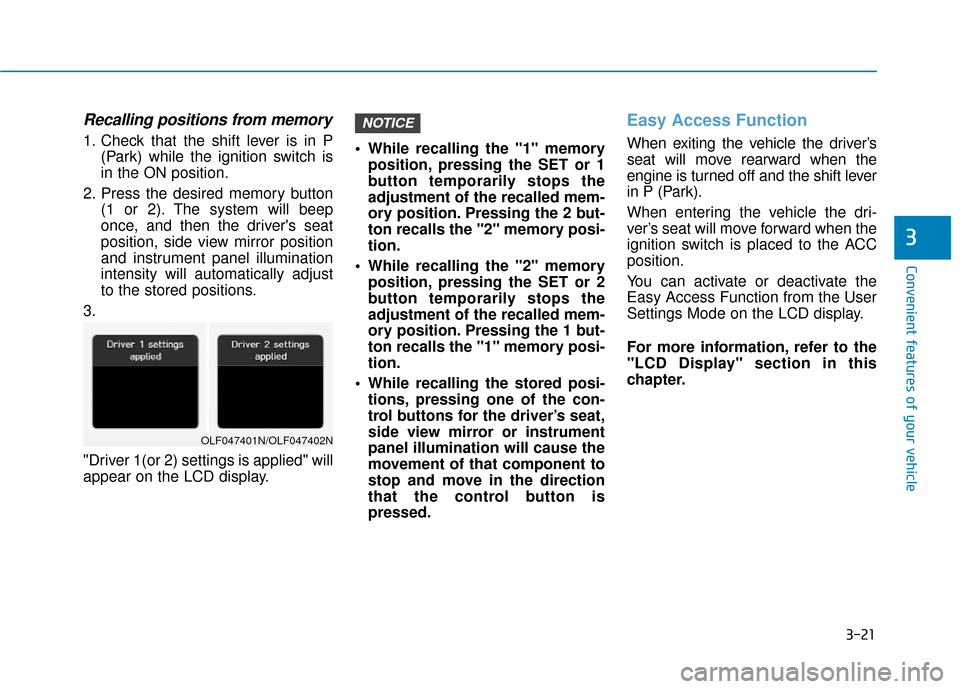
3.
"Driver 1(or 2) settings is applied" will
appear on the LCD display. While recalling the "1" memory
position, pressing the SET or 1
button temporarily stops the
adjustment of the recalled mem-
ory position. Pressing the 2 but-
ton recalls the "2" memory posi-
tion.
While recalling the "2" memory position, pressing the SET or 2
button temporarily stops the
adjustment of the recalled mem-
ory position. Pressing the 1 but-
ton recalls the "1" memory posi-
tion.
While recalling the stored posi- tions, pressing one of the con-
trol buttons for the driver’s seat,
side view mirror or instrument
panel illumination will cause the
movement of that component to
stop and move in the direction
that the control button is
pressed.
Easy Access Function
When exiting the vehicle the driver’s
seat will move rearward when the
engine is turned off and the shift lever
in P (Park).
When entering the vehicle the dri-
ver’s seat will move forward when the
ignition switch is placed to the ACC
position.
You can activate or deactivate the
Easy Access Function from the User
Settings Mode on the LCD display.
For more information, refer to the
"LCD Display" section in this
chapter.
NOTICE
OLF047401N/OLF047402N