Page 259 of 546

3-123
Convenient features of your vehicle
3
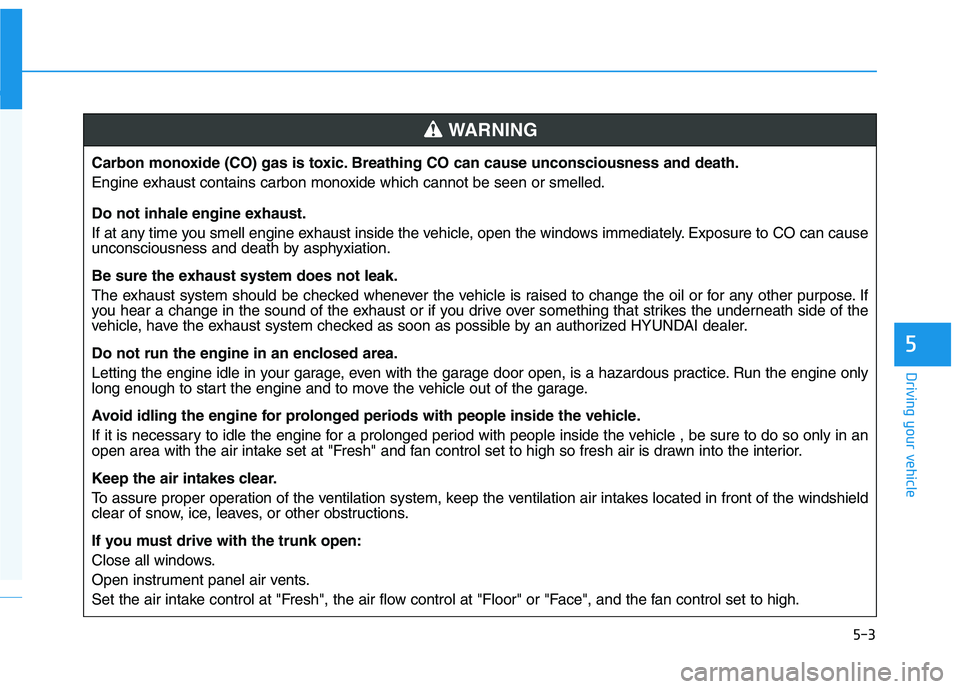
Face-Level (B, D, F)
Air flow is directed toward the upper
body and face. Additionally, eachoutlet can be controlled to direct theair discharged from the outlet.
Bi-Level (B, C, D, E, F)
Air flow is directed towards the face
and the floor.
Floor & Defrost (A, C, D, E)
Most of the air flow is directed to the floor and the windshield with a small
amount directed to the side window
defrosters.
Floor-Level (A, C, D, E)
Most of the air flow is directed to the
floor, with a small amount of the airbeing directed to the windshield and
side window defrosters.
Defrost-Level (A, D)
Most of the air flow is directed to the windshield with a small amount of air
directed to the side window
defrosters.
Instrument panel vents
The outlet vents can be opened or
closed separately using the thumb-
wheel. To close the vent, rotate it left
(Rear : down) to the maximum posi-
tion. To open the vent, rotate it right
(Rear : up) to the desired position.
Also, you can adjust the direction of
air delivery from these vents using
the vent control lever as shown.
OLFH047746
OLF047209
OLF044222
■Front
■Rear (if equipped)
Page 293 of 546

5-3
Driving your vehicle
5
Carbon monoxide (CO) gas is toxic. Breathing CO can cause unconsciousness and death.
Engine exhaust contains carbon monoxide which cannot be seen or smelled.
Do not inhale engine exhaust.
If at any time you smell engine exhaust inside the vehicle, open the windows immediately. Exposure to CO can cause
unconsciousness and death by asphyxiation.
Be sure the exhaust system does not leak.
The exhaust system should be checked whenever the vehicle is raised to change the oil or for any other purpose. If
you hear a change in the sound of the exhaust or if you drive over something that strikes the underneath side of the
vehicle, have the exhaust system checked as soon as possible by an authorized HYUNDAI dealer.
Do not run the engine in an enclosed area.
Letting the engine idle in your garage, even with the garage door open, is a hazardous practice. Run the engine only
long enough to start the engine and to move the vehicle out of the garage.
Avoid idling the engine for prolonged periods with people inside the vehicle.
If it is necessary to idle the engine for a prolonged period with people inside the vehicle , be sure to do so only in an
open area with the air intake set at "Fresh" and fan control set to high so fresh air is drawn into the interior.
Keep the air intakes clear.
To assure proper operation of the ventilation system, keep the ventilation air intakes located in front of the windshield
clear of snow, ice, leaves, or other obstructions.
If you must drive with the trunk open:
Close all windows.
Open instrument panel air vents.
Set the air intake control at "Fresh", the air flow control at "Floor" or "Face", and the fan control set to high.
WARNING
Page 294 of 546

5-4
Driving your vehicle
Before entering the vehicle
• Be sure all windows, outside mir-ror(s), and outside lights are clean
and unobstructed.
Remove frost, snow, or ice.
Visually check the tires for uneven wear and damage.
Check under the vehicle for any sign of leaks.
Be sure there are no obstacles behind you if you intend to back up.
Before starting
Make sure the hood, the trunk, andthe doors are securely closed and
locked.
Adjust the position of the seat and steering wheel.
Adjust the inside and outside rearview mirrors.
Verify all the lights work.
Fasten your seatbelt. Check that all passengers have fastened their
seatbelts.
Check the gauges and indicators in the instrument panel and the mes-
sages on the instrument display
when the ignition switch is in theON position.
Check that any items you are car- rying are stored properly or fas-
tened down securely.
BBEEFFOO RREE DD RRIIVV IINN GG
To reduce the risk of SERIOUS
INJURY or DEATH, take the fol-
lowing precautions:
•ALWAYS wear your seat belt.
All passengers must be prop-
erly belted whenever the vehi-
cle is moving. For more infor-
mation, refer to "Seat Belts" in
chapter 2.
Always drive defensively.
Assume other drivers or
pedestrians may be carelessand make mistakes.
Stay focused on the task of
driving. Driver distraction cancause accidents.
Leave plenty of space
between you and the vehicle
in front of you.
WARNING
Page 344 of 546

5-54
Driving your vehicle
LKAS operation
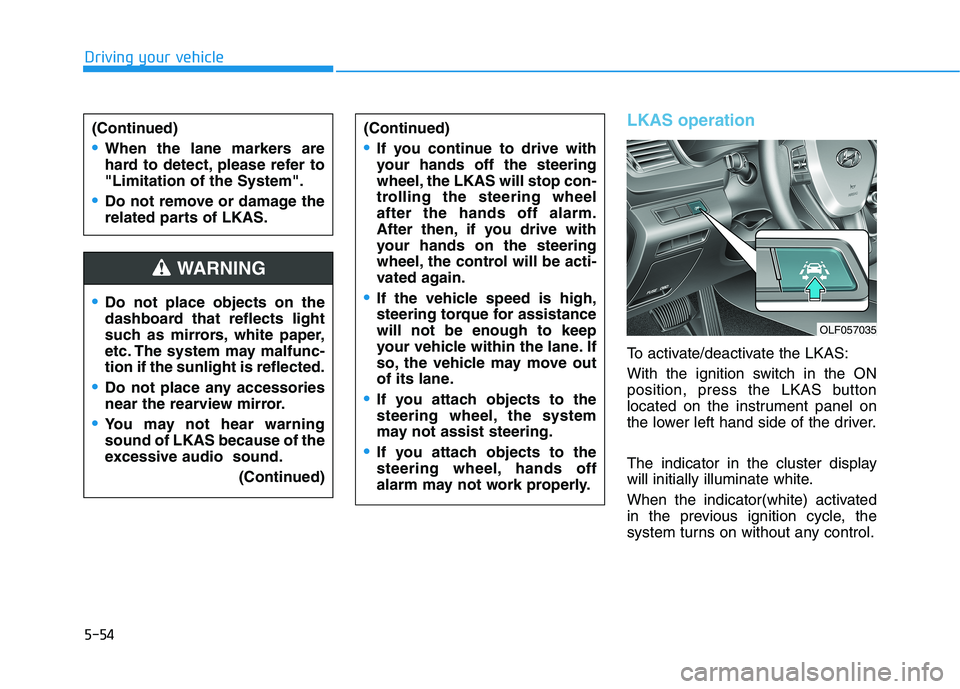
To activate/deactivate the LKAS:
With the ignition switch in the ON
position, press the LKAS button
located on the instrument panel on
the lower left hand side of the driver.
The indicator in the cluster display
will initially illuminate white.
When the indicator(white) activated
in the previous ignition cycle, the
system turns on without any control.
Do not place objects on the
dashboard that reflects light
such as mirrors, white paper,
etc. The system may malfunc-tion if the sunlight is reflected.
Do not place any accessories
near the rearview mirror.
You may not hear warning sound of LKAS because of the
excessive audio sound.(Continued)
(Continued)
If you continue to drive with
your hands off the steering
wheel, the LKAS will stop con-
trolling the steering wheelafter the hands off alarm.
After then, if you drive with
your hands on the steering
wheel, the control will be acti-
vated again.
If the vehicle speed is high,
steering torque for assistancewill not be enough to keep
your vehicle within the lane. If
so, the vehicle may move out
of its lane.
If you attach objects to the
steering wheel, the system
may not assist steering.
If you attach objects to the
steering wheel, hands off
alarm may not work properly.
WARNING
(Continued)
When the lane markers are
hard to detect, please refer to"Limitation of the System".
Do not remove or damage the
related parts of LKAS.
OLF057035
Page 440 of 546

7
Tire maintenance ............................................................7-41
Tire sidewall labeling ......................................................7-41
Tire terminology and definitions.................................7-45
All season tires ................................................................7-48
Summer tires ....................................................................7-48
Snow tires .........................................................................7-48
Radial-ply tires ................................................................7-49
Low aspect ratio tires ....................................................7-49
Fuses ......................................................................7-51 Instrument panel fuse replacement ...........................7-52
Engine compartment panel fuse replacement.........7-54
Fuse/relay panel description .......................................7-56
Light bulbs.............................................................7-69 Headlamp, parking lamp, turn signal lamp and
side marker light bulb replacement ............................7-70Side repeater lamp replacement .................................7-73
Rear combination light bulb replacement .................7-74
High mounted stop lamp ...............................................7-76
License plate light bulb replacement .........................7-76
Interior light bulb replacement ....................................7-76
Appearance care ..................................................7-78 Exterior care ....................................................................7-78
Interior care......................................................................7-84 Emission control system .....................................7-87
Crankcase emission control system ...........................7-87
Evaporative emission control system including
onboard refueling vapor recovery (ORVR) ..............7-87 Exhaust emission control system ...............................7-88
Page 490 of 546
Instrument panel fuse replace- ment
1. Turn the hybrid system off.
2. Turn all other switches OFF.
3. Open the fuse panel cover.
4. Refer to the label on the inside ofthe fuse panel cover to locate the suspected fuse location. 5. Pull the suspected fuse straight
out. Use the removal tool provided
in the engine compartment fusespanel.
6. Check the removed fuse; replace it if it is blown. Spare fuses are
provided in the instrument panelfuse panels (or in the engine com-
partment fuse panel).
7. Push in a new fuse of the same rating, and make sure it fits tightly
in the clips. If it fits loosely, consult
an authorized HYUNDAI dealer.
7-52
Maintenance
Do not use a screwdriver or any
other metal object to remove
fuses because it may cause a
short circuit and damage thesystem.
CAUTION
OLF077021
OLFH074012
Page 494 of 546
7-56
Maintenance
Fuse/relay panel description
Instrument panel fuse (Hybrid)
Inside the fuse/relay box cover, you
can find the fuse/relay label describ-
ing fuse/relay name and capacity.Information
Not all fuse panel descriptions in this
manual may be applicable to your
vehicle; the information is accurate at
the time of printing. When you inspect
the fuse box on your vehicle, refer to
the fuse box label.
i
OLFH077131N
OLF074027
Page 496 of 546

7-58
Maintenance
Fuse NameFuse ratingCircuit Protected
MODULE 7 10ADriver/Passenger Door Module, Electric Parking Brake Module, AMP, Digital Clock, Blind Spot
Detection Rader LH/RH, Rear Parking Assist Sensor LH/RH/(Center),
Rear Parking Assist Sensor LH/RH
INTERIOR LAMP10AGlove Box Lamp, Driver/Passenger Door Lamp, Front Vanity Lamp Switch LH/RH,
Overhead Console Lamp, Room Lamp, Rear Personal Lamp LH/RH, Tru nk Room Lamp
MEMORY 27.5AElectro Chromic Mirror
P/SEAT
DRV 30ADriver Seat Manual Switch, Driver IMS Module
CURTAIN 10ARear Curtain Module
CLUSTER 10AInstrument Cluster
MODULE 4 10ASmart Key Control Module
MULTI
MEDIA15AAudio, A/V & Navigation Head Unit
MEMORY 1 10A
Driver/passenger Door Module, Instrument Cluster, Digital Clock,
Driver IMS Module, Auto Light & Photo Sensor, A/C Control Module,
Rear Curtain Module, Data Link Connector, BCM,
Tire Pressure Monitoring Module, Wireless Charger
S/HEATER RR 25ARear Seat Warmer Module
SUN ROOF 2 20APanorama Sunroof Motor
Driver's side fuse panel