2019 Hyundai Santa Fe Rear brake
[x] Cancel search: Rear brakePage 34 of 557
2-16
Safety system of your vehicle
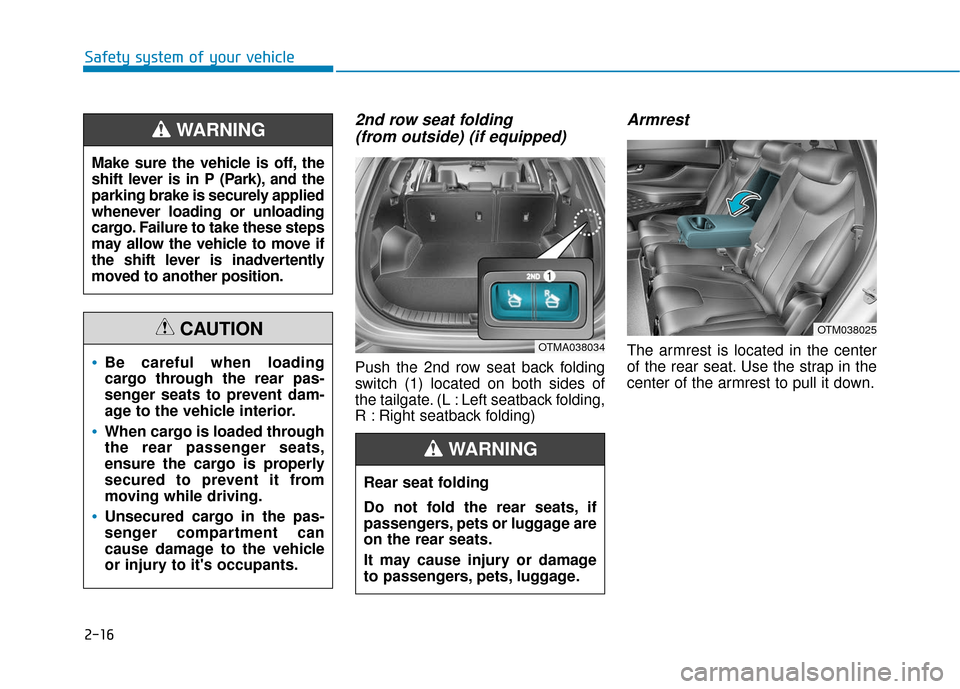
2nd row seat folding (from outside) (if equipped)
Push the 2nd row seat back folding
switch (1) located on both sides of
the tailgate. (L : Left seatback folding,
R : Right seatback folding)
Armrest
The armrest is located in the center
of the rear seat. Use the strap in the
center of the armrest to pull it down.
OTM038025
OTMA038034
Rear seat folding
Do not fold the rear seats, if
passengers, pets or luggage are
on the rear seats.
It may cause injury or damage
to passengers, pets, luggage.
WARNING
Make sure the vehicle is off, the
shift lever is in P (Park), and the
parking brake is securely applied
whenever loading or unloading
cargo. Failure to take these steps
may allow the vehicle to move if
the shift lever is inadvertently
moved to another position.
WARNING
Be careful when loading
cargo through the rear pas-
senger seats to prevent dam-
age to the vehicle interior.
When cargo is loaded through
the rear passenger seats,
ensure the cargo is properly
secured to prevent it from
moving while driving.
Unsecured cargo in the pas-
senger compartment can
cause damage to the vehicle
or injury to it's occupants.
CAUTION
Page 175 of 557
3-86
Convenient features of your vehicle
SMART Mode IndicatorLight (if equipped)
This indicator light illuminates:
When you select ''SMART" mode
as drive mode.
For more details, refer to "Drive
Mode Integrated Control System''
in chapter 5.
All Wheel Drive LOCK Indicator Light (if equipped)
This indicator light illuminates:
When you set the ignition switch
or the Engine Start/Stop button to
the ON position.
- The AWD LOCK indicator lightilluminates for about 3 seconds
and then goes off.
When you select AWD Lock mode by pressing the AWD LOCK but-
ton.
- The AWD LOCK mode is totransfer a portion of the drive
torque to the rear wheels for
increased traction on wet pave-
ment, snow covered roads or
when driving off road.
Downhill Brake Control(DBC) Indicator Light(if equipped)
This indicator light illuminates:
When you set the ignition switch
or the Engine Start/Stop button to
the ON position.
- The Downhill Brake ControlIndicator Light illuminates for about
3 seconds and then goes off.
When you activate the system by pressing the DBC button.
This indicator light blinks:
When the DBC is operating.
This indicator light illuminates yel-
low:
When there is a malfunction withthe DBC system.
If this occurs, have your vehicle
inspected by an authorized
HYUNDAI dealer.
For more details, refer to
"Downhill Brake Control (DBC)
System" in chapter 5.
AWD Lock Mode
Do not use the AWD lock mode
on dry paved roads. Doing so
can cause abnormal noise or
vibration, and may damage the
AWD system.
CAUTION
00360030002400350037
Page 225 of 557

3-136
Convenient features of your vehicle
The Rear Parking Distance
Warning (Reverse) system may
experience a malfunction when the
following occurs:
Driving on uneven road surfacessuch as unpaved roads, gravel,
bumps, or gradient.
Objects generating excessive noise such as vehicle horns, loud
motorcycle engines, or truck air
brakes can interfere with the sen-
sor.
Heavy rain or water spray is pres- ent.
Wireless transmitters or mobile phones are present near the sen-
sor.
The sensor is covered with snow.
Any non-factory equipment or accessories have been installed, or
if the vehicle bumper height or sen-
sor installation has been modified.
Detecting range may decrease when:
Outside air temperature isextremely hot or cold.
Undetectable objects smaller than 40 inches (1 m) and narrower than
6 inches (14 cm) in diameter.
The following objects may not be
recognized by the sensor:
Sharp or slim objects such asropes, chains or small poles.
Objects, which tend to absorb sensor frequency such as clothes,
spongy material or snow.
Parking Distance Warning(Reverse) system Precautions
The Parking Distance Warning
(Reverse) system may not operate
consistently in some circum-
stances depending on the speed
of the vehicle and the shapes of
the objects detected.
The Parking Distance Warning (Reverse) system may malfunction
if the vehicle bumper height or
sensor installation has been modi-
fied or damaged. Any non-factory
installed equipment or accessories
may also interfere with the sensor
performance.
The sensor may not recognize objects less than 12 in. (30 cm)
from the sensor, or it may sense
an incorrect distance. Use caution.
When the sensor is blocked with snow, dirt, debris, or ice, the rear
parking assist system may be
inoperative until the snow or ice
melts, or the debris is removed.
Use a soft cloth to wipe debris
away from the sensor.
Page 295 of 557
5-21
Driving your vehicle
5
Disc Brakes Wear Indicator
When your brake pads are worn and
new pads are required, you will hear
a high pitched warning sound from
your front or rear brakes. You may
hear this sound come and go or it
may occur whenever you depress
the brake pedal.
Note that some driving conditions or
climates may cause a brake squeal
when you first apply (or lightly apply)
the brakes. This is normal and does
not indicate a problem with your
brakes.
To avoid costly brake repairs, do
not continue to drive with worn
brake pads.
Information
Always replace brake pads as com-
plete front or rear axle sets.
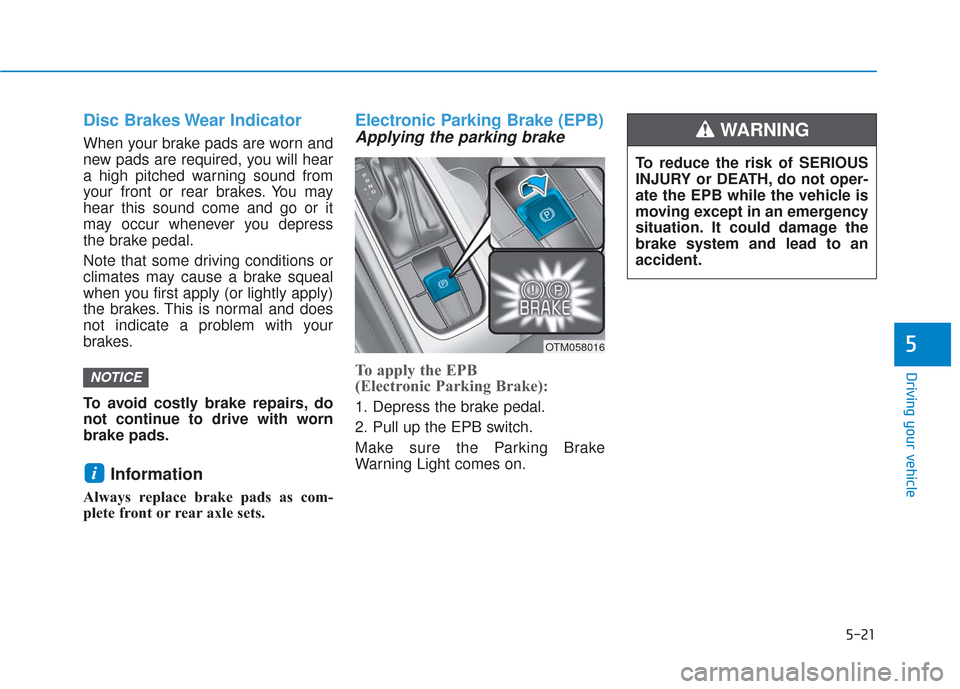
Electronic Parking Brake (EPB)
Applying the parking brake
To apply the EPB
(Electronic Parking Brake):
1. Depress the brake pedal.
2. Pull up the EPB switch.
Make sure the Parking Brake
Warning Light comes on.
i
NOTICE
OTM058016
To reduce the risk of SERIOUS
INJURY or DEATH, do not oper-
ate the EPB while the vehicle is
moving except in an emergency
situation. It could damage the
brake system and lead to an
accident.
WARNING
Page 309 of 557
5-35
Driving your vehicle
5
Information
Turning the ESC off does not affect ABS
or standard brake system operation.
Vehicle Stability Management
(VSM)
The Vehicle Stability Management
(VSM) is a function of the Electronic
Stability Control (ESC) system. It
helps ensure the vehicle stays stable
when accelerating or braking sud-
denly on wet, slippery and rough
roads where traction over the four
tires can suddenly become uneven.
VSM operation
VSM ON condition
The VSM operates when:
The Electronic Stability Control(ESC) is on.
Vehicle speed is approximately above 13 mph (22 km/h) on curve
roads.
Vehicle speed is approximately above 6 mph (10 km/h) when the
vehicle is braking on a two surface
road.
✱ The two surface road is made of
surfaces which have different fric-
tion forces.
When operating
When you apply your brakes under
conditions which may activate the
ESC, you may hear sounds from the
brakes, or feel a corresponding sen-
sation in the brake pedal. This is nor-
mal and it means your VSM is active.
Information
The VSM does not operate when:
• Driving on a banked road such as
gradient or incline.
• Driving rearward.
• ESC OFF indicator light is on.
• EPS (Electric Power Steering) warning light ( ) is on or blinks.
i
i
Take the following precautions
when using the Vehicle Stability
Management (VSM):
ALWAYS check the speed and
the distance to the vehicle
ahead. The VSM is not a sub-
stitute for safe driving prac-
tices.
Never drive too fast for the
road conditions. The VSM sys-
tem will not prevent acci-
dents. Excessive speed in bad
weather, slippery and uneven
roads can result in severe
accidents.
WARNING
Page 312 of 557
5-38
Driving your vehicle
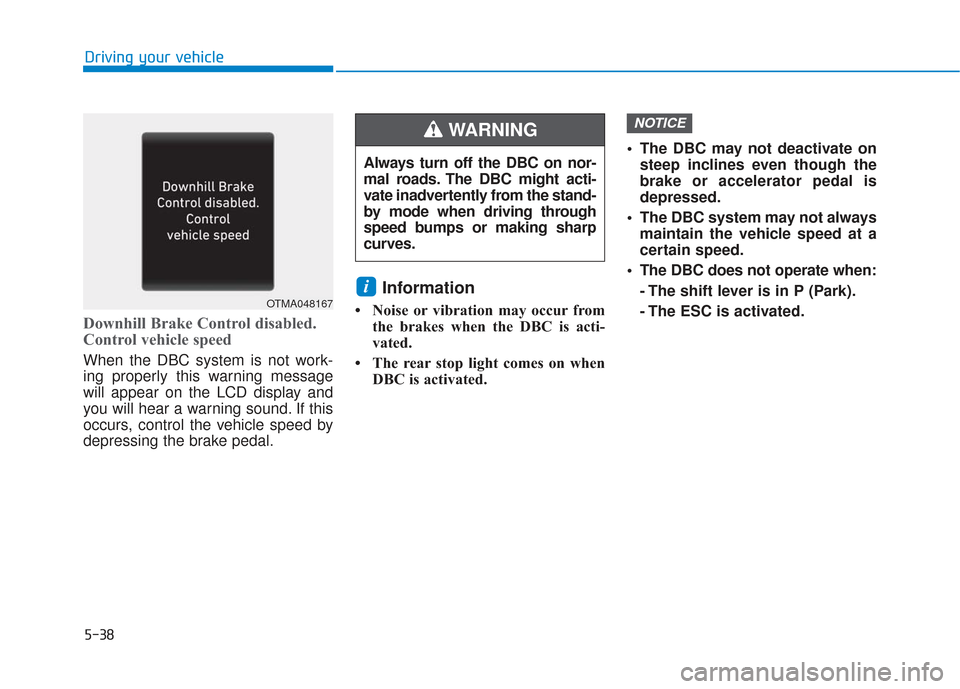
Downhill Brake Control disabled.
Control vehicle speed
When the DBC system is not work-
ing properly this warning message
will appear on the LCD display and
you will hear a warning sound. If this
occurs, control the vehicle speed by
depressing the brake pedal.
Information
• Noise or vibration may occur fromthe brakes when the DBC is acti-
vated.
• The rear stop light comes on when DBC is activated. The DBC may not deactivate on
steep inclines even though the
brake or accelerator pedal is
depressed.
The DBC system may not always maintain the vehicle speed at a
certain speed.
The DBC does not operate when: - The shift lever is in P (Park).
- The ESC is activated.
NOTICE
i
Always turn off the DBC on nor-
mal roads. The DBC might acti-
vate inadvertently from the stand-
by mode when driving through
speed bumps or making sharp
curves.
WARNING
OTMA048167
Page 314 of 557
5-40
Driving your vehicle
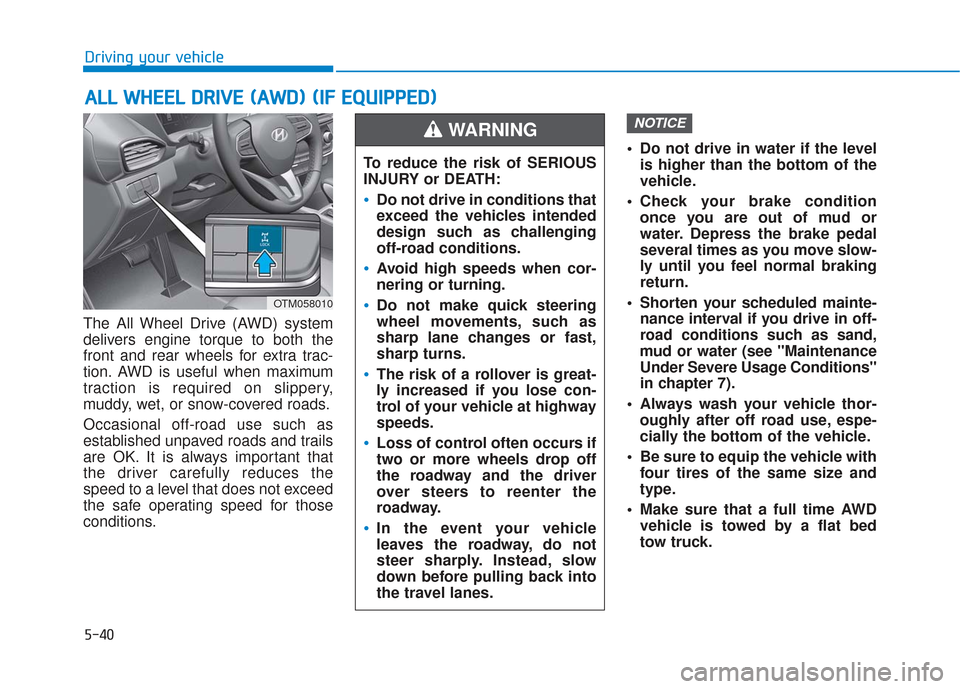
The All Wheel Drive (AWD) system
delivers engine torque to both the
front and rear wheels for extra trac-
tion. AWD is useful when maximum
traction is required on slippery,
muddy, wet, or snow-covered roads.
Occasional off-road use such as
established unpaved roads and trails
are OK. It is always important that
the driver carefully reduces the
speed to a level that does not exceed
the safe operating speed for those
conditions. Do not drive in water if the level
is higher than the bottom of the
vehicle.
Check your brake condition once you are out of mud or
water. Depress the brake pedal
several times as you move slow-
ly until you feel normal braking
return.
Shorten your scheduled mainte- nance interval if you drive in off-
road conditions such as sand,
mud or water (see "Maintenance
Under Severe Usage Conditions"
in chapter 7).
Always wash your vehicle thor- oughly after off road use, espe-
cially the bottom of the vehicle.
Be sure to equip the vehicle with four tires of the same size and
type.
Make sure that a full time AWD vehicle is towed by a flat bed
tow truck.
NOTICE
A AL
LL
L
W
W H
HE
EE
EL
L
D
D R
RI
IV
V E
E
(
( A
A W
W D
D)
)
(
( I
IF
F
E
E Q
Q U
UI
IP
P P
PE
ED
D )
)
To reduce the risk of SERIOUS
INJURY or DEATH:
Do not drive in conditions that
exceed the vehicles intended
design such as challenging
off-road conditions.
Avoid high speeds when cor-
nering or turning.
Do not make quick steering
wheel movements, such as
sharp lane changes or fast,
sharp turns.
The risk of a rollover is great-
ly increased if you lose con-
trol of your vehicle at highway
speeds.
Loss of control often occurs if
two or more wheels drop off
the roadway and the driver
over steers to reenter the
roadway.
In the event your vehicle
leaves the roadway, do not
steer sharply. Instead, slow
down before pulling back into
the travel lanes.
WARNING
OTM058010
Page 319 of 557

5-45
Driving your vehicle
5
Towing
AWD vehicles must be towed with a
wheel lift and dollies or flatbed equip-
ment with all the wheels off the
ground.For more details, refer to
"Towing" in chapter 6.
Dynamometer testing
A full-time AWD vehicle must be test-
ed on a special four wheel chassis
dynamometer.
A full-time AWD vehicle should not
be tested on a 2WD roll tester. If a
2WD roll tester must be used, per-
form the following procedure:
1. Check the tire pressures recom-mended for your vehicle.
2. Place the front wheels on the roll tester for a speedometer test as
shown in the illustration.
3. Release the parking brake.
4. Place the rear wheels on the tem- porary free roller as shown in the
illustration.
OTM058013Roll Tester (Speedometer)
Temporary Free Roller
Never engage the parking
brake while performing the
test.
When the vehicle is lifted up,
do not operate the front and
rear wheel separately. All four
wheels should be operated.
CAUTION
Keep away from the front of the
vehicle while the vehicle is in
gear on the dynamometer. The
vehicle can jump forward and
cause serious injury or death.
WARNING