2019 Hyundai Santa Fe Brake torque
[x] Cancel search: Brake torquePage 175 of 557
3-86
Convenient features of your vehicle
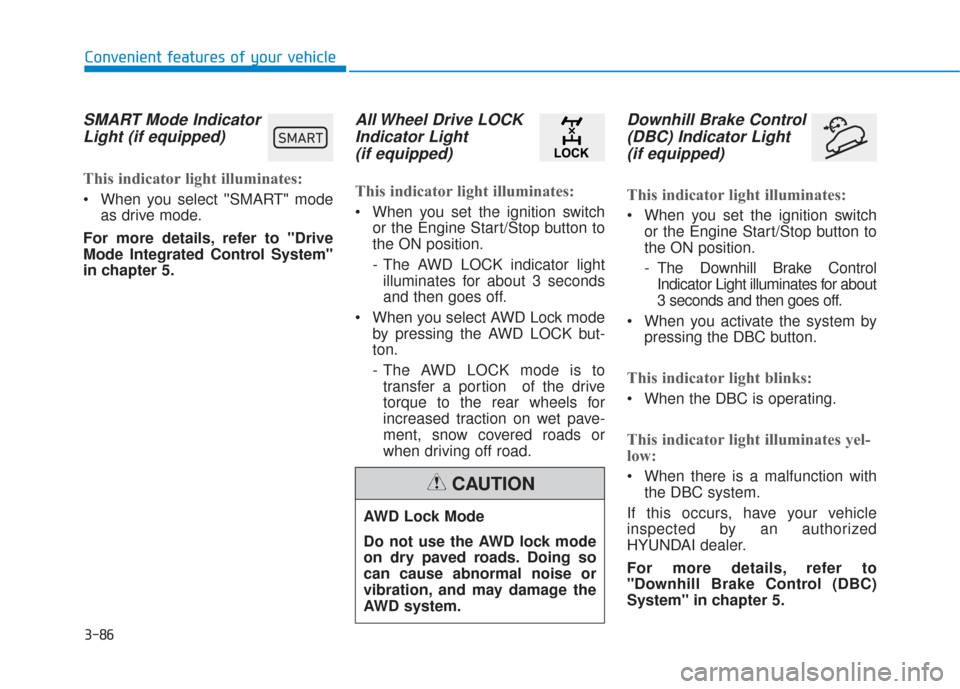
SMART Mode IndicatorLight (if equipped)
This indicator light illuminates:
When you select ''SMART" mode
as drive mode.
For more details, refer to "Drive
Mode Integrated Control System''
in chapter 5.
All Wheel Drive LOCK Indicator Light (if equipped)
This indicator light illuminates:
When you set the ignition switch
or the Engine Start/Stop button to
the ON position.
- The AWD LOCK indicator lightilluminates for about 3 seconds
and then goes off.
When you select AWD Lock mode by pressing the AWD LOCK but-
ton.
- The AWD LOCK mode is totransfer a portion of the drive
torque to the rear wheels for
increased traction on wet pave-
ment, snow covered roads or
when driving off road.
Downhill Brake Control(DBC) Indicator Light(if equipped)
This indicator light illuminates:
When you set the ignition switch
or the Engine Start/Stop button to
the ON position.
- The Downhill Brake ControlIndicator Light illuminates for about
3 seconds and then goes off.
When you activate the system by pressing the DBC button.
This indicator light blinks:
When the DBC is operating.
This indicator light illuminates yel-
low:
When there is a malfunction withthe DBC system.
If this occurs, have your vehicle
inspected by an authorized
HYUNDAI dealer.
For more details, refer to
"Downhill Brake Control (DBC)
System" in chapter 5.
AWD Lock Mode
Do not use the AWD lock mode
on dry paved roads. Doing so
can cause abnormal noise or
vibration, and may damage the
AWD system.
CAUTION
00360030002400350037
Page 308 of 557
5-34
Driving your vehicle
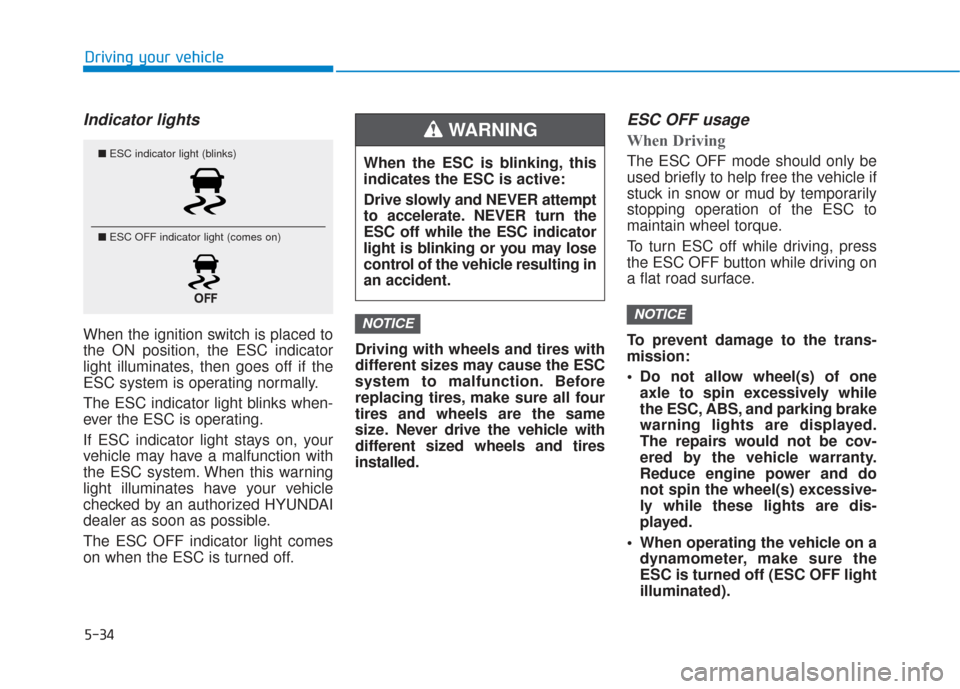
Indicator lights
When the ignition switch is placed to
the ON position, the ESC indicator
light illuminates, then goes off if the
ESC system is operating normally.
The ESC indicator light blinks when-
ever the ESC is operating.
If ESC indicator light stays on, your
vehicle may have a malfunction with
the ESC system. When this warning
light illuminates have your vehicle
checked by an authorized HYUNDAI
dealer as soon as possible.
The ESC OFF indicator light comes
on when the ESC is turned off.Driving with wheels and tires with
different sizes may cause the ESC
system to malfunction. Before
replacing tires, make sure all four
tires and wheels are the same
size. Never drive the vehicle with
different sized wheels and tires
installed.
ESC OFF usage
When Driving
The ESC OFF mode should only be
used briefly to help free the vehicle if
stuck in snow or mud by temporarily
stopping operation of the ESC to
maintain wheel torque.
To turn ESC off while driving, press
the ESC OFF button while driving on
a flat road surface.
To prevent damage to the trans-
mission:
Do not allow wheel(s) of one
axle to spin excessively while
the ESC, ABS, and parking brake
warning lights are displayed.
The repairs would not be cov-
ered by the vehicle warranty.
Reduce engine power and do
not spin the wheel(s) excessive-
ly while these lights are dis-
played.
When operating the vehicle on a dynamometer, make sure the
ESC is turned off (ESC OFF light
illuminated).
NOTICENOTICE
■ ESC indicator light (blinks)
■ ESC OFF indicator light (comes on)When the ESC is blinking, this
indicates the ESC is active:
Drive slowly and NEVER attempt
to accelerate. NEVER turn the
ESC off while the ESC indicator
light is blinking or you may lose
control of the vehicle resulting in
an accident.
WARNING
Page 314 of 557
5-40
Driving your vehicle
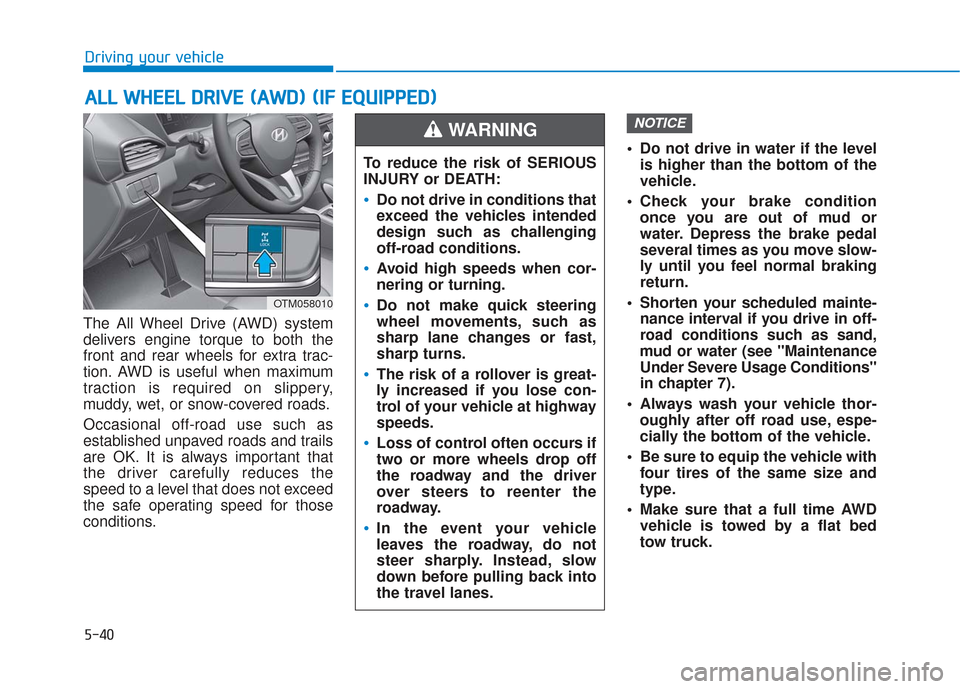
The All Wheel Drive (AWD) system
delivers engine torque to both the
front and rear wheels for extra trac-
tion. AWD is useful when maximum
traction is required on slippery,
muddy, wet, or snow-covered roads.
Occasional off-road use such as
established unpaved roads and trails
are OK. It is always important that
the driver carefully reduces the
speed to a level that does not exceed
the safe operating speed for those
conditions. Do not drive in water if the level
is higher than the bottom of the
vehicle.
Check your brake condition once you are out of mud or
water. Depress the brake pedal
several times as you move slow-
ly until you feel normal braking
return.
Shorten your scheduled mainte- nance interval if you drive in off-
road conditions such as sand,
mud or water (see "Maintenance
Under Severe Usage Conditions"
in chapter 7).
Always wash your vehicle thor- oughly after off road use, espe-
cially the bottom of the vehicle.
Be sure to equip the vehicle with four tires of the same size and
type.
Make sure that a full time AWD vehicle is towed by a flat bed
tow truck.
NOTICE
A AL
LL
L
W
W H
HE
EE
EL
L
D
D R
RI
IV
V E
E
(
( A
A W
W D
D)
)
(
( I
IF
F
E
E Q
Q U
UI
IP
P P
PE
ED
D )
)
To reduce the risk of SERIOUS
INJURY or DEATH:
Do not drive in conditions that
exceed the vehicles intended
design such as challenging
off-road conditions.
Avoid high speeds when cor-
nering or turning.
Do not make quick steering
wheel movements, such as
sharp lane changes or fast,
sharp turns.
The risk of a rollover is great-
ly increased if you lose con-
trol of your vehicle at highway
speeds.
Loss of control often occurs if
two or more wheels drop off
the roadway and the driver
over steers to reenter the
roadway.
In the event your vehicle
leaves the roadway, do not
steer sharply. Instead, slow
down before pulling back into
the travel lanes.
WARNING
OTM058010
Page 326 of 557
5-52
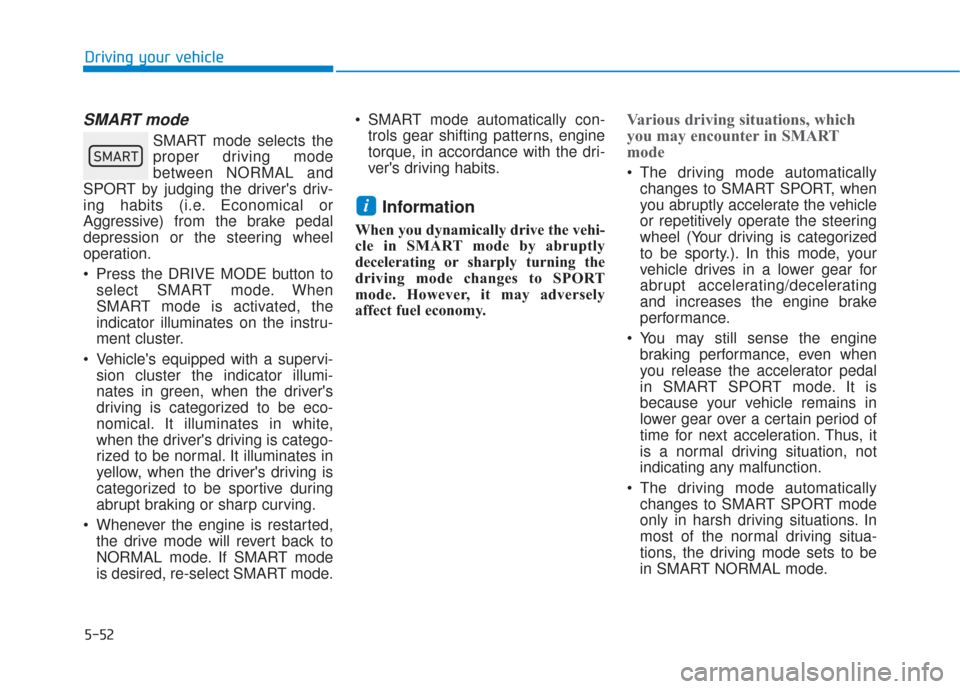
SMART mode
SMART mode selects the
proper driving mode
between NORMAL and
SPORT by judging the driver's driv-
ing habits (i.e. Economical or
Aggressive) from the brake pedal
depression or the steering wheel
operation.
Press the DRIVE MODE button to select SMART mode. When
SMART mode is activated, the
indicator illuminates on the instru-
ment cluster.
Vehicle's equipped with a supervi- sion cluster the indicator illumi-
nates in green, when the driver's
driving is categorized to be eco-
nomical. It illuminates in white,
when the driver's driving is catego-
rized to be normal. It illuminates in
yellow, when the driver's driving is
categorized to be sportive during
abrupt braking or sharp curving.
Whenever the engine is restarted, the drive mode will revert back to
NORMAL mode. If SMART mode
is desired, re-select SMART mode. SMART mode automatically con-
trols gear shifting patterns, engine
torque, in accordance with the dri-
ver's driving habits.
Information
When you dynamically drive the vehi-
cle in SMART mode by abruptly
decelerating or sharply turning the
driving mode changes to SPORT
mode. However, it may adversely
affect fuel economy.
Various driving situations, which
you may encounter in SMART
mode
The driving mode automaticallychanges to SMART SPORT, when
you abruptly accelerate the vehicle
or repetitively operate the steering
wheel (Your driving is categorized
to be sporty.). In this mode, your
vehicle drives in a lower gear for
abrupt accelerating/decelerating
and increases the engine brake
performance.
You may still sense the engine braking performance, even when
you release the accelerator pedal
in SMART SPORT mode. It is
because your vehicle remains in
lower gear over a certain period of
time for next acceleration. Thus, it
is a normal driving situation, not
indicating any malfunction.
The driving mode automatically changes to SMART SPORT mode
only in harsh driving situations. In
most of the normal driving situa-
tions, the driving mode sets to be
in SMART NORMAL mode.
i
Driving your vehicle
00360030002400350037
Page 462 of 557
7-20
Maintenance
Brake Hoses and Lines
Visually check for proper installation,
chafing, cracks, deterioration and
any leakage. Replace any deteriorat-
ed or damaged parts immediately.
Brake Fluid
Check the brake fluid level in the
brake fluid reservoir. The level should
be between the MIN and the MAX
marks on the side of the reservoir.
Use only hydraulic brake fluid con-
forming to DOT 3 or DOT 4 specifi-
cation.
Parking Brake
Inspect the parking brake system
including the parking brake pedal
and cables.
Brake Discs, Pads, Calipers
and Rotors
Check the pads for excessive wear,
discs for run out and wear, and
calipers for fluid leakage.
Exhaust Pipe and Muffler
Visually inspect the exhaust pipes,
muffler and hangers for cracks, dete-
rioration, or damage. Start the engine
and listen carefully for any exhaust
gas leakage. Tighten connections or
replace parts as necessary.
Suspension Mounting Bolts
Check the suspension connections
for looseness or damage. Retighten
to the specified torque.
Steering Gear Box, Linkage &
Boots/Lower Arm Ball Joint
With the vehicle stopped and the
engine off, check for excessive free-
play in the steering wheel. Check the
linkage for bends or damage. Check
the dust boots and ball joints for
deterioration, cracks, or damage.
Replace any damaged parts.
Drive Shafts and Boots
Check the drive shafts, boots and
clamps for cracks, deterioration, or
damage. Replace any damaged
parts and, if necessary, repack the
grease.
Air Conditioning Refrigerant
Check the air conditioning lines and
connections for leakage and dam-
age.