2019 Hyundai Santa Fe engine light
[x] Cancel search: engine lightPage 577 of 682

7
Fuses ......................................................................7-42
Instrument panel fuse replacement ...........................7-43
Engine compartment panel fuse replacement.........7-44
Fuse/Relay panel description ......................................7-45
Light bulbs.............................................................7-59
Headlamp, position lamp, turn signal lamp
and daytime running light bulb replacement ...........7-60
Front fog lamp .................................................................7-63
Headlamp and front fog lamp aiming ........................7-64
Side repeater lamp replacement .................................7-69
Rear combination lamp bulb replacement ................7-69
High mounted stop lamp replacement .......................7-71
License plate light bulb replacement .........................7-72
Interior light bulb replacement ....................................7-72
Appearance care ..................................................7-74
Exterior care ....................................................................7-74
Interior care......................................................................7-78
Emission control system .....................................7-81
Crankcase emission control system ...........................7-81
Evaporative emission control system.........................7-81
Exhaust emission control system ...............................7-82
Selective Catalytic Reduction .......................................7-85
Urea gauge .......................................................................7-85
Malfunction with the SCR system ..............................7-87
Clearing the vehicle-restarting restriction ...............7-88
Adding the urea solution ...............................................7-89
Storing the urea solution ..............................................7-92
Urea solution purity........................................................7-92
Page 583 of 682
7-8
Maintenance
Owner maintenance schedule
When you stop for fuel:
• Check the engine oil level.
• Check the coolant level in the
engine coolant reservoir.
• Check the windscreen washer fluid
level.
• Check for low or under-inflated
tyres.
Whilst operating your vehicle:
• Note any changes in the sound of
the exhaust or any smell of exhaust
fumes in the vehicle.
• Check for vibrations in the steering
wheel. Notice if there is any
increased steering effort or loose-
ness in the steering wheel, or
change in its straight-ahead position.
• Notice if your vehicle constantly turns
slightly or “pulls” to one side when
travelling on smooth, level road.
• When stopping, listen and check for
unusual sounds, pulling to one side,
increased brake pedal travel or
“hard-to-push” brake pedal.
• If any slipping or changes in the
operation of your transmission
occurs, check the transmission fluid
level.
• Check the automatic transmission
P (Park) function.
• Check the parking brake.
• Check for fluid leaks under your
vehicle (water dripping from the air
conditioning system during or after
use is normal).
At least monthly:
• Check coolant level in the engine
coolant reservoir.
• Check the operation of all exterior
lights, including the stoplights, turn
signals and hazard warning flashers.
• Check the inflation pressures of all
tyres including the spare for tyres
that are worn, show uneven wear,
or are damaged.
• Check for loose wheel lug nuts.
At least twice a year:
(i.e., every Spring and Autumn)
• Check radiator, heater and air condi-
tioning hoses for leaks or damage.
• Check windscreen washer spray
and wiper operation. Clean wiper
blades with a clean cloth damp-
ened with washer fluid.
• Check headlamp alignment.
• Check muffler, exhaust pipes,
shields and clamps.
• Check the seat belts for wear and
function. Be careful when checking your
engine coolant level when the
engine is hot. This may result in
coolant being blown out of the
opening and cause serious
burns and other injuries.
WARNING
Page 597 of 682
7-22
Maintenance
FUEL FILTER (FOR DIESEL)
Draining water from fuel filter
The fuel filter in the diesel engine
operates the critical function of sepa-
rating water from the fuels and pre-
venting accumulating of water in the
base.
When enough water is accumulated
inside the fuel filter, the warning light
( ) illuminates with the ignition
switch in the ON position.
In this case, we recommend you to
have the system checked by a
HYUNDAI authorised repairer.
When the accumulated water is not
drained at the proper timing, water
may permeate in the fuel filter,
damaging the major vehicle com-
ponents, such as the fuel system.
Fuel filter cartridge replace-
ment
We recommend the fuel filter car-
tridge be replaced by a HYUNDAI
authorised repairer according to the
Maintenance Schedule.
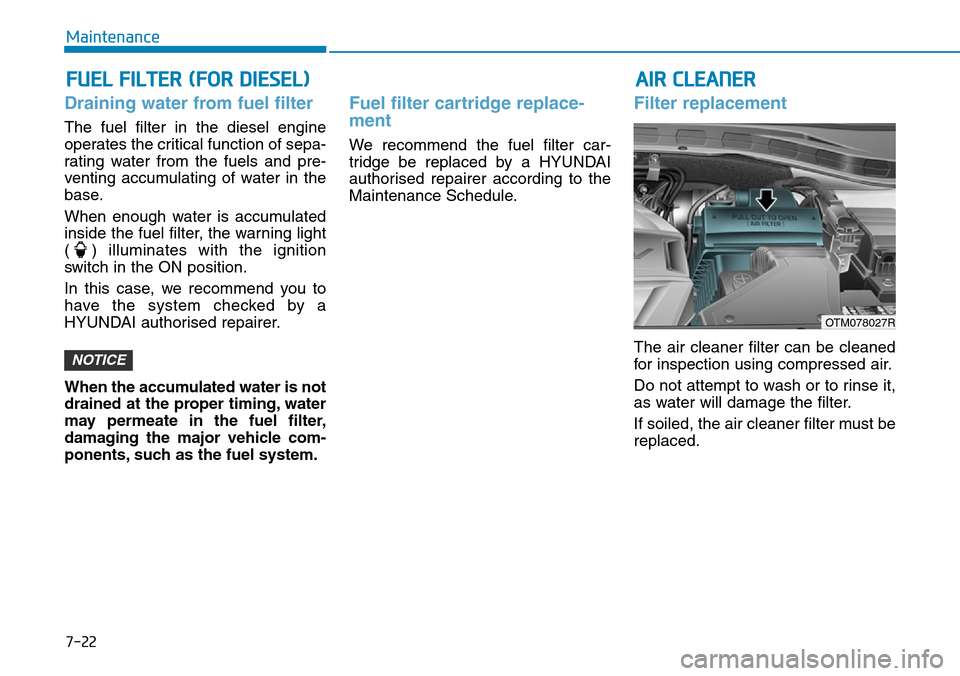
Filter replacement
The air cleaner filter can be cleaned
for inspection using compressed air.
Do not attempt to wash or to rinse it,
as water will damage the filter.
If soiled, the air cleaner filter must be
replaced.NOTICE
AIR CLEANER
OTM078027R
Page 605 of 682

7-30
Maintenance
4. 92RC : The nominal reserve capac-
ity (in min.)
5. 550CCA : The cold-test current in
amperes by SAE
6. 440A : The cold-test current in
amperes by EN
Battery recharging
By battery charger
Your vehicle has a maintenance-free,
calcium-based battery.
• If the battery becomes discharged
in a short time (because, for exam-
ple, the headlights or interior lights
were left on whilst the vehicle was
not in use), recharge it by slow
charging (trickle) for 10 hours.
• If the battery gradually discharges
because of high electric load whilst
the vehicle is being used, recharge
it at 20-30A for two hours.Always follow these instruc-
tions when recharging your
vehicle’s battery to avoid the
risk of SERIOUS INJURY or
DEATH from explosions or acid
burns:
•Before performing mainte-
nance or recharging the bat-
tery, turn off all accessories
and place the Engine Start/
Stop button to the OFF posi-
tion.
•Keep all flames, sparks, or
smoking materials away from
the battery.
•Always work outdoors or in an
area with plenty of ventilation.
•Wear eye protection when
checking the battery during
charging.
•The battery must be removed
from the vehicle and placed in
a well ventilated area.
WARNING •Watch the battery during
charging, and stop or reduce
the charging rate if the battery
cells begin boiling violently.
•The negative battery cable
must be removed first and
installed last when the battery
is disconnected. Disconnect
the battery charger in the fol-
lowing order:
(1) Turn off the battery charg-
er main switch.
(2) Unhook the negative
clamp from the negative
battery terminal.
(3) Unhook the positive clamp
from the positive battery
terminal.
•Always use a genuine
HYUNDAI approved battery
when you replace the battery.
Page 617 of 682
7-42
Maintenance
FUSES
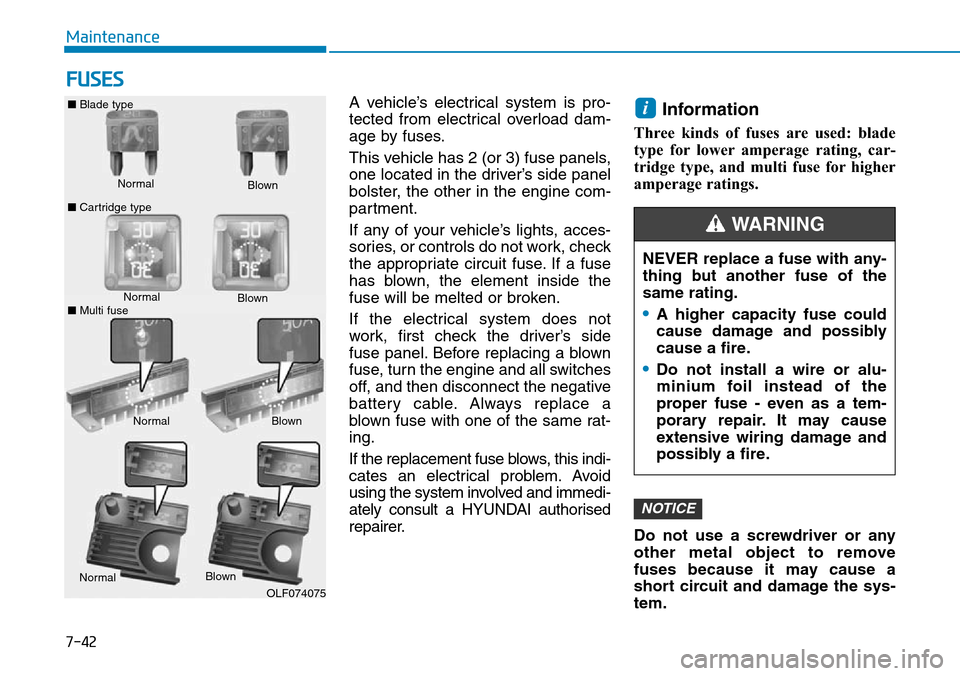
A vehicle’s electrical system is pro-
tected from electrical overload dam-
age by fuses.
This vehicle has 2 (or 3) fuse panels,
one located in the driver’s side panel
bolster, the other in the engine com-
partment.
If any of your vehicle’s lights, acces-
sories, or controls do not work, check
the appropriate circuit fuse. If a fuse
has blown, the element inside the
fuse will be melted or broken.
If the electrical system does not
work, first check the driver’s side
fuse panel. Before replacing a blown
fuse, turn the engine and all switches
off, and then disconnect the negative
battery cable. Always replace a
blown fuse with one of the same rat-
ing.
If the replacement fuse blows, this indi-
cates an electrical problem. Avoid
using the system involved and immedi-
ately consult a HYUNDAI authorised
repairer.Information
Three kinds of fuses are used: blade
type for lower amperage rating, car-
tridge type, and multi fuse for higher
amperage ratings.
Do not use a screwdriver or any
other metal object to remove
fuses because it may cause a
short circuit and damage the sys-
tem.
NOTICE
i
Normal ■Blade type
■Cartridge typeBlown
NormalBlown
NormalBlown
OLF074075
NEVER replace a fuse with any-
thing but another fuse of the
same rating.
•A higher capacity fuse could
cause damage and possibly
cause a fire.
•Do not install a wire or alu-
minium foil instead of the
proper fuse - even as a tem-
porary repair. It may cause
extensive wiring damage and
possibly a fire.
WARNING
Normal
Blown
■Multi fuse
Page 618 of 682
7-43
7
Maintenance
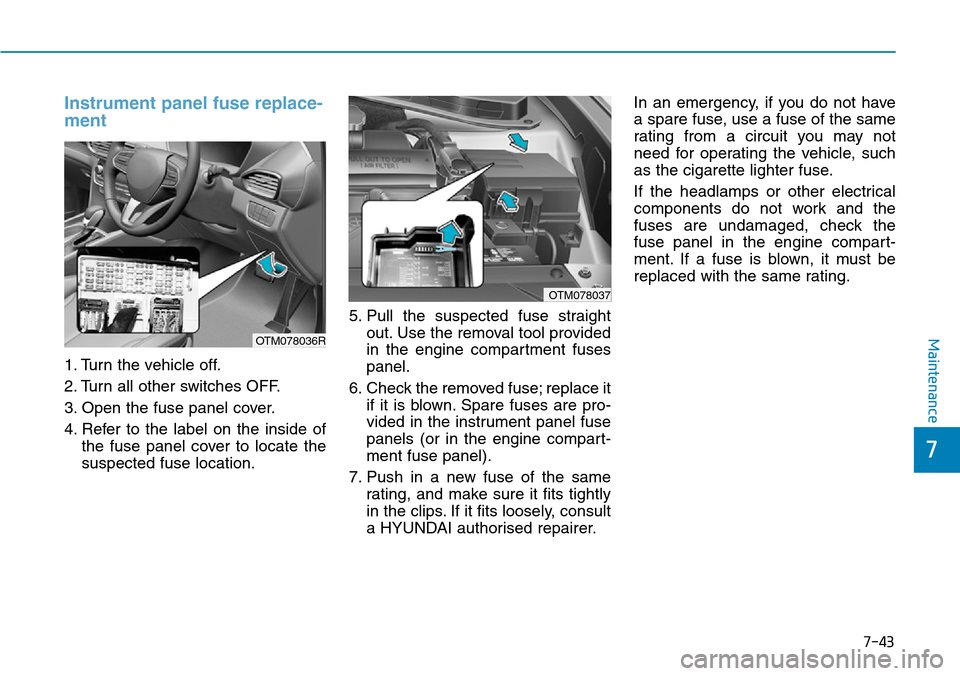
Instrument panel fuse replace-
ment
1. Turn the vehicle off.
2. Turn all other switches OFF.
3. Open the fuse panel cover.
4. Refer to the label on the inside of
the fuse panel cover to locate the
suspected fuse location.5. Pull the suspected fuse straight
out. Use the removal tool provided
in the engine compartment fuses
panel.
6. Check the removed fuse; replace it
if it is blown. Spare fuses are pro-
vided in the instrument panel fuse
panels (or in the engine compart-
ment fuse panel).
7. Push in a new fuse of the same
rating, and make sure it fits tightly
in the clips. If it fits loosely, consult
a HYUNDAI authorised repairer.In an emergency, if you do not have
a spare fuse, use a fuse of the same
rating from a circuit you may not
need for operating the vehicle, such
as the cigarette lighter fuse.
If the headlamps or other electrical
components do not work and the
fuses are undamaged, check the
fuse panel in the engine compart-
ment. If a fuse is blown, it must be
replaced with the same rating.
OTM078036R
OTM078037
Page 666 of 682
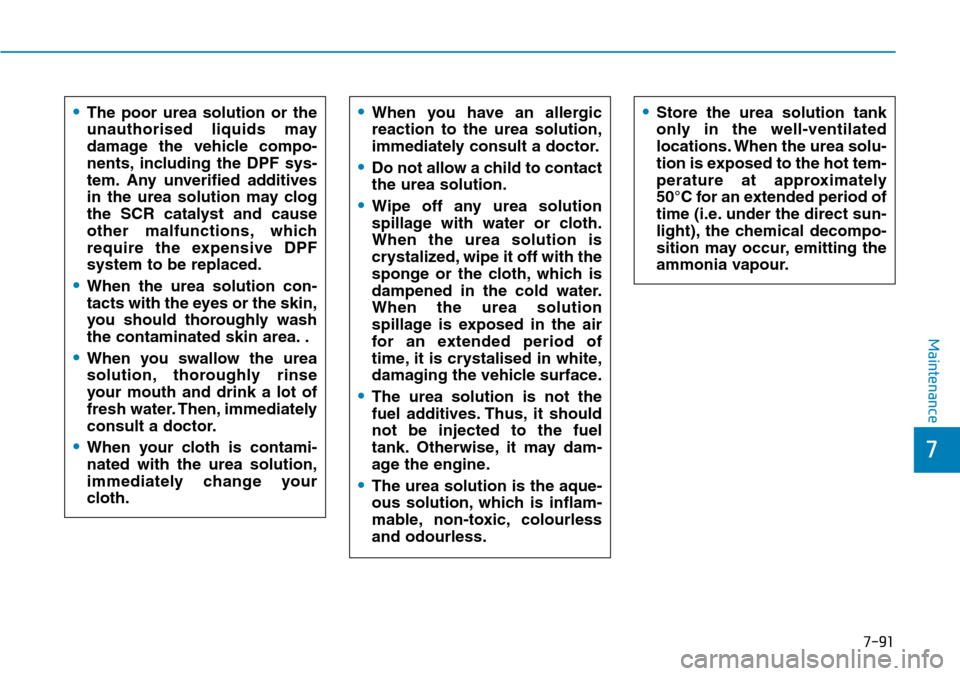
7-91
7
Maintenance
•The poor urea solution or the
unauthorised liquids may
damage the vehicle compo-
nents, including the DPF sys-
tem. Any unverified additives
in the urea solution may clog
the SCR catalyst and cause
other malfunctions, which
require the expensive DPF
system to be replaced.
•When the urea solution con-
tacts with the eyes or the skin,
you should thoroughly wash
the contaminated skin area. .
•When you swallow the urea
solution, thoroughly rinse
your mouth and drink a lot of
fresh water. Then, immediately
consult a doctor.
•When your cloth is contami-
nated with the urea solution,
immediately change your
cloth.
•When you have an allergic
reaction to the urea solution,
immediately consult a doctor.
•Do not allow a child to contact
the urea solution.
•Wipe off any urea solution
spillage with water or cloth.
When the urea solution is
crystalized, wipe it off with the
sponge or the cloth, which is
dampened in the cold water.
When the urea solution
spillage is exposed in the air
for an extended period of
time, it is crystalised in white,
damaging the vehicle surface.
•The urea solution is not the
fuel additives. Thus, it should
not be injected to the fuel
tank. Otherwise, it may dam-
age the engine.
•The urea solution is the aque-
ous solution, which is inflam-
mable, non-toxic, colourless
and odourless.
•Store the urea solution tank
only in the well-ventilated
locations. When the urea solu-
tion is exposed to the hot tem-
perature at approximately
50°C for an extended period of
time (i.e. under the direct sun-
light), the chemical decompo-
sition may occur, emitting the
ammonia vapour.