2019 Hyundai Nexo display
[x] Cancel search: displayPage 246 of 560
3-159
Convenient features of your vehicle
3
Auto Defogging System
(Additional Feature with
Automatic Temperature
Control System) (if equipped)
Auto defogging helps reduce the pos-
sibility of fogging up the inside of the
windshield by automatically sensing
the moisture on inside the windshield.
The auto defogging system operates
when the heater or air conditioning is
on.
Information
The auto defogging system may not
operate normally, when the outside
temperature is below 14 °F (-10 °C).When the Auto Defogging
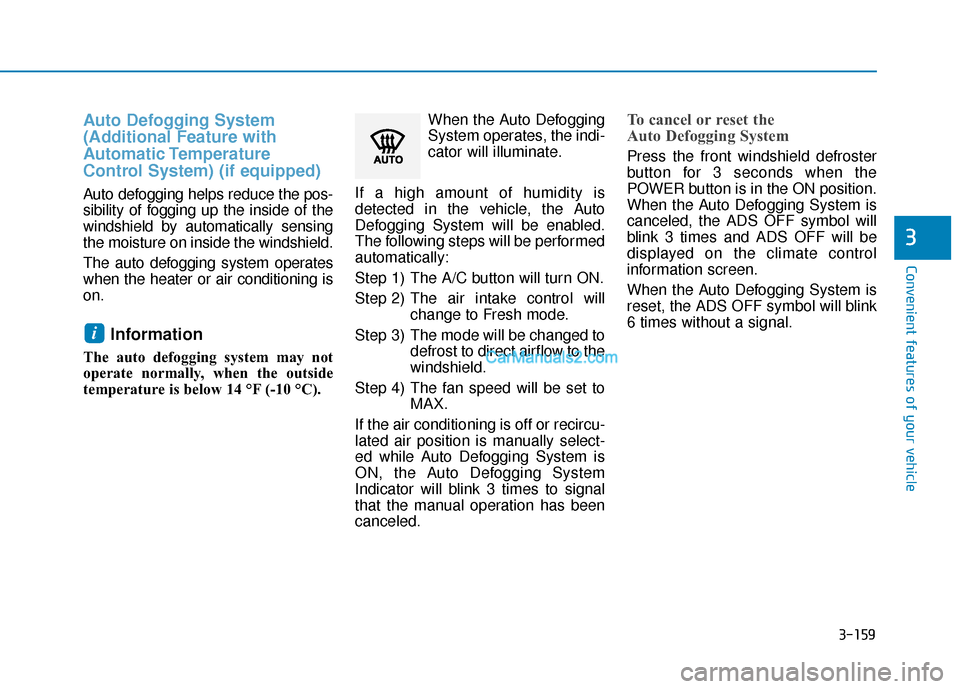
System operates, the indi-
cator will illuminate.
If a high amount of humidity is
detected in the vehicle, the Auto
Defogging System will be enabled.
The following steps will be performed
automatically:
Step 1) The A/C button will turn ON.
Step 2) The air intake control will change to Fresh mode.
Step 3) The mode will be changed to defrost to direct airflow to the
windshield.
Step 4) The fan speed will be set to MAX.
If the air conditioning is off or recircu-
lated air position is manually select-
ed while Auto Defogging System is
ON, the Auto Defogging System
Indicator will blink 3 times to signal
that the manual operation has been
canceled.
To cancel or reset the
Auto Defogging System
Press the front windshield defroster
button for 3 seconds when the
POWER button is in the ON position.
When the Auto Defogging System is
canceled, the ADS OFF symbol will
blink 3 times and ADS OFF will be
displayed on the climate control
information screen.
When the Auto Defogging System is
reset, the ADS OFF symbol will blink
6 times without a signal.
i
Page 256 of 560
3-169
Convenient features of your vehicle
3
To charge a cellular phone
The wireless cellular phone charging
system charges only the Qi-enabled
cellular phones ( ). Read the label
on the cellular phone accessory
cover or visit your cellular phone
manufacturer's website to check
whether your cellular phone supports
the Qi technology.
The wireless charging process starts
when you put a Qi-enabled cellular
phone on the wireless charging unit.
1. Remove other items, including thesmart key, from the wireless charg-
ing unit. If not, the wireless charg-
ing process may be interrupted.
Place the cellular phone on the
center of the charging pad ( ).
2. The indicator light is orange when the cellular phone is charging. The
indicator light turns green when
phone charging is complete.
3. You can turn ON or OFF the wire- less charging function in the
Vehicle Settings mode on the AVN
screen. For further information,
refer to the separately supplied
"Navigation manual". If your cellular phone is not charging:
- Slightly change the position of the
cellular phone on the charging
pad.
- Make sure the indicator light is orange.
The indicator light will blink orange for
10 seconds if there is a malfunction in
the wireless charging system.
In this case, temporarily stop the
charging process, and re-attempt to
charge your cellular phone again.
The system warns you with a mes-
sage on the LCD display if the cellular
phone is still on the wireless charging
unit after the POWER button is in the
OFF position and the front door is
opened.
Information
For some manufacturer's cellular
phones, the system may not warn you
even though the cellular phone is left
on the wireless charging unit. This is
due to the particular characteristic of
the cellular phone and not a malfunc-
tion of the wireless charging. The wireless cellular phone
charging system may not sup-
port certain cellular phones,
which are not verified for the Qi
specification ( ).
When placing your cellular phone on the charging mat,
position the phone in the middle
of the mat for optimal charging
performance. If your cell phone
is off to the side, the charging
rate may be less and in some
cases the cell phone may experi-
ence higher heat conduction.
In some cases, the wireless charging may stop temporarily
when the Smart Key is used,
either when starting the vehicle or
locking/unlocking the doors, etc.
When charging certain cellular phones, the charging indicator
may not change to green when
the cell phone is fully charged.
NOTICE
i
Page 257 of 560
3-170
Convenient features of your vehicle
The wireless charging processmay temporarily stop, when tem-
perature abnormally increases
inside the wireless cellular phone
charging system. Stop the charg-
ing cellular phone and wait until
temperature falls to a certain level.
The wireless charging process may temporarily stop when there
is any metallic item, such as a
coin, between the wireless cellular
phone charging system and the
cellular phone.
When charging some cellular phones with a self-protection fea-
ture, the wireless charging speed
may decrease and the wireless
charging may stop.
If the cellular phone has a thick cover, the wireless charging may
not be possible.
If the cell phone is not completely contacting the charging pad, wire-
less charging may not operate
properly.
Some magnetic items like credit cards, phone cards or rail tickets
may be damaged if left with the
cellular phone during the charging
process. When any cellular phone without a
wireless charging function or a
metallic object is placed on the
charging pad, a small noise may
sound. This small sound is due to
the vehicle discerning compatibil-
ity of the object placed on the
charging pad. It does not affect
your vehicle or the cellular phone
in any way.
Information
If the POWER button is in the OFF
position, the charging also stops.
Information
This device complies with part 15 of
the FCC Rules.
Operation is subject to the following
two conditions:
1. This device may not cause harmful interference, and
2. This device must accept any inter- ference received, including interfer-
ence that may cause undesired
operation.
Clock
Select the Vehicle Settings menu on
the AVN screen ➟Select [Date/Time].
GPS time: Displays time according to the received GNSS time.
Daylight saving time : The clock is adjusted forward one hour.
Time format : Switches to 12 hour or 24 hour.
For more details, refer to the sepa-
rately supplied Navigation manual.
i
i
Do not attempt to adjust the
clock while driving. Doing so
may result in distracted driving
which may lead to an accident
involving personal injury or
death.
WARNING
Page 267 of 560
Driving your vehicle
5
Before Driving ........................................................5-4
Before Entering the Vehicle ...........................................5-4
Before Starting ..................................................................5-4
Power Button..........................................................5-6
POWER Button Positions.................................................5-7
Starting the Vehicle ..........................................................5-9
Turning Off the Vehicle .................................................5-10
Reduction Gear.....................................................5-11
Reduction Gear Operation ............................................5-11
Parking ........................................................................\
.......5-13
LCD Display Messages ...................................................5-13
Good Driving Practices ..................................................5-16
Paddle Shifter (Regenerative Braking
Control)..................................................................5-17
Braking System ....................................................5-18
Power Brakes ...................................................................5-18
Disc Brake Wear Indicator ............................................5-19
Electronic Parking Brake (EPB)...................................5-19
Auto Hold ........................................................................\
..5-25
Anti-lock Brake System (ABS) ....................................5-29
Electronic Stability Control (ESC)................................5-31
Vehicle Stability Management (VSM).........................5-34
Hill-Start Assist Control (HAC) ....................................5-36
Good Braking Practices .................................................5-36
Drive Mode Integrated Control System ............5-37
Drive mode change alert ...............................................5-38
ECO mode climate control ............................................5-38
Forward Collision-avoidance Assist (FCA)
System ...................................................................5-39
System Setting and Activation.....................................5-39
FCA Warning Message and System Control ............5-41
FCA Sensor (Front Radar/Front View Camera).......5-44
System Malfunction .......................................................5-46
Limitations of the System .............................................5-47
Blind-Spot Collision Warning/
Blind-Spot Collision-avoidance Assist..............5-53
System Description .........................................................5-53
System Setting and Activation.....................................5-54
Warning and System Control .......................................5-57
Detecting Sensor (Front View Camera and
Rear Corner Radar) ........................................................5-59
Limitations of the System .............................................5-62
Rear Cross-traffic Collision Warning (RCCW)/
Rear Cross-traffic Collision-avoidance Assist
(RCCA) ...................................................................5-67
System Description .........................................................5-67
System Setting and Activation.....................................5-68
Warning and System Control .......................................5-69
Limitations of the System .............................................5-73
Page 270 of 560
5-4
Driving your vehicle
Before Entering the Vehicle
• Be sure all windows, outside mir-ror(s), and outside lights are clean
and unobstructed.
Remove frost, snow, or ice.
Visually check the tires for uneven wear and damage.
Check under the vehicle for any sign of leaks.
Be sure there are no obstacles behind you if you intend to back up.
Before Starting
Make sure the hood, the liftgate,and the doors are securely closed
and locked.
Adjust the position of the seat and steering wheel.
Adjust the inside and outside rearview mirrors.
Verify all the lights work.
Fasten your seatbelt. Check that all passengers have fastened their
seatbelts.
Check the gauges and indicators in the instrument panel and the mes-
sages on the instrument display
when the POWER button is in the
ON position.
Check that any items you are car- rying are stored properly or fas-
tened down securely.
CALIFORNIA PROPOSITION 65
WARNING
An wide variety of automobile
components including compo-
nents found in the interior fur-
nishings in a vehicle, contain or
emit harmful chemicals known
to the State of California to
cause cancer and birth defects
and reproductive harm. In addi-
tion, certain fluids contained in
vehicles and certain products
of components contain or emit
chemicals known to the State of
California to cause cancer and
birth defects or other reproduc-
tive harm.WARNING
B B
E
EF
FO
O R
RE
E
D
D R
RI
IV
V I
IN
N G
G
Page 277 of 560
5-11
Driving your vehicle
Reduction Gear Operation
Select gear positions by pressing the
shift button.
For your safety, always depress the
brake pedal while shifting to another
gear.
Gear position
The indicator in the instrument clus-
ter displays the gear position when
the POWER button is in the ON posi-
tion.
R RE
ED
D U
U C
CT
T I
IO
O N
N
G
G E
EA
A R
R
5
To reduce the risk of serious
injury or death:
ALWAYS check the surround-
ing areas near your vehicle for
people, especially children,
before shifting a vehicle into
D (Drive) or R (Reverse).
Before leaving the driver's
seat, always make sure the
gear is in the P (Park) posi-
tion, then set the parking
brake, and place the POWER
button in the OFF position.
Unexpected and sudden vehi-
cle movement can occur if
these precautions are not fol-
lowed.
WARNING
OFE058005L
OFE058006
Page 279 of 560
5-13
Driving your vehicle
5
Shift-lock system
For your safety, your vehicle has a
shift-lock system which prevents
shifting the gear from P (Park) or N
(Neutral) into R (Reverse) or D
(Drive) unless the brake pedal is
depressed.
To shift from P (Park) or N (Neutral)
into R (Reverse) or D (Drive) :
1. Depress and hold the brake pedal.
2. Start the vehicle or place thePOWER button in the ON position.
3. Press the R (Reverse) or D (Drive) button.
When the battery (12 V) is dis-charged
You cannot shift the gear when the
battery is discharged.
Jump start your vehicle (refer to
“Jump Starting” in chapter 6) or con-
tact an authorized HYUNDAI dealer.
Parking
Always come to a complete stop and
continue to depress the brake pedal.
Shift to the P (Park) position, apply
the parking brake, and place the
POWER button in the OFF position.
Take the Key with you when exiting
the vehicle.
LCD Display Messages
Shifting conditions not met
The message appears on the LCD
display when driving speed is too
fast to shift the gear.
Decrease the vehicle speed or slow
down before shifting the gear.
OFE058128L
Page 280 of 560
5-14
Driving your vehicle
Press brake pedal to changegear
The message appears on the LCD
display, when the brake pedal is not
depressed while shifting the gear.
Depress the brake pedal and then
shift the gear.
Shift to P after stopping
The message appears on the LCD
display when the gear is shifted to P
(Park) while the vehicle is moving.
Stop the vehicle before shifting to P
(Park).
Gear already selected
The message appears on the LCD
display when the selected gear but-
ton is pressed again.OFE058129L
OFE058130LOFE058132L