Page 106 of 540
3-22
Convenient features of your vehicleTo adjust the Zone setting:
1.Determine the desired ZoneNumber based upon your current
location on the Zone Map.
2.Press and hold the Control Button for up to 6 seconds, the current
Zone Number will appear on the
display.
3.Release and press the Control Button and then hold the Control
Button again will cause the num-
bers to increment (Note: they will
repeat …13, 14, 15, 1, 2, …).
Releasing the button when the
desired Zone Number appears on
the display will set the new Zone.
4.Within about 5 seconds the com- pass will start displaying a com-
pass heading again.
There are some conditions that can
cause changes to the vehicle mag-
nets, such as installing a ski rack or
a CB antenna. Body repair work on
the vehicle can also cause changes
to the vehicle's magnetic field. In
these situations, the compass will
need to be re-calibrated to correct
these changes.
B520C05NF
Page 107 of 540

3-23
Convenient features of your vehicle
3
If you need to recalibrate the com-
pass:
1.Press and hold the Control Buttonfor more than 6 seconds. When the
compass memory is cleared, a "C"
will appear in the display.
2.Drive the vehicle in 2 complete cir- cles at less than 5 mph (8 km/h).Integrated HomeLink®Wireless
Control System
The HomeLink®Wireless Control
System can replace up to three
hand-held radio-frequency (RF)
transmitters with a single built-in
device. This innovative feature will
learn the radio frequency codes of
most current transmitters to operate
devices such as gate operators,
garage door openers, entry door
locks, security systems, even home
lighting. Both standard and rolling
code-equipped transmitters can be
programmed by following the out-
lined procedures.
Additional HomeLink
®information
can be found at: www.homelink.com,
www.youtube.com/HomeLinkGentex
or by calling 1-800-355-3515.
Retain the original transmitter of the
RF device you are programming for
use in other vehicles as well as for
future HomeLink
®programming. It is
also suggested that upon the sale of
the vehicle, the programmed
HomeLink
®buttons be erased for
security purposes. Before programming HomeLink
®
to a garage door opener or gate
operator, make sure people and
objects are out of the way of the
device to prevent potential harm
or damage. Do not use the
HomeLink
®with any garage door
opener that lacks the safety stop
and reverse features required by
U.S. federal safety standards
(this includes any garage door
opener model manufactured
before April 1, 1982). A garage
door that cannot detect an object
- signaling the door to stop and
reverse - does not meet current
U.S. federal safety standards.
Using a garage door opener
without these features increases
the risk of serious injury or
death.
WARNING
Page 122 of 540

3-38
Convenient features of your vehicle
Do not release the lever until the
operation is completed.
If you release the lever during opera-
tion, start the procedure again from
step 2.
6. Release the sunroof control lever after all steps have completed. The
sunroof system has been reset.
Information
• If the sunroof is not reset when thevehicle battery is disconnected or
discharged, or the sunroof fuse is
blown, the sunroof may not operate
normally.
• For more detailed information, con- tact an authorized HYUNDAI dealer.
Sunroof Open Warning
(if equipped)
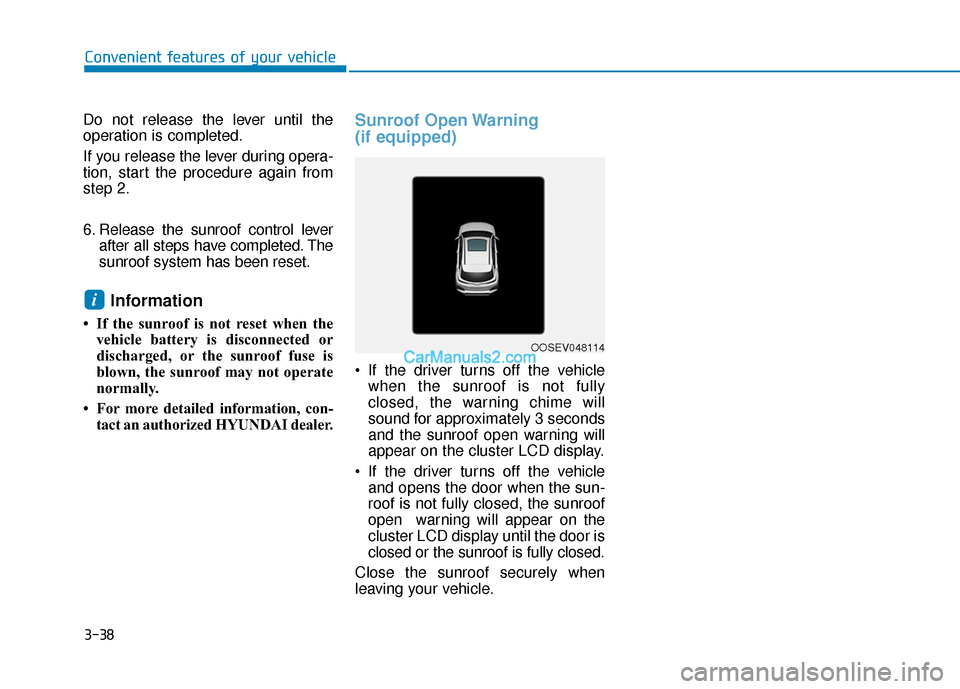
If the driver turns off the vehiclewhen the sunroof is not fully
closed, the warning chime will
sound for approximately 3 seconds
and the sunroof open warning will
appear on the cluster LCD display.
If the driver turns off the vehicle and opens the door when the sun-
roof is not fully closed, the sunroof
open warning will appear on the
cluster LCD display until the door is
closed or the sunroof is fully closed.
Close the sunroof securely when
leaving your vehicle.
i
OOSEV048114
Page 128 of 540
3-44
Convenient features of your vehicle
I
IN
N S
ST
T R
R U
U M
M E
EN
N T
T
C
C L
LU
U S
ST
T E
ER
R
1. Power/Charge gauge
2. Speedometer
3. Warning and indicator lights
4. LCD display (including Trip computer)
5. Battery SOC (State of Charge) gauge
OOSEV048100N
The actual cluster in the vehicle may differ
from the illustration.
For more details, refer to the "Gauges and
Meters" in this chapter.
Page 129 of 540
3-45
Convenient features of your vehicle
3
Instrument Cluster Control
Adjusting instrument clusterillumination
When the vehicle's position lights or
headlights are on, press the illumina-
tion control button to adjust the
brightness of the instrument panel
illumination.
When pressing the illumination con-
trol button, the interior switch illumi-
nation intensity is also adjusted. The brightness of the instrument
panel illumination is displayed.
If the brightness reaches the maxi- mum or minimum level, a chime
will sound.
For information regarding the illu-
mination setting on your audio dis-
play, refer to the "Setup" section of
your Audio or Navigation manual.
Never adjust the instrument
cluster while driving. Doing so
could lead to driver distraction
which may cause an accident
and lead to vehicle damage,
serious injury, or death.
WARNING
OOSEV048014K
OIK047144L
Page 130 of 540
3-46
Convenient features of your vehicle
Gauges and Meters
Speedometer
The speedometer indicates the
speed of the vehicle and is calibrated
in miles per hour (mph) and/or kilo-
meters per hour (km/h).
The speedometer is displayed differ-
ently according to the selected drive
mode.
For more details, refer to “Drive
Mode System” in chapter 5.
Sub speedometer
The sub speedometer is displayed
on the cluster when you select ‘Other
features →Speedometer subscale’ in
the User Settings mode. The sub
speedometer is not displayed if you
deselect it in the User Setting mode.
For more details, refer to “LCD
Display Mode” in this chapter.
OOSEV048177N
■ SPORT mode
OOSEV048174R
■NORMAL mode
OOSEV048167R
■ECO mode/ECO+ mode (if equipped)
OOSEV048187N
Page 132 of 540

3-48
Convenient features of your vehicle
When there are only 2 bars remain-
ing on the gauge, the SOC level is
low. The warning lamp turns ON to
alert you that the battery must be
charged soon.
When the warning lamp turns ON,
the vehicle can drive an additional
12~18 miles (20~30 km) depending
on the driving speed, heater/air con-
ditioner, weather, driving style, and
other factors. Charging is required.
When there are 1-2 gauge bars left
for the high voltage battery, the
vehicle speed is limited and then
eventually the vehicle will turn OFF.
Charge the vehicle immediately.
Outside temperature indicator
The outside temperature is shown in
the lower portion of the cluster LCD
display. The units may be displayed
in Fahrenheit (F) or Celsius (C).
- Temperature range : -40°F ~ 140°F
(-40°C ~ 60°C)
Note that the temperature indicated
on the LCD display may not change
as quickly as the outside tempera-
ture (there may be a slight delay
before the temperature changes.) You can change the temperature unit
from °F to °C or °C to °F in the User
Settings mode in the cluster:
- Go to User Settings Mode
➝Other
➝ Temperature Unit.
For vehicles equipped with Automatic
Climate Control, you can also:
- Press the AUTO button while press- ing the OFF button on the climate
control unit for 3 seconds
Both the temperature unit on the
cluster LCD display and climate con-
trol screen will change.
NOTICE
OOSEV048103
OOSEV048104N
Page 133 of 540

3-49
Convenient features of your vehicle
3
Odometer
The odometer indicates the total dis-
tance that the vehicle has been driv-
en and should be used to determine
when periodic maintenance should
be performed.
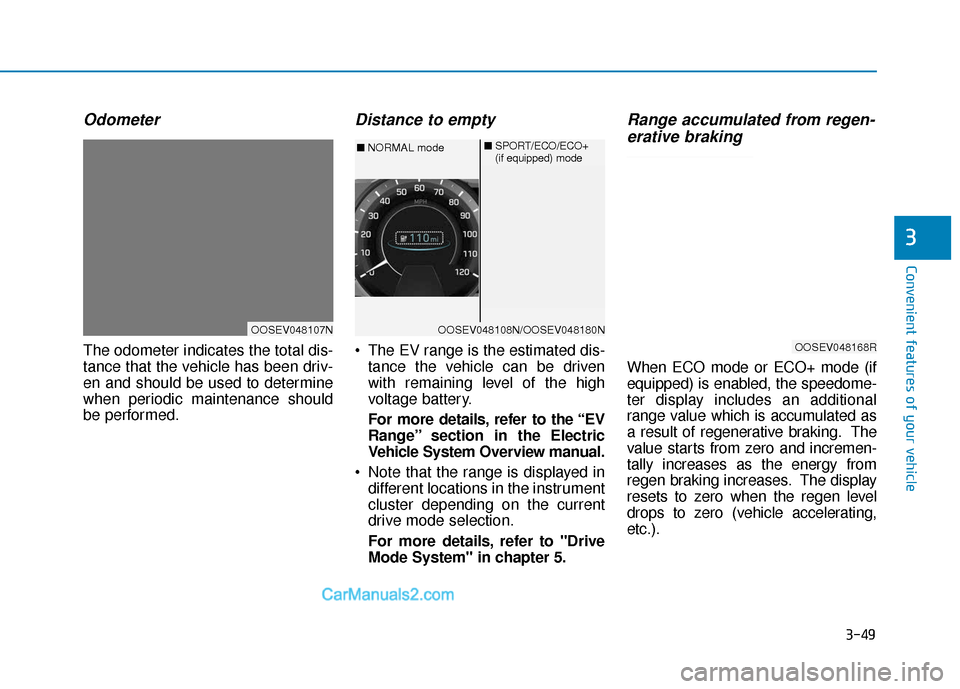
Distance to empty
The EV range is the estimated dis-tance the vehicle can be driven
with remaining level of the high
voltage battery.
For more details, refer to the “EV
Range” section in the Electric
Vehicle System Overview manual.
Note that the range is displayed in different locations in the instrument
cluster depending on the current
drive mode selection.
For more details, refer to "Drive
Mode System" in chapter 5.
Range accumulated from regen-erative braking
When ECO mode or ECO+ mode (if
equipped) is enabled, the speedome-
ter display includes an additional
range value which is accumulated as
a result of regenerative braking. The
value starts from zero and incremen-
tally increases as the energy from
regen braking increases. The display
resets to zero when the regen level
drops to zero (vehicle accelerating,
etc.).
OOSEV048107NOOSEV048108N/OOSEV048180N
■ NORMAL mode ■
SPORT/ECO/ECO+
(if equipped) mode
OOSEV048168R