2019 Hyundai Ioniq Plug-in Hybrid emergency towing
[x] Cancel search: emergency towingPage 405 of 599

5-61
Driving your vehicle
5
Information
In some instances, the FCA system
may be cancelled when subjected to
electromagnetic interference.
i
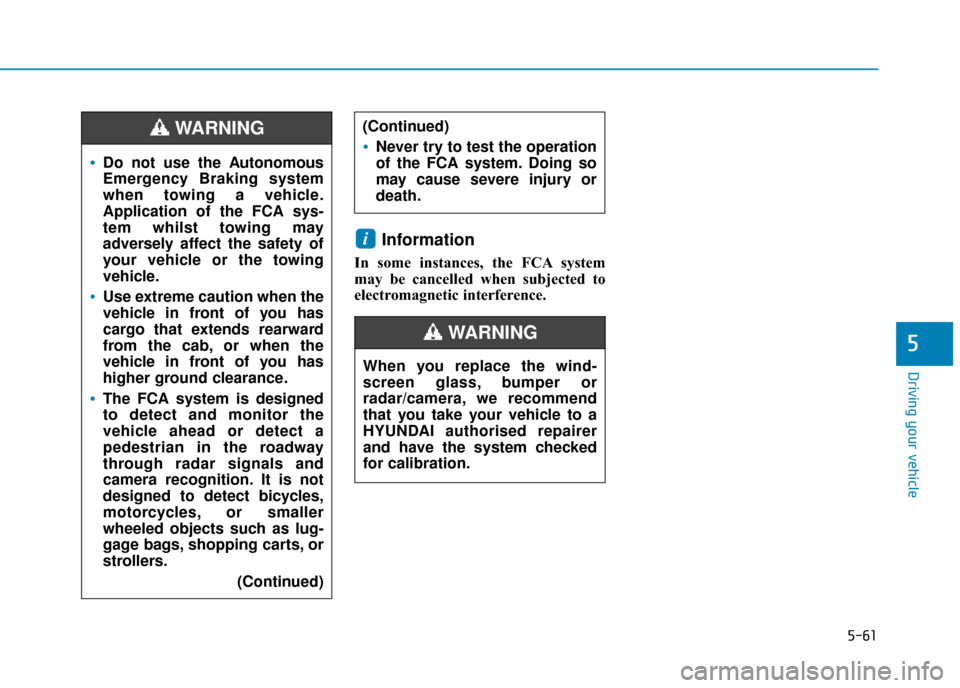
Do not use the Autonomous
Emergency Braking system
when towing a vehicle.
Application of the FCA sys-
tem whilst towing may
adversely affect the safety of
your vehicle or the towing
vehicle.
Use extreme caution when the
vehicle in front of you has
cargo that extends rearward
from the cab, or when the
vehicle in front of you has
higher ground clearance.
The FCA system is designed
to detect and monitor the
vehicle ahead or detect a
pedestrian in the roadway
through radar signals and
camera recognition. It is not
designed to detect bicycles,
motorcycles, or smaller
wheeled objects such as lug-
gage bags, shopping carts, or
strollers.(Continued)
(Continued)
Never try to test the operation
of the FCA system. Doing so
may cause severe injury or
death.
WARNING
When you replace the wind-
screen glass, bumper or
radar/camera, we recommend
that you take your vehicle to a
HYUNDAI authorised repairer
and have the system checked
for calibration.
WARNING
Page 462 of 599

What to do in an emergency
Hazard warning flasher ........................................6-2
In case of an emergency whilst driving .............6-2
If the engine stalls whilst driving ..................................6-2
If the engine stalls at a crossroad or crossing .........6-2
If you have a flat tyre whilst driving ..........................6-3
If the engine will not start ...................................6-4
If the 12 volt battery is discharged
(hybrid vehicle) ......................................................6-5
Before jump starting ........................................................6-5
Jump starting ......................................................................6-\
6
If the 12 volt battery is discharged
(plug-in hybrid vehicle) ........................................6-9
Jump starting ......................................................................6-\
9
If the engine overheats ......................................6-12
Tyre Pressure Monitoring System (TPMS) ......6-14
Check tyre pressure ......................................................6-14
Tyre pressure monitoring system ...............................6-15
Low tyre pressure telltale.............................................6-16
Low tyre pressure position and
tyre pressure telltale ......................................................6-16
TPMS (Tyre Pressure Monitoring System)
malfunction indicator .....................................................6-17
Changing a tyre with TPMS .........................................6-18
If you have a flat tyre (with spare tyre) .........6-20
Jack and tools .................................................................6-20
Changing tyres .................................................................6-21
Jack label ........................................................................\
...6-26
EC Declaration of conformity for Jack......................6-27
If you have a flat tyre (with tyre mobility kit)6-28
Type A ........................................................................\
........6-28
Type B ........................................................................\
........6-34
Towing ...................................................................6-43
Towing service .................................................................6-43
Removable towing hook ................................................6-44
Emergency towing ..........................................................6-45
Emergency commodity ........................................6-47
Fire extinguisher ............................................................6-47
First aid kit ......................................................................6-\
47
Triangle reflector ...........................................................6-47
Tyre pressure gauge ......................................................6-47
6
Page 467 of 599

6-6
The following items may need to be
reset after the battery has been dis-
charged or the battery has been dis-
connected.
See chapter 3 or 4 for:
Power Windows
Trip Computer
Climate Control System
Clock
Audio System
Sunroof
Driver Position Memory System
External power source using 12V
battery
The use of external power acces-
sories may reduce performance
and function of the vehicle.
Especially, the use of dash cam-
eras may shut off the power of the
vehicle prior to the dash camera's
automatic shut-down.
If the power of the vehicle is shut
off, start the vehicle as explained.
(refer to "Using the 12V Battery
Reset Switch")Jump starting
In the event vehicle still does not
have a functional 12V battery (check
if interior lights will not turn on) then
you can try a jump start to the engine
compartment jumper terminals using
a 12V booster pack or jumper cables
from another vehicle's 12V battery
according to the following instruc-
tions.1. Position the vehicles close enough
that the jumper cables will reach,
but do not allow the vehicles to
touch.
2. Avoid fans or any moving parts in the engine compartment at all
times, even when the vehicles are
turned off.
3. Turn off all electrical devices such as radios, lights, air conditioning,
etc. Put the vehicles in P (Park)
and set the parking brake. Turn
both vehicles OFF.
NOTICE
What to do in an emergency
Jump starting can be danger-
ous if done incorrectly. Follow
the jump starting procedure in
this section to avoid serious
injury or damage to your vehi-
cle. If in doubt about how to
properly jump start your vehi-
cle, we strongly recommend
that you have a service techni-
cian or towing service do it for
you.
CAUTION
Page 470 of 599

6-9
What to do in an emergency
Jump starting
Jump starting can be dangerous if
done incorrectly. Follow the jump
starting procedure in this section to
avoid serious injury or damage to
your vehicle. If in doubt about how to
properly jump start your vehicle, we
strongly recommend that you have a
service technician or towing service
do it for you.
I IF
F
T
T H
H E
E
1
1 2
2
V
V O
O L
LT
T
B
B A
A T
TT
TE
ER
R Y
Y
I
IS
S
D
D I
IS
S C
C H
H A
AR
RG
G E
ED
D
(
( P
P L
LU
U G
G-
-I
IN
N
H
H Y
Y B
BR
RI
ID
D
V
V E
EH
H I
IC
C L
LE
E )
)
6
To prevent SERIOUS INJURY or
DEATH to you or bystanders,
always follow these precautions
when working near or handling
the battery:
Always read and follow
instructions carefully
when handling a battery.Wear eye protection
designed to protect the
eyes from acid splashes.
Keep all flames, sparks,
or smoking materials
away from the battery.
Hydrogen is always pres- ent in battery cells, is
highly combustible, and
may explode if ignited.
Keep batteries out of
reach of children.
(Continued)
(Continued)Batteries contain sulfu-
ric acid which is highly
corrosive. Do not allow
acid to contact your
eyes, skin or clothing.
If acid gets into your eyes, flush
your eyes with clean water for at
least 15 minutes and get imme-
diate medical attention. If acid
gets on your skin, thoroughly
wash the area. If you feel pain or
a burning sensation, get med-
ical attention immediately.
When lifting a plastic-cased
battery, excessive pressure
on the case may cause battery
acid to leak. Lift with a battery
carrier or with your hands on
opposite corners.
Do not attempt to jump start
your vehicle if your battery is
frozen. (Continued)
WARNING
Page 482 of 599

6-21
What to do in an emergency
6
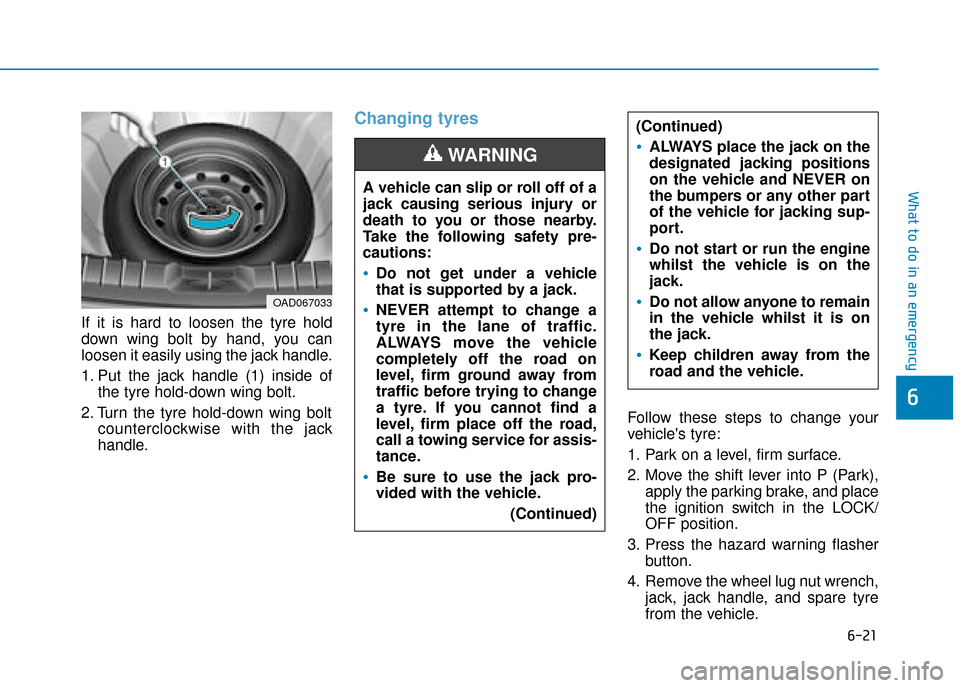
If it is hard to loosen the tyre hold
down wing bolt by hand, you can
loosen it easily using the jack handle.
1. Put the jack handle (1) inside ofthe tyre hold-down wing bolt.
2. Turn the tyre hold-down wing bolt counterclockwise with the jack
handle.
Changing tyres
Follow these steps to change your
vehicle's tyre:
1. Park on a level, firm surface.
2. Move the shift lever into P (Park), apply the parking brake, and place
the ignition switch in the LOCK/
OFF position.
3. Press the hazard warning flasher button.
4. Remove the wheel lug nut wrench, jack, jack handle, and spare tyre
from the vehicle.
A vehicle can slip or roll off of a
jack causing serious injury or
death to you or those nearby.
Take the following safety pre-
cautions:
Do not get under a vehicle
that is supported by a jack.
NEVER attempt to change a
tyre in the lane of traffic.
ALWAYS move the vehicle
completely off the road on
level, firm ground away from
traffic before trying to change
a tyre. If you cannot find a
level, firm place off the road,
call a towing service for assis-
tance.
Be sure to use the jack pro-
vided with the vehicle.
(Continued)
WARNING
(Continued)
ALWAYS place the jack on the
designated jacking positions
on the vehicle and NEVER on
the bumpers or any other part
of the vehicle for jacking sup-
port.
Do not start or run the engine
whilst the vehicle is on the
jack.
Do not allow anyone to remain
in the vehicle whilst it is on
the jack.
Keep children away from the
road and the vehicle.
OAD067033
Page 494 of 599

6-33
What to do in an emergency
6
9. Switch off the compressor.
10. Detach the hoses from thesealant bottle connector and
from the tyre valve.
Return the Tyre Mobility Kit to its
storage location in the vehicle.
Distributing the sealant
11. Immediately drive approximately 4~6 miles (7~10 km or about 10
minutes) to evenly distribute the
sealant in the tyre.
Do not exceed a speed of 50 mph
(80 km/h). If possible, do not fall
below a speed of 12 mph (20 km/h).
Whilst driving, if you experience any
unusual vibration, ride disturbance or
noise, reduce your speed and drive
with caution until you can safely pull
off of the side of the road.
Call for road side service or towing.
Checking the tyre inflation pressure
1. After driving approximately 4~6
miles (7~10 km or about 10 min-
utes), stop at a safe location.
2. Connect the filling hose (3) direct- ly into the compressor.
Do not attempt to drive your
vehicle if the tyre pressure is
below 29 psi (200 kpa). This
could result in an accident due
to sudden tyre failure.
CAUTION
Do not leave your vehicle run-
ning in a poorly ventilated area
for extended periods of time.
Carbon monoxide poisoning
and suffocation can occur.
WARNING
OLMF064106
OAEPH067041
Page 501 of 599

6-40
7. Switch off the compressor.
8. Detach the hoses from the sealantbottle connector and from the tyre
valve.
Return the Tyre Mobility Kit to its
storage location in the vehicle.
Distributing the sealant
9. Immediately drive approximately 4~6 miles (7~10 km or about 10
minutes) to evenly distribute the
sealant in the tyre.
Do not exceed a speed of 50 mph
(80 km/h). If possible, do not fall
below a speed of 12 mph (20 km/h).
Whilst driving, if you experience any
unusual vibration, ride disturbance or
noise, reduce your speed and drive
with caution until you can safely pull
off of the side of the road.
Call for road side service or towing.
Checking the tyre inflation pressure
1. After driving approximately 4~6
miles (7~10 km or about 10 min-
utes), stop at a safe location.
2. Connect the filling hose (3) direct- ly into the compressor.
What to do in an emergency
Do not attempt to drive your
vehicle if the tyre pressure is
below 200 kpa (29 psi). This
could result in an accident due
to sudden tyre failure.
CAUTION
Do not leave your vehicle run-
ning in a poorly ventilated area
for extended periods of time.
Carbon monoxide poisoning
and suffocation can occur.
WARNING
OLMF064106
OAEPH067042
Page 503 of 599

6-42
Information
When reinstalling the repaired or
replaced tyre and wheel on the vehi-
cle, tighten the wheel lug nut to 11~13
kgf·m (79~94 lbf·ft).
i
What to do in an emergencyTyre pressure sensor
(if equipped with TPMS)
The sealant on the tyre pres-
sure sensor and wheel should
be removed when you replace
the tyre with a new one and
inspect the tyre pressure sen-
sors at an authorised repairer.
CAUTION
The tyre inflation pressure must
be at least 220 kPa (32 psi). If it
is not, do not continue driving.
Call for road side service or
towing.
WARNING