Page 22 of 526

H22
C
CH
H A
AR
RG
G I
IN
N G
G
E
E L
LE
E C
CT
T R
R I
IC
C
V
V E
EH
H I
IC
C L
LE
E
(
( N
N O
O R
RM
M A
AL
L
C
C H
H A
AR
RG
G E
E)
)
(
( C
C O
O N
NT
T.
.)
)
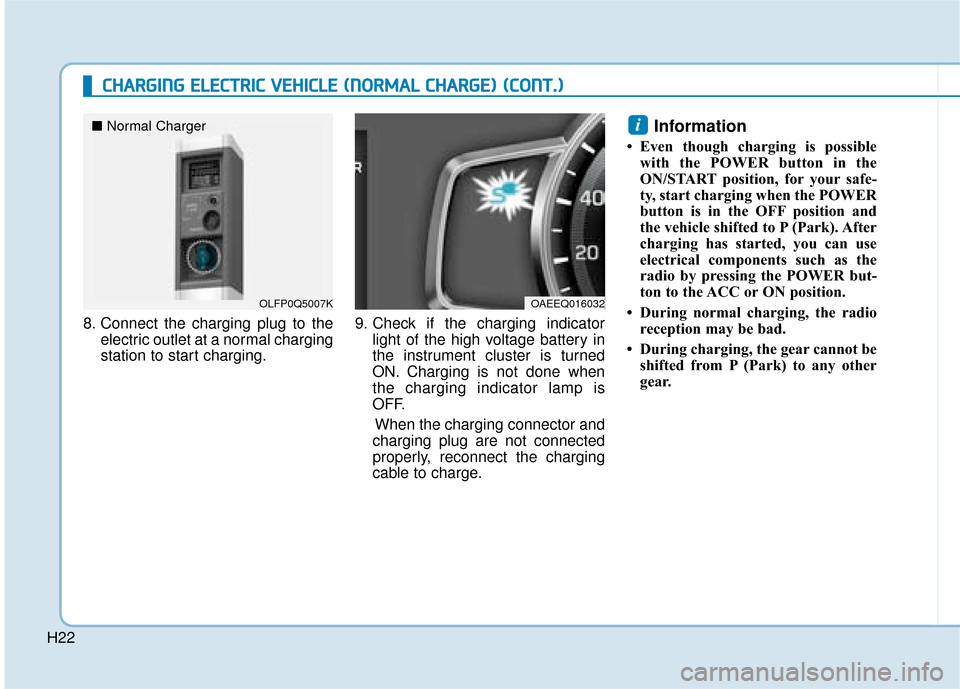
8. Connect the charging plug to the
electric outlet at a normal charging
station to start charging. 9. Check if the charging indicator
light of the high voltage battery in
the instrument cluster is turned
ON. Charging is not done when
the charging indicator lamp is
OFF.
When the charging connector and
charging plug are not connected
properly, reconnect the charging
cable to charge.
Information
• Even though charging is possible with the POWER button in the
ON/START position, for your safe-
ty, start charging when the POWER
button is in the OFF position and
the vehicle shifted to P (Park). After
charging has started, you can use
electrical components such as the
radio by pressing the POWER but-
ton to the ACC or ON position.
• During normal charging, the radio reception may be bad.
• During charging, the gear cannot be shifted from P (Park) to any other
gear.
i
OLFP0Q5007K
■ Normal Charger
OAEEQ016032
Page 23 of 526
H23
10. After charging has started, theestimated charging time is dis-
played on the instrument cluster
for about 1 minute.
If you open the driver seat door
whilst charging, the estimated
charging time is also displayed
on the instrument cluster for
about 1 minute.
When scheduled charging is set, the estimated charging time is
displayed as “--" .
Information
Depending on the condition and dura-
bility of the high voltage battery,
charger specifications, and ambient
temperature, the time required for
charging the battery may vary.
Unlock Charging Door in Emergency
If the charging door does not open
due to battery discharge and failure
of the electric wires, open the tail-
gate and slightly pull the emergency
cable as shown above. The charging
door will then open.
i
OAEE046010
OAEE046193L
Page 28 of 526

H28
C
CH
H A
AR
RG
G I
IN
N G
G
E
E L
LE
E C
CT
T R
R I
IC
C
V
V E
EH
H I
IC
C L
LE
E
(
( F
F A
A S
ST
T
C
C H
H A
AR
RG
G E
E)
)
(
( C
C O
O N
NT
T.
.)
)
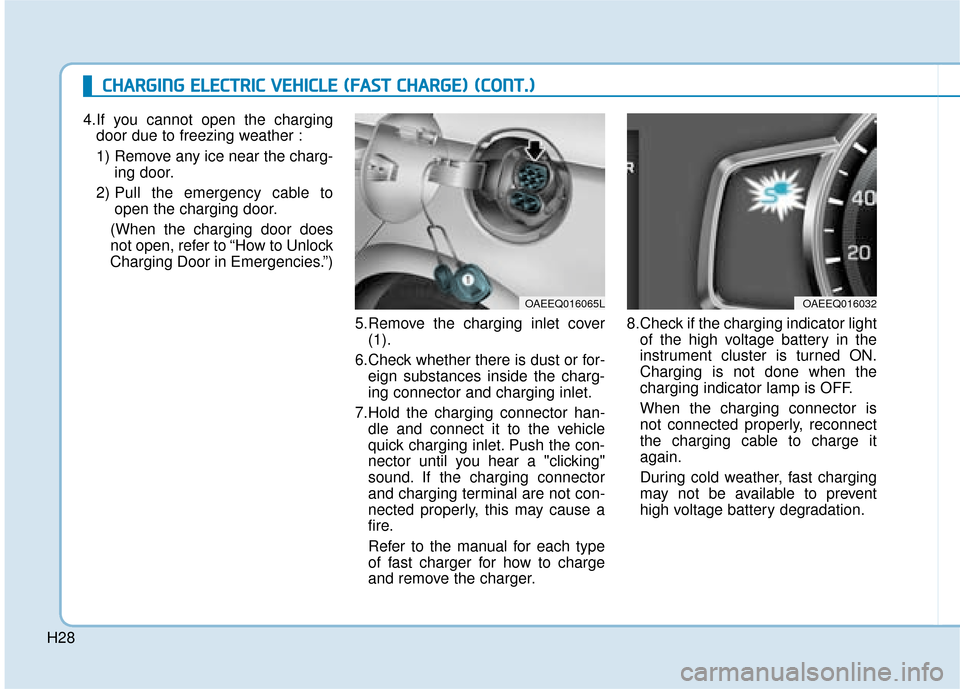
4.If you cannot open the charging
door due to freezing weather :
1) Remove any ice near the charg- ing door.
2) Pull the emergency cable to open the charging door.
(When the charging door does
not open, refer to “How to Unlock
Charging Door in Emergencies.”)
5.Remove the charging inlet cover(1).
6.Check whether there is dust or for- eign substances inside the charg-
ing connector and charging inlet.
7.Hold the charging connector han- dle and connect it to the vehicle
quick charging inlet. Push the con-
nector until you hear a "clicking"
sound. If the charging connector
and charging terminal are not con-
nected properly, this may cause a
fire.
Refer to the manual for each type
of fast charger for how to charge
and remove the charger. 8.Check if the charging indicator light
of the high voltage battery in the
instrument cluster is turned ON.
Charging is not done when the
charging indicator lamp is OFF.
When the charging connector is
not connected properly, reconnect
the charging cable to charge it
again.
During cold weather, fast charging
may not be available to prevent
high voltage battery degradation.
OAEEQ016065LOAEEQ016032
Page 36 of 526
H36
Information
Charging connector AUTO/LOCK
mode
The charging connector is locked in
the inlet at a different period accord-
ing to which mode is selected.
• LOCK mode : The connector lockswhen the charging connector is
plugged into the charging inlet.
• AUTO mode : The connector locks when charging starts.
For more details, refer to “Charging
Connector AUTO/ LOCK Mode” in
this chapter. 10. Charging starts automatically
(charging lamp blinks). 11. Check if the charging indicator
light of the high voltage battery in
the instrument cluster is turned
ON. Charging is not done when
the charging indicator lamp is
OFF.
When the charging connector isnot connected properly, recon-
nect the charging cable to
charge it again.
i
OAEEQ016045
C
C H
H A
AR
RG
G I
IN
N G
G
E
E L
LE
E C
CT
T R
R I
IC
C
V
V E
EH
H I
IC
C L
LE
E
(
( T
T R
R I
IC
C K
K L
LE
E
C
C H
H A
AR
RG
G E
E)
)
(
( C
C O
O N
NT
T.
.)
)
OAEEQ016032
Page 37 of 526
H37
Information
• Even though charging is possiblewith the POWER button in the
ON/START position, for your safe-
ty, start charging when the POWER
button is in the OFF position and
the vehicle shifted to P (Park).
After charging has started, you can
use electrical components such as
the radio by pressing the POWER
button to ACC or ON position.
• During charging, the gear cannot be shifted from P (Park) to any other
gear. 12. After charging has started, the
estimated charging time is dis-
played on the instrument cluster
for about 1 minute.
If you open the driver seat door
whilst charging, the estimated
charging time is also displayed on
the instrument cluster for about 1
minute.
When scheduled charging is set, the estimated charging time is
displayed as “--" .
Information
Depending on the condition and dura-
bility of the high voltage battery,
charger specifications, and ambient
temperature, the time required for
charging the battery may vary.
ii
OAEE046193L
Page 47 of 526
H47
How to Stop the Vehicle
1. Hold down the brake pedal whilstthe vehicle is parked.
2. Whilst depressing the brake pedal, shift to P (Park).
3. Whilst depressing the brake pedal, engage the parking brake.
4. Whilst depressing the brake pedal, press the POWER button
and turn off the vehicle.
5. Check if the " " indicator isturned OFF on the instrument
cluster.
When the " " indicator is ON
and the gear is in a position other
than P (Park), the driver can acci-
dently depress the accelerator
pedal, causing the vehicle to move
unexpectedly.
Virtual Engine Sound System
The Virtual Engine Sound System
generates engine sound for pedestri-
ans to hear vehicle sound because
there is no sound whilst the Electric
Vehicle (EV) is operating.
The VESS may be turned ON orOFF by pressing the VESS button.
(if equipped)
If the vehicle is moving at low speed, the VESS will operate.
When the gear is shifted to R (Reverse), an additional warning
sound will be heard.
OAEEQ016055
OAEE046474R
Page 49 of 526

H49
Distance to empty that is displayedon the instrument cluster after
completing a recharge may vary
significantly depending on previ-
ous operating patterns.
When previous driving patterns
include high speed driving, result-
ing in the high voltage battery
using more electricity than usual,
the estimated distance to empty is
reduced. When the high voltage
battery uses little electricity in ECO
mode, the estimated distance to
empty increases.
Distance to empty may depend on many factors such as the charge
amount of the high voltage battery,
weather, temperature, durability of
the battery, geographical features,
and driving style.
Natural degradation may occur with the high voltage battery
depending on the number of years
the vehicle is used. This may
reduce the distance to empty.When destination is set
When the destination is set, the dis-
tance to empty may change. The dis-
tance to empty is recalculated using
the information of the destination.
However, the distance to empty may
vary significantly based on traffic
conditions, driving habits, and condi-
tion of the vehicle.
Tips for Improving Distance to
Empty
If you operate the air conditioner/heater too much, the driving bat-
tery uses too much electricity. This
may reduce the distance to empty.
Therefore, it is recommended that
you set the cabin temperature to
22°C AUTO. This setting that has
been certified by various assess-
ment tests to maintain optimal
energy consumption rates whilst
keeping the temperature fresh.
Turn OFF the heater and air condi-
tioner if you do not need them.
Depress and hold the accelerator pedal to maintain speed and drive
economically.
Gradually depress and release the accelerator pedal when accelerat-
ing or decelerating.
Always maintain specified tyre pressures.
Do not use unnecessary electrical components whilst driving.
Do not load unnecessary items in the vehicle.
Do not mount parts that may increase air resistance.
Page 55 of 526
H55
Check brakes
This warning message is displayed
when the brake performance is low
or the regenerative brake does not
work properly due to a failure in the
brake system.
In this case, it may take longer for the
brake pedal to operate and the brak-
ing distance may become longer.
Low Battery
When the high voltage battery level
reaches below 13%, this warning
message is displayed.
The warning light on the instrument
cluster ( ) will turn ON simultane-
ously.
Charge the high voltage battery
immediately.
Charge immediately.Power limited
When the high voltage battery level
reaches below 5%, this warning
message is displayed.
The warning light on the instrument
cluster ( ) and the power down
warning light ( ) will turn on simul-
taneously.
The vehicle’s power will be reduced
to minimise the energy consumption
of the high voltage battery. Charge
the battery immediately.
OAEE046123L
OAEE046125L
OLFH044250L