Page 150 of 624
uuOperating the Switches Around the Steering Wheel uLight Switches
148
Controls
The headlights automatically co me on when the wipers are used several times within
a certain number of intervals wi th the headlight switch in AUTO.
The headlights automatically go off a few minutes later if the wipers are stopped.
The headlights, all other exterior lights, an d the instrument panel lights turn off 15
seconds after you set the power mode to VE HICLE OFF (LOCK), take the remote with
you, and close th e driver’s door.
If you set the power mode to VEHICLE OFF (LOCK) with the headlight switch on, but
do not open the door, the li ghts turn off after 10 minutes (three minutes, if the
switch is in the AUTO position).
The lights turn on again when you unlock or open the driver’s door. If you unlock
the door, but do not open it within 15 seconds, the lights go off. If you open the
driver’s door, you will hear a lights on reminder chime.
■Headlight Integration with Wiper
■Automatic Lighting Off Feature
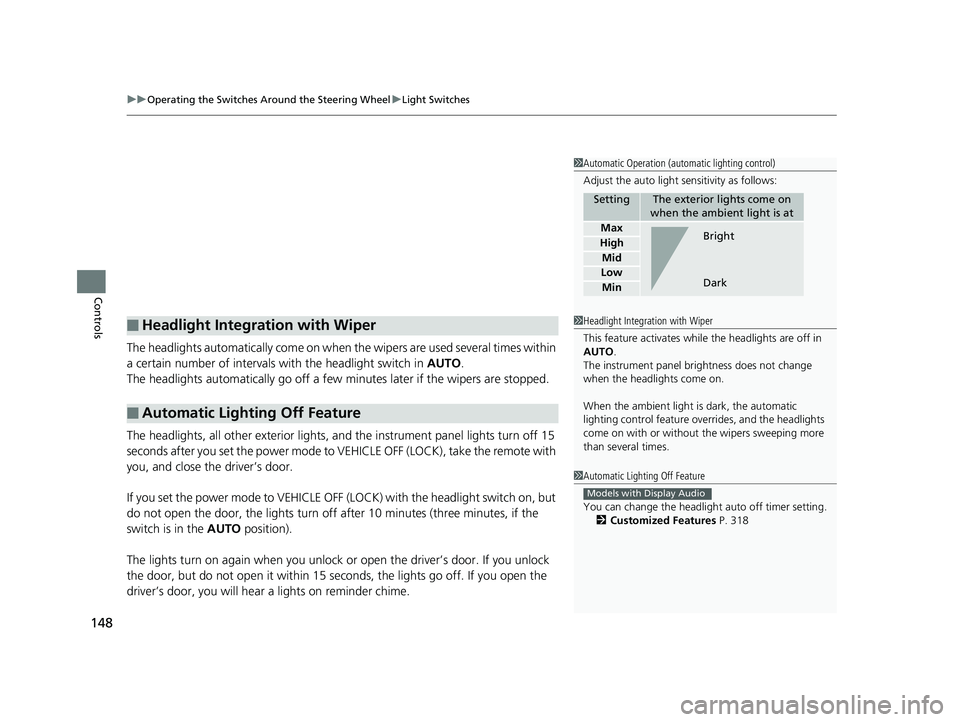
1Automatic Operation (aut omatic lighting control)
Adjust the auto light sensitivity as follows:
SettingThe exterior lights come on
when the ambient light is at
Max
High
Mid
Low
Min
Bright
Dark
1 Headlight Integration with Wiper
This feature activates while the headlights are off in
AUTO .
The instrument panel br ightness does not change
when the headlights come on.
When the ambient light is dark, the automatic
lighting control feature over rides, and the headlights
come on with or without the wipers sweeping more
than several times.
1 Automatic Lighting Off Feature
You can change the headlight auto off timer setting.
2 Customized Features P. 318
Models with Display Audio
Page 151 of 624
149
uuOperating the Switches Around the Steering Wheel uFog Lights*
Controls
Fog Lights*
When the headlights are on, turn the fog light
switch on to use the fog lights.1Fog Lights*
When the fog lights are on, the indicator in the
instrument panel will be on. They go off when the
headlights turn off, or when the daytime running
lights are on. 2 Indicators P. 74
Fog Light Switch
* Not available on all models
Page 159 of 624
157
uuOperating the Switches Around the Steering Wheel uBrightness Control
Controls
Brightness Control
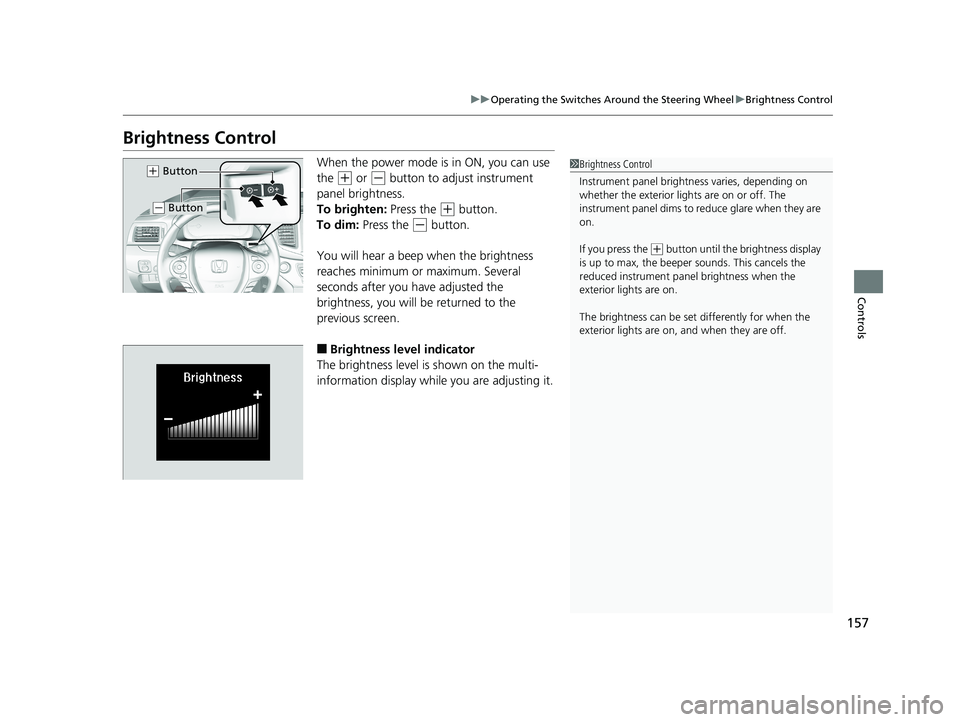
When the power mode is in ON, you can use
the
(+ or (- button to adjust instrument
panel brightness.
To brighten: Press the
(+ button.
To dim: Press the
(- button.
You will hear a beep when the brightness
reaches minimum or maximum. Several
seconds after you have adjusted the
brightness, you will be returned to the
previous screen.
■Brightness level indicator
The brightness level is shown on the multi-
information display whil e you are adjusting it.
1Brightness Control
Instrument panel brightne ss varies, depending on
whether the exterior lights are on or off. The
instrument panel dims to reduce glare when they are
on.
If you press the
( + button until the brightness display
is up to max, the beeper sounds. This cancels the
reduced instrument panel brightness when the
exterior lights are on.
The brightness can be set differently for when the
exterior lights are on, and when they are off.
( + Button
(- Button
Page 162 of 624
160
uuOperating the Switches Around the Steering Wheel uAdjusting the Steering Wheel
Controls
Adjusting the Steering Wheel
The steering wheel height and distance from your body can be adjusted so that you
can comfortably grip the steering wheel in an appropriate driving posture.
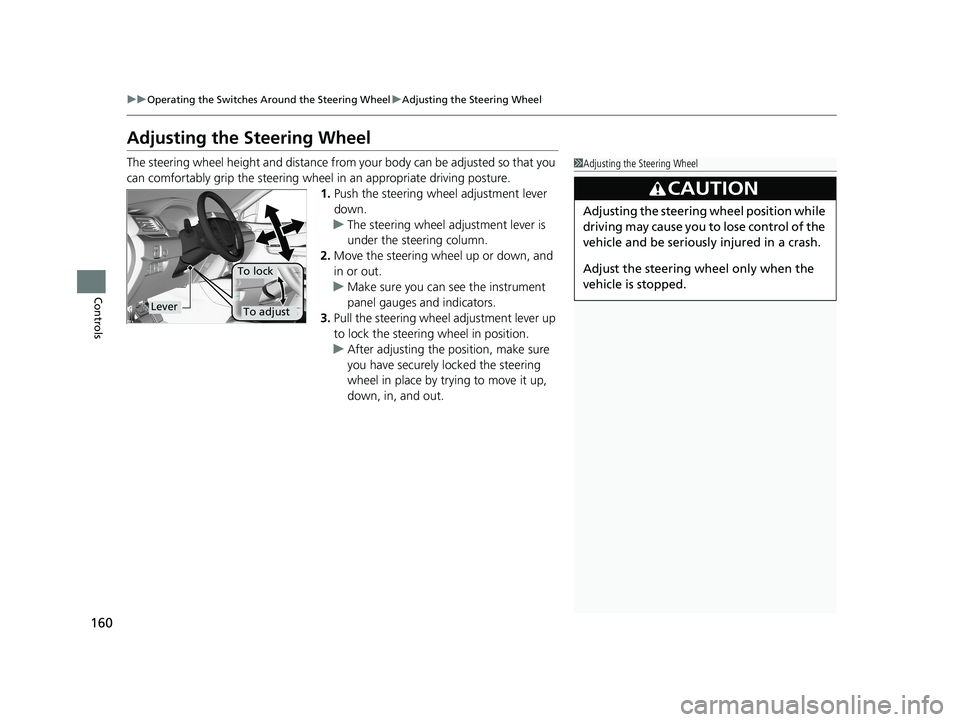
1.Push the steering wheel adjustment lever
down.
u The steering wheel adjustment lever is
under the steering column.
2. Move the steering wheel up or down, and
in or out.
u Make sure you can see the instrument
panel gauges and indicators.
3. Pull the steering wheel adjustment lever up
to lock the steering wheel in position.
u After adjusting the position, make sure
you have securely locked the steering
wheel in place by trying to move it up,
down, in, and out.1Adjusting the Steering Wheel
3CAUTION
Adjusting the steering wheel position while
driving may cause you to lose control of the
vehicle and be seriously injured in a crash.
Adjust the steering wheel only when the
vehicle is stopped.
Lever
To lock
To adjust
Page 342 of 624
340
uuCustomized Features u
Features
*1:Default SettingSetup
Group Customizable Features Descri
ption Selectable Settings
VehicleLighting
SetupInterior Light Dimming
Time
Changes the length of time the interior lights stay
on after you close the doors.
60 sec
/30 sec
*1/ 15 sec
Headlight Auto Off Timer Changes the length of time the exterior lights
stay on after you close the driver’s door. 60 sec
/30 sec/
15 sec
*1/ 0 sec
Auto Interior Illumination
Sensitivity
*
Changes the sensitivity of the brightness of the
instrument panel when the headlight switch is in
the AUTO position. Min/
Low/Mid*1/
High /Max
Auto Headlight On with
Wiper On
*
Changes the settings fo r the wiper operation
when the headlights automatically come on
while the headlight switch is in the AUTO
position. Off
/On
*1
Auto Light Sensitivity Changes the timing for the headlights to come
on. Max
/High /Mid*1/
Low /Min
* Not available on all models
Page 427 of 624
Continued425
uuTowing a Trailer uTowing Preparation
Driving
■Weight distribution hitches
Your vehicle is designed to tow without the need for a load distributing hitch. If you
wish to use one, please cons ult your trailer maker for proper installation and set-up.
Improper set-up could degrade the handling, stability, and braking performance of
your vehicle.
■Safety chains
Always use safety chains when you tow a trailer. Leave enough slack to allow the
trailer to turn corners easily, but do not allow the chains to drag on the ground.
■Trailer brakes
Recommended for any trailer with a total weight of 1,000 lbs (450 kg) or more:
There are two common types of trailer bra kes: surge and electric. Surge brakes are
common for boat trailers, since the brakes will get wet.
If you choose electric brakes, be sure th ey are electronically actuated. Do not
attempt to attach trailer brakes to your ve hicle’s hydraulic system, as it will lower
braking effectiveness and create a potential hazard.
The 4-pin gray connector installed in your vehicle has all of the circuits required to
install most electric trailer brake controllers.1 Trailer brakes
The 4-pin gray connector is located under the
instrument panel near the top of the parking brake
pedal.
Page 449 of 624
447
uuWhen Driving uCruise Control*
Continued
Driving
Cruise Control*
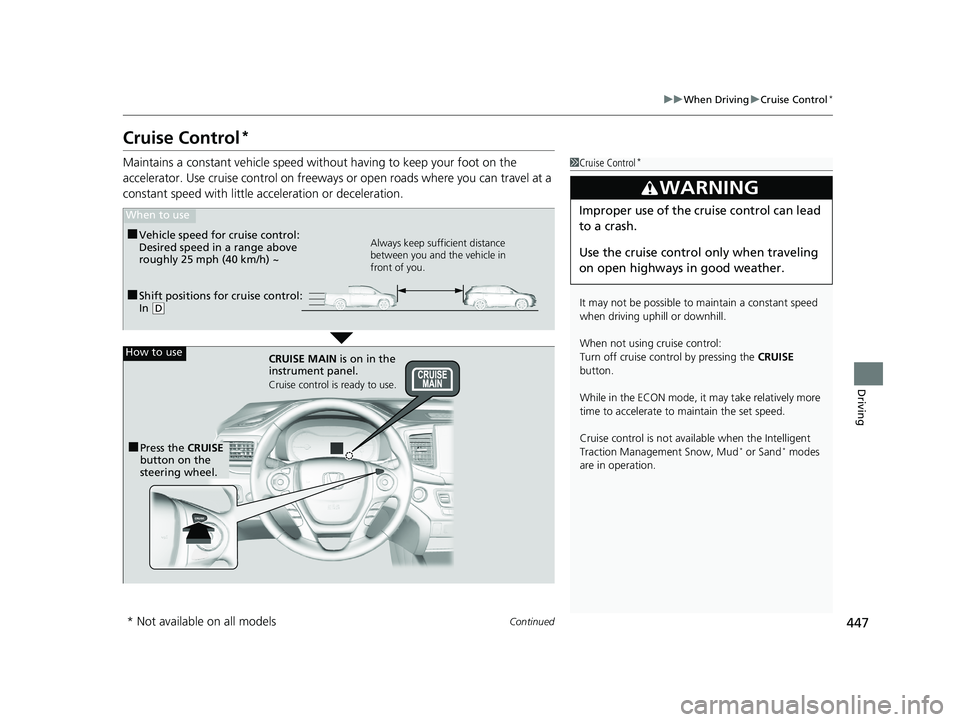
Maintains a constant vehicle speed without having to keep your foot on the
accelerator. Use cruise control on freeways or open road s where you can travel at a
constant speed with little ac celeration or deceleration.1Cruise Control*
It may not be possible to maintain a constant speed
when driving uphill or downhill.
When not using cruise control:
Turn off cruise control by pressing the CRUISE
button.
While in the ECON mode, it may take relatively more
time to accelerate to maintain the set speed.
Cruise control is not available when the Intelligent
Traction Management Snow, Mud
* or Sand* modes
are in operation.
3WARNING
Improper use of the cruise control can lead
to a crash.
Use the cruise control only when traveling
on open highways in good weather.
■Shift positions for cruise control:
In ( D
When to use
Always keep sufficient distance
between you and the vehicle in
front of you.■Vehicle speed for cruise control:
Desired speed in a range above
roughly 25 mph (40 km/h) ~
How to use
CRUISE MAIN is on in the
instrument panel.
Cruise control is ready to use.
■Press the CRUISE
button on the
steering wheel.
* Not available on all models
Page 452 of 624
450
uuWhen Driving uFront Sensor Camera*
Driving
Front Sensor Camera*
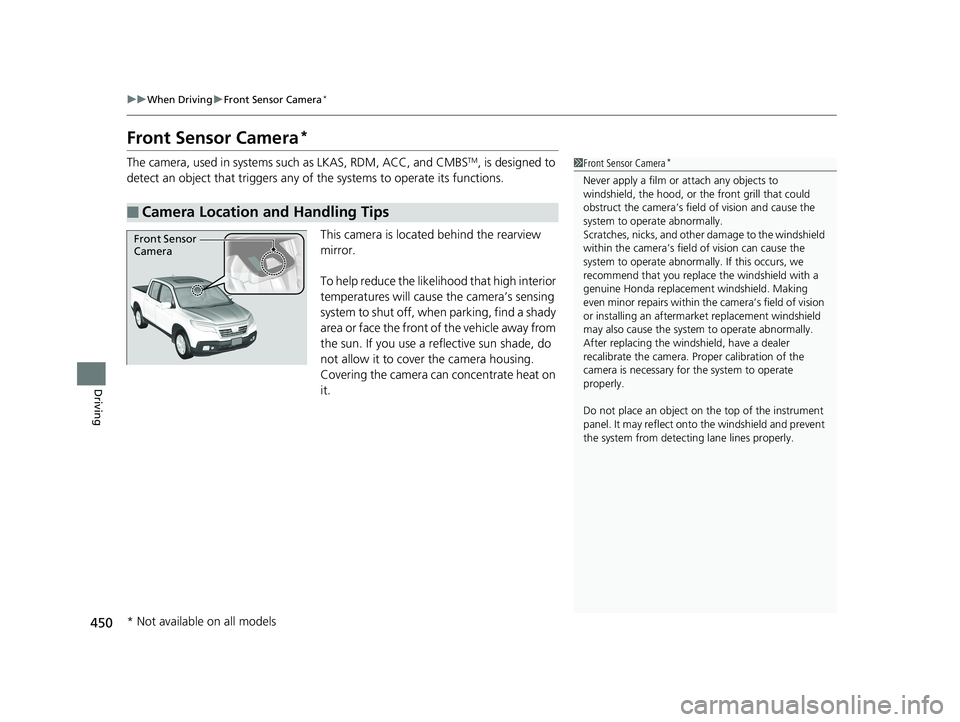
The camera, used in systems such as LKAS, RDM, ACC, and CMBSTM, is designed to
detect an object that triggers any of the systems to operate its functions.
This camera is located behind the rearview
mirror.
To help reduce the likelihood that high interior
temperatures will cause the camera’s sensing
system to shut off, when parking, find a shady
area or face the front of the vehicle away from
the sun. If you use a re flective sun shade, do
not allow it to cover the camera housing.
Covering the camera can concentrate heat on
it.
■Camera Location and Handling Tips
1 Front Sensor Camera*
Never apply a film or attach any objects to
windshield, the hood, or the front grill that could
obstruct the camera’s fiel d of vision and cause the
system to operate abnormally.
Scratches, nicks, and othe r damage to the windshield
within the camera’s fiel d of vision can cause the
system to operate abnormall y. If this occurs, we
recommend that you replac e the windshield with a
genuine Honda replacem ent windshield. Making
even minor repairs within th e camera’s field of vision
or installing an aftermarket replacement windshield
may also cause the system to operate abnormally.
After replacing the winds hield, have a dealer
recalibrate the camera. Pr oper calibration of the
camera is necessary for the system to operate
properly.
Do not place an object on the top of the instrument
panel. It may reflect onto the windshield and prevent
the system from detecting lane lines properly.
Front Sensor
Camera
* Not available on all models