Page 27 of 624
25
Quick Reference Guide
What to Do If
The power mode does not
change from VEHICLE OFF
(LOCK) to ACCESSORY.
Why?
●The steering wheel may be locked.
●Move the steering wheel left and right
after pressing the ENGINE START/STOP
button.
The power mode does not
change from ON to
VEHICLE OFF (LOCK). Why?The shift lever should be moved to (P.
Why does the brake pedal
pulsate slightly when
applying the brakes?This can occur when the ABS activate and does not indicate a
problem. Apply firm, steady pressure on the brake pedal. Never
pump the brake pedal. u Anti-lock Brake System (ABS)
(P492)
Canadian models
Page 100 of 624
98
uuIndicators uMulti-Information Display Warn ing and Information Messages
Instrument Panel
MessageConditionExplanation
●Flashes when the system senses a likely collision with a
vehicle in front of you.●Take the appropriate means to prevent a collision (apply
the brakes, change lanes, etc.)
2 Collision Mitigation Braking SystemTM (CMBSTM)*
P. 494
2 Adaptive Cruise Control (ACC)
* P. 457
●Appears when ACC has been automatically canceled.●You can resume the set speed after the condition that
caused ACC to cancel improves. Press the RES/+/SET/–
button.
2 Adaptive Cruise Control (ACC)* P. 457
MessageConditionExplanation
●Appears when the washer fluid is low.●Refill washer fluid.
2Refilling Window Washer Fluid P. 538
Models with ACC
Models with washer level sensor
* Not available on all models
Page 426 of 624

uuTowing a Trailer uTowing Preparation
424
Driving
Towing generally requires a variety of supplemental equipment.
To ensure the best quality, we recomme nd that you purchase Honda equipment
whenever possible.
Your vehicle has a class 3 trailer hitch as standard equipment. The jumper harness
and trailer brake fuse are stored in the glove box.
2 Trailer brakes P. 425
Open the lid of the socket (located next to the
trailer hitch) to expose the 7-pin trailer
connector.
■Hitches
Read the trailer manufacturer’s instructions , and select the appropriate draw bar for
the height of the trailer you will be towing.
■Towing Equipment and Accessories
Models with AWD1 Towing Equipment and Accessories
Make sure that all equipment is properly installed and
maintained, and that it meets federal, state, province/
territory, and lo cal regulations.
Consult your trai ler maker for prope r installation and
setup of the equipment.
Improper installation and setup can affect the
handling, stability, and br aking performance of your
vehicle.
Consult your traile r sales or rental agency if any other
items are recommended or required for your towing
situation.
The lighting and wiring of tra ilers can vary by type
and brand. If a connector is required, it should only
be installed by a qua lified technician.
Trailer packages and products:
•Ball mount, hitch plug, hitch pin etc.•Wiring harness kit
•Trailer hitch kit (jum per harness included)
Are available at a dealer.
7-Pin trailer connector
Lid Trailer hitch
Page 427 of 624

Continued425
uuTowing a Trailer uTowing Preparation
Driving
■Weight distribution hitches
Your vehicle is designed to tow without the need for a load distributing hitch. If you
wish to use one, please cons ult your trailer maker for proper installation and set-up.
Improper set-up could degrade the handling, stability, and braking performance of
your vehicle.
■Safety chains
Always use safety chains when you tow a trailer. Leave enough slack to allow the
trailer to turn corners easily, but do not allow the chains to drag on the ground.
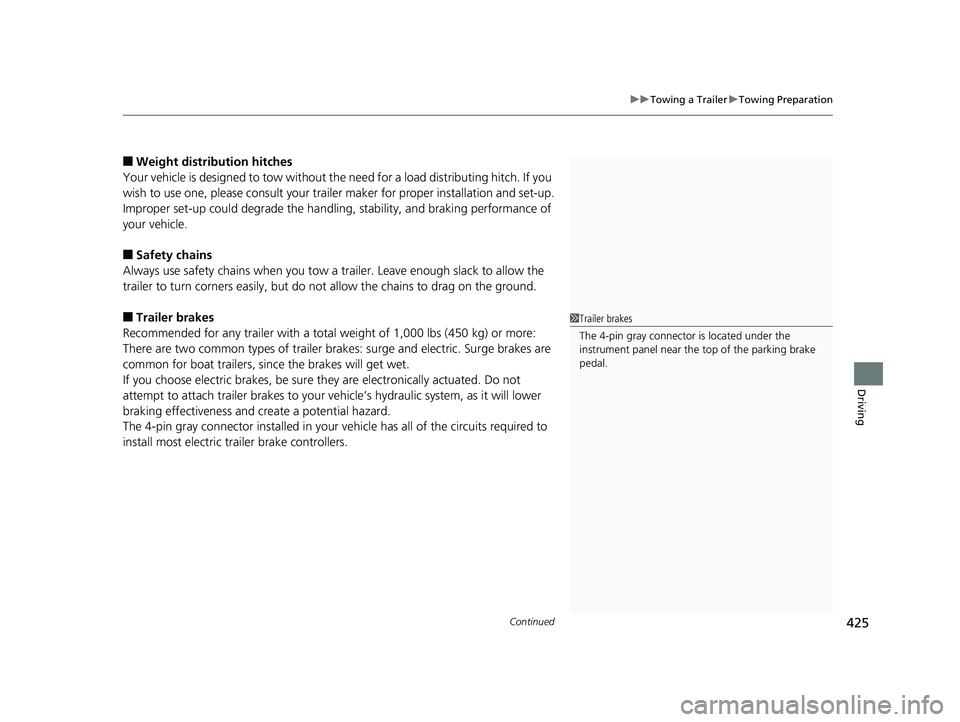
■Trailer brakes
Recommended for any trailer with a total weight of 1,000 lbs (450 kg) or more:
There are two common types of trailer bra kes: surge and electric. Surge brakes are
common for boat trailers, since the brakes will get wet.
If you choose electric brakes, be sure th ey are electronically actuated. Do not
attempt to attach trailer brakes to your ve hicle’s hydraulic system, as it will lower
braking effectiveness and create a potential hazard.
The 4-pin gray connector installed in your vehicle has all of the circuits required to
install most electric trailer brake controllers.1 Trailer brakes
The 4-pin gray connector is located under the
instrument panel near the top of the parking brake
pedal.
Page 428 of 624
426
uuTowing a Trailer uTowing Preparation
Driving
Have a qualified mechanic install your trailer
brake controller followi ng the trailer brake
controller manufacturer’ s instructions. Failure
to properly install the trailer brake controller
may increase the distance it takes for you to
stop your vehicle when towing a trailer.
The trailer hitch harness is used to install the
controller for the electric trailer brakes.
Insert the trailer brake fuse into the engine
compartment sub fuse box.
2 Engine Compartment Fuse Box Type B
P. 593
Electric Brake
(Brown) (20A)
Ground
(Black) Brake (Light
Green)
Stop
(Violet)
Trailer brake controller
connector’s terminals:
Electric Brake
(Brown)
Brake (20A)
(Blue)
Ground
(Black)
Brake Lights
(Sky Blue)
Page 431 of 624

429
uuTowing a Trailer uTrailer Stability Assist
Driving
Trailer Stability Assist
Helps to stabilize the vehicle and tra iler when the trailer severely sways.
■How trailer stability assist works
When the vehicle and trailer become unstable while driving, trailer stability assist
determines the cause. If the trailer oscilla tion is detected as the cause, and the
swaying increases, the system applies the brakes or controls engine output to reduce
vehicle speed.
Both the vehicle and trailer brake lights co me on automatically if you brake to
reduce vehicle speed.
1 Trailer Stability Assist
Trailer stability assist is not a function that prevents
the vehicle and trailer from swaying. Avoid high
speeds, abrupt steering, improper trailer load, and
sudden braking to keep the trailer from swaying.
When swayed too severely, the system becomes
ineffective, and you may lose control of your vehicle,
causing the trailer to roll over or get damaged. 2 Driving Safely with a Trailer P. 430
Trailer towing sway is caused by:
•Crosswinds
•Improper towbar down load
•Excessive Speed
The VSA ® system indicator blinks during the trailer
stability assist operation. 2 VSA ® Operation P. 478
Page 432 of 624

430
uuTowing a Trailer uDriving Safely with a Trailer
Driving
Driving Safely with a Trailer
• Have the trailer properly serviced and keep it in good condition.
• Make sure that all the weights and load in the vehicle and trailer are within limits.
2Towing Load Limits P. 420
•Securely attach the hitch, safety chains, and other necessary parts to the trailer.
• Securely store all the items in and on the trailer so that they do not shift while
driving.
• Check if the lights and brakes on the trailer are working properly.
• Check the pressures of the traile r tires, including the spare.
• Drive slower than normal.
• Obey posted speed limits for vehicles with trailers.
• Use the
(D position when towing a trailer on level roads.
• Turn more slowly and with a wider turning arc than normal.
• Allow more time and distance for braking.
• Do not brake or turn suddenly.
■Things You Need To Know Before Towing a Trailer
■Towing Speeds and Gears
■Turning and Braking
1Driving Safely with a Trailer
Operating speed when towing a trailer must not
exceed 62 mph (100 km/h).
Parking
In addition to the normal precautions, place wheel
chocks at each of the trailer’s tires.
When towing a trailer, we recommend that you carry
a full-size spare wheel and tire for both your vehicle
and trailer. If you use the compact spare tire that
came with your vehicle, it could adversely affect
vehicle handling.
Remember to unhitch the tra iler before changing a
flat tire. Ask the trailer sales or rental agency where
and how to store the trailer’s spare tire.
1 Towing Speeds and Gears
When towing a fixed-sided trailer (e.g., camper), do
not exceed 55 mph (88 km/h).
At higher speeds, the trai ler may sway or affect
vehicle handling.
Page 441 of 624

439
uuWhen Driving uStarting the Engine
Driving
1. Depress the brake pedal and press the ENGINE START/STOP button
simultaneously.
2. Keeping your right foot on the brake pedal, release the parking brake. Check that
the parking brake indicator has gone off.
2 Parking Brake P. 490
3.Put the shift lever in (D. Select (R when reversing.
4. Gradually release the brake pedal and gently depress the accelerator pedal to pull
away.
■Hill start assist system
Hill start assist keeps the brake engaged br iefly to help prevent the vehicle from
rolling on inclines as you move your foot from the brake pedal to the accelerator.
Move the shift lever to
(D, , or (L when facing uphill, or (R when facing
downhill, then release the brake pedal.
The brakes remain engaged briefly as you release the brake pedal.
■Starting to Drive1 Starting to Drive
The engine stops when the sh ift lever is moved out of
(P before the ENGINE START/STOP button is
pressed. Follow the step 1 when starting to drive.
When the engine was started using the smart entry
remoteWhen the engine was started using the smart entry remote
When the engine was started in any case
D4
1 Hill start assist system
Hill start assist may not prevent the vehicle from
rolling downhill on a very steep or slippe ry slope, and
will not operate on small inclines.
Hill start assist is not a replacement for the parking
brake.
* Not available on all models