Page 74 of 515

Use the instrument lighting dimmer to
adjust the brightness of the instrument
panel and all applicable lighting in your
vehicle.
•
Tap the top or bottom of the control
to the first detent to brighten or dim all
interior lighting incrementally.
• Press and hold the top or bottom of
the control to the first detent until you
reach the level you desire.
• Press and hold the top of the control
to the second detent to switch the
interior lights on.
• Press and hold the bottom of the
control to the second detent to switch
the interior lights off.
HEADLAMP EXIT DELAY
Set the delay time to keep the headlamps
on for up to three minutes after switching
off the ignition.
Follow the steps below to change the
delay time:
Note: Complete steps 1 through 6 within 10
seconds.
1. Switch the ignition off.
2. Select the autolamp position on the lighting control.
3. Switch the lighting control to the off position.
4. Switch the ignition on.
5. Switch the ignition off.
6. Select the autolamp position on the lighting control. The headlamps and
parking lamps turn on.
7. Switch the lighting control to the off position when reaching the required
delay time. The headlamps and parking
lamps turn off. Set the headlamp exit delay to one of the
following settings:
•
Off.
• 10 seconds.
• 20 seconds.
• 120 seconds.
Note: Adjust the time delay using the
display controls in the information display.
See Information Displays (page 85).
DAYTIME RUNNING LAMPS WARNING:
The daytime running
lamps system does not activate the rear
lamps and may not provide adequate
lighting during low visibility driving
conditions. Make sure you switch the
headlamps on, as appropriate, during all
low visibility conditions. Failure to do so
may result in a crash.
The system turns the lamps on in daylight
conditions.
To switch the system on, switch the
lighting control to any position except
headlamps.
AUTOMATIC HIGH BEAM
CONTROL
(If Equipped) WARNING:
The system does not
relieve you of your responsibility to drive
with due care and attention. You may
need to override the system if it does not
turn the high beams on or off.
71
Taurus (CPH) Canada/United States of America, enUSA, Edition date: 201806, First-Printing Lighting
Page 192 of 515

BLIND SPOT INFORMATION
SYSTEM (If Equipped)
WARNING: Never
use the Blind
Spot Information System as a
replacement for using the interior and
exterior mirrors or looking over your
shoulder before changing lanes. The
Blind Spot Information System is not a
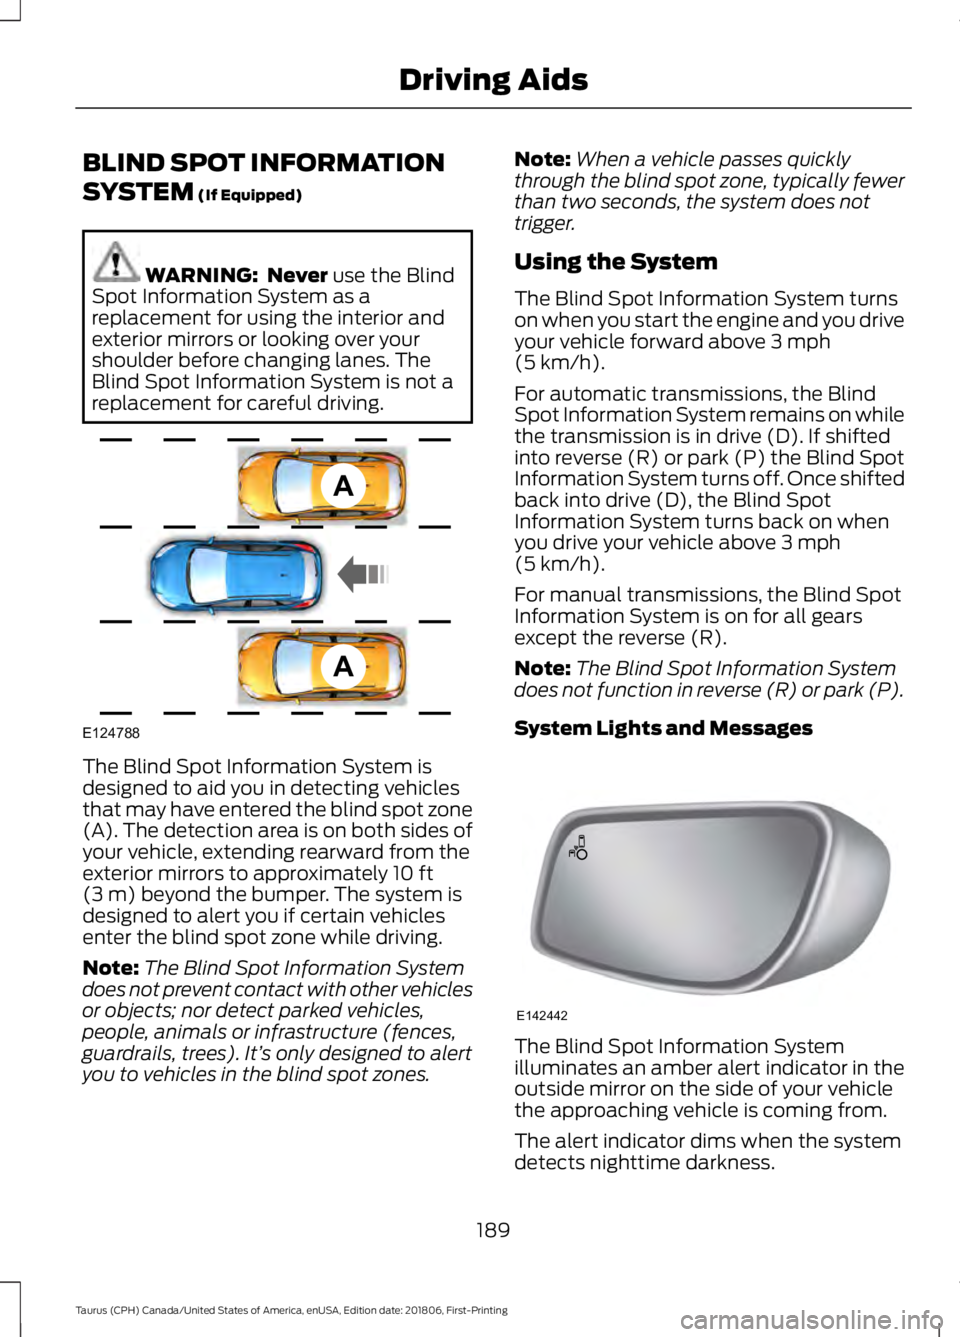
replacement for careful driving. The Blind Spot Information System is
designed to aid you in detecting vehicles
that may have entered the blind spot zone
(A). The detection area is on both sides of
your vehicle, extending rearward from the
exterior mirrors to approximately
10 ft
(3 m) beyond the bumper. The system is
designed to alert you if certain vehicles
enter the blind spot zone while driving.
Note: The Blind Spot Information System
does not prevent contact with other vehicles
or objects; nor detect parked vehicles,
people, animals or infrastructure (fences,
guardrails, trees). It’ s only designed to alert
you to vehicles in the blind spot zones. Note:
When a vehicle passes quickly
through the blind spot zone, typically fewer
than two seconds, the system does not
trigger.
Using the System
The Blind Spot Information System turns
on when you start the engine and you drive
your vehicle forward above
3 mph
(5 km/h).
For automatic transmissions, the Blind
Spot Information System remains on while
the transmission is in drive (D). If shifted
into reverse (R) or park (P) the Blind Spot
Information System turns off. Once shifted
back into drive (D), the Blind Spot
Information System turns back on when
you drive your vehicle above
3 mph
(5 km/h).
For manual transmissions, the Blind Spot
Information System is on for all gears
except the reverse (R).
Note: The Blind Spot Information System
does not function in reverse (R) or park (P).
System Lights and Messages The Blind Spot Information System
illuminates an amber alert indicator in the
outside mirror on the side of your vehicle
the approaching vehicle is coming from.
The alert indicator dims when the system
detects nighttime darkness.
189
Taurus (CPH) Canada/United States of America, enUSA, Edition date: 201806, First-Printing Driving AidsA
A
E124788 E142442
Page 310 of 515

BULB SPECIFICATION CHART
The specified replacement bulbs are in the
chart below. Headlamp bulbs must be
marked with an authorized D.O.T.
(Department of Transportation) for North
America to affirm lamp performance, light
brightness and pattern and safe visibility.
The correct bulbs will not damage the
lamp assembly or void the lamp assembly
warranty and will provide quality bulb burn
time. Trade number
Function
D3S
Headlamp (high intensity discharge) Low
and High 1
LED
Side marker - front 1
LED
Park lamp - front 1
7444NA
Turn lamp - front 1
LED
Signal indicator mirror lamp
LED
Approach lamp
LED
Tail and brake lamp 1
LED
Turn lamp - rear 1
LED
Backup lamp 1
W5W
License plate lamp
LED
High-mount brake lamp 1
W5W
Interior lamps
1 To replace these lamps, see an authorized dealer.
Note: To replace instrument panel lights, see an authorized dealer.
Note: LED lamps are not serviceable. See an authorized dealer if they fail.
307
Taurus (CPH) Canada/United States of America, enUSA, Edition date: 201806, First-Printing Capacities and Specifications
Page 447 of 515

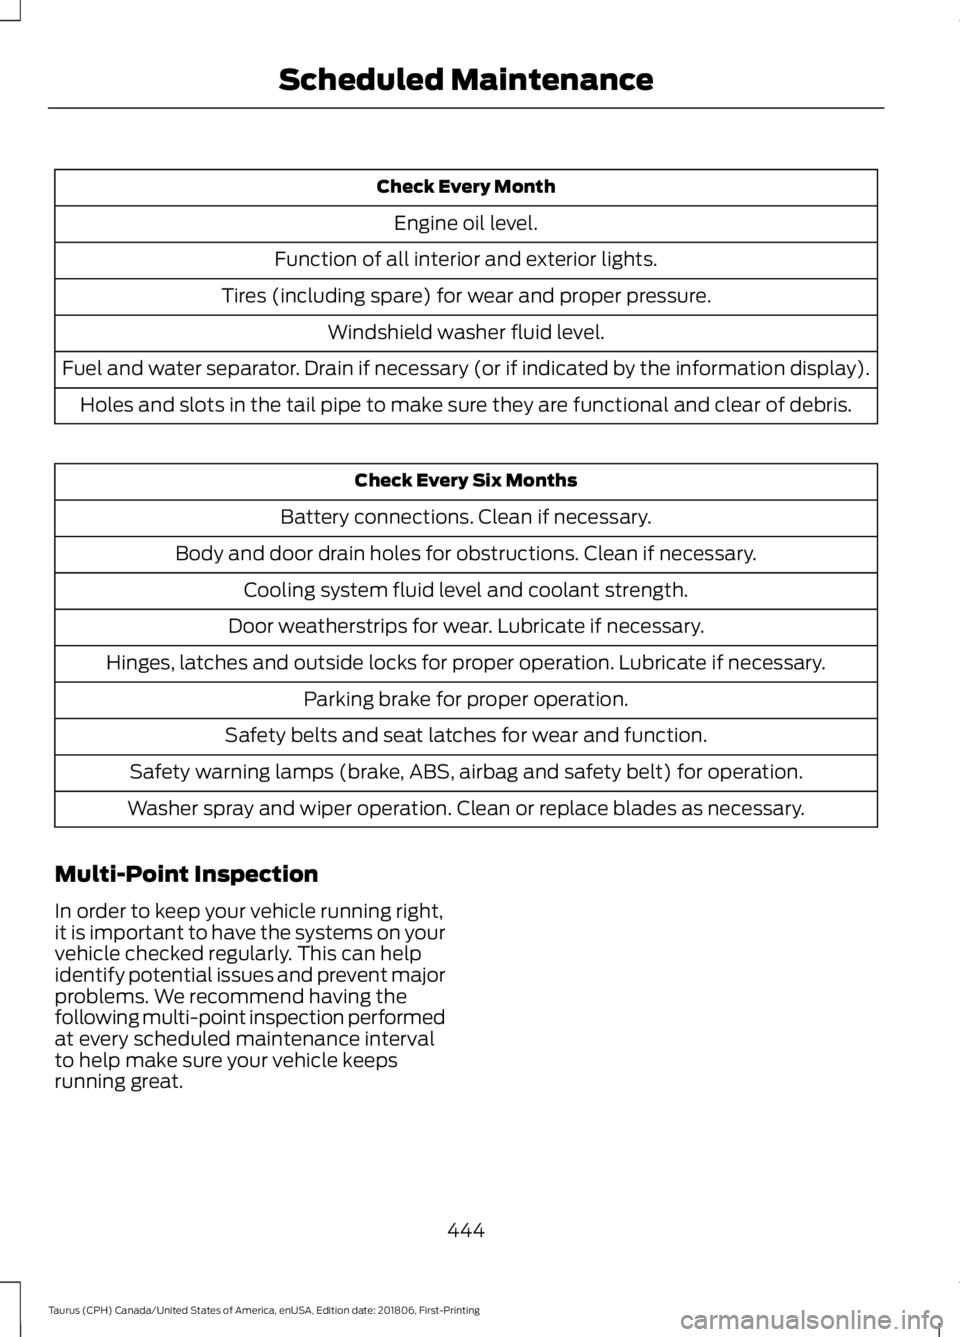
Check Every Month
Engine oil level.
Function of all interior and exterior lights.
Tires (including spare) for wear and proper pressure. Windshield washer fluid level.
Fuel and water separator. Drain if necessary (or if indicated by the information display). Holes and slots in the tail pipe to make sure they are functional and clear of debris. Check Every Six Months
Battery connections. Clean if necessary.
Body and door drain holes for obstructions. Clean if necessary. Cooling system fluid level and coolant strength.
Door weatherstrips for wear. Lubricate if necessary.
Hinges, latches and outside locks for proper operation. Lubricate if necessary. Parking brake for proper operation.
Safety belts and seat latches for wear and function.
Safety warning lamps (brake, ABS, airbag and safety belt) for operation.
Washer spray and wiper operation. Clean or replace blades as necessary.
Multi-Point Inspection
In order to keep your vehicle running right,
it is important to have the systems on your
vehicle checked regularly. This can help
identify potential issues and prevent major
problems. We recommend having the
following multi-point inspection performed
at every scheduled maintenance interval
to help make sure your vehicle keeps
running great.
444
Taurus (CPH) Canada/United States of America, enUSA, Edition date: 201806, First-Printing Scheduled Maintenance