2019 FORD F650/750 clock reset
[x] Cancel search: clock resetPage 101 of 387

Fuel Filler Cap
WARNING: The fuel system may
be under pressure. If you hear a hissing
sound near the fuel filler inlet, do not
refuel until the sound stops. Otherwise,
fuel may spray out, which could cause
serious personal injury. WARNING:
If you do not use the
correct fuel filler cap, excessive pressure
or vacuum in the fuel tank may damage
the fuel system or cause the fuel cap to
disengage in a crash. Failure to follow
this warning could result in serious
personal injury.
The fuel tank has a threaded fuel filler cap.
Note: If you must replace the fuel filler cap,
replace it with a fuel filler cap that is
designed for your vehicle. The vehicle
Warranty may be void for any damage to
the fuel tank or fuel system if the correct
genuine Ford, Motorcraft or other certified
fuel filler cap is not used.
When refueling the vehicle fuel tank do the
following.
1. When your vehicle has stopped, shift into neutral (N) or park (P).
2. Apply the parking brake and switch the
ignition off.
3. Turn the fuel filler cap counterclockwise and remove it.
4. Refuel your vehicle as required.
5. Replace the fuel filler cap, turn it clockwise until you feel a strong
resistance.
If the fuel cap warning lamp or a warning
message appears in the instrument cluster,
you may not have installed the fuel filler
cap correctly. If the fuel cap warning lamp remains on,
at the next opportunity, safely pull off of
the road, remove the fuel filler cap, align
the cap properly and reinstall it. The check
fuel cap warning lamp or warning message
may not reset immediately. It may take
several driving cycles for the indicators to
turn off. A driving cycle consists of an
engine start-up (after four or more hours
with the engine off) followed by normal
city and highway driving.
Fuel Fill Rate
Your vehicle has a fuel fill pipe that is able
to accept fuel up to
20 gal (75 L) per
minute from a fuel-dispensing nozzle.
Pumping fuel at greater flow rates may
result in premature nozzle shut-off or spit
back.
Truck stops have fuel pumps and nozzles
designed for larger, heavy-duty trucks. If
you are refueling your vehicle at a truck
stop and the nozzle shuts off repeatedly,
wait 5-10 seconds, then use a slower fill
rate.
REFUELING - GASOLINE WARNING:
Fuel vapor burns
violently and a fuel fire can cause severe
injuries. WARNING:
Read and follow all
the instructions on the pump island. WARNING: When refueling always
shut the engine off and never allow
sparks or open flames near the fuel tank
filler valve. Never smoke or use a cell
phone while refueling. Fuel vapor is
extremely hazardous under certain
conditions. Avoid inhaling excess fumes.
98
F650750 (TBC) , enUSA, Edition date: 201804, Second-Printing Fuel and Refueling
Page 197 of 387

Do not use supplemental engine oil
additives because they are unnecessary
and could lead to engine damage that may
not be covered by the vehicle Warranty.
Only use oils certified for gasoline engines
by the American Petroleum Institute (API).
An oil with this trademark symbol
conforms to the current engine and
emission system protection standards and
fuel economy requirements of the
International Lubricants Specification
Advisory Committee (ILSAC).
To top up the engine oil level do the
following:
1. Clean the area surrounding the engine
oil filler cap before you remove it.
2. Remove the engine oil filler cap.
3. Add engine oil that meets the correct specification.
4. Recheck the oil level.
5. If the oil level is correct, replace the dipstick and make sure it is fully seated.
6. Replace the engine oil filler cap. Turn it clockwise until you feel a strong
resistance.
Note: Do not add oil further than the
maximum mark. Oil levels above the
maximum mark may cause engine damage.
Note: Make sure you install the oil filler cap
correctly. Note:
Soak up any spillage with an
absorbent cloth immediately.
CHANGING THE ENGINE OIL
AND OIL FILTER WARNING: Do not handle a hot
oil filter with bare hands. WARNING:
Continuous contact
with used motor oil has caused cancer
in laboratory mice. Protect your skin by
washing with soap and water.
If your vehicle is equipped with a diesel
engine, an Intelligent Oil Life Monitor™
calculates the proper oil change service
interval. When the information display
indicates: OIL CHANGE REQUIRED, change
the engine oil and oil filter. See
Information Displays
(page 64).
The engine oil filter protects your engine
by filtering harmful, abrasive or sludge
particles and particles significantly smaller
than most available will-fit filters. See
Motorcraft Parts
(page 258).
1. Unscrew the oil filter and oil pan drain plug and wait for the oil to drain.
2. Replace the filter.
3. Reinstall the oil pan drain plug.
4. Refill the engine with new oil. See Capacities and Specifications (page
261
).
5. For diesel engines, you need to reset the Intelligent Oil Life Monitor™. See
Information Displays
(page 64).
194
F650750 (TBC) , enUSA, Edition date: 201804, Second-Printing MaintenanceE142732
Page 212 of 387

5. Turn the air conditioning (if equipped)
on and allow the engine to idle for at
least one minute.
6. Release the parking brake. With your foot on the brake pedal and with the
air conditioning on, put the vehicle in
drive (D) and allow the engine to idle
for at least one minute.
•If you do not allow the engine to
relearn its idle trim, the idle quality
of your vehicle may be adversely
affected until the idle trim is
eventually relearned.
7. Drive the vehicle to complete the relearning process
•The vehicle may need to be driven
10 mi (16 km) or more to relearn the
idle and fuel trim strategy along
with the ethanol content for flexible
fuel vehicles.
If the battery has been disconnected or a
new battery has been installed, the clock
and radio settings must be reset once the
battery is reconnected.
Always dispose of automotive
batteries in a responsible manner.
Follow your local authorized standards
for disposal. Call your local authorized
recycling center to find out more about
recycling automotive batteries.
Battery Management System (If
Equipped)
The battery management system (BMS)
monitors battery conditions and takes
actions to extend battery life. If excessive
battery drain is detected, the system may
temporarily disable certain electrical
features to protect the battery. Those
electrical accessories affected include the
rear defrost, heated/cooled seats, climate
control fan, heated steering wheel, audio
and navigation system. A message may be
shown in the information displays to alert the driver that battery protection actions
are active. These messages are only for
notification that an action is taking place,
and not intended to indicate an electrical
problem or that the battery requires
replacement.
Electrical accessory installation
To ensure proper operation of the BMS,
any electrical devices that are added to
the vehicle should not have their ground
connection made directly at the negative
battery post. A connection at the negative
battery post can cause inaccurate
measurements of the battery condition
and potential incorrect system operation.
Note:
Electrical or electronic accessories
added to the vehicle by the dealer or the
owner may adversely affect battery
performance and durability, and may also
affect the performance of other electrical
systems in the vehicle.
When a battery replacement is required,
the battery should only be replaced with
a Ford recommended replacement battery
which matches the electrical requirements
of the vehicle. After battery replacement,
or in some cases after charging the battery
with the external charger, the BMS requires
eight hours of vehicle sleep time (key off
with doors closed) to relearn the new
battery state of charge. Prior to relearning
the state of charge, the BMS may disable
electrical features (to protect the battery)
earlier than normal.
209
F650750 (TBC) , enUSA, Edition date: 201804, Second-Printing Maintenance
Page 283 of 387

Accessing CD or MP3 Mode
Press and release the button.
Accessing the Folders Press and release the buttons to
access the next and previous
folders on an MP3 disc.
Accessing the Menu Press and release to access
different audio system features.
• To set the clock, press MENU until SET
HOURS or SET MINUTES appears
and use the up and down arrow to
adjust the time.
• To set the strongest stations on the
radio frequency, press
MENU until
AUTOSET appears. This does not
override your original presets.
• RBDS
displays text transmitted by
certain radio stations and searches
for music categories.
• When
RBDS ON/OFF appears, press
SEEK to switch on RBDS to search for
music categories. Press the up and
down arrow to scroll through
categories, then press
SEEK to begin
the search.
• SPEEDVOL
allows you to adjust
radio volume to compensate for
noise levels when vehicle speed
increases. •
Track/Folder is only available on MP3
files when in CD mode. In track mode,
press
SEEK to scroll through all the
tracks on the disc. In folder mode, press
SEEK
to scroll through all the tracks
within the selected folder. Press
FOLDER
to access other folders.
• COMPRESS
is only available in CD
and MP3 modes. Switching on
compression brings the soft and
loud passages together for a more
consistent listening level.
• To switch compression on and off,
press
SEEK and the up and down
arrow.
Accessing the Phone Features Press and release to access the
phone features of the SYNC
system.
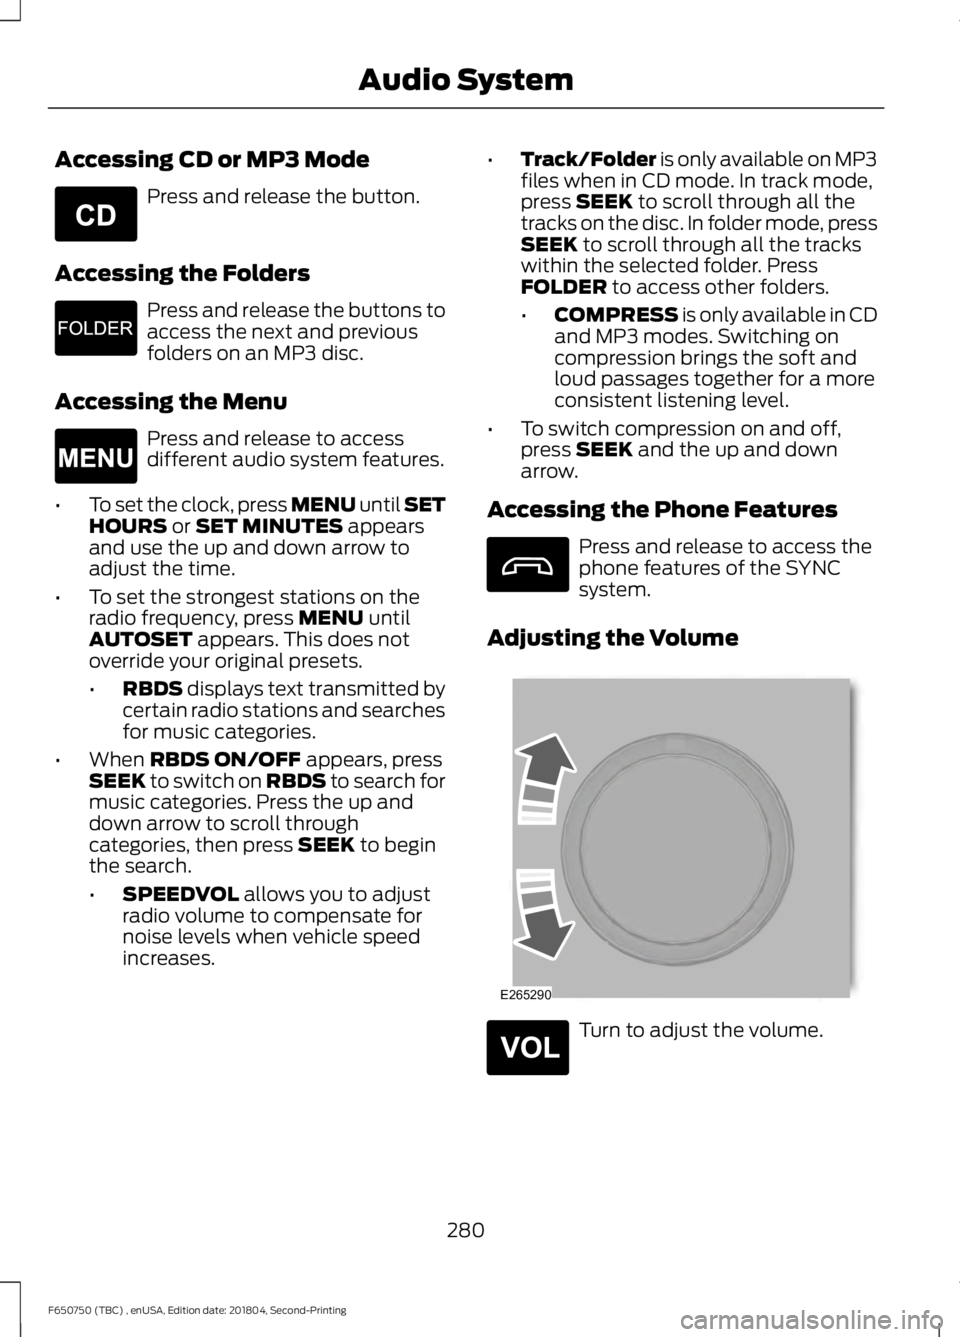
Adjusting the Volume Turn to adjust the volume.
280
F650750 (TBC) , enUSA, Edition date: 201804, Second-Printing Audio SystemE265039 E265913 E265038 E265290 E265304
Page 378 of 387

2
2-Speed Rear Axle.........................................121
Axle Shifting........................................................... 121
A
A/C See: Climate Control........................................... 72
About This Manual...........................................7
Diesel Engine Information................................... 8
Minor Troubleshooting Guide............................ 9
Warnings.................................................................... 8
ABS See: Brakes............................................................ 122
ABS driving hints See: Hints on Driving With Anti-Lock
Brakes................................................................. 123
Accessories.....................................................318
Accessories See: Replacement Parts
Recommendation............................................ 13
Adjusting the Headlamps
.........................210
Horizontal Aim Adjustment............................. 211
Vertical Aim Adjustment................................. 210
Adjusting the Steering Wheel...................46
Air Brakes
.........................................................126
Air Chamber Stroke Indication...................... 126
Cam Brakes - Automatic Slack Adjusters............................................................ 127
Emergency Air Brake.......................................... 127
Air Conditioning See: Climate Control........................................... 72
Air Filter See: Changing the Engine Air Filter - 6.7L
Diesel.................................................................. 213
See: Changing the Engine Air Filter - 6.8L..................................................................... 216
Air Induction System Inspection.............221 Chassis-mounted Charge Air Cooler..........222
Air Suspension...............................................142 Air Suspension Dump Button........................ 142
Connecting and Disconnecting a Trailer with Air Suspension and Air Suspension
Dump Button................................................... 142
Suspension Conversions.................................. 142
System Indicator Light...................................... 142
Appendices.....................................................351 At a Glance
.........................................................17
Audible Warnings and Indicators.............63 Beltminder Warning............................................ 63
Door Ajar.................................................................. 63
Headlamps On Warning Chime...................... 63
Key in Ignition Warning Chime........................ 63
Parking Brake On Warning Chime.................. 63
Audio Control..................................................46 Media........................................................................\
. 47
Seek, Next or Previous........................................ 47
Audio Input Jack..........................................284
Audio System.................................................277 General Information.......................................... 277
Audio Unit - Vehicles With: AM/FM/CD/ SYNC..............................................................279
Accessing CD or MP3 Mode.......................... 280
Accessing the Auxiliary Media Sources............................................................. 279
Accessing the Folders..................................... 280
Accessing the Menu......................................... 280
Accessing the Phone Features..................... 280
Adjusting the Volume...................................... 280
Changing Radio Stations................................. 281
Ejecting the CD.................................................... 281
Fast Forwarding the Media............................. 281
Inserting a CD....................................................... 281
Muting the Audio................................................ 281
Playing or Pausing Media................................ 281
Rewinding the Media......................................... 281
Scanning the Audio........................................... 281
Selecting a Frequency Band.......................... 281
Setting the Memory Presets........................... 281
Switching Shuffle Mode On and Off...........281
Switching the Audio Unit On and Off.........281
Using Seek, Fast Forward and Reverse............................................................. 282
Audio Unit - Vehicles With: AM/ FM...................................................................278
Accessing the Clock Settings........................ 278
Accessing the Sound Settings...................... 279
Adjusting the Volume....................................... 279
Changing Radio Stations................................ 279
Selecting the Audio Modes............................ 279
Setting the Memory Presets.......................... 279
Switching the Audio Unit On and Off.........279
Using Seek, Fast Forward and Reverse.............................................................. 279
375
F650750 (TBC) , enUSA, Edition date: 201804, Second-Printing Index