2019 FORD F-350 key
[x] Cancel search: keyPage 406 of 666

•
To reduce the chances of interference
from another vehicle, perform the
system reset procedure at least 3 ft
(1 m) away from another Ford Motor
Company vehicle undergoing the
system reset procedure at the same
time.
• Do not wait more than two minutes
between resetting each tire sensor or
the system can time-out and you have
to repeat the entire procedure on all
four wheels.
• A double horn sounds indicating the
need to repeat the procedure.
Performing the System Reset Procedure
- Single Rear Wheel
Read the entire procedure before
attempting.
1. Drive the vehicle above
20 mph
(32 km/h) for at least two minutes,
then park in a safe location where you
can easily get to all four tires and have
access to an air pump.
2. Place the ignition in the off position and
keep the key in the ignition.
3. Cycle the ignition to the on position with the engine off.
4. Turn the hazard flashers on then off three times. You must accomplish this
within 10 seconds. If you successfully
enter the reset mode, the horn sounds
once, the system indicator flashes and
a message shows in the information
display. If this does not occur, please
try again starting at step 2. If after
repeated attempts to enter the reset
mode, the horn does not sound, the
system indicator does not flash and no
message shows in the information
display, seek service from your
authorized dealer. 5. Train the tire pressure monitoring
system sensors in the tires using the
following system reset sequence
starting with the left front tire in the
following clockwise order: Left front -
driver side front tire, Right front -
passenger side front tire, Right rear -
passenger side rear tire, Left rear -
driver side rear tire.
6. Remove the valve cap from the valve stem on the left front tire. Decrease the
air pressure until the horn sounds.
Note: The single horn tone confirms that
the sensor identification code has been
learned by the module for this position. If a
double horn is heard, the reset procedure
was unsuccessful, and you must repeat it.
7. Remove the valve cap from the valve stem on the right front tire. Decrease
the air pressure until the horn sounds.
8. Remove the valve cap from the valve stem on the right rear tire. Decrease the
air pressure until the horn sounds.
9. Remove the valve cap from the valve stem on the left rear tire. Decrease the
air pressure until the horn sounds.
Training is complete after the horn
sounds for the last tire trained, driver
side rear tire, the system indicator
stops flashing, and a message shows
in the information display.
10. Turn the ignition off. If two short horn
beeps are heard, the reset procedure
was unsuccessful and you must
repeat it. If after repeating the
procedure and two short beeps are
heard when the ignition is turned to
off, seek assistance from your
authorized dealer.
403
Super Duty (TFE) Canada/United States of America, enUSA, Edition date: 201804, Fourth-Printing Wheels and Tires
Page 407 of 666

11.
Set all four tires to the recommended
air pressure as indicated on the
Safety Compliance Certification
Label, affixed to either the door hinge
pillar, door-latch post, or the door
edge that meets the door-latch post,
next to the driver seating position or
Tire Label located on the B-Pillar or
the edge of the driver door.
Performing the System Reset Procedure
- Dual Rear Wheel
For further information see
Understanding Your Tire Pressure
Monitoring System and refer to Dual
Rear Wheel, earlier in this section.
Read the entire procedure before
attempting.
1. Drive the vehicle above
20 mph
(32 km/h) for at least two minutes,
then park in a safe location where you
can easily get to all six tires and have
access to an air pump.
2. Place the ignition in the off position and
keep the key in the ignition.
3. Cycle the ignition to the on position with the engine off.
4. Turn the hazard flashers on then off three times. You must accomplish this
within 10 seconds. If you successfully
enter the reset mode, the horn sounds
once, the system indicator flashes and
a message shows in the information
display. If this does not occur, please
try again starting at step 2. If after
repeated attempts to enter the reset
mode, the horn does not sound, the
system indicator does not flash and no
message shows in the information
display, seek service from your
authorized dealer. 5. Train the tire pressure monitoring
system sensors in the tires using the
following system reset sequence
starting with the left front tire in the
following order: Left front - driver side
front tire, Right front - passenger side
front tire, Right outer rear -passenger
side rear outer tire, Right inner rear -
passenger side rear inner tire, Left outer
rear - driver side rear outer tire, Left
inner rear - driver side rear inner tire.
6. Remove the valve cap from the valve stem on the left front tire. Decrease the
air pressure until the horn sounds.
Note: The single horn chirp confirms that
the sensor identification code has been
learned by the module for this position. If a
double horn is heard, the reset procedure
was unsuccessful, and you must repeat it.
7. Remove the valve cap from the valve stem on the right front tire. Decrease
the air pressure until the horn sounds.
8. Remove the valve cap from the valve stem on the right outer rear tire.
Decrease the air pressure until the horn
sounds.
9. Remove the valve cap from the valve stem on the right inner rear tire.
Decrease the air pressure until the horn
sounds.
10. Remove the valve cap from the valve
stem on the left outer rear tire.
Decrease the air pressure until the
horn sounds.
11. Remove the valve cap from the valve
stem on the left inner rear tire.
Decrease the air pressure until the
horn sounds. Training is complete
after the horn sounds for the last tire
trained, the system indicator stops
flashing, and a message is shown in
the information display.
404
Super Duty (TFE) Canada/United States of America, enUSA, Edition date: 201804, Fourth-Printing Wheels and Tires
Page 411 of 666

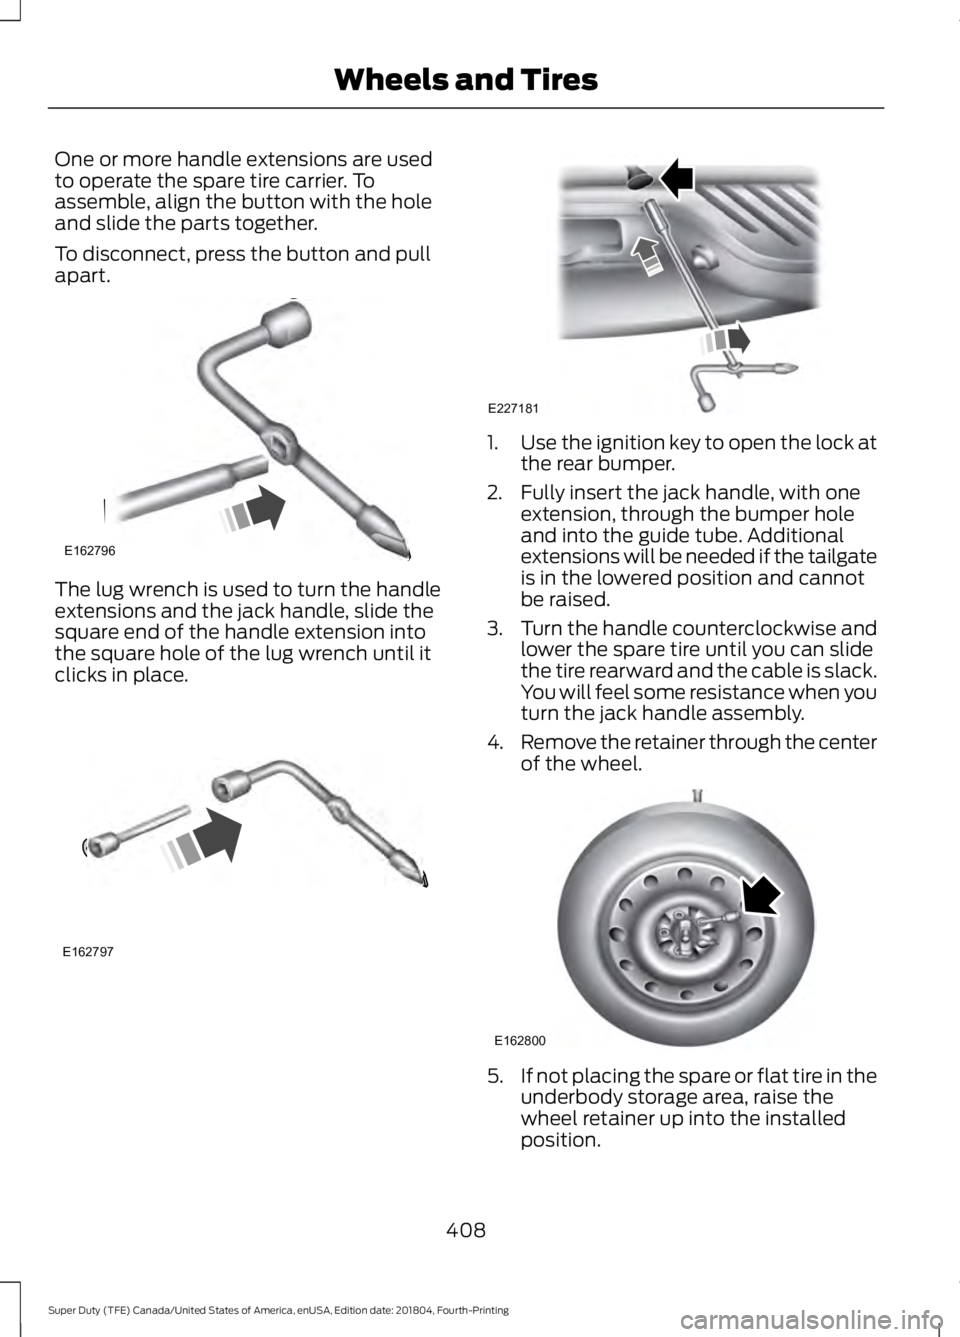
One or more handle extensions are used
to operate the spare tire carrier. To
assemble, align the button with the hole
and slide the parts together.
To disconnect, press the button and pull
apart.
The lug wrench is used to turn the handle
extensions and the jack handle, slide the
square end of the handle extension into
the square hole of the lug wrench until it
clicks in place. 1.
Use the ignition key to open the lock at
the rear bumper.
2. Fully insert the jack handle, with one extension, through the bumper hole
and into the guide tube. Additional
extensions will be needed if the tailgate
is in the lowered position and cannot
be raised.
3. Turn the handle counterclockwise and
lower the spare tire until you can slide
the tire rearward and the cable is slack.
You will feel some resistance when you
turn the jack handle assembly.
4. Remove the retainer through the center
of the wheel. 5.
If not placing the spare or flat tire in the
underbody storage area, raise the
wheel retainer up into the installed
position.
408
Super Duty (TFE) Canada/United States of America, enUSA, Edition date: 201804, Fourth-Printing Wheels and TiresE162796 E162797 E227181 E162800
Page 458 of 666

Troubleshooting
Action
Condition
Message
No action required. This
message should disappear
shortly.
Radio requires more than
two seconds to produce
audio for the selected
channel.
Acquiring\b
If this message does not
clear shortly, or with an igni-
tion key cycle, your receiver
may have a fault. See an
authorized dealer for service.
There is an internal module
or system failure present.
Satellite antenna fault
SIRIUS system failure
Tune to another channel or
choose another preset.
The channel is no longer
available.
Invalid Channel
Contact SiriusXM at 1-888-
539-7474 to subscribe to
the channel, or tune to
another channel.
Your subscription does not
include this channel.
Unsubscribed Channel
The signal is blocked. When
you move into an open area,
the signal should return.
The signal is lost from the
SiriusXM satellite or Siri-
usXM tower to your vehicle
antenna.
No Signal
No action required. The
process may take up to
three minutes.
Update of channel
programming in progress.
Updating\b
Contact SiriusXM at 1-888-
539-7474 to resolve
subscription issues.
Your satellite service is no
longer available.
Questions? Call
1-888-539-7474
Use the channel guide to
turn off the Lock or Skip
function on that station.
All the channels in the
selected category are either
skipped or locked.
None found
Check Channel Guide
No action required.
SiriusXM has updated the
channels available for your
vehicle.
Subscription Updated
455
Super Duty (TFE) Canada/United States of America, enUSA, Edition date: 201804, Fourth-Printing Audio System
Page 469 of 666

Description and action
Menu Item
Switch your vehicle's microphone off. To switch the
microphone on, select the option again.
Mic. off
Switch a call from an active hands-free environment to
your cellular phone for a more private conversation. When
selected, the audio display indicates the call is private.
Privacy
Put an active call on hold. When selected, the audio display
indicates the call is on hold.
Hold
Enter numbers using the audio system's numeric keypad
(for example, numbers for passwords).
Dial a number
Join two separate calls. The system supports a maximum
of three callers on a multiparty or conference call.
Join calls
1. Select the More option.
2. Access the desired contact through the system or use
voice commands to place the second call. Once actively
in the second call, select the
More option.
3. Scroll to the option to join calls and press the OK button.
Access your phonebook contacts.
Phonebook
1. Select the
More option.
2. Scroll to the option for phonebook and press the OK
button.
3. Scroll through your phonebook contacts.
4. Press the
OK button again when the desired contact
appears in the audio display.
5. Press the OK button or dial button to call the selection.
Access your call history log.
Call History
1. Select the
More option.
2. Scroll to the option for call history and press the OK
button.
3. Scroll through your call history options (incoming,
outgoing or missed).
4. Press the
OK button again when the desired selection
appears in the audio display.
5. Press the OK button or dial button to call the selection.
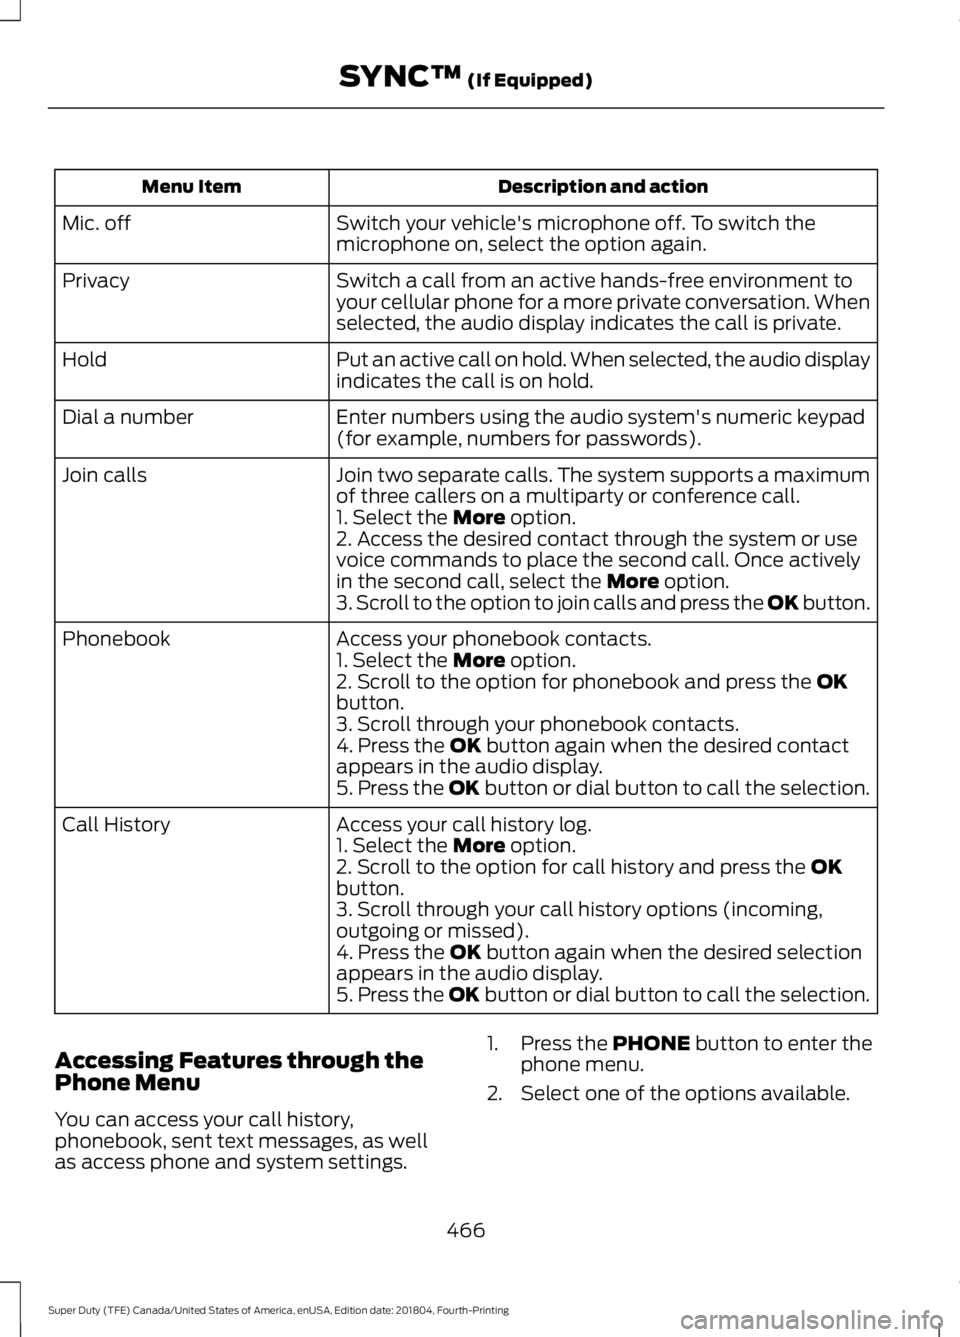
Accessing Features through the
Phone Menu
You can access your call history,
phonebook, sent text messages, as well
as access phone and system settings. 1. Press the
PHONE button to enter the
phone menu.
2. Select one of the options available.
466
Super Duty (TFE) Canada/United States of America, enUSA, Edition date: 201804, Fourth-Printing SYNC™
(If Equipped)
Page 470 of 666

Description and action
Display
Enter numbers using the audio system's numeric keypad.
Dial a number
Access your downloaded phonebook.
Phonebook
1. Press the OK button to confirm and enter. You can use
the options at the bottom of the screen to access an
alphabetical category quickly. You can also use the letters
on the audio system's numeric keypad to jump in the list.
2. Scroll through your phonebook contacts.
3. Press the
OK button again when the desired selection
appears in the audio display.
4. Press the OK button or dial button to call the selection.
Access any previously dialed, received or missed calls.
Call History
1. Press the
OK button to select.
2. Scroll to select incoming, outgoing or missed calls. Press
the
OK button to make your selection.
3. Press the OK button or dial button to call the selection.
Select 1 of 10 speed dial entries. To set a speed dial entry,
go to the phonebook and then press and hold one of the
numbers on the audio system's numeric keypad.
Speed Dial
Send, download and delete text messages.
Text messaging
Access the option for Bluetooth Device menu listings (add,
connect, set as primary, on or off, delete).
BT Devices
View various settings and features on your phone.
Phone settings
Text Messaging
Note: This is a phone-dependent feature.
SYNC allows you to receive, send,
download and delete text messages. The
system can also read incoming text
messages to you so that you do not have
to take your eyes off the road.
Receiving a Text Message
Note: This is a phone-dependent feature.
Your phone must support downloading text
messages using Bluetooth to receive
incoming text messages. Note:
This is a speed-dependent feature
and is only available when your vehicle is
traveling at
3 mph (5 km/h) or less.
When a new message arrives, an audible
tone sounds and the audio display
indicates you have a new message.
To hear the message you can say: Description and
action
Voice command
Select this option
to have the system
read the message
to you.
(listen to | read)
([text] message)
467
Super Duty (TFE) Canada/United States of America, enUSA, Edition date: 201804, Fourth-Printing SYNC™
(If Equipped)
Page 479 of 666

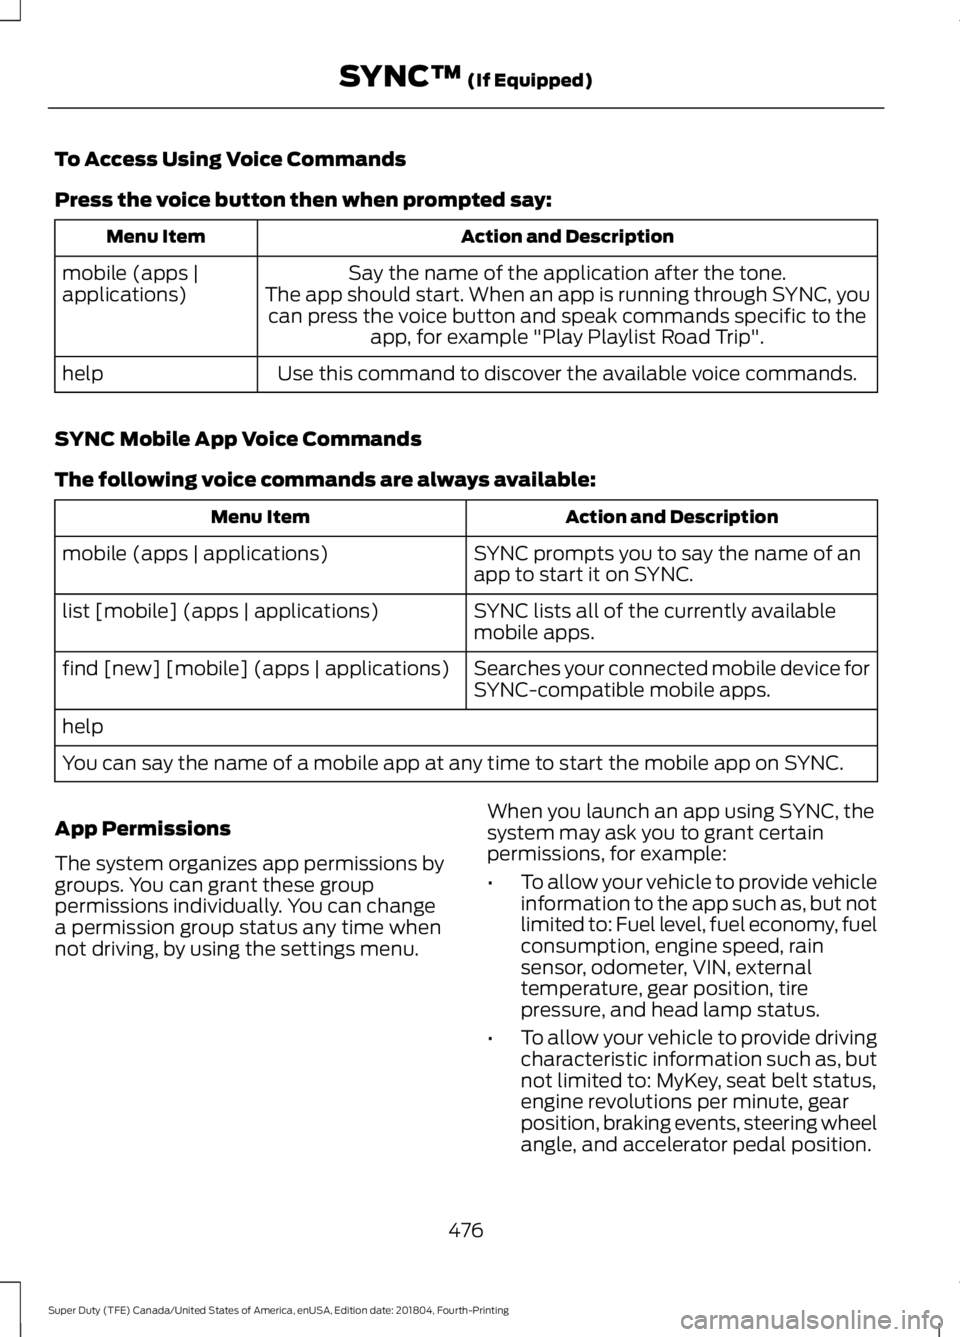
To Access Using Voice Commands
Press the voice button then when prompted say:
Action and Description
Menu Item
Say the name of the application after the tone.
The app should start. When an app is running through SYNC, you can press the voice button and speak commands specific to the app, for example "Play Playlist Road Trip".
mobile (apps |
applications)
Use this command to discover the available voice commands.
help
SYNC Mobile App Voice Commands
The following voice commands are always available: Action and Description
Menu Item
SYNC prompts you to say the name of an
app to start it on SYNC.
mobile (apps | applications)
SYNC lists all of the currently available
mobile apps.
list [mobile] (apps | applications)
Searches your connected mobile device for
SYNC-compatible mobile apps.
find [new] [mobile] (apps | applications)
help
You can say the name of a mobile app at any time to start the mobile app on SYNC.
App Permissions
The system organizes app permissions by
groups. You can grant these group
permissions individually. You can change
a permission group status any time when
not driving, by using the settings menu. When you launch an app using SYNC, the
system may ask you to grant certain
permissions, for example:
•
To allow your vehicle to provide vehicle
information to the app such as, but not
limited to: Fuel level, fuel economy, fuel
consumption, engine speed, rain
sensor, odometer, VIN, external
temperature, gear position, tire
pressure, and head lamp status.
• To allow your vehicle to provide driving
characteristic information such as, but
not limited to: MyKey, seat belt status,
engine revolutions per minute, gear
position, braking events, steering wheel
angle, and accelerator pedal position.
476
Super Duty (TFE) Canada/United States of America, enUSA, Edition date: 201804, Fourth-Printing SYNC™ (If Equipped)
Page 487 of 666

Description and Action
Display
2. Scroll to browse indexed media files on the device, and
then press the OK button.
Resets the USB index. After the new indexing is complete,
you can choose what to play from the USB song library.
Reset USB
* You can use the buttons at the bottom of the audio display to jump to a certain
alphabetical category quickly. You can also use the letters on the audio system's numeric
keypad to jump in the list.
Using Voice Commands
You can access and view your USB songs
using voice commands.
Plug the device into your vehicle's USB
port.
Press the voice button and when
prompted, say any of the following
commands: Accessing and Viewing USB Media
(browse | search | show) all (album |
albums)
(browse | search | show) all (artist |
artists)
(browse | search | show) all (genre |
genres)
(browse | search | show) all (playlist |
playlists)
(browse | search | show) all (song | songs
| title | titles | file | files | track | tracks)
(browse | search | show) album ___
(browse | search | show) artist ___
(browse | search | show) genre ___
(browse | search | show) playlist ___ USB 2
(If Equipped)
Your vehicle may come equipped with an
additional USB port. If so, USB 1 is located
at the front of the vehicle at the bottom of
the instrument panel. USB 2 is located
inside the storage compartment of the
vehicle's center console.
You can plug in an additional USB device
into the second USB port.
You can access both USB devices by using
voice commands.
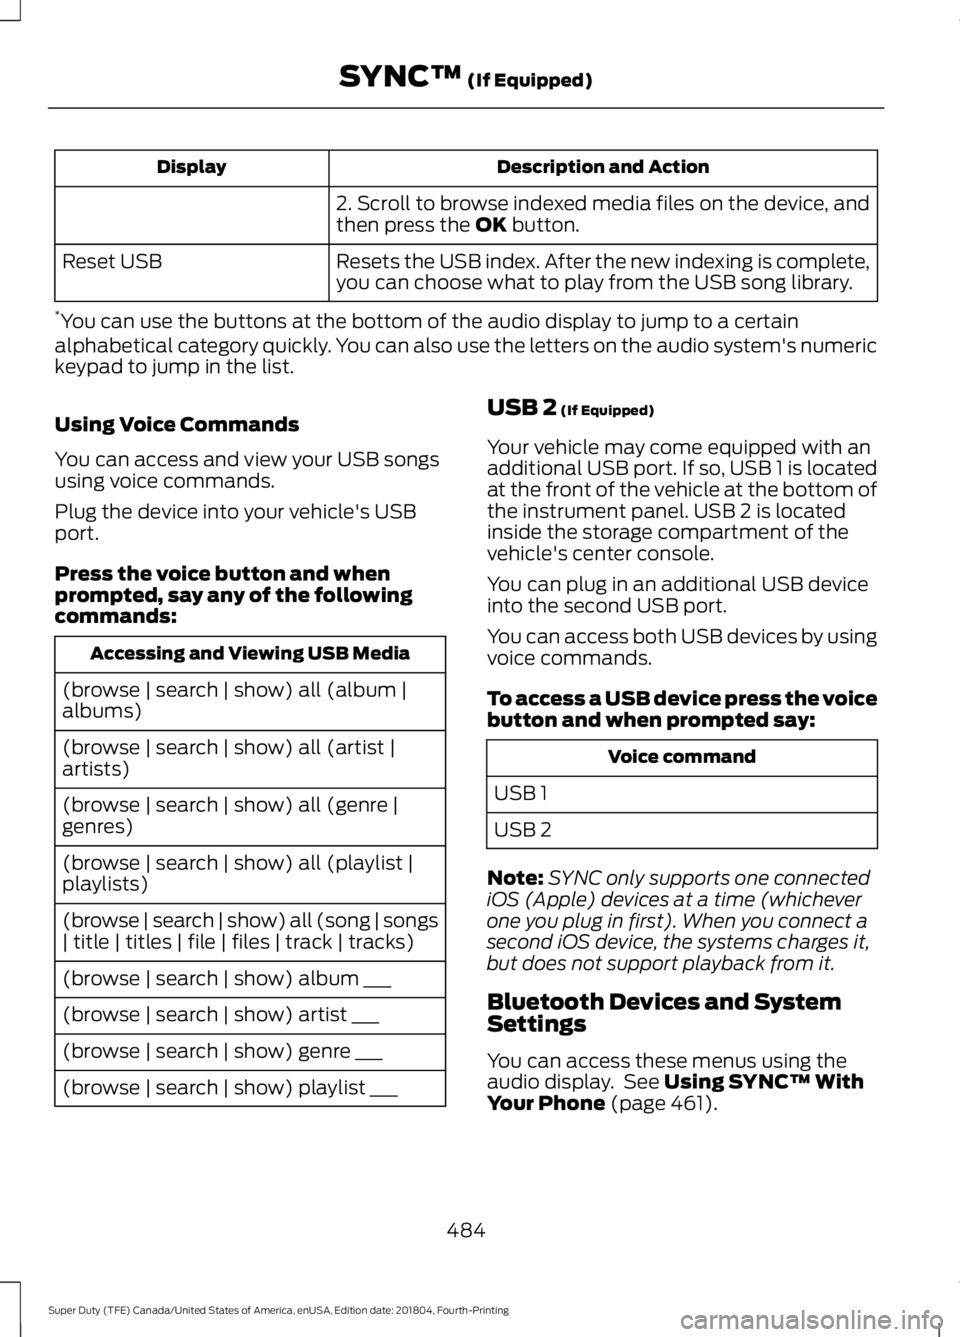
To access a USB device press the voice
button and when prompted say: Voice command
USB 1
USB 2
Note: SYNC only supports one connected
iOS (Apple) devices at a time (whichever
one you plug in first). When you connect a
second iOS device, the systems charges it,
but does not support playback from it.
Bluetooth Devices and System
Settings
You can access these menus using the
audio display. See
Using SYNC™ With
Your Phone (page 461).
484
Super Duty (TFE) Canada/United States of America, enUSA, Edition date: 201804, Fourth-Printing SYNC™
(If Equipped)