2019 FORD E SERIES maintenance
[x] Cancel search: maintenancePage 158 of 329

optimum shift feel. We recommend thatthe negative battery cable terminal bedisconnected from the battery if you planto store your vehicle for an extended periodof time. This minimizes the discharge ofyour battery during storage.
Dual Batteries (If Equipped)
Your vehicle may be fitted with aframe-mounted battery located on thepassenger side frame rail, behind the frontpassenger door. This battery is connectedin parallel with the battery in the enginecompartment. Both batteries are used tostart the vehicle.
CHECKING THE WIPER
BLADES
Run the tip of your fingers over the edge ofthe blade to check for roughness.
Clean the wiper blades with washer fluidor water applied with a soft sponge orcloth.
CHANGING THE WIPER
BLADES
You can manually move the wiper armswhen the ignition is off. This allows for easeof blade replacement and cleaning underthe blades.
1. Pull the wiper blade and arm awayfrom the glass.
2. Release the wiper blade lock (A) andseparate the wiper blade from thewiper arm.
3. Install in the reverse order.
Note:Make sure that the wiper blade locksinto place. Lower the wiper arm and bladeback on the windshield. The wiper arms willautomatically return to their normal positionwhen you turn the ignition on.
•Replace wiper blades at least once peryear for optimum performance.
•You can improve poor wiper quality bycleaning the wiper blades and thewindshield.
155
E-Series (TE4) Canada/United States of America, enUSA, Edition date: 201804, Second-Printing
MaintenanceE142463 E165804 A
E165794
Page 159 of 329

ADJUSTING THE HEADLAMPS
We properly aim the headlamps on yourvehicle at the assembly plant. If yourvehicle has been in an accident, have anauthorized dealer check the alignment ofyour headlamps.
Vertical Aim AdjustmentProcedure
You can only adjust the headlampsvertically. Your vehicle does not requirehorizontal aim adjustments.
8 feet (2.4 meters).A
Center height of lamp to ground.B
25 feet (7.6 meters).C
Horizontal reference line.D
To adjust the headlamps:
1. Park the vehicle directly in front of awall or screen on a level surface,approximately 25 ft (7.6 m) away.
2. Measure the height of the headlampbulb center from the ground and markan 8 ft (2.4 m) horizontal reference lineon the vertical wall or screen at thisheight.
Note:To see a clearer light pattern foradjusting, you may want to block the lightfrom one headlamp while adjusting theother.
3. Turn on the low beam headlamps toilluminate the wall or screen and openthe hood.
4.On the wall or screen, you will observea flat zone of high intensity lightlocated at the top of the right handportion of the beam pattern. If the topedge of the high intensity light zone isnot at the horizontal reference line, youwill need to adjust the headlamp.
5. Locate the vertical adjuster on eachheadlamp. Using a Phillips #2screwdriver, turn the adjuster eitherclockwise or counterclockwise in orderto adjust the vertical aim of theheadlamp.
156
E-Series (TE4) Canada/United States of America, enUSA, Edition date: 201804, Second-Printing
MaintenanceE142592 E142465 E163806
Page 160 of 329

6.Repeat steps 3 through 5 to adjust theother headlamp.
7. Close the hood and switch off thelamps.
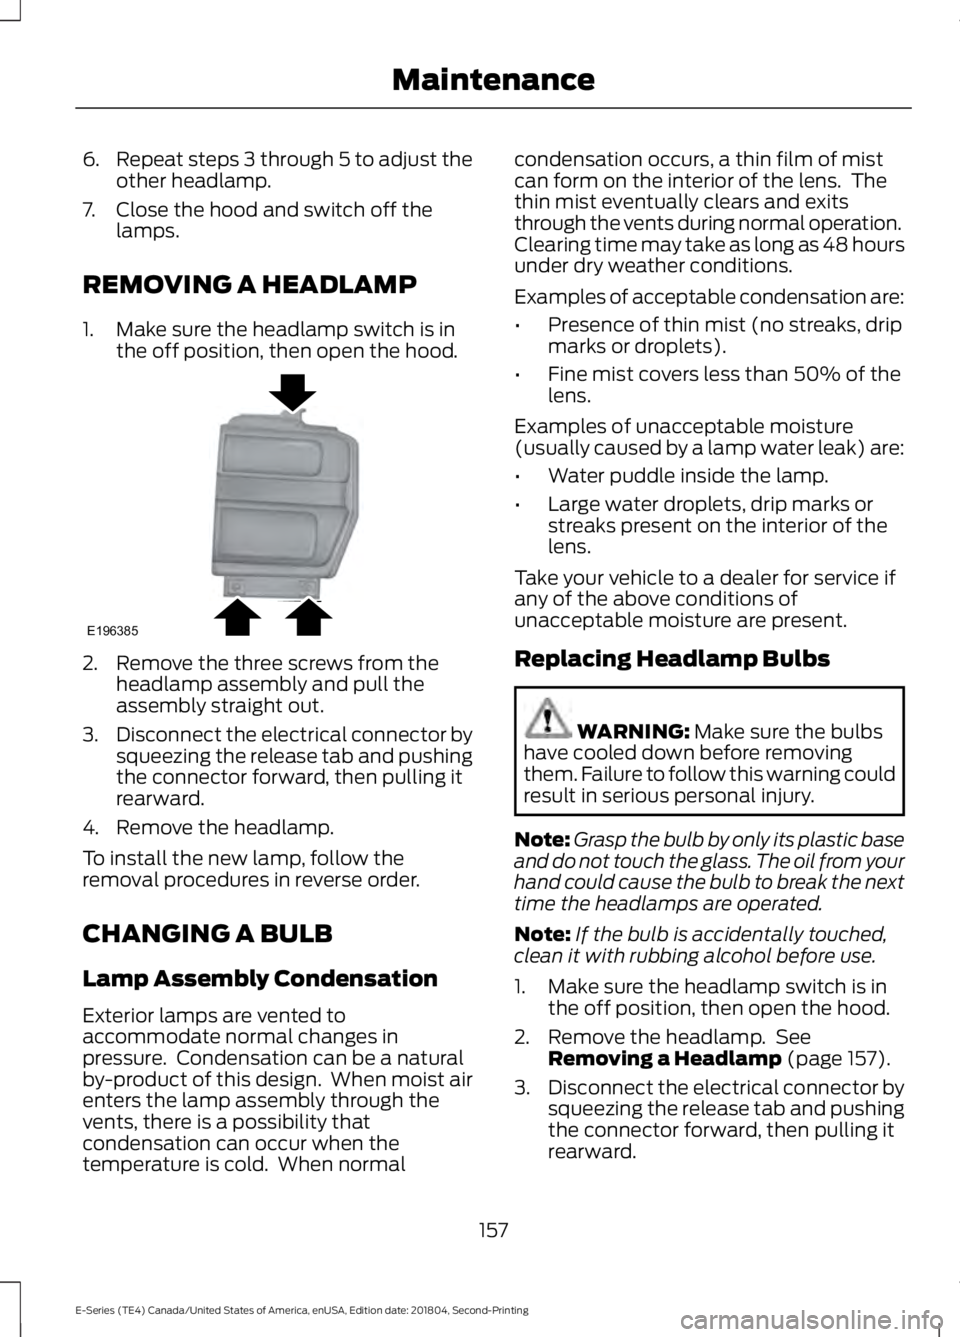
REMOVING A HEADLAMP
1. Make sure the headlamp switch is inthe off position, then open the hood.
2. Remove the three screws from theheadlamp assembly and pull theassembly straight out.
3.Disconnect the electrical connector bysqueezing the release tab and pushingthe connector forward, then pulling itrearward.
4. Remove the headlamp.
To install the new lamp, follow theremoval procedures in reverse order.
CHANGING A BULB
Lamp Assembly Condensation
Exterior lamps are vented toaccommodate normal changes inpressure. Condensation can be a naturalby-product of this design. When moist airenters the lamp assembly through thevents, there is a possibility thatcondensation can occur when thetemperature is cold. When normal
condensation occurs, a thin film of mistcan form on the interior of the lens. Thethin mist eventually clears and exitsthrough the vents during normal operation.Clearing time may take as long as 48 hoursunder dry weather conditions.
Examples of acceptable condensation are:
•Presence of thin mist (no streaks, dripmarks or droplets).
•Fine mist covers less than 50% of thelens.
Examples of unacceptable moisture(usually caused by a lamp water leak) are:
•Water puddle inside the lamp.
•Large water droplets, drip marks orstreaks present on the interior of thelens.
Take your vehicle to a dealer for service ifany of the above conditions ofunacceptable moisture are present.
Replacing Headlamp Bulbs
WARNING: Make sure the bulbshave cooled down before removingthem. Failure to follow this warning couldresult in serious personal injury.
Note:Grasp the bulb by only its plastic baseand do not touch the glass. The oil from yourhand could cause the bulb to break the nexttime the headlamps are operated.
Note:If the bulb is accidentally touched,clean it with rubbing alcohol before use.
1. Make sure the headlamp switch is inthe off position, then open the hood.
2. Remove the headlamp. SeeRemoving a Headlamp (page 157).
3.Disconnect the electrical connector bysqueezing the release tab and pushingthe connector forward, then pulling itrearward.
157
E-Series (TE4) Canada/United States of America, enUSA, Edition date: 201804, Second-Printing
MaintenanceE196385
Page 161 of 329

4. Remove the bulb assembly by turningit counterclockwise and pulling itstraight out.
To install the new bulb, follow the removalprocedures in reverse order.
Replacing Front Parking Lamp andDirection Indicator Bulbs
1. Make sure the headlamp switch is inthe off position, then open the hood.
2.Remove the headlamp assembly. Referto Replacing Headlamp Bulbs in thissection.
3. Rotate the bulb socketcounterclockwise and remove.
4. Carefully pry up the bulb straight outof the socket.
To complete installation, follow theremoval procedures in reverse order.
Replacing Side Marker Bulbs
1. Make sure the headlamp switch is inthe off position, then open the hood.
2.Remove the headlamp assembly. Referto Replacing Headlamp Bulbs in thissection.
3. Rotate the bulb socketcounterclockwise and remove.
4. Carefully pry up the bulb straight outof the socket.
To complete installation, follow theremoval procedures in reverse order.
ReplacingBrake/Tail/Turn/Reverse LampBulbs (Cut-Away Only)
1. Make sure the headlamps are off.
158
E-Series (TE4) Canada/United States of America, enUSA, Edition date: 201804, Second-Printing
MaintenanceE196386 E196388 E196390 E163828
Page 162 of 329

2. Remove the four screws and the lamplens from the lamp assembly.
3. Carefully pull the bulb straight out ofthe socket and push in the new bulb.
CHANGING THE ENGINE AIR
FILTER
WARNING: To reduce the risk ofvehicle damage or personal injury, do notstart the engine with the air filterremoved and do not remove it while theengine is running.
Note:Failure to use the correct air filterelement may result in severe enginedamage. The customer warranty may bevoid for any damage to the engine if thecorrect air filter element is not used.
When changing the air filter element, useonly the air filter element listed. SeeMotorcraft Parts (page 199). The air filterelement should be replaced at theappropriate intervals. See NormalScheduled Maintenance (page 279).
Note:Failure to use the correct air filterelement may result in severe enginedamage. Resulting component damage maynot be covered by the vehicle Warranty.
1.Disconnect the fresh air inlet tube fromthe radiator support.
2. Open the clamp that secures the twohalves of the air filter housing together.
3. Carefully separate the two halves ofthe air filter housing.
4.Remove the air filter element from thehousing.
5. Install a new air filter element. Becareful not to crimp the filter elementedges between the air filter housing.This could cause filter damage andallow unfiltered air to enter the engineif not properly seated.
6. Replace the two halves of the air filterhousing and secure the clamp.
7. Connect the fresh air inlet tube to theradiator support.
159
E-Series (TE4) Canada/United States of America, enUSA, Edition date: 201804, Second-Printing
MaintenanceE197063 E197064
Page 168 of 329

REPAIRING MINOR PAINT
DAMAGE
Authorized dealers have touch-up paint tomatch your vehicle’s color. Your vehiclecolor code is printed on a sticker on thefront, left-hand side door jamb. Take yourcolor code to your authorized dealer tomake sure you get the correct color.
Before repairing minor paint damage, usea cleaner such as Motorcraft Bug and TarRemover to remove particles such as birddroppings, tree sap, insect deposits, tarspots, road salt and industrial fallout.
Always read the instructions before usingcleaning products.
CLEANING THE WHEELS
1. Regularly clean them with a wheelcleaner. We recommend that you useFord approved wheel cleaner ifavailable.
2. Remove dirt and brake dust with asponge.
3.Remove tar and grease with a bug andtar remover. We recommend that youuse Ford approved bug and tar removerif available.
4.Thoroughly rinse the wheels with waterafter cleaning.
If you intend on parking your vehicle for anextended period after cleaning the wheelswith a wheel cleaner, drive your vehicle fora few minutes before doing so. Thisreduces the risk of corrosion of the brakediscs, brake pads and linings.
Do not clean the wheels when they are hot.
Note: Some car washes could damagewheel rims and covers.
Note: Using non-recommended cleaners,harsh cleaning products, chrome wheelcleaners or abrasive materials coulddamage wheel rims and covers.
VEHICLE STORAGE
If you plan on storing your vehicle for 30days or more, read the followingmaintenance recommendations to makesure your vehicle stays in good operatingcondition.
We engineer and test all motor vehiclesand their components for reliable, regulardriving. Under various conditions,long-term storage may lead to degradedengine performance or failure unless youuse specific precautions to preserve enginecomponents.
General
•Store all vehicles in a dry, ventilatedplace.
•Protect from sunlight, if possible.
•If vehicles are stored outside, theyrequire regular maintenance to protectagainst rust and damage.
Body
•Wash your vehicle thoroughly toremove dirt, grease, oil, tar or mud fromexterior surfaces, rear-wheel housingand the underside of front fenders.
•Periodically wash your vehicle if it isstored in exposed locations.
•Touch-up exposed or primed metal toprevent rust.
•Cover chrome and stainless steel partswith a thick coat of auto wax to preventdiscoloration. Re-wax as necessarywhen you wash your vehicle.
•Lubricate all hood, door and luggagecompartment hinges and latches witha light grade oil.
165
E-Series (TE4) Canada/United States of America, enUSA, Edition date: 201804, Second-Printing
Vehicle Care
Page 184 of 329

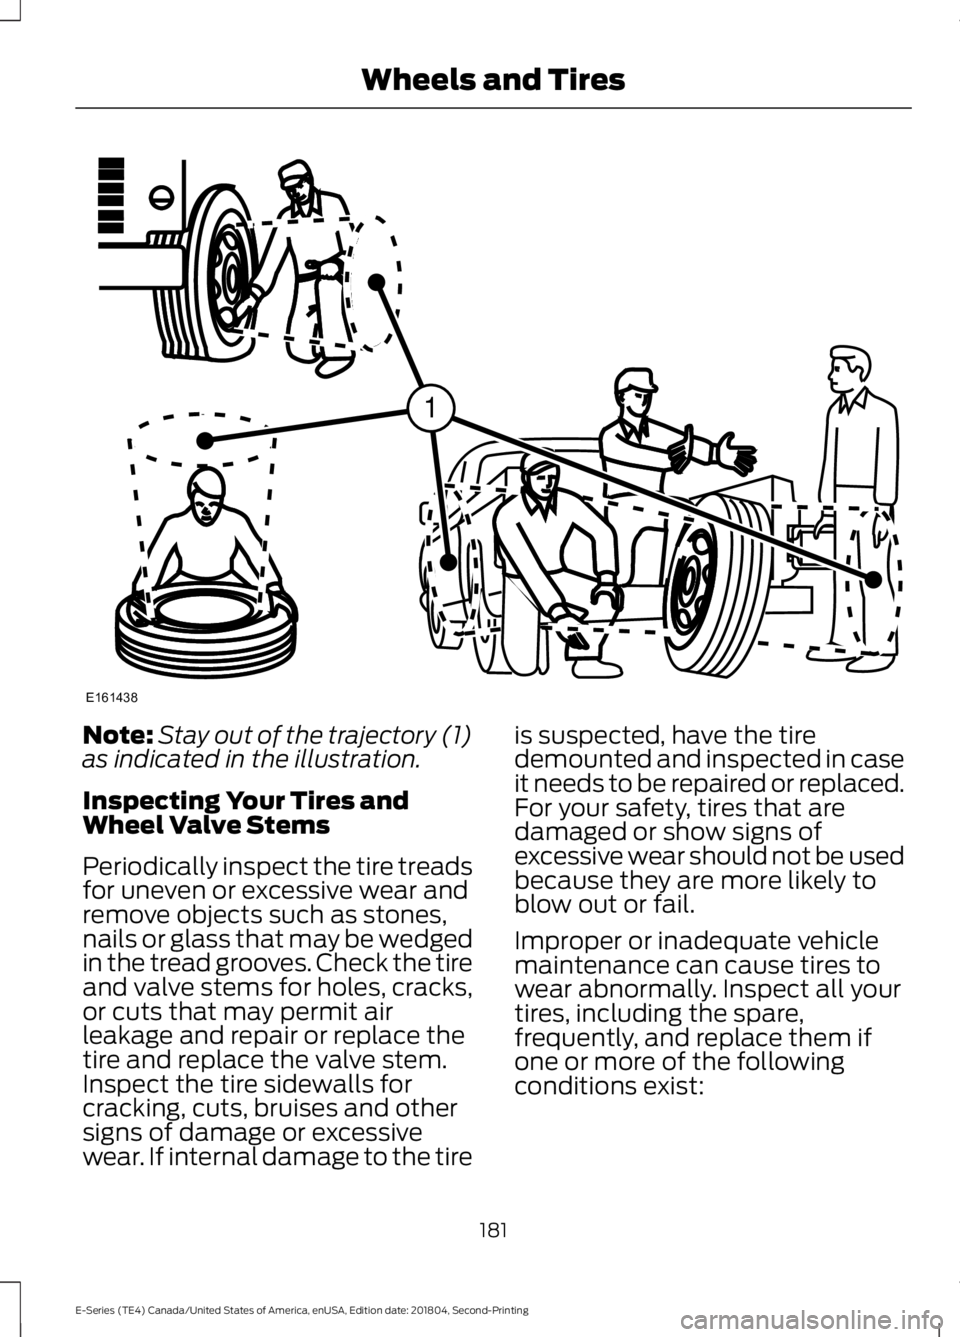
Note:Stay out of the trajectory (1)as indicated in the illustration.
Inspecting Your Tires andWheel Valve Stems
Periodically inspect the tire treadsfor uneven or excessive wear andremove objects such as stones,nails or glass that may be wedgedin the tread grooves. Check the tireand valve stems for holes, cracks,or cuts that may permit airleakage and repair or replace thetire and replace the valve stem.Inspect the tire sidewalls forcracking, cuts, bruises and othersigns of damage or excessivewear. If internal damage to the tire
is suspected, have the tiredemounted and inspected in caseit needs to be repaired or replaced.For your safety, tires that aredamaged or show signs ofexcessive wear should not be usedbecause they are more likely toblow out or fail.
Improper or inadequate vehiclemaintenance can cause tires towear abnormally. Inspect all yourtires, including the spare,frequently, and replace them ifone or more of the followingconditions exist:
181
E-Series (TE4) Canada/United States of America, enUSA, Edition date: 201804, Second-Printing
Wheels and TiresE161438
1
Page 189 of 329

the system sensors. Alwaysperform the system resetprocedure after tire rotation. Ifyou do not reset the system, itmay not provide a low tirepressure warning whennecessary.
Note:If your tires show unevenwear ask an authorized dealer tocheck for and correct any wheelmisalignment, tire imbalance ormechanical problem involvedbefore tire rotation.
Note:Your vehicle may beequipped with a dissimilar sparewheel and tire assembly. Adissimilar spare wheel and tireassembly is defined as a sparewheel and tire assembly that isdifferent in brand, size orappearance from the road tires andwheels. If you have a dissimilarspare wheel and tire assembly it isintended for temporary use onlyand should not be used in a tirerotation.
Note:After having your tiresrotated, inflation pressure must bechecked and adjusted to thevehicle requirements.
Rotating your tires at therecommended interval (asindicated in the ScheduledMaintenance chapter) helps yourtires wear more evenly, providingbetter tire performance and longertire life. Sometime irregular tire
wear can be corrected by rotatingthe tires.
Rear-wheel drive vehicles andfour-wheel drive vehicles (fronttires at left of diagram).
Dual rear wheel drive vehicle - six
tire rotation (front tires at top ofdiagram).
186
E-Series (TE4) Canada/United States of America, enUSA, Edition date: 201804, Second-Printing
Wheels and TiresE142548 E166988