Page 291 of 496
BULB REPLACEMENT
Replacement Bulbs
All of the interior bulbs are glass wedge base or glass
cartridge types. Aluminum base bulbs are not approved
and should not be used for replacement.
Interior Bulbs
Bulb Number
Rear Courtesy/Reading Lamps W5W
Rear Compartment (Trunk) Lamp 562
Overhead Console Reading Lamp 578
Visor Vanity Lamps A6220
Glove Compartment Lamp – If Equipped 194
Door Courtesy 562
Shift Indicator Lamp JKLE14140
Center High-Mount Stop Lamp (CHMSL) LED (Serviced At Authorized Dealer)
Optional Door Map Pocket/Cup Holder LED (Serviced At Authorized Dealer)
For lighted switches, see your authorized dealer for replacement instructions.
7
IN CASE OF EMERGENCY 289
Page 292 of 496
Exterior Bulbs
Bulb Number
Low/High Beam Headlamp (Standard Halogen Bi Func-
tion Projector) 9005SL+
Low/High Beam Headlamp – High Intensity Discharge
(Premium HID Bi Function Projector) D3S (Serviced At Authorized Dealer)
Front Park/Turn Lamp LED (Serviced At Authorized Dealer)
Front Fog Lamp – If Equipped LED (Serviced At Authorized Dealer)
Front Side Marker LED (Serviced At Authorized Dealer)
Rear Tail Lamp LED (Serviced At Authorized Dealer)
Rear Stop/Turn Lamp LED (Serviced At Authorized Dealer)
Rear Side Marker LED (Serviced At Authorized Dealer)
Backup Lamp LED (Serviced At Authorized Dealer)
License LED (Serviced At Authorized Dealer)
290 IN CASE OF EMERGENCY
Page 293 of 496

Replacing Exterior Bulbs
Front Low/High Beam Headlamp — Models With
Halogen Headlamps
1. Open the hood.
NOTE:Removal of the air cleaner filter housing may be
necessary prior to replacing bulbs in the headlamp assem-
bly on the driver side of the vehicle.
2. Remove the large dust cap from the headlamp housing by turning it counterclockwise.
3. Turn the bulb counterclockwise, and remove.
CAUTION!
Do not touch the new bulb with your fingers. Oil
contamination will severely shorten bulb life. If the
bulb comes in contact with any oily surface, clean the
bulb with rubbing alcohol.
4. Disconnect the bulb from the socket assembly and install the replacement bulb.
5. Reinstall the bulb and socket assembly into the head- lamp assembly, and then turn it clockwise.
6. Reinstall the dust cap.
Front Low/High Beam Headlamp — Models With
High Intensity Discharge Headlamps (HID)
The headlamps are a type of high voltage discharge tube.
High voltage can remain in the circuit even with the
headlamp switch off and the key removed. Because of this,
you should not attempt to service a headlamp bulb
yourself. If a headlamp bulb fails, take your vehicle to an
authorized dealer for service.
WARNING!
A transient high voltage occurs at the bulb sockets of
HID headlamps when the headlamp switch is turned
ON. It may cause serious electrical shock or electrocu-
tion if not serviced properly. See your authorized
dealer for service.
NOTE: On vehicles equipped with HID headlamps, when
the headlamps are turned on, there is a blue hue to the
lights. This diminishes and becomes more white after
approximately 10 seconds, as the system charges.
Front/Rear Side Marker Lamp
The Side Markers use LED lamps that are not serviceable
separately. The Side Markers must be replaced as an
assembly, see your authorized dealer.
7
IN CASE OF EMERGENCY 291
Page 294 of 496

Front Fog Lamp
The Front Fog Lamps use LED sources that are not
serviceable separately. The Front Fog Lamp must be re-
placed as an assembly; see your authorized dealer.
Front Turn Signal Lamps
The Front Park/Turn function is part of the headlamp
assembly and use LED lamps that are not serviceable
separately. The headlamps must be replaced as an assem-
bly, see your authorized dealer.
Backup Lamps
The Backup Lamps use LED sources that are not service-
able separately. The Applique must be replaced as an
assembly; see your authorized dealer.
License Lamp
The License Lamp uses an LED source that is not service-
able separately. The License Lamp must be replaced as an
assembly; see your authorized dealer.
Center High Mounted Stop Lamp (CHMSL)
The CHMSL Lamp uses LED sources that are not service-
able separately. The CHMSL Lamp must be replaced as an
assembly; see your authorized dealer.
FUSES
WARNING!
•When replacing a blown fuse, always use an appro-
priate replacement fuse with the same amp rating as
the original fuse. Never replace a fuse with another
fuse of higher amp rating. Never replace a blown
fuse with metal wires or any other material. Do not
place a fuse inside a circuit breaker cavity or vice
versa. Failure to use proper fuses may result in
serious personal injury, fire and/or property damage.
• Before replacing a fuse, make sure that the ignition is
off and that all the other services are switched off
and/or disengaged.
• If the replaced fuse blows again, contact an autho-
rized dealer.
• If a general protection fuse for safety systems (air
bag system, braking system), power unit systems
(engine system, transmission system) or steering
system blows, contact an authorized dealer.
292 IN CASE OF EMERGENCY
Page 303 of 496
Cavity Cartridge FuseMini-FuseDescription
61 – –Fuse – Spare
62 – –Fuse – Spare
63 – –Fuse – Spare
64 – 25 Amp Breaker Rear Windows (Charger/300)
65 – 10 Amp Red Airbag Module
66 – –Fuse – Spare
67 – 10 Amp Red Rain and Light Sensor / Sunroof / Inside RR
View Mirror / Police Run Acc Relay
68 – 10 Amp Red Dual USB Power Outlet – R/A Sense (Charger/
300) Rear Sunshade (Charger/300) RR USB Timer
69 – –Fuse – Spare
70 – –Fuse – Spare
TIRE SERVICE KIT — IF EQUIPPED
Small punctures up to 1/4 inch (6 mm) in the tire tread can
be sealed with Tire Service Kit. Foreign objects (e.g., screws
or nails) should not be removed from the tire. Tire Service
Kit can be used in outside temperatures down to approxi-
mately -4°F (-20°C). This kit will provide a temporary tire seal, allowing you to
drive your vehicle up to 100 miles (160 km) with a
maximum speed of 50 mph (80 km/h).
7
IN CASE OF EMERGENCY 301
Page 304 of 496
Tire Service Kit Storage
The Tire Service Kit is located in the trunk.
Tire Service Kit Components And Operation
Tire Service Kit LocationTire Service Kit Components
1 — Sealant Bottle5 — Mode Select Knob
2 — Deflation Button 6 — Sealant Hose (Clear)
3 — Pressure Gauge 7 — Air Pump Hose (Black)
4 — Power Button 8 — Power Plug (located on the
bottom side of the Tire Service
Kit)
302 IN CASE OF EMERGENCY
Page 305 of 496

Using The Mode Select Knob And Hoses
Your Tire Service Kit is equipped with the following
symbols to indicate the air or sealant mode.
Selecting Air ModePush in the Mode Select Knob (5) and turn to this
position for air pump operation only. Use the Black
Air Pump Hose (7) when selecting this mode.
Selecting Sealant Mode
Push in the Mode Select Knob (5) and turn to this
position to inject the Tire Service Kit Sealant and to
inflate the tire. Use the Sealant Hose (clear hose) (6) when
selecting this mode.
Using The Power Button
Push and release the Power Button (4) once to turn
on the Tire Service Kit. Push and release the Power Button
(4) again to turn Off the Tire Service Kit.
Using The Deflation Button
Push the Deflation Button (2) to reduce the air
pressure in the tire if it becomes over-inflated.
Tire Service Kit Usage Precautions
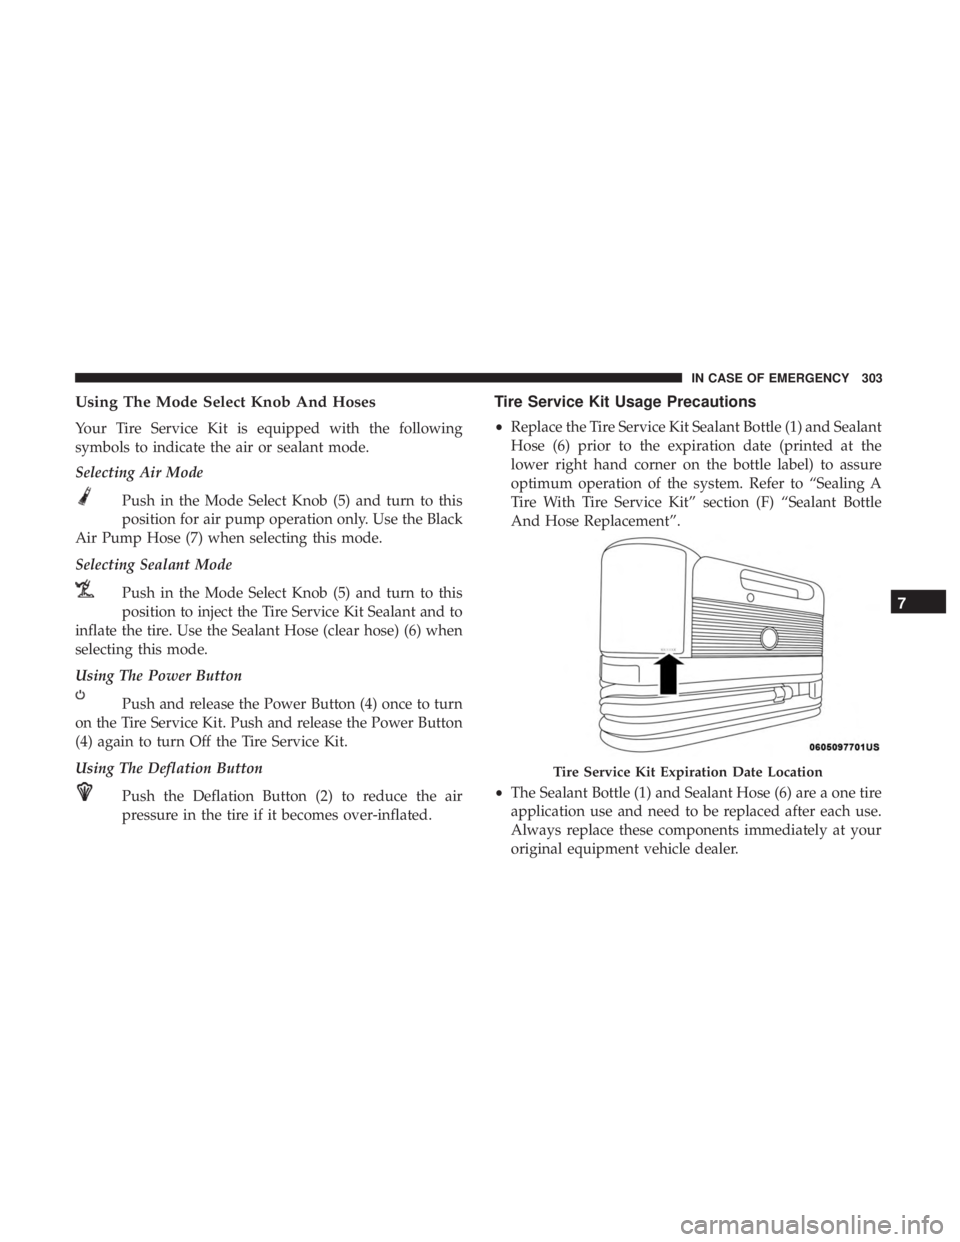
•Replace the Tire Service Kit Sealant Bottle (1) and Sealant
Hose (6) prior to the expiration date (printed at the
lower right hand corner on the bottle label) to assure
optimum operation of the system. Refer to “Sealing A
Tire With Tire Service Kit” section (F) “Sealant Bottle
And Hose Replacement”.
• The Sealant Bottle (1) and Sealant Hose (6) are a one tire
application use and need to be replaced after each use.
Always replace these components immediately at your
original equipment vehicle dealer.
Tire Service Kit Expiration Date Location
7
IN CASE OF EMERGENCY 303
Page 306 of 496

•When the Tire Service Kit sealant is in a liquid form,
clean water and a damp cloth will remove the material
from the vehicle or tire and wheel components. Once the
sealant dries, it can easily be peeled off and properly
discarded.
• For optimum performance, make sure the valve stem on
the wheel is free of debris before connecting the Tire
Service Kit.
• You can use the Tire Service Kit air pump to inflate
bicycle tires. The kit also comes with two needles,
located in the Accessory Storage Compartment (on the
bottom of the air pump) for inflating sport balls, rafts, or
similar inflatable items. However, use only the Air Pump
Hose (7) and make sure the Mode Select Knob (5) is in
the Air Mode when inflating such items to avoid inject-
ing sealant into them. The Tire Service Kit Sealant is only
intended to seal punctures less than 1/4 inch (6 mm)
diameter in the tread of your tire.
• Do not lift or carry the Tire Service Kit by the hoses.WARNING!
•Do not attempt to seal a tire on the side of the vehicle
closest to traffic. Pull far enough off the road to avoid
the danger of being hit when using the Tire Service
Kit.
• Do not use Tire Service Kit or drive the vehicle under
the following circumstances:
– If the puncture in the tire tread is approximately 1/4 inch (6 mm) or larger.
– If the tire has any sidewall damage.
– If the tire has any damage from driving with extremely low tire pressure.
– If the tire has any damage from driving on a flat tire.
– If the wheel has any damage.
– If you are unsure of the condition of the tire or the wheel.
• Keep Tire Service Kit away from open flames or heat
source.
(Continued)
304 IN CASE OF EMERGENCY