Page 210 of 496
Fluid Leaks
Check area under the vehicle after overnight parking for
fuel, coolant, oil, or other fluid leaks. Also, if gasoline
fumes are detected or if fuel, or brake fluid leaks are
suspected. The cause should be located and corrected
immediately.
WARNING!
To prevent SERIOUS INJURY or DEATH when using
“Track-Use” parts and equipment:
•NEVER use any “Track-Use” equipment on public
roads. FCA US LLC does not authorize the use of
“Track-Use” equipment on public roads.
• The intended use of “Track-Use” parts is for race
vehicles on race tracks. To help ensure the safety of
the race driver, engineers should supervise the instal-
lation of “Track-Use” parts.
• FCA US LLC does not authorize the installation or
use of any part noted as “Track-Use” on any new
vehicle prior to its first retail sale.
WARNING!
To prevent SERIOUS INJURY or DEATH:
• ALWAYS remove any “Track-Use” equipment before
driving on public roads.
• ALWAYS properly use your three-point seat belts
when driving on public roads.
• In a collision, you and your passengers can suffer
much greater injuries if you are not properly buckled
up. You can strike the interior of your vehicle or
other passengers, or you can be thrown out of the
vehicle.
208 SAFETY
Page 212 of 496
�ADAPTIVE CRUISE CONTROL (ACC) — IF
EQUIPPED ........................... .239
▫ Adaptive Cruise Control (ACC) Operation .....241
▫ Activating Adaptive Cruise Control (ACC) .....241
▫ To Activate/Deactivate ...................242
▫ To Set A Desired ACC Speed ...............243
▫ To Cancel ........................... .243
▫ ToTurnOff.......................... .244
▫ To Resume .......................... .244
▫ To Vary The ACC Speed .................244
▫ Setting The Following Distance In ACC .......246
▫ Overtake Aid ......................... .249
▫ ACC Operation At Stop ..................249
▫ Adaptive Cruise Control (ACC) Menu ........250
▫ Display Warnings And Maintenance .........251
▫ Precautions While Driving With ACC .........253
▫ General Information .....................256 ▫
Normal (Fixed Speed) Cruise Control Mode . . . .256
� PARKSENSE REAR PARK ASSIST —
IF EQUIPPED ......................... .259
▫ ParkSense Sensors ..................... .260
▫ ParkSense Warning Display ................260
▫ ParkSense Display ..................... .260
▫ Enabling And Disabling ParkSense ..........264
▫ Service The ParkSense Rear Park Assist System. .264
▫ Cleaning The ParkSense System .............265
▫ ParkSense System Usage Precautions .........265
� LANESENSE — IF EQUIPPED ..............266
▫ LaneSense
Operation ....................266
▫ Turning LaneSense On Or Off ..............267
▫ LaneSense Warning Message ...............267
▫ Changing LaneSense Status ................270
� PARKVIEW REAR BACK UP CAMERA ........271
� REFUELING THE VEHICLE ................273
210 STARTING AND OPERATING
Page 213 of 496
▫Emergency Fuel Filler Door Release ..........275
� VEHICLE LOADING .....................275
▫ Vehicle Certification Label ................276
▫ Gross Vehicle Weight Rating (GVWR) ........276
▫ Gross Axle Weight Rating (GAWR) ..........276
▫ Overloading ......................... .276
▫ Loading ............................ .277�
TRAILER TOWING ..................... .277
� RECREATIONAL TOWING (BEHIND
MOTORHOME, ETC.) ....................277
� DRIVING TIPS ......................... .277
▫ Driving On Slippery Surfaces ..............277
▫ Driving Through Water ..................279
6
STARTING AND OPERATING 211
Page 218 of 496
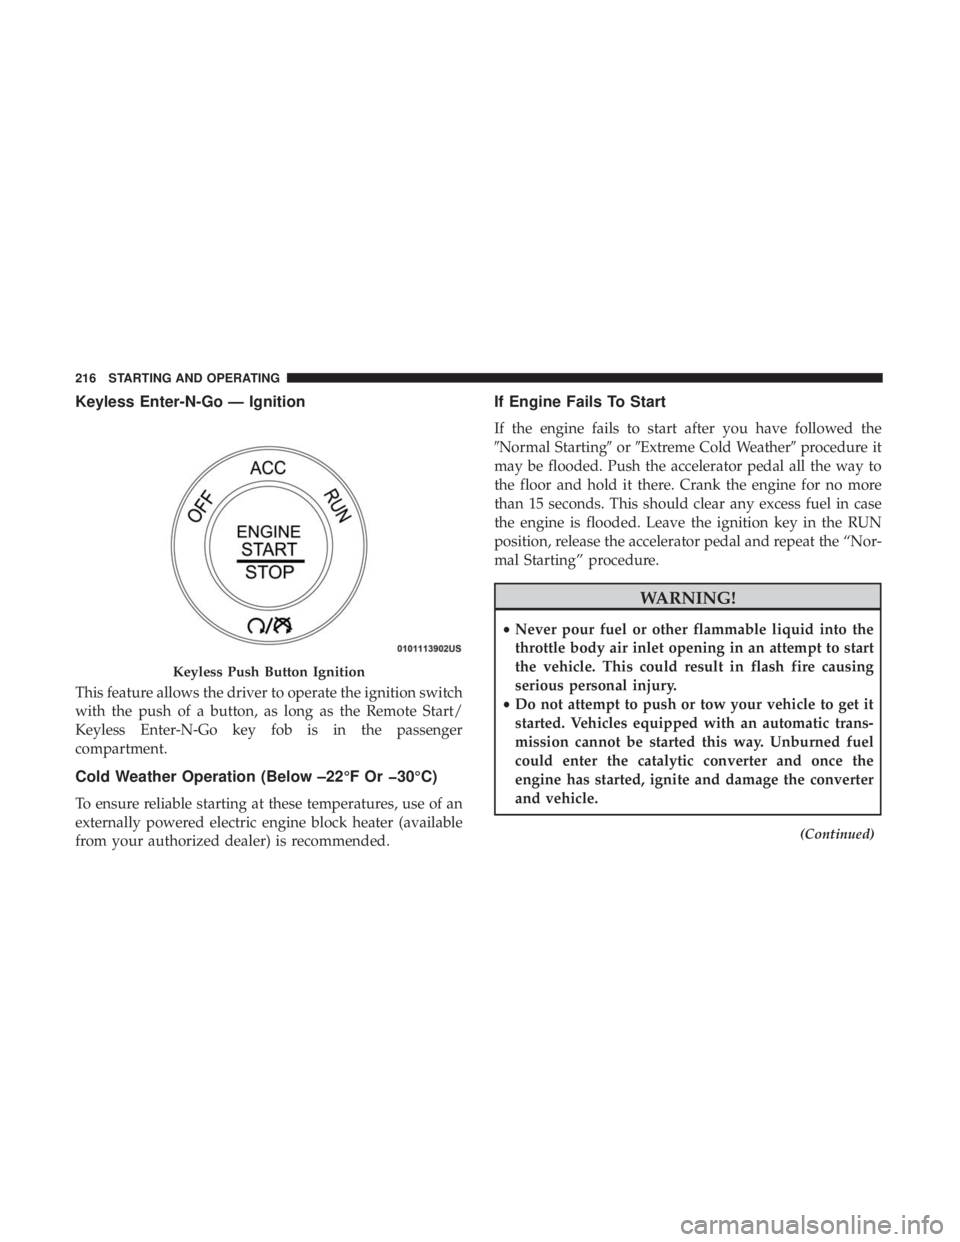
Keyless Enter-N-Go — Ignition
This feature allows the driver to operate the ignition switch
with the push of a button, as long as the Remote Start/
Keyless Enter-N-Go key fob is in the passenger
compartment.
Cold Weather Operation (Below –22°F Or �30°C)
To ensure reliable starting at these temperatures, use of an
externally powered electric engine block heater (available
from your authorized dealer) is recommended.
If Engine Fails To Start
If the engine fails to start after you have followed the
�Normal Starting�or�Extreme Cold Weather� procedure it
may be flooded. Push the accelerator pedal all the way to
the floor and hold it there. Crank the engine for no more
than 15 seconds. This should clear any excess fuel in case
the engine is flooded. Leave the ignition key in the RUN
position, release the accelerator pedal and repeat the “Nor-
mal Starting” procedure.
WARNING!
• Never pour fuel or other flammable liquid into the
throttle body air inlet opening in an attempt to start
the vehicle. This could result in flash fire causing
serious personal injury.
• Do not attempt to push or tow your vehicle to get it
started. Vehicles equipped with an automatic trans-
mission cannot be started this way. Unburned fuel
could enter the catalytic converter and once the
engine has started, ignite and damage the converter
and vehicle.
(Continued)
Keyless Push Button Ignition
216 STARTING AND OPERATING
Page 220 of 496
It is recommended for the operator to observe the follow-
ing driving behaviors during the new vehicle break-in
period:
0 to 100 miles (0 to 161 km):
•Do not allow the engine to operate at idle for an
extended period of time.
• Depress the accelerator pedal slowly and not more than
halfway to avoid rapid acceleration.
• Avoid aggressive braking.
• Drive with the engine speed less than 3,500 RPM.
• Maintain vehicle speed below 55 mph (88 km/h) and
observe local speed limits.
100 to 300 miles (161 to 483 km):
• Depress the accelerator pedal slowly and not more than
halfway to avoid rapid acceleration in lower gears (1st to
3rd gears).
• Avoid aggressive braking.
• Drive with the engine speed less than 5,000 RPM.
• Maintain vehicle speed below 70 mph (112 km/h) and
observe local speed limits. 300 to 500 miles (483 to 805 km):
•
Exercise the full engine rpm range, shifting manually at
higher rpms when possible.
• Do not perform sustained operation with the accelerator
pedal at wide open throttle.
• Maintain vehicle speed below 85 mph (136 km/h) and
observe local speed limits.
For the first 1500 miles (2414 km):
• Do not participate in track events, sport driving schools,
or similar activities during the first 1500 miles (2414 km).
NOTE: Check engine oil with every refueling and add if
necessary. Oil and fuel consumption may be higher
through the first oil change interval. Running the engine
with an oil level below the add mark can cause severe
engine damage.
PARKING BRAKE
Before leaving the vehicle, make sure that the parking
brake is fully applied and place the gear selector in the
PARK position.
218 STARTING AND OPERATING
Page 228 of 496
REVERSE (R)
This range is for moving the vehicle backward. Shift into
REVERSE only after the vehicle has come to a complete
stop.
NEUTRAL (N)
Use this range when the vehicle is standing for prolonged
periods with the engine running. Apply the parking brake
and shift the transmission into PARK if you must exit the
vehicle.
WARNING!
Do not coast in NEUTRAL and never turn off the
ignition to coast down a hill. These are unsafe practices
that limit your response to changing traffic or road
conditions. You might lose control of the vehicle and
have a collision.
CAUTION!
Towing the vehicle, coasting, or driving for any other
reason with the transmission in NEUTRAL can cause
severe transmission damage.
(Continued)
CAUTION!(Continued)
Refer to “Recreational Towing” in “Starting And Op-
erating” and “Towing A Disabled Vehicle” in “In Case
Of Emergency” for further information.
DRIVE (D)
This range should be used for most city and highway
driving. It provides the smoothest upshifts and downshifts,
and the best fuel economy. The transmission automatically
upshifts through all forward gears. The DRIVE position
provides optimum driving characteristics under all normal
operating conditions.
When frequent transmission shifting occurs (such as when
operating the vehicle under heavy loading conditions, in
hilly terrain, or traveling into strong head winds), use the
AutoStick shift control (refer to “AutoStick” in this section
for further information) to select a lower gear. Under these
conditions, using a lower gear will improve performance
and extend transmission life by reducing excessive shifting
and heat buildup.
During extremely cold temperatures (-22°F [-30°C] or be-
low), transmission operation may be modified depending
on engine and transmission temperature as well as vehicle
226 STARTING AND OPERATING
Page 275 of 496
REFUELING THE VEHICLE
1. Push the fuel filler door release switch (located in thedriver’s door map pocket).
2. Open the fuel filler door. NOTE:
In certain cold conditions, ice may prevent the fuel
door from opening. If this occurs, lightly push on the fuel
door to break the ice buildup and re-release the fuel door
using the inside release button. Do not pry on the door.
3. There is no fuel filler cap. A flapper door inside the pipe seals the system.
4. Insert the fuel nozzle fully into the filler pipe – the nozzle opens and holds the flapper door while refuel-
ing.
NOTE: Only the correct size nozzle opens the latches
allowing the flapper door to open.
Fuel Filler Door Release Switch
Fuel Filler Door
6
STARTING AND OPERATING 273
Page 276 of 496
5. Fill the vehicle with fuel – when the fuel nozzle “clicks”or shuts off the fuel tank is full.
6. Maintain nozzle in filler for 5 seconds to allow nozzle to drain.
7. Remove the fuel nozzle and close the fuel door.
NOTE: A funnel is provided (located in the trunk in the
spare tire area) to open the flapper door to allow for
emergency refueling with a gas can.WARNING!
• Never have any smoking materials lit in or near the
vehicle when the fuel door is open or the tank is
being filled.
• Never add fuel when the engine is running. This is
in violation of most state and federal fire regulations
and may cause the “Malfunction Indicator Light” to
turn on.
• A fire may result if fuel is pumped into a portable
container that is inside of a vehicle. You could be
burned. Always place fuel containers on the ground
while filling.
CAUTION!
To avoid fuel spillage and overfilling, do not “top off”
the fuel tank after filling.
Fuel Funnel
274 STARTING AND OPERATING