Page 54 of 560
Memory Position Recall
NOTE:The vehicle must be in PARK to recall memory
positions. If a recall is attempted when the vehicle is not in
PARK, a message will display in the instrument cluster
display.
To recall the memory settings for driver 1, push memory
button (1) on the driver’s door or the unlock button on the
key fob linked to memory position 1.
NOTE: If the vehicle is equipped with Passive Entry, the
memory settings will be recalled with a Passive Entry
Unlock into the driver’s door using the key fob linked to
position 1.
To recall the memory setting for driver 2, push memory
button (2) on the driver’s door or the unlock button on the
key fob linked to memory position 2.
NOTE: If the vehicle is equipped with Passive Entry, the
memory settings will be recalled with a Passive Entry
Unlock into the driver’s door using the key fob linked to
position 2.
A recall can be cancelled by pushing any of the memory
buttons (S, 1, or 2) on the driver’s door during a recall.
When a recall is cancelled, the driver’s seat or power tilt and telescopic steering column (if equipped) stop moving.
A delay of one second will occur before another recall can
be selected.
Easy Entry/Exit Seat
This feature provides automatic driver seat positioning to
enhance driver mobility when entering and exiting the
vehicle.
The distance the driver seat moves depends on where you
have the driver seat positioned when you cycle the vehi-
cle’s ignition to the OFF position.
•
When you cycle the vehicle’s ignition to the OFF posi-
tion, the driver seat will move about 2.4 inches (60 mm)
rearward if the driver seat position is greater than or
equal to 2.7 inches (67.7 mm) forward of the rear stop.
The seat will return to its previously set position when
you cycle the vehicle’s ignition to the ACC or RUN
position.
• The Easy Entry/Easy Exit feature is disabled when the
driver seat position is less than 0.9 of an inch (22.7 mm)
forward of the rear stop. At this position, there is no
benefit to the driver by moving the seat for Easy Exit or
Easy Entry.
52 GETTING TO KNOW YOUR VEHICLE
Page 62 of 560
WARNING!
Do not adjust the steering column while driving.
Adjusting the steering column while driving or driv-
ing with the steering column unlocked, could cause the
driver to lose control of the vehicle. Failure to follow
this warning may result in serious injury or death.
Power Tilt/Telescoping Steering Column —
If Equipped
This feature allows you to tilt the steering column upward
or downward. It also allows you to lengthen or shorten the
steering column. The power tilt/telescoping steering col-
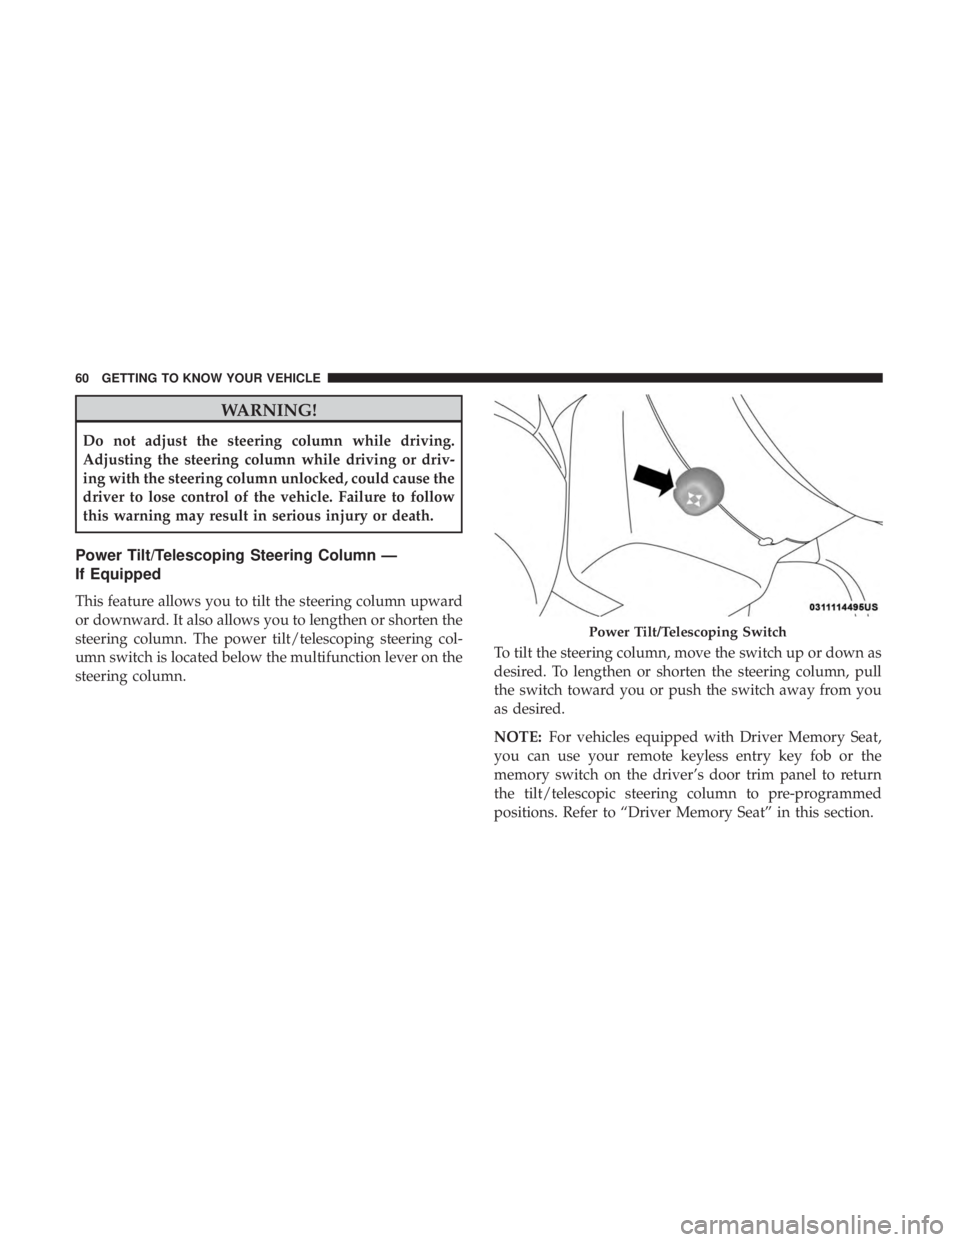
umn switch is located below the multifunction lever on the
steering column.To tilt the steering column, move the switch up or down as
desired. To lengthen or shorten the steering column, pull
the switch toward you or push the switch away from you
as desired.
NOTE:
For vehicles equipped with Driver Memory Seat,
you can use your remote keyless entry key fob or the
memory switch on the driver’s door trim panel to return
the tilt/telescopic steering column to pre-programmed
positions. Refer to “Driver Memory Seat” in this section.
Power Tilt/Telescoping Switch
60 GETTING TO KNOW YOUR VEHICLE
Page 75 of 560
To turn the lights off, push the switch a second time. The
lights also turn on when a door is opened. The lights will
also turn on when the unlock button on the key fob is
pushed.Ambient Light — If Equipped
The overhead console is equipped with an ambient light
feature. This light casts illumination for improved visibility
of the floor and center console area.
Front Map/Reading Light SwitchesAmbient Light
3
GETTING TO KNOW YOUR VEHICLE 73
Page 98 of 560
WARNING!
There is no anti-pinch protection when the window is
almost closed. Be sure to clear all objects from the
window before closing.
Reset Auto-Up
Should the Auto-Up feature stop working, the window
may need to be reset. To reset Auto-Up:
1. Make sure the door is fully closed.
2. Pull the window switch up to close the window com-pletely and continue to hold the switch up for an
additional two seconds after the window is closed.
3. Push the window switch down firmly to the second detent to open the window completely and continue to
hold the switch down for an additional two seconds
after the window is fully open.
Window Lockout Switch
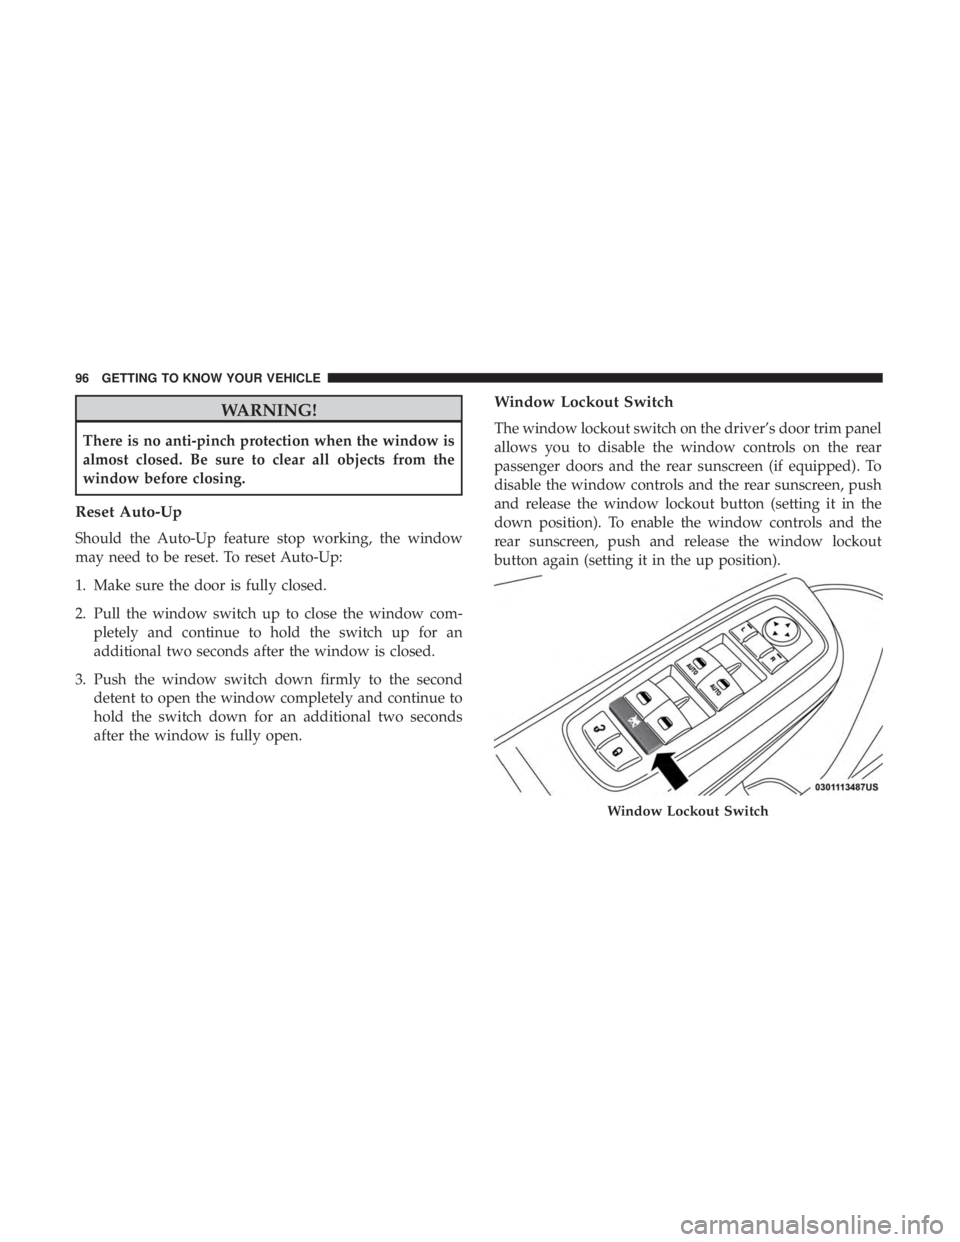
The window lockout switch on the driver’s door trim panel
allows you to disable the window controls on the rear
passenger doors and the rear sunscreen (if equipped). To
disable the window controls and the rear sunscreen, push
and release the window lockout button (setting it in the
down position). To enable the window controls and the
rear sunscreen, push and release the window lockout
button again (setting it in the up position).
Window Lockout Switch
96 GETTING TO KNOW YOUR VEHICLE
Page 104 of 560
With the ignition in the ON/RUN position, the trunk open
symbol will display in the instrument cluster indicating
that the trunk is open. The odometer display will reappear
once the trunk is closed.
With the ignition in the OFF position, the trunk open
symbol will display until the trunk is closed.
NOTE:Refer to “Keyless Enter-N-Go — Passive Entry” in
”Doors” in “Getting To Know Your Vehicle” for further
information on trunk operation with the Passive Entry
feature.
Opening From Inside The Vehicle
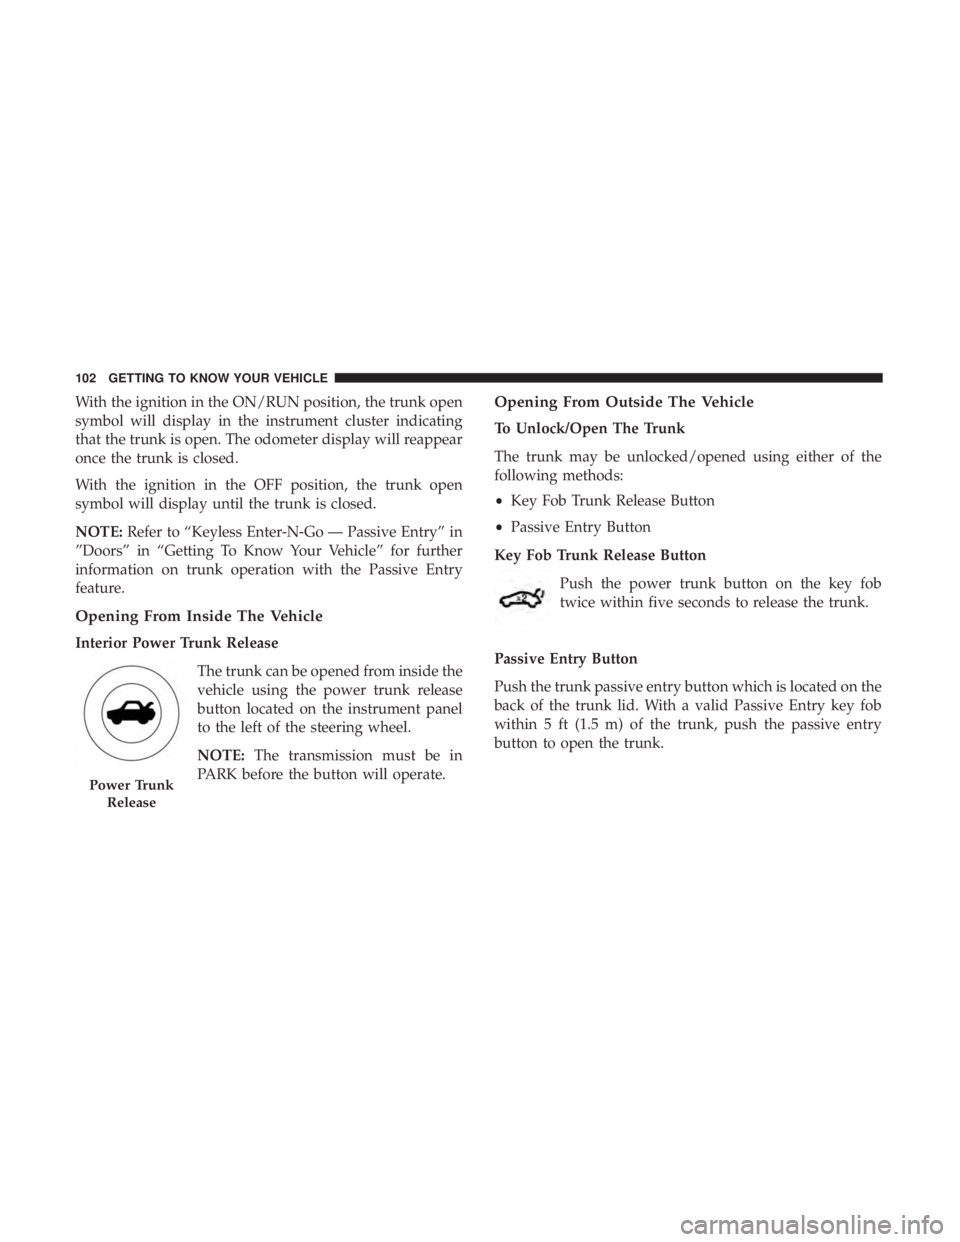
Interior Power Trunk Release
The trunk can be opened from inside the
vehicle using the power trunk release
button located on the instrument panel
to the left of the steering wheel.
NOTE:The transmission must be in
PARK before the button will operate.
Opening From Outside The Vehicle
To Unlock/Open The Trunk
The trunk may be unlocked/opened using either of the
following methods:
• Key Fob Trunk Release Button
• Passive Entry Button
Key Fob Trunk Release Button Push the power trunk button on the key fob
twice within five seconds to release the trunk.
Passive Entry Button
Push the trunk passive entry button which is located on the
back of the trunk lid. With a valid Passive Entry key fob
within 5 ft (1.5 m) of the trunk, push the passive entry
button to open the trunk.
Power Trunk Release
102 GETTING TO KNOW YOUR VEHICLE
Page 111 of 560
successfully accepted the frequency signal. The indica-
tor light will flash slowly and then rapidly when fully
trained.
4. Watch for the HomeLink indicator to change flash rates. When it changes, it is programmed. It may take up to
30 seconds or longer in rare cases. The garage door may
open and close while you are programming.
5. Press and hold the programmed HomeLink button and observe the indicator light.
NOTE: •If the indicator light stays on constantly, programming
is complete and the garage door/device should acti-
vate when the HomeLink button is pressed.
• To program the two remaining HomeLink buttons,
repeat each step for each remaining button. DO NOT
erase the channels.
If you unplugged the garage door opener/device for
programming, plug it back in at this time. Reprogramming A Single HomeLink Button
(Canadian/Gate Operator)
To reprogram a channel that has been previously trained,
follow these steps:
1. Cycle the ignition to the ON/RUN position.
2. Press and hold the desired HomeLink button until the
indicator light begins to flash after 20 seconds. Do not
release the button.
3. Without releasing the button, proceed with “Canadian/ Gate Operator Programming” step 2 and follow all
remaining steps.
Using HomeLink
To operate, push and release the programmed HomeLink
button. Activation will now occur for the programmed
device (i.e. garage door opener, gate operator, security
system, entry door lock, home/office lighting, etc.). The
hand-held transmitter of the device may also be used at
any time.
3
GETTING TO KNOW YOUR VEHICLE 109
Page 121 of 560
For phones that already have built-in wireless charging
capability (Samsung, Apple iPhone 8, 8 Plus and X Phones),
a Qi Adapter is available to charge your phone using the
Open Dot wire-free phone charging surface. Simply place the
Qi Adapter (dot side down) on the charging surface and then
place your built-in charging capable phone face up on top of
the Qi Adapter. This product may not be compatible with all
vehicle/Open Dots compatible wire-free phone charging
surface combinations.
CAUTION!
The key fob should not be placed on the charging pad
or within 15 cm (150 mm) of it. Doing so can cause
excessive heat buildup and damage to the fob. Placing
the fob in close proximity of the charging pad blocks
the fob from being detected by the vehicle and pre-
vents the vehicle from starting.
To get your free aftermarket phone case or Qi Adapter, go
to http://invehiclewirelesscharging.com. You will need
your vehicle/voucher identification number (located in
your vehicle’s glove box). If you have any questions or are
not sure if you need a phone case or the Qi Adapter, please
call our customer support line for assistance: 877–360–7702
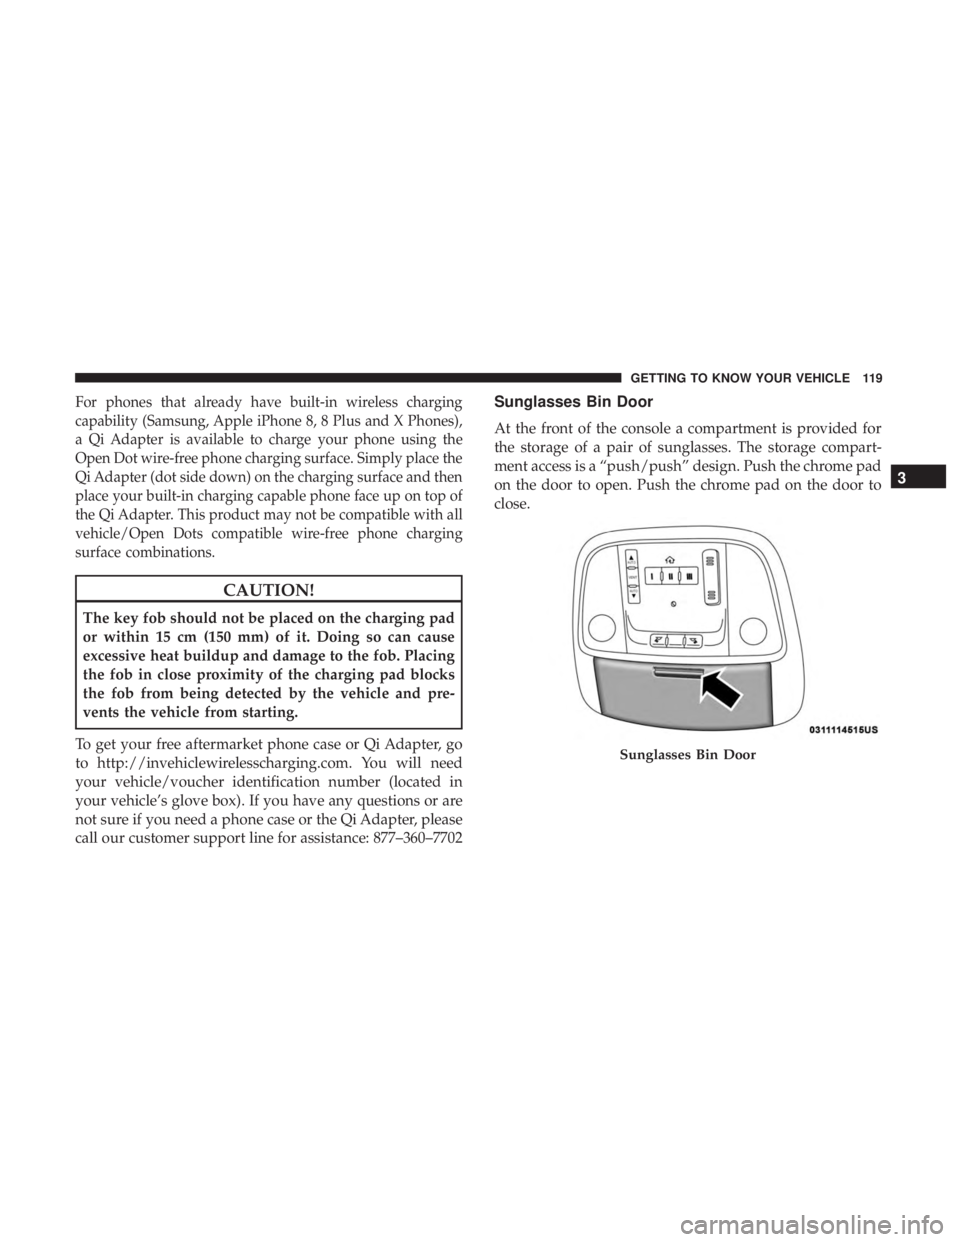
Sunglasses Bin Door
At the front of the console a compartment is provided for
the storage of a pair of sunglasses. The storage compart-
ment access is a “push/push” design. Push the chrome pad
on the door to open. Push the chrome pad on the door to
close.
Sunglasses Bin Door
3
GETTING TO KNOW YOUR VEHICLE 119
Page 202 of 560
Enhanced Accident Response System
In the event of an impact, if the communication network
remains intact, and the power remains intact, depending
on the nature of the event, the ORC will determine whether
to have the Enhanced Accident Response System perform
the following functions:
•Cut off fuel to the engine (If Equipped)
• Cut off battery power to the electric motor (If Equipped)
• Flash hazard lights as long as the battery has power
•
Turn on the interior lights, which remain on as long as the
battery has power or for 15 minutes from the intervention
of the Enhanced Accident Response System.
• Unlock the power door locks.
Your vehicle may also be designed to perform any of these
other functions in response to the Enhanced Accident
Response System:
• Turn off the Fuel Filter Heater, Turn off the HVAC
Blower Motor, Close the HVAC Circulation Door •
Cut off battery power to the:
• Engine
• Electric Motor (if equipped)
• Electric power steering
• Brake booster
• Electric park brake
• Automatic transmission gear selector
• Horn
• Front wiper
• Headlamp washer pump
NOTE: After an accident, remember to cycle the ignition
to the STOP (OFF/LOCK) position and remove the key
from the ignition switch to avoid draining the battery.
Carefully check the vehicle for fuel leaks in the engine
compartment and on the ground near the engine compart-
ment and fuel tank before resetting the system and starting
the engine. If there are no fuel leaks or damage to the
vehicle electrical devices (e.g. headlights) after an accident,
reset the system by following the procedure described
below. If you have any doubt, contact an authorized dealer.
200 SAFETY