Page 329 of 560

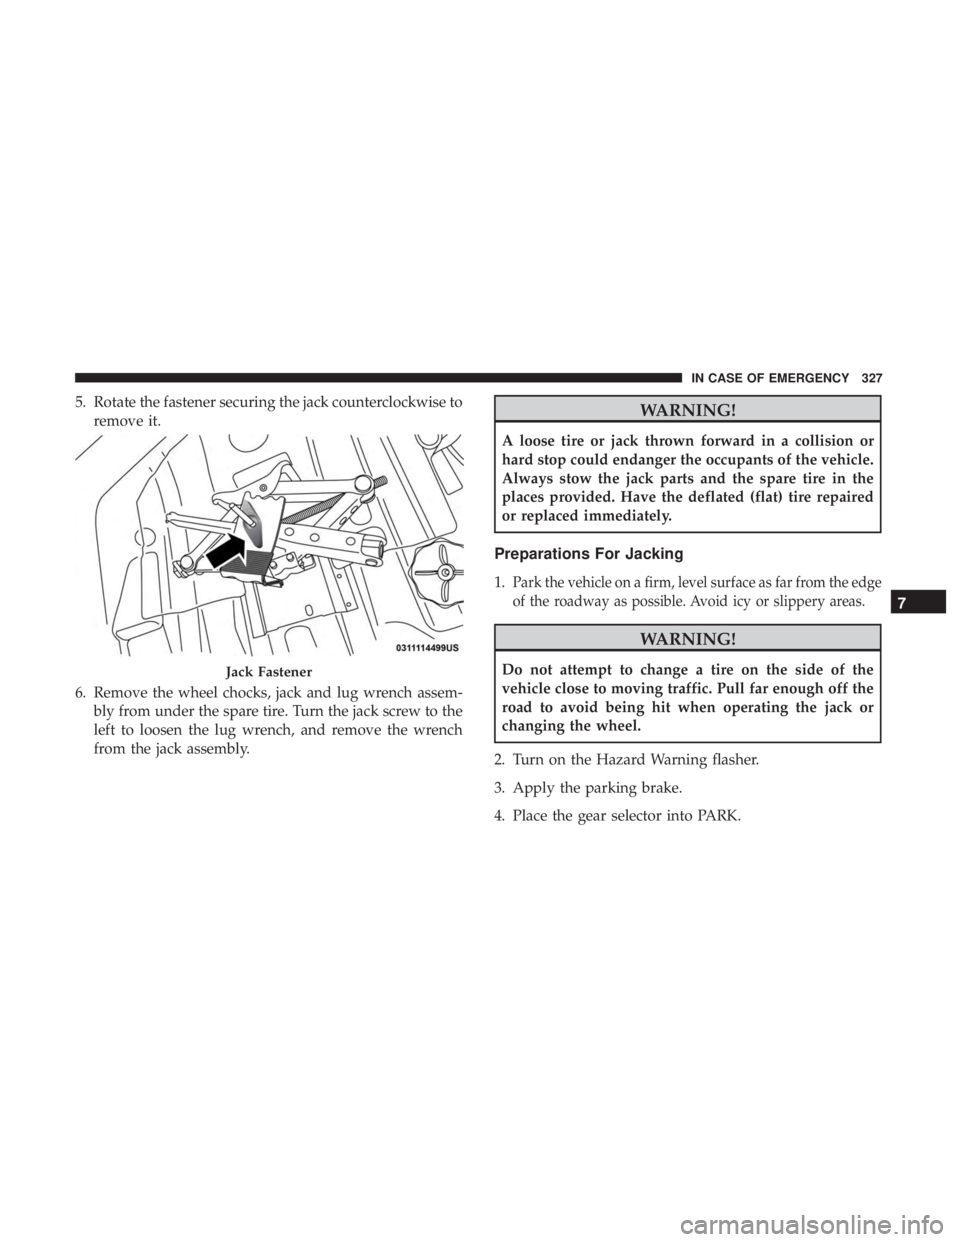
5. Rotate the fastener securing the jack counterclockwise toremove it.
6. Remove the wheel chocks, jack and lug wrench assem- bly from under the spare tire. Turn the jack screw to the
left to loosen the lug wrench, and remove the wrench
from the jack assembly.WARNING!
A loose tire or jack thrown forward in a collision or
hard stop could endanger the occupants of the vehicle.
Always stow the jack parts and the spare tire in the
places provided. Have the deflated (flat) tire repaired
or replaced immediately.
Preparations For Jacking
1.Park the vehicle on a firm, level surface as far from the edge
of the roadway as possible. Avoid icy or slippery areas.
WARNING!
Do not attempt to change a tire on the side of the
vehicle close to moving traffic. Pull far enough off the
road to avoid being hit when operating the jack or
changing the wheel.
2. Turn on the Hazard Warning flasher.
3. Apply the parking brake.
4. Place the gear selector into PARK.Jack Fastener
7
IN CASE OF EMERGENCY 327
Page 332 of 560
2. If equipped with aluminum wheels where the center capcovers the lug nuts, use the lug wrench to pry the center
cap off carefully before raising the vehicle.
3. Before raising the vehicle, use the lug wrench to loosen, but not remove, the lug nuts on the wheel with the flat
tire. Turn the lug nuts counterclockwise one turn while
the wheel is still on the ground. 4. Place the jack underneath the lift area that is closest to
the flat tire. Turn the jack screw clockwise to firmly
engage the jack saddle with the lift area of the sill flange.
NOTE: If the vehicle is too low for jack placement, slide the
jack on its side and rotate it up into position.
Jacking Locations
Front Jacking Location
330 IN CASE OF EMERGENCY
Page 334 of 560

NOTE:•For vehicles that are equipped, do not attempt to
install a center cap or wheel cover on the compact
spare.
•
Refer to “Tires—General Information” in “Servicing
And Maintenance” for additional warnings, cautions,
and information about the spare tire, its use, and opera-
tion.
8. Install the lug nuts with the cone shaped end of the lug nut toward the wheel. Lightly tighten the lug nuts.
WARNING!
To avoid the risk of forcing the vehicle off the jack, do
not tighten the wheel nuts fully until the vehicle has
been lowered. Failure to follow this warning may
result in serious injury.
9. Lower the vehicle to the ground by turning the jack handle counterclockwise. 10. Finish tightening the lug nuts. Push down on the
wrench while at the end of the handle for increased
leverage. Tighten the lug nuts in a star pattern until
each nut has been tightened twice. Refer to “Torque
Specifications” in “Technical Specifications” for proper
lug nut torque.
11. Stow the wheel chocks, jack, tools and flat tire. Make sure the base of the jack faces the front of the vehicle
before tightening down the fastener.
WARNING!
A loose tire or jack thrown forward in a collision or
hard stop could endanger the occupants of the vehicle.
Always stow the jack parts and the spare tire in the
places provided. Have the deflated (flat) tire repaired
or replaced immediately.
Road Tire Installation
1. Mount the road tire on the axle.
2.
Install the remaining lug nuts with the cone shaped end of
the nut toward the wheel. Lightly tighten the lug nuts.
332 IN CASE OF EMERGENCY
Page 335 of 560

WARNING!
To avoid the risk of forcing the vehicle off the jack, do
not tighten the wheel nuts fully until the vehicle has
been lowered. Failure to follow this warning may
result in serious injury.
3. Lower the vehicle to the ground by turning the jack handle counterclockwise.
4. Refer to “Torque Specifications” in “Technical Specifica- tions” for proper lug nut torque.
5. After 25 miles (40 km), check the lug nut torque with a torque wrench to ensure that all lug nuts are properly
seated against the wheel.
TIRE SERVICE KIT — IF EQUIPPED
Small punctures up to 1/4 inch (6 mm) in the tire tread can
be sealed with Tire Service Kit. Foreign objects (e.g., screws
or nails) should not be removed from the tire. Tire Service
Kit can be used in outside temperatures down to approxi-
mately -4°F (-20°C). This kit will provide a temporary tire seal, allowing you to
drive your vehicle up to 100 miles (160 km) with a
maximum speed of 50 mph (80 km/h).
Tire Service Kit Storage
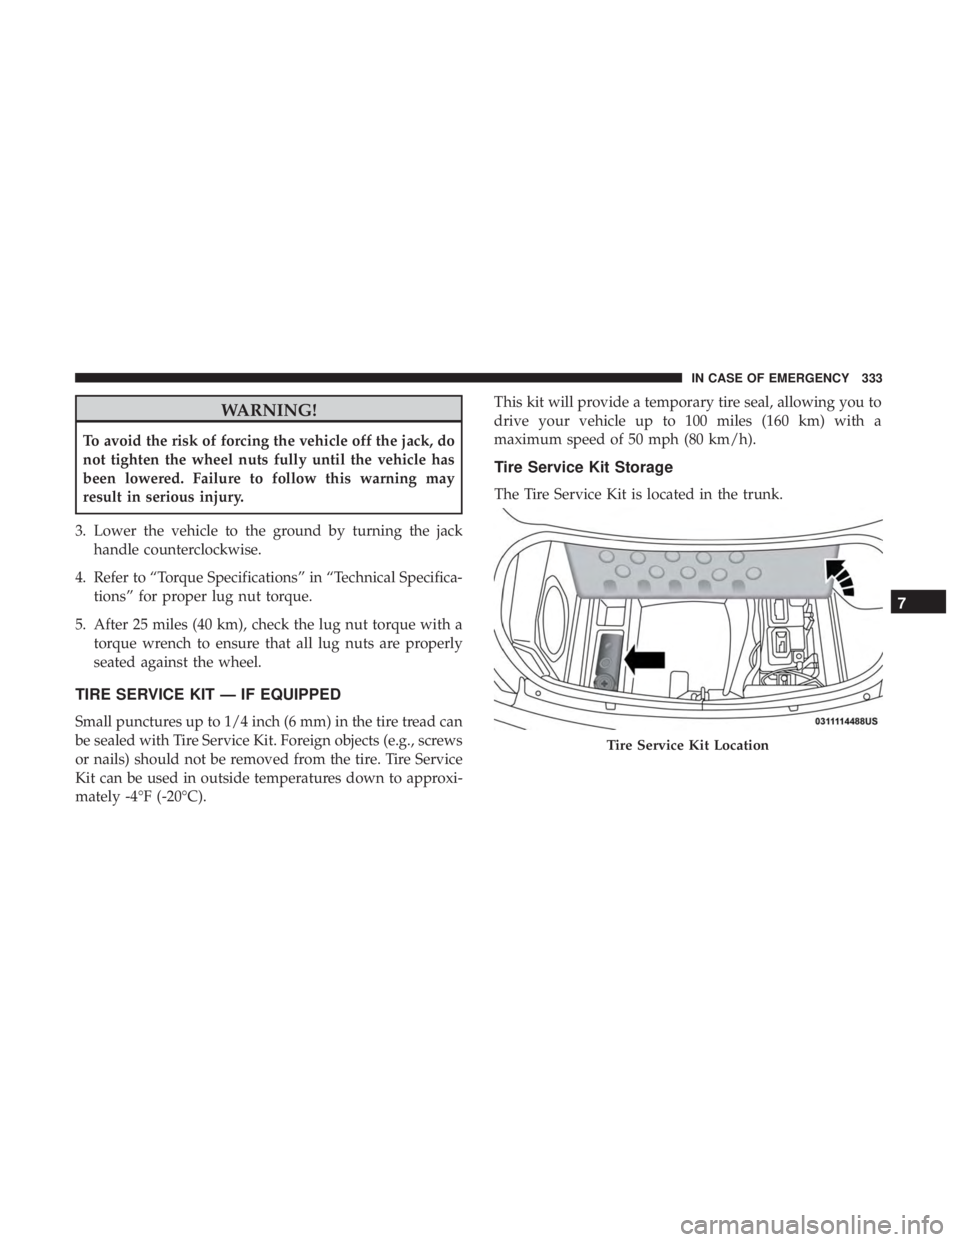
The Tire Service Kit is located in the trunk.
Tire Service Kit Location
7
IN CASE OF EMERGENCY 333
Page 451 of 560
Clock & Date
After pressing the “Clock & Date” button on the touch-
screen, the following settings will be available:
Setting NameSelectable Options
Sync Time With GPS — If Equipped On
Off
NOTE:
The “Sync Time With GPS” feature will allow you to automatically have the radio set the time. Set Time +–
Set Format 12 hour24 hour
AM PM
Set Date Up ArrowDown Arrow
NOTE:
When in this display, you may set the date manually. Press the “Set Date” button on the touchscreen then press the
corresponding arrows above and below the current date to adjust.
10
MULTIMEDIA 449
Page 466 of 560

Restore Settings
After pressing the “Restore Settings” button on the touch-
screen, the following settings will be available:
Setting NameSelectable Options
Restore Settings YesCancel
NOTE:
When the “Restore Settings” feature is selected it will reset the Display, Clock, Audio, and Radio Settings to their default
settings. If “Yes” is selected, a pop-up will appear asking �Are you sure you want to reset your settings to default?” Select
“Yes” to restore, or “Cancel” to exit.
Reset App Drawer to Default Order Ok Cancel
NOTE:
When this feature is selected, it will reset all settings to their default settings. To restore the settings to their default
setting, press the “Restore Settings” button on the touchscreen. A pop-up will appear asking �Are you sure you want
to reset your settings to default?”
Restore Apps OkCancel
Clear Personal Data YesCancel
NOTE: When the “Clear Personal Data” feature is selected it will remove all personal data including Clock, Audio,
Radio, Bluetooth devices, Apps, and Favorites.
Modem Reset OkCancel
464 MULTIMEDIA
Page 468 of 560

Customer Programmable Features — Uconnect
4C/4C NAV Settings
Press the “Apps”button (if equipped), and then press
the “Settings” button on the touchscreen to display the
menu setting screen. In this mode, the Uconnect system
allows you to access programmable features that may be
equipped such as Language, Display, Units, Voice, Clock
& Date, Safety & Driving Assistance, Mirrors & Wipers,
Lights, Doors & Locks, Auto-On Comfort, Key Off
Options, Audio, Phone/Bluetooth, SiriusXM Setup, Reset,
and System Information.
NOTE: Depending on the vehicle’s options, feature set-
tings may vary. When making a selection, press the button on the touch-
screen to enter the desired mode. Once in the desired
mode, press and release the preferred setting “option” until
a check-mark appears next to the setting, showing that
setting has been selected. Once the setting is complete,
press the “X” button on the touchscreen to close out of the
settings screen. Pressing the up or down arrow button on
the right side of the screen will allow you to toggle up or
down through the available settings.
Language
After pressing the “Language” button on the touchscreen,
the following settings will be available:
Setting Name
Selectable Options
Set Language EnglishFrançais Español
Display
After pressing the “Display” button on the touchscreen, the
following settings will be available:
Setting Name Selectable Options
Display Mode AutoManual
466 MULTIMEDIA
Page 472 of 560
Voice
After pressing the “Voice” button on the touchscreen, the
following settings will be available:
Setting NameSelectable Options
Voice Response Length BriefDetailed
Show Command List Neverw/Help Always
Clock & Date
After pressing the “Clock & Date” button on the touch-
screen, the following settings will be available:
Setting Name Selectable Options
Sync Time With GPS — If Equipped On
Off
NOTE:
The “Sync Time With GPS” feature will allow you to automatically have the radio set the time. Set Time Hours +–
Set Time Minutes +–
Time Format 12 hrs
24 hrs
AM PM
470 MULTIMEDIA