Page 43 of 500

3. A lock request is made by the door panel switch whilethe door is open.
When any of these situations occur, after all open doors are
shut, the FOBIK-Safe search will be executed. If it finds a
Passive Entry key fob inside the car, and it does not find
any Passive Entry key fobs outside the car, the car will
unlock and alert the customer.
NOTE: The vehicle will only unlock the doors when a valid
Passive Entry key fob is detected inside the vehicle, and no
valid Passive Entry key fob is detected outside the vehicle.
The vehicle will not unlock the doors when any of the
following conditions are true:
• The doors are manually locked using the door lock
knobs.
• There is a valid Passive Entry key fob outside the vehicle
and within 5 ft (1.5 m) of either Passive Entry door
handle.
• Three attempts are made to lock the doors using the
door panel switch and then close the doors. To Enter The Trunk:
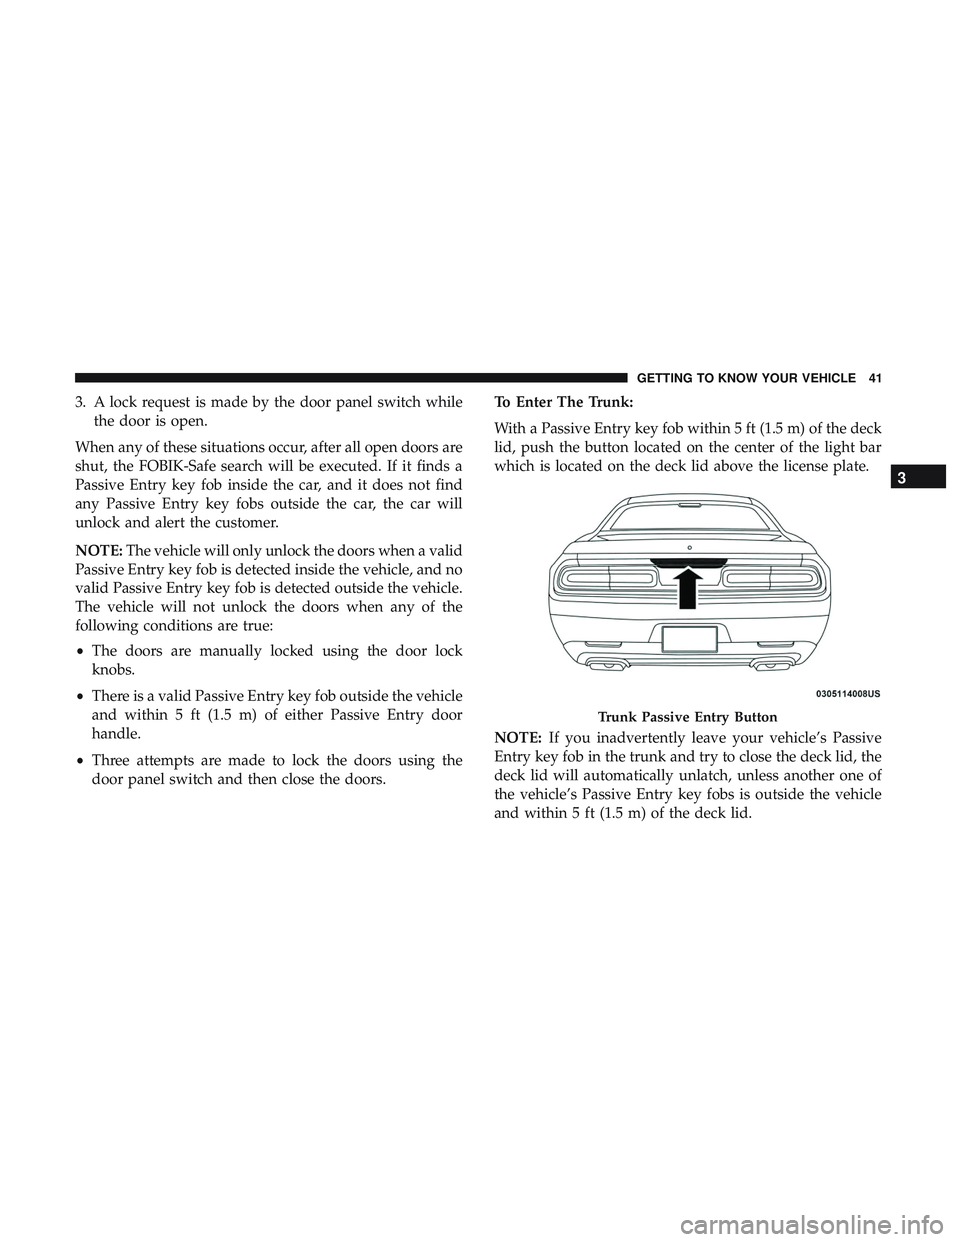
With a Passive Entry key fob within 5 ft (1.5 m) of the deck
lid, push the button located on the center of the light bar
which is located on the deck lid above the license plate.
NOTE:
If you inadvertently leave your vehicle’s Passive
Entry key fob in the trunk and try to close the deck lid, the
deck lid will automatically unlatch, unless another one of
the vehicle’s Passive Entry key fobs is outside the vehicle
and within 5 ft (1.5 m) of the deck lid.
Trunk Passive Entry Button
3
GETTING TO KNOW YOUR VEHICLE 41
Page 44 of 500
To Lock The Vehicle’s Doors:
With one of the vehicle’s Passive Entry key fobs within 5 ft
(1.5 m) of the driver or passenger front door handles, push
the door handle lock button to lock both doors.
Do NOT grab the door handle, when pushing the door
handle button. This could unlock the door(s).NOTE:
•
After pushing the door handle button, you must wait
two seconds before you can lock or unlock the doors,
using either Passive Entry door handle. This is done to
allow you to check if the vehicle is locked by pulling the
door handle, without the vehicle reacting and unlocking.
• The Passive Entry system will not operate if the key fob
battery is dead.
The vehicle doors can also be locked by using the key fob
lock button or the lock button located on the vehicle’s
interior door panel.
Push The Door Handle Button To Lock
Do NOT Grab The Handle When Locking
42 GETTING TO KNOW YOUR VEHICLE
Page 60 of 500

NOTE:The Automatic Dimming feature is disabled when
the vehicle is in REVERSE to improve rear view viewing.
The Automatic Dimming feature can be turned on or off
through the touchscreen.
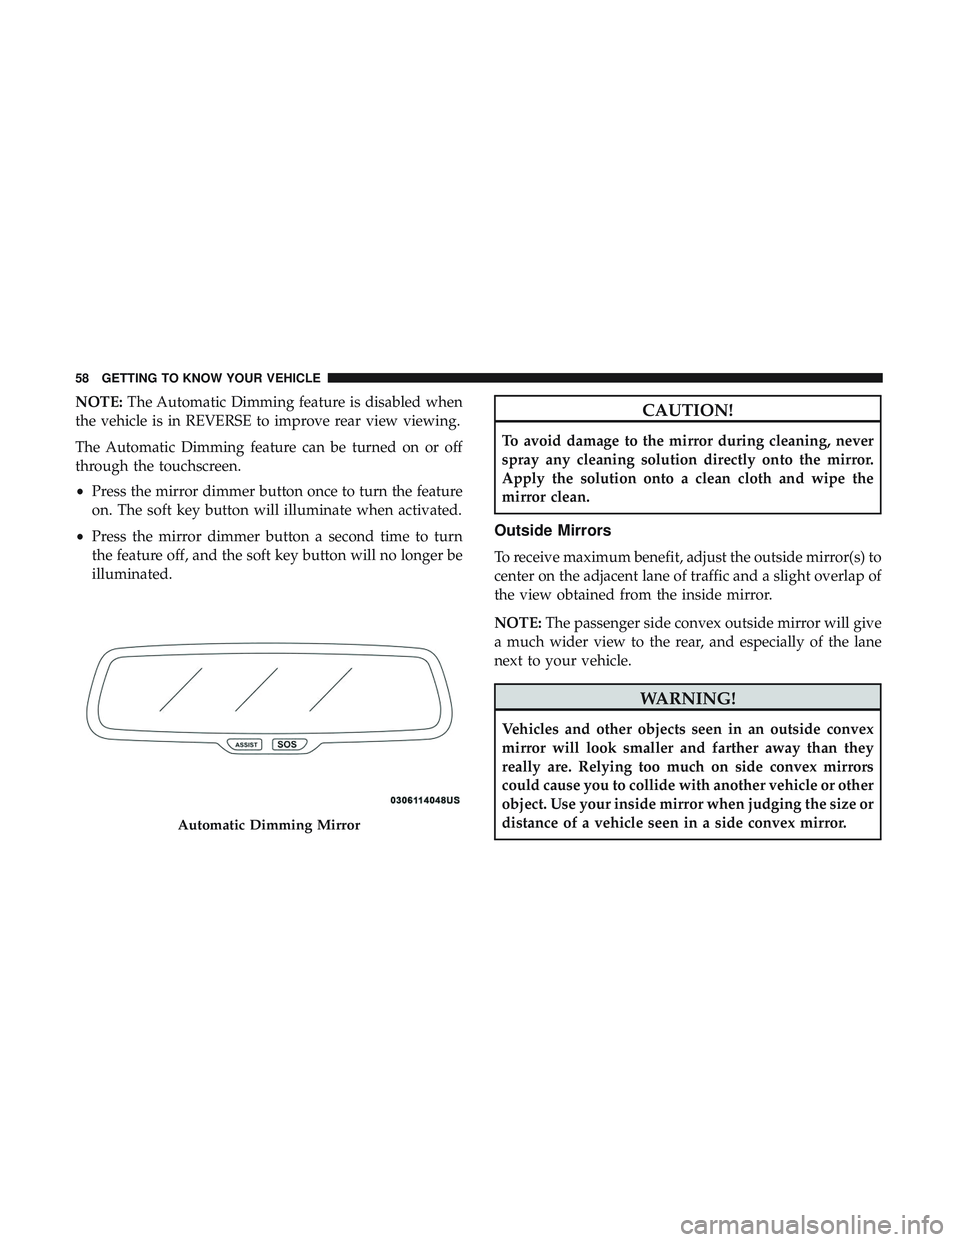
• Press the mirror dimmer button once to turn the feature
on. The soft key button will illuminate when activated.
• Press the mirror dimmer button a second time to turn
the feature off, and the soft key button will no longer be
illuminated.CAUTION!
To avoid damage to the mirror during cleaning, never
spray any cleaning solution directly onto the mirror.
Apply the solution onto a clean cloth and wipe the
mirror clean.
Outside Mirrors
To receive maximum benefit, adjust the outside mirror(s) to
center on the adjacent lane of traffic and a slight overlap of
the view obtained from the inside mirror.
NOTE: The passenger side convex outside mirror will give
a much wider view to the rear, and especially of the lane
next to your vehicle.
WARNING!
Vehicles and other objects seen in an outside convex
mirror will look smaller and farther away than they
really are. Relying too much on side convex mirrors
could cause you to collide with another vehicle or other
object. Use your inside mirror when judging the size or
distance of a vehicle seen in a side convex mirror.
Automatic Dimming Mirror
58 GETTING TO KNOW YOUR VEHICLE
Page 67 of 500

Lane Change Assist — If Equipped
Tap the multifunction lever up or down once, without
moving beyond the detent, and the turn signal (right or
left) will flash three times then automatically turn off.
INTERIOR LIGHTS
The interior lights come on when a door is opened.
To protect the battery, the interior lights will turn off
automatically ten minutes after the ignition is moved to the
OFF position. This will occur if the interior lights were
switched on manually or are on because a door is open.
The Battery Protection also includes the glove compart-
ment light and the trunk light. To restore interior light
operation after automatic battery protection is enabled
(lights off), either place the ignition in the ON/RUN
position or cycle the light switch.
Map/Reading Lights
These lights are mounted between the sun visors on the
overhead console. Each light is turned on by pushing the
lens. Push the lens a second time to turn off the light. These
lights also turn on when a door is opened, when the unlock
button on the remote keyless entry key fob is pushed, or
when the dimmer control is turned fully upward, past the
second detent.
Overhead Console
3
GETTING TO KNOW YOUR VEHICLE 65
Page 81 of 500

NOTE:For vehicles equipped with the Uconnect system,
the power window switches will remain active for up to
ten minutes after the ignition is placed in the OFF position.
Opening either front door will cancel this feature. The time
is programmable. Refer to “Uconnect Settings” in “Multi-
media” for further information.
WARNING!
Never leave children unattended in a vehicle, and do
not let children play with power windows. Do not
leave the key fob in or near the vehicle, or in a location
accessible to children, and do not leave the ignition of
a vehicle equipped with Keyless Enter-N-Go in the
ACC or ON/RUN mode. Occupants, particularly unat-
tended children, can become entrapped by the win-
dows while operating the power window switches.
Such entrapment may result in serious injury or death.
Auto-Down Feature
The driver and, in some models, passenger power window
switches have an Auto-Down feature. Push the window
switch to the second detent, release, and the window will
go down automatically. To open the window part way, push the window switch to
the first detent and release it when you want the window
to stop.
To stop the window from going all the way down during
the Auto-Down operation, pull up on the switch briefly.
Wind Buffeting
Wind buffeting can be described as the perception of
pressure on the ears or a helicopter-type sound in the ears.
Your vehicle may exhibit wind buffeting with the windows
down, or the sunroof (if equipped) in certain open or
partially open positions. This is a normal occurrence and
can be minimized. If the buffeting occurs with the rear
windows open, open the front and rear windows together
to minimize the buffeting. If the buffeting occurs with the
sunroof open, adjust the sunroof opening to minimize the
buffeting or open any window.
3
GETTING TO KNOW YOUR VEHICLE 79
Page 82 of 500

POWER SUNROOF — IF EQUIPPED
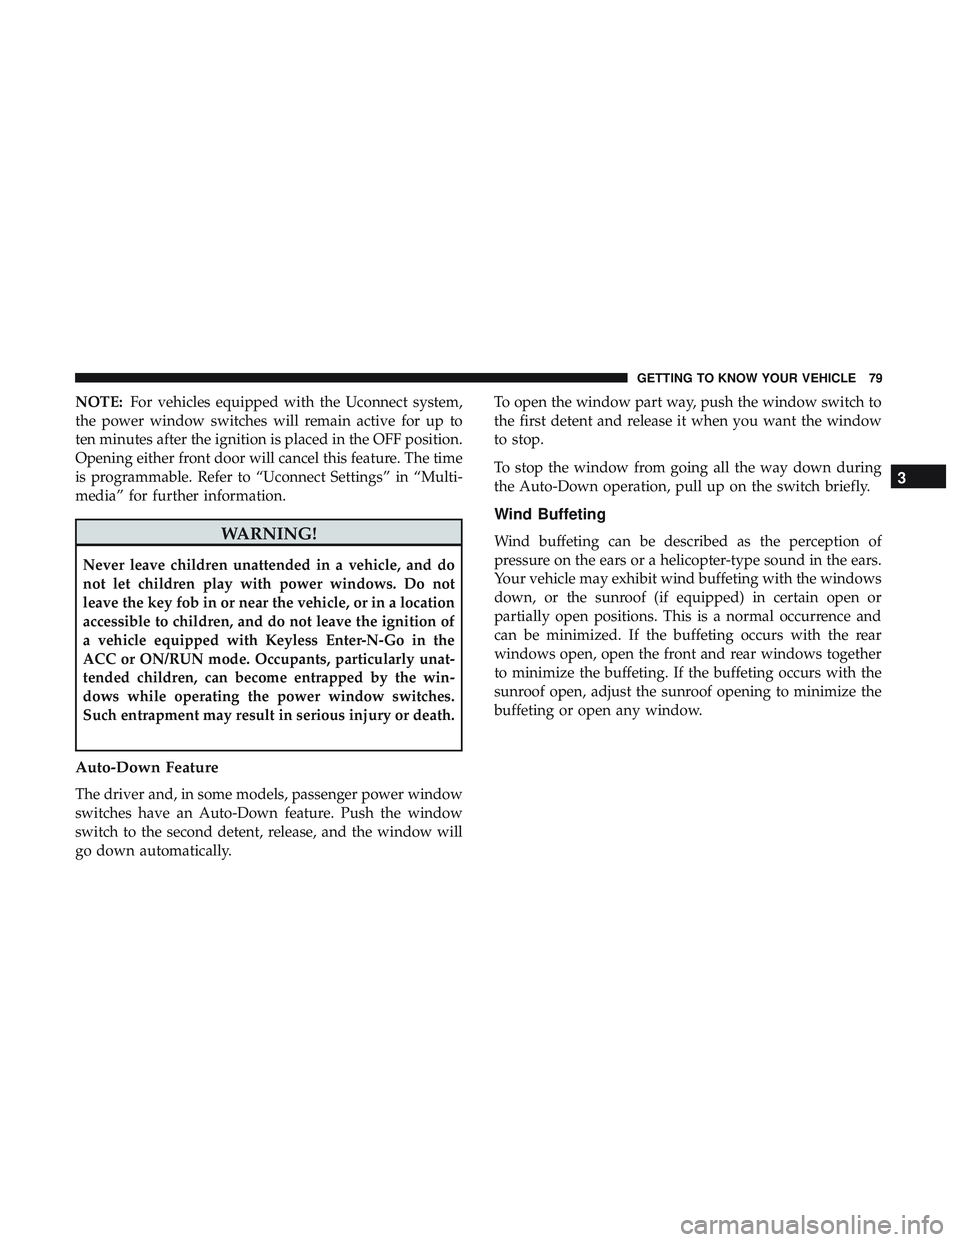
The power sunroof switch is located between the sun
visors on the overhead console.
WARNING!
•Never leave children unattended in a vehicle, or with
access to an unlocked vehicle. Never leave the key
fob in or near the vehicle, or in a location accessible
to children. Do not leave the ignition of a vehicle
(Continued)
WARNING! (Continued)
equipped with Keyless Enter-N-Go in the ACC or
ON/RUN mode. Occupants, particularly unattended
children, can become entrapped by the power sun-
roof while operating the power sunroof switch. Such
entrapment may result in serious injury or death.
• In a collision, there is a greater risk of being thrown
from a vehicle with an open sunroof. You could also
be seriously injured or killed. Always fasten your
seat belt properly and make sure all passengers are
also properly secured.
• Do not allow small children to operate the sunroof.
Never allow your fingers, other body parts, or any
object, to project through the sunroof opening. In-
jury may result.
Opening Sunroof
Express
Push the switch rearward and release it within one-half
second, the sunroof and sunshade will open automatically
and stop at full open position. During Express Open
operation any other actuation of the sunroof switches will
stop the sunroof in a partially open position.
Power Sunroof Switch
80 GETTING TO KNOW YOUR VEHICLE
Page 86 of 500

CAUTION!
To prevent possible damage, do not slam the hood to
close it. Lower hood to approximately 12 inches (30 cm)
and drop the hood to close. Make sure hood is fully
closed for both latches. Never drive vehicle unless
hood is fully closed, with both latches engaged.
TRUNK
Opening
The trunk can be opened from inside the vehicle using the
power trunk button located on the instrument panel to the
left of the steering wheel.
The trunk lid can be released from outside the vehicle by
pushing the trunk button on the key fob twice within five
seconds or by using the external release switch located on
the underside of the decklid overhang. The release feature
will function only when the vehicle is in the unlock
condition.
With the ignition in the ON/RUN position, the trunk open
symbol will display in the instrument cluster indicating
that the trunk is open. The odometer display will reappear
once the trunk is closed.With the ignition in the OFF position, the trunk open
symbol will display until the trunk is closed.
NOTE:
Refer to “Keyless Enter-N-Go — Passive Entry” in
”Doors” in “Getting To Know Your Vehicle” for further
information on trunk operation with the Passive Entry
feature.
Opening From Inside The Vehicle
Interior Power Trunk Release
The trunk can be opened from inside the
vehicle using the power trunk release
button located on the instrument panel
to the left of the steering wheel.
NOTE:The transmission must be in
PARK before the button will operate.
Opening From Outside The Vehicle
To Unlock/Open The Trunk
The trunk may be unlocked/opened using either of the
following methods:
• Key Fob Trunk Release Button
• Passive Entry Button
Power Trunk
Release
84 GETTING TO KNOW YOUR VEHICLE
Page 87 of 500
Key Fob Trunk Release ButtonPush the power trunk button on the key fob
twice within five seconds to release the trunk.
Passive Entry Button
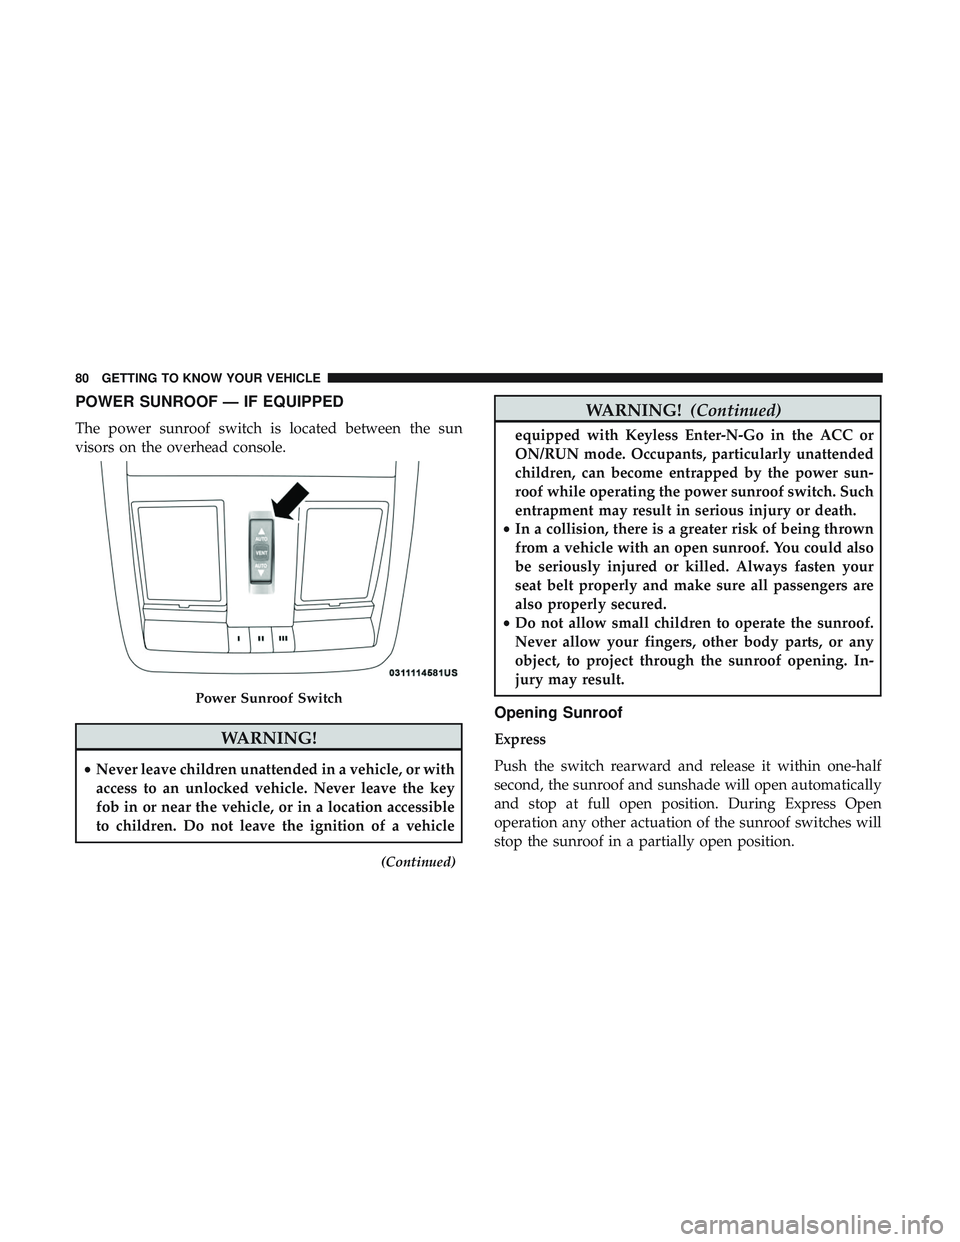
Push the trunk passive entry button which is located on the
back of the trunk lid. With a valid Passive Entry key fob
within 5 ft (1.5 m) of the trunk, push the passive entry
button to open the trunk.Closing
With one or more hands placed on the outside trunk
surface push the trunk lid down until you hear the trunk
lock latch into place.
NOTE: Before closing the trunk lid make sure your key fob
isn’t inside the trunk area. The trunk will latch then
automatically unlock if the key fob is sensed not allowing
the key fob to be locked in the trunk area.
Trunk Passive Entry Button
3
GETTING TO KNOW YOUR VEHICLE 85