2019 CHEVROLET TAHOE instrument panel
[x] Cancel search: instrument panelPage 2 of 20

2
Instrument Panel Illumination Control/Exterior Lamp Control4WD ControlF
Traction Control and StabiliTrak/Front and Rear Park AssistF/Lane Keep AssistF/Hill Descent ControlF/Adjustable PedalsF/Power Assist StepF Buttons
Driver Information Center
Turn Signal/Windshield Wipers Lever
Audio Next/Previous Favorite Station Controls (behind steering wheel)
Integrated Trailer Brake ControlF
Cruise Control/ Collision AlertF/Heated Steering WheelF Buttons
INSTRUMENT PANEL
Audio Volume Controls (behind steering wheel)
Driver Information Center Controls/Voice Recognition Buttons
Tilt/TelescopicF Steering Wheel Control
Low Fuel
Traction Control Off
Lane Keep Assist Warning
Vehicle Ahead
Brake System
Cruise Control Set
StabiliTrak Active
StabiliTrak Off
Security
Tow/Haul Mode
Lights On Reminder
Airbag Readiness
SYMBOLS
Page 10 of 20
10
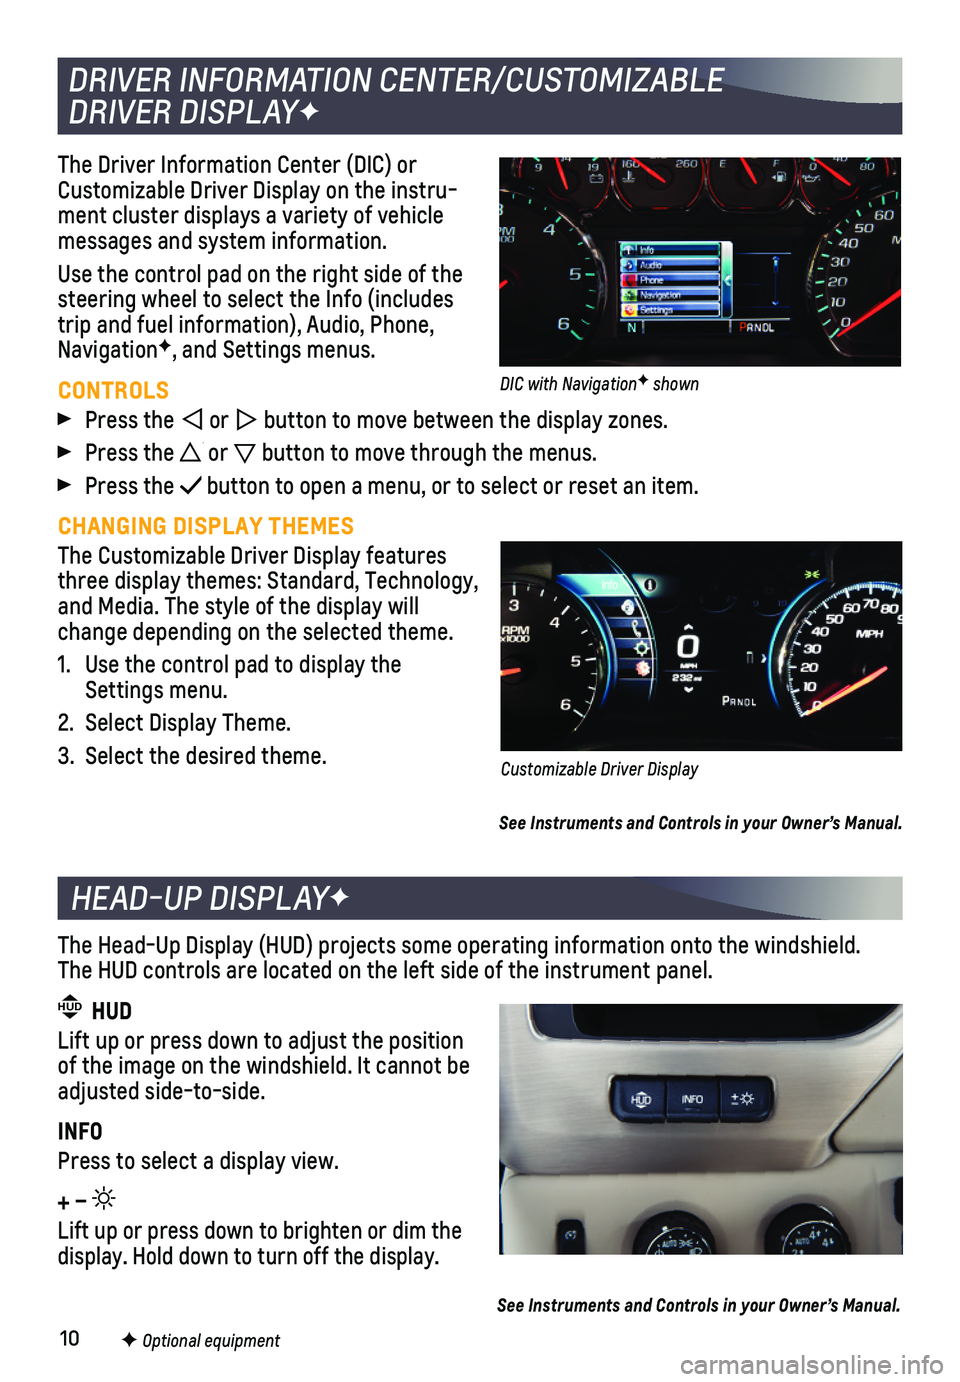
The Driver Information Center (DIC) or Customizable Driver Display on the instru-ment cluster displays a variety of vehicle messages and system information.
Use the control pad on the right side of the steering wheel to select the Info (includes trip and fuel information), Audio, Phone, NavigationF, and Settings menus.
CONTROLS
Press the or button to move between the display zones.
Press the or button to move through the menus.
Press the button to open a menu, or to select or reset an item.
CHANGING DISPLAY THEMES
The Customizable Driver Display features three display themes: Standard, Technology, and Media. The style of the display will change depending on the selected theme.
1. Use the control pad to display the Settings menu.
2. Select Display Theme.
3. Select the desired theme.
See Instruments and Controls in your Owner’s Manual.
DRIVER INFORMATION CENTER/CUSTOMIZABLE
DRIVER DISPLAYF
Customizable Driver Display
DIC with NavigationF shown
HEAD-UP DISPLAYF
The Head-Up Display (HUD) projects some operating information onto the\
windshield. The HUD controls are located on the left side of the instrument panel.
HUD HUD
Lift up or press down to adjust the position of the image on the windshield. It cannot be adjusted side-to-side.
INFO
Press to select a display view.
+ –
Lift up or press down to brighten or dim the display. Hold down to turn off the display.
See Instruments and Controls in your Owner’s Manual.
F Optional equipment
Page 11 of 20
11
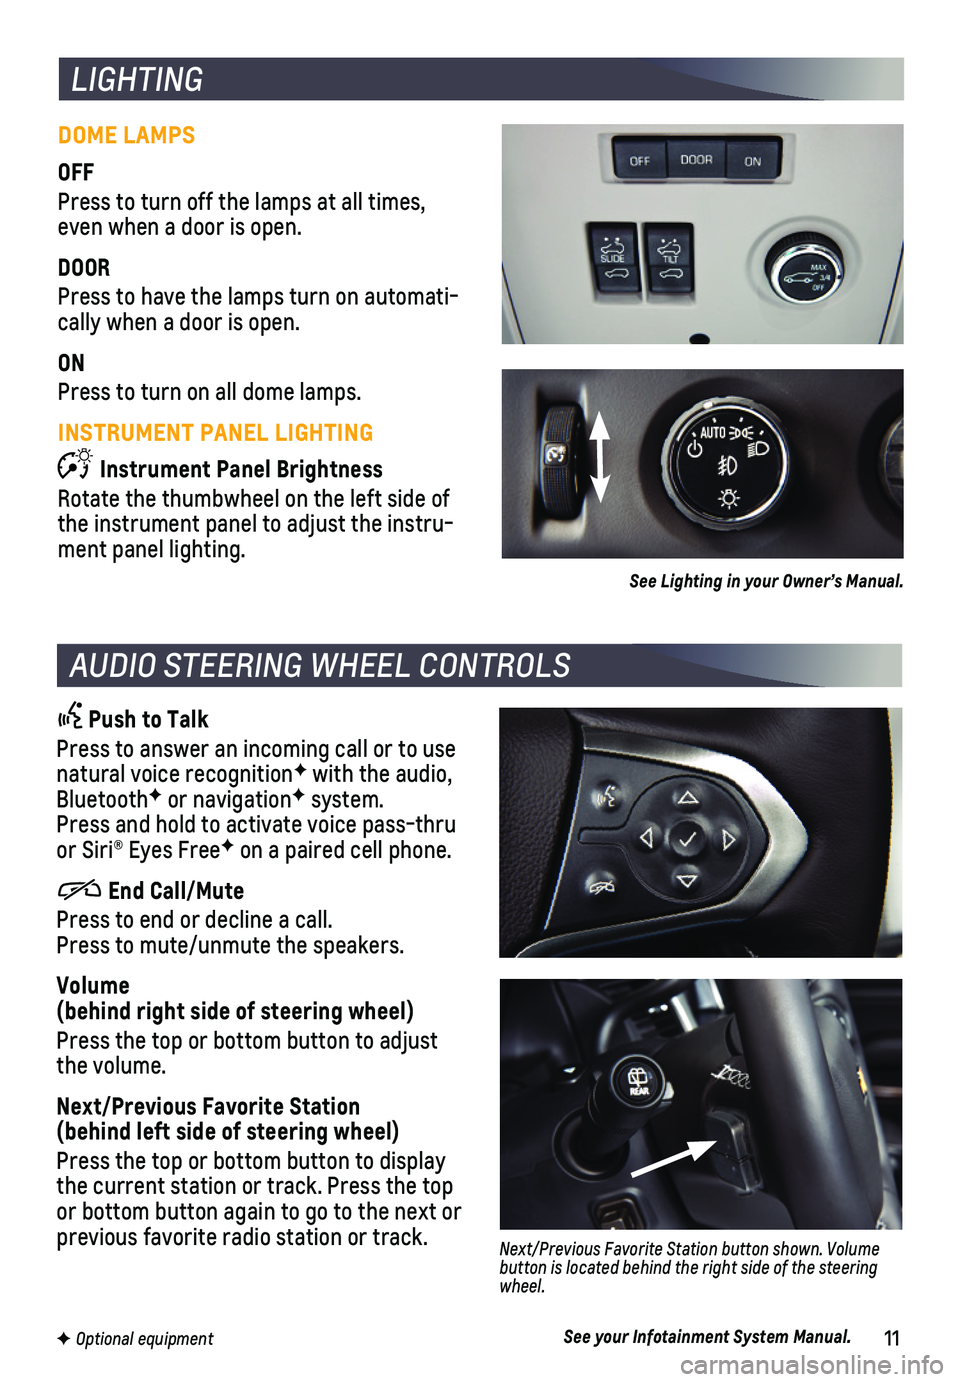
Push to Talk
Press to answer an incoming call or to use natural voice recognitionF with the audio, BluetoothF or navigationF system. Press and hold to activate voice pass-thru or Siri® Eyes FreeF on a paired cell phone.
End Call/Mute
Press to end or decline a call. Press to mute/unmute the speakers.
Volume (behind right side of steering wheel)
Press the top or bottom button to adjust the volume.
Next/Previous Favorite Station (behind left side of steering wheel)
Press the top or bottom button to display the current station or track. Press the top or bottom button again to go to the next or previous favorite radio station or track.Next/Previous Favorite Station button shown. Volume button is located behind the right side of the steering wheel.
AUDIO STEERING WHEEL CONTROLS
See your Infotainment System Manual.
DOME LAMPS
OFF
Press to turn off the lamps at all times, even when a door is open.
DOOR
Press to have the lamps turn on automati-cally when a door is open.
ON
Press to turn on all dome lamps.
INSTRUMENT PANEL LIGHTING
Instrument Panel Brightness
Rotate the thumbwheel on the left side of the instrument panel to adjust the instru-ment panel lighting.
LIGHTING
See Lighting in your Owner’s Manual.
F Optional equipment
Page 17 of 20
17
FORWARD AUTOMATIC BRAKINGF – In potential front-end imminent collision situations with detected vehicles, the brakes may be applied, if you have not alrea\
dy done so, to help reduce damage or help avoid collisions at very low speeds with vehi\
cles directly ahead. Forward Automatic Braking works at speeds of 5–50 mph or, if a\
lso equipped with Adaptive Cruise ControlF, at speeds above 2 mph.
To set the Forward Automatic Braking and Forward Collision Alert systems\
to Alert and Brake, Alert, or Off, go to Settings > Vehicle > Collision/Detection\
Systems > Forward Collision System.
LANE KEEP ASSIST WITH LANE DEPARTURE WARNINGF – The system may help you avoid collisions due to unintentional lane departures. The Lane Keep Assist Indicator is green if the system is available to assist. If the vehicle approaches\
a detected lane
marking without using a turn signal in that direction, the system may as\
sist by gently turning the steering wheel and displaying an amber .
If active driver steering is not detected, the amber may flash and the Safety Alert Seat may pulse or beeps may sound (if selected) on the side of the dep\
arture direction as the lane marking is crossed. The Lane Keep Assist system does not con\
tinuously steer the vehicle; the driver needs to steer and be in complete control of the\
vehicle.
Press the Lane Keep Assist button on the left side of the instrument panel to turn the system on or off.
LANE CHANGE ALERT WITH SIDE BLIND ZONE ALERTF – While driving, the system displays a warning symbol on the left or right side mirror when a vehicle is detec\
ted in that side blind zone area or rapidly approaching that area. The warni\
ng symbol flashes if a turn signal is activated when a vehicle has been detected on the sa\
me side.
To turn the system on or off, go to Settings > Vehicle > Collision/Detec\
tion Systems > Lane Change Alert.
REAR VISION CAMERA – When the vehicle is in Reverse, a view of the area behind the vehicle displays on the infotainment system. Vehicle speed must be below\
8 mph.
To turn the Rear Vision Camera Guidelines or Rear Park Assist Symbols on\
or off, go to Settings > Rear Camera.
REAR CROSS TRAFFIC ALERTF – When the vehicle is in Reverse, the system warns of cross-traffic coming in either direction by displaying a red alert on \
the infotainment screen and pulsing the left or right side of the Safety Alert Seat or so\
unding 3 beeps (if selected).
To turn the system on or off, go to Settings > Vehicle > Collision/Detec\
tion Systems > Rear Cross Traffic Alert.
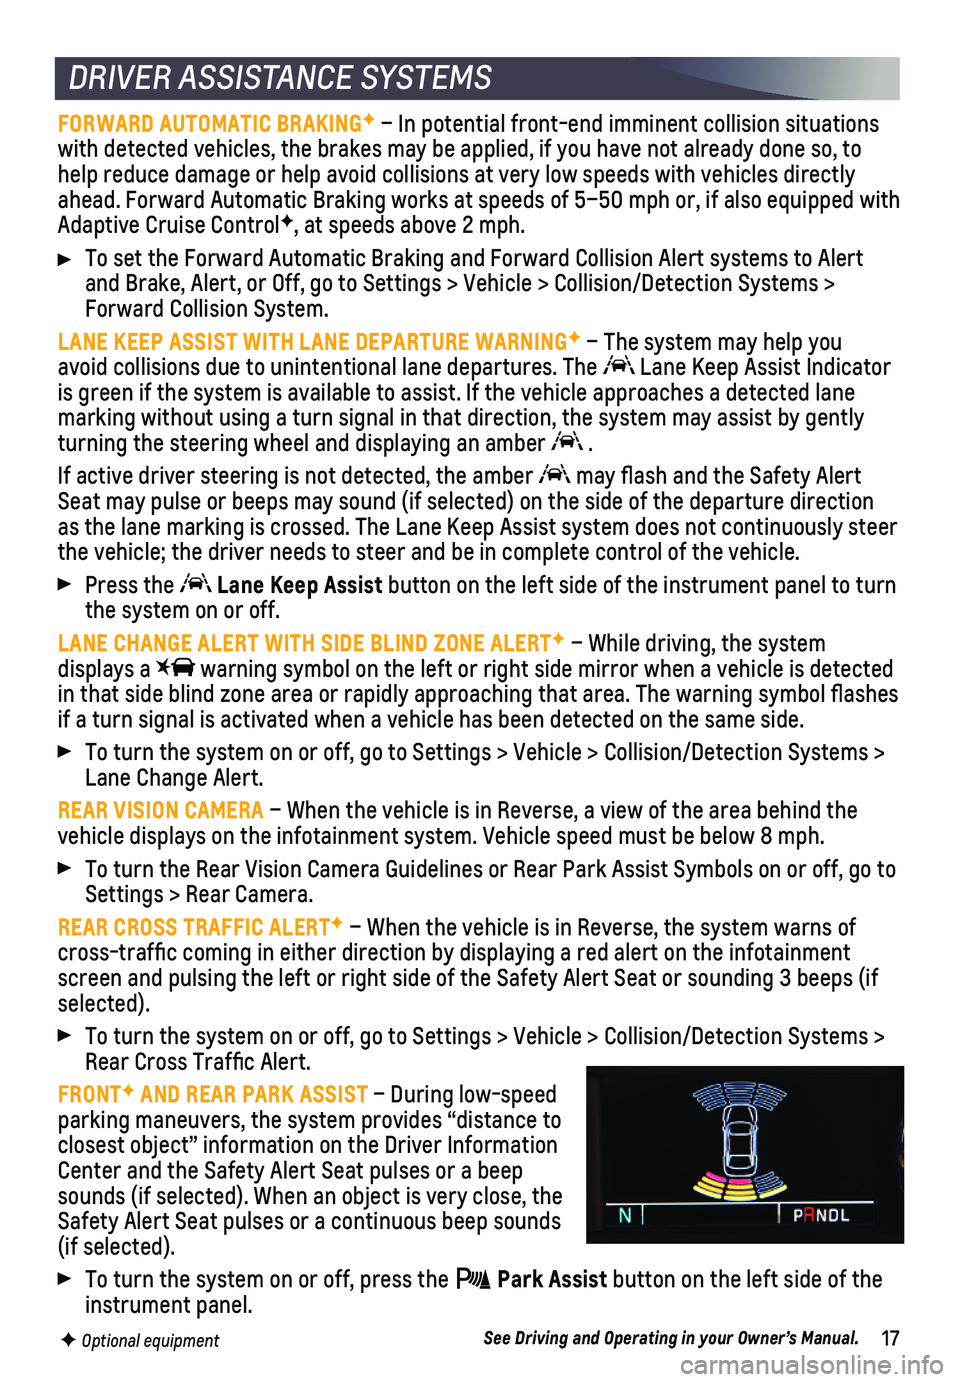
FRONTF AND REAR PARK ASSIST – During low-speed parking maneuvers, the system provides “distance to closest object” information on the Driver Information Center and the Safety Alert Seat pulses or a beep sounds (if selected). When an object is very close, the Safety Alert Seat pulses or a continuous beep sounds (if selected).
To turn the system on or off, press the Park Assist button on the left side of the instrument panel.
DRIVER ASSISTANCE SYSTEMS
F Optional equipmentSee Driving and Operating in your Owner’s Manual.
Page 18 of 20
18
SETTING CRUISE CONTROL
1. Press the On/Off button. The Cruise Control symbol will illuminate in white on the instrument cluster.
2. When traveling at the desired speed, press the SET– button to set the speed. The symbol will illuminate in green on the instrument cluster.
ADJUSTING CRUISE CONTROL
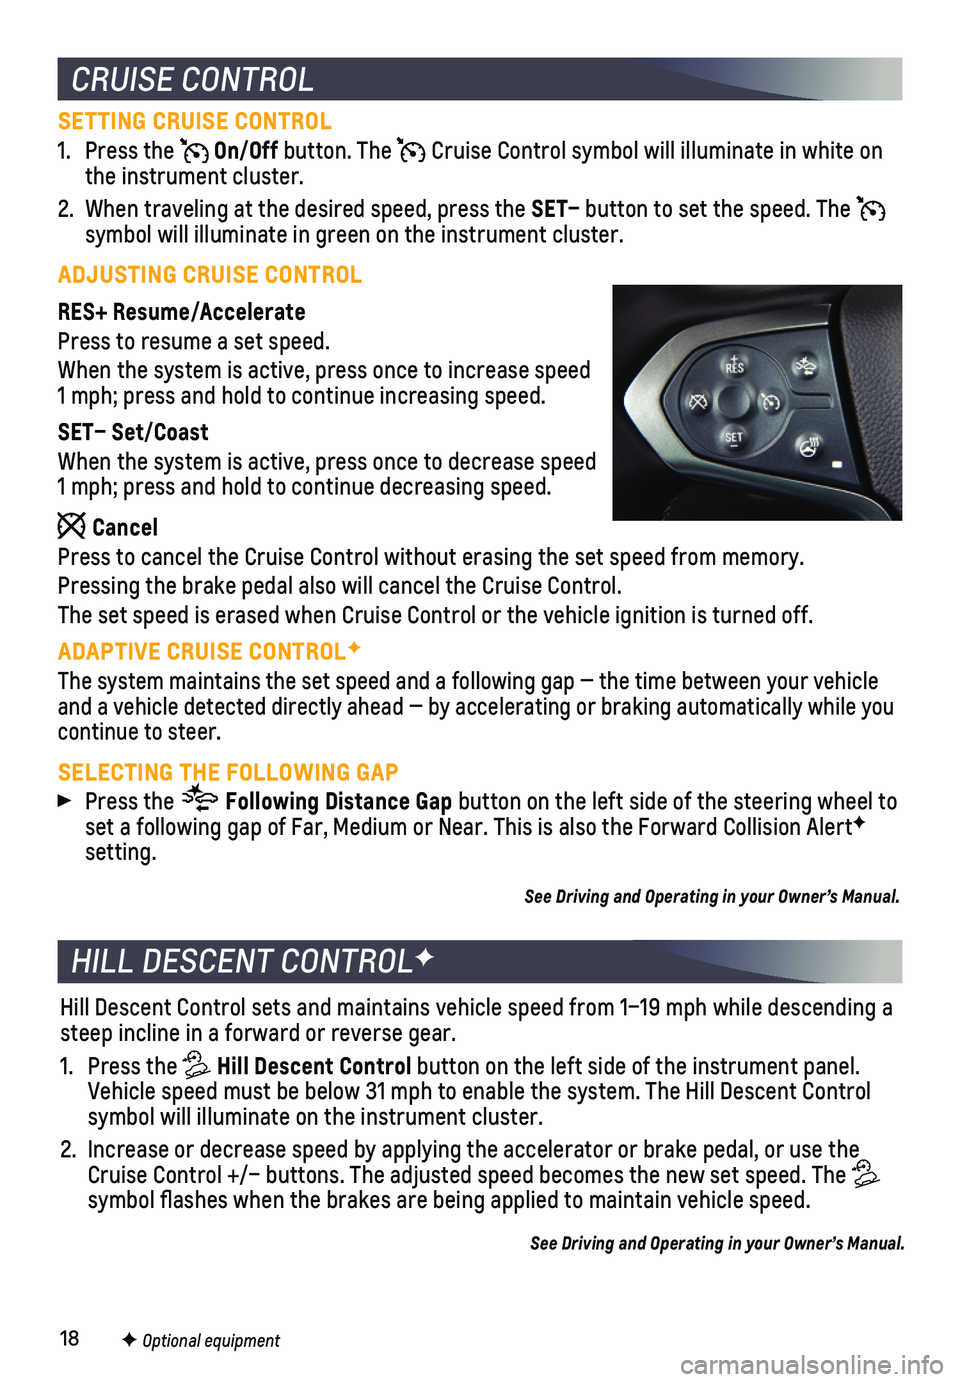
RES+ Resume/Accelerate
Press to resume a set speed.
When the system is active, press once to increase speed 1 mph; press and hold to continue increasing speed.
SET– Set/Coast
When the system is active, press once to decrease speed 1 mph; press and hold to continue decreasing speed.
Cancel
Press to cancel the Cruise Control without erasing the set speed from me\
mory.
Pressing the brake pedal also will cancel the Cruise Control.
The set speed is erased when Cruise Control or the vehicle ignition is t\
urned off.
ADAPTIVE CRUISE CONTROLF
The system maintains the set speed and a following gap — the time bet\
ween your vehicle and a vehicle detected directly ahead — by accelerating or braking au\
tomatically while you continue to steer.
SELECTING THE FOLLOWING GAP
Press the Following Distance Gap button on the left side of the steering wheel to set a following gap of Far, Medium or Near. This is also the Forward Collision AlertF setting.
See Driving and Operating in your Owner’s Manual.
Hill Descent Control sets and maintains vehicle speed from 1–19 mph w\
hile descending a steep incline in a forward or reverse gear.
1. Press the Hill Descent Control button on the left side of the instrument panel. Vehicle speed must be below 31 mph to enable the system. The Hill Descen\
t Control symbol will illuminate on the instrument cluster.
2. Increase or decrease speed by applying the accelerator or brake pedal, o\
r use the Cruise Control +/– buttons. The adjusted speed becomes the new set sp\
eed. The symbol flashes when the brakes are being applied to maintain vehicle s\
peed.
See Driving and Operating in your Owner’s Manual.
HILL DESCENT CONTROLF
CRUISE CONTROL
F Optional equipment
Page 19 of 20
19
The traction control system limits wheelspin and the StabiliTrak® stability control system assists with directional control of the vehicle in difficult driving c\
onditions. Both systems turn on automatically every time the vehicle is started.
Turn off traction control if the vehicle is stuck and rocking the vehicl\
e is required.
Press the Traction Control/StabiliTrak Off button on the left side of the instrument panel to turn traction control off or on. The Traction Control Off light will illuminate on the instrument cluster when the system is off.
See Driving and Operating in your Owner’s Manual.
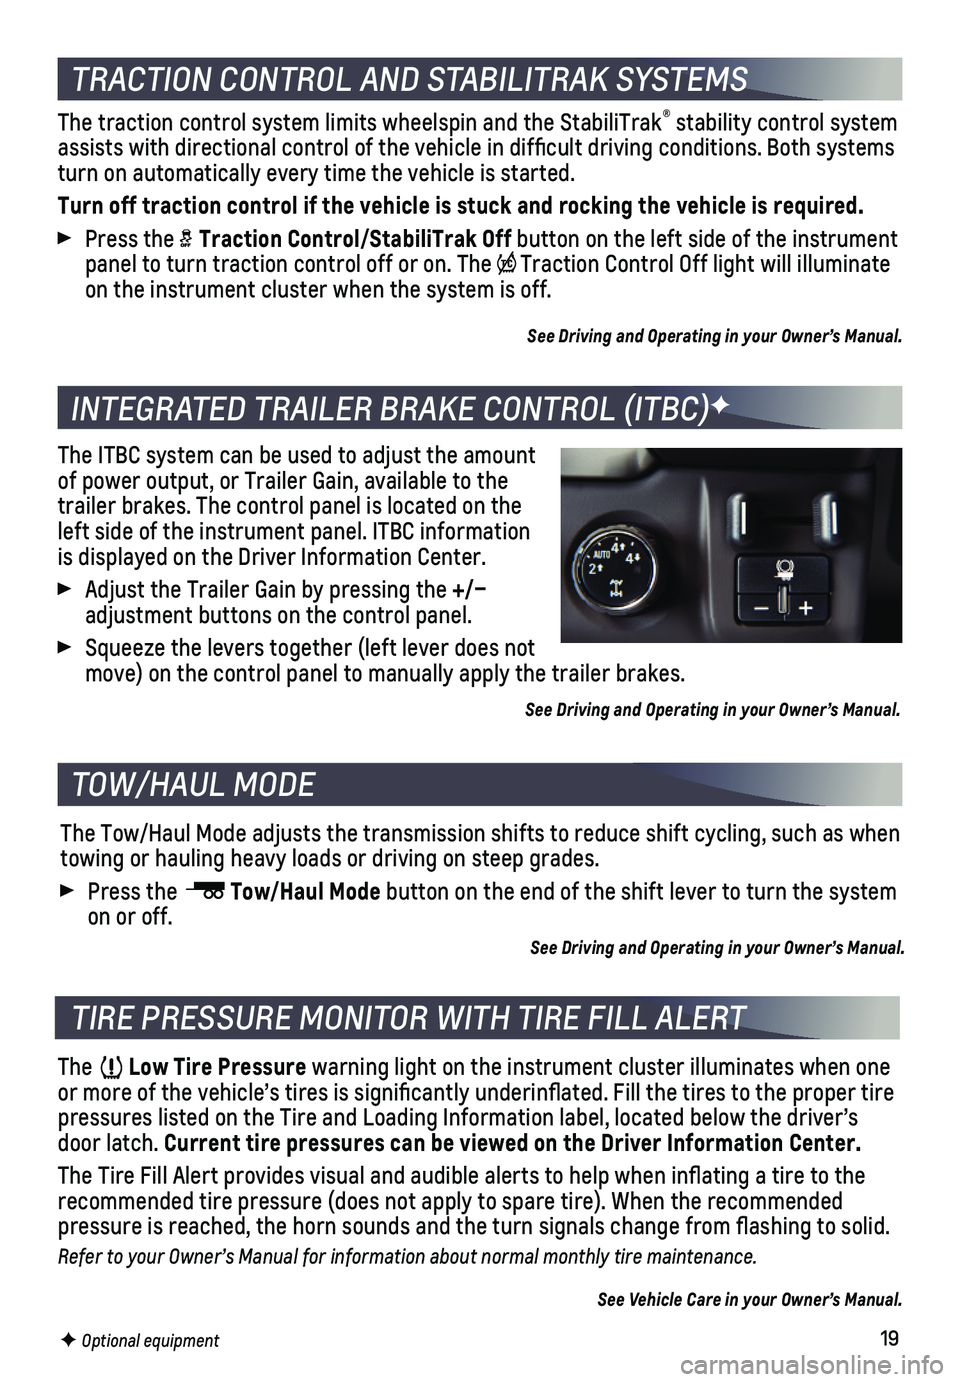
The ITBC system can be used to adjust the amount of power output, or Trailer Gain, available to the trailer brakes. The control panel is located on the left side of the instrument panel. ITBC information is displayed on the Driver Information Center.
Adjust the Trailer Gain by pressing the +/– adjustment buttons on the control panel.
Squeeze the levers together (left lever does not move) on the control panel to manually apply the trailer brakes.
See Driving and Operating in your Owner’s Manual.
The Low Tire Pressure warning light on the instrument cluster illuminates when one or more of the vehicle’s tires is significantly underinflated. Fi\
ll the tires to the proper tire pressures listed on the Tire and Loading Information label, located belo\
w the driver’s door latch. Current tire pressures can be viewed on the Driver Information Center.
The Tire Fill Alert provides visual and audible alerts to help when infl\
ating a tire to the recommended tire pressure (does not apply to spare tire). When the rec\
ommended
pressure is reached, the horn sounds and the turn signals change from fl\
ashing to solid.
Refer to your Owner’s Manual for information about normal monthly tire maintenance.
See Vehicle Care in your Owner’s Manual.
The Tow/Haul Mode adjusts the transmission shifts to reduce shift cyclin\
g, such as when towing or hauling heavy loads or driving on steep grades.
Press the Tow/Haul Mode button on the end of the shift lever to turn the system on or off.
See Driving and Operating in your Owner’s Manual.
TRACTION CONTROL AND STABILITRAK SYSTEMS
INTEGRATED TRAILER BRAKE CONTROL (ITBC)F
TIRE PRESSURE MONITOR WITH TIRE FILL ALERT
TOW/HAUL MODE
F Optional equipment