2019 CHEVROLET SILVERADO run flat
[x] Cancel search: run flatPage 150 of 474

Chevrolet Silverado Owner Manual (GMNA-Localizing-U.S./Canada/Mexico-
1500-11698642) - 2019 - CRC - 2/20/19
Instruments and Controls 149
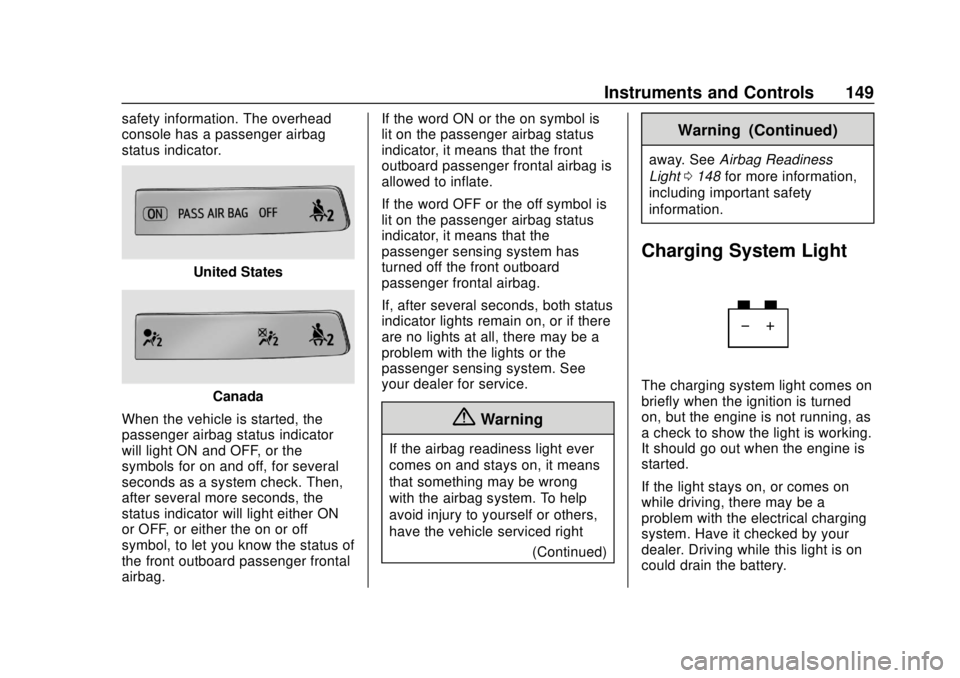
safety information. The overhead
console has a passenger airbag
status indicator.
United States
Canada
When the vehicle is started, the
passenger airbag status indicator
will light ON and OFF, or the
symbols for on and off, for several
seconds as a system check. Then,
after several more seconds, the
status indicator will light either ON
or OFF, or either the on or off
symbol, to let you know the status of
the front outboard passenger frontal
airbag. If the word ON or the on symbol is
lit on the passenger airbag status
indicator, it means that the front
outboard passenger frontal airbag is
allowed to inflate.
If the word OFF or the off symbol is
lit on the passenger airbag status
indicator, it means that the
passenger sensing system has
turned off the front outboard
passenger frontal airbag.
If, after several seconds, both status
indicator lights remain on, or if there
are no lights at all, there may be a
problem with the lights or the
passenger sensing system. See
your dealer for service.
{Warning
If the airbag readiness light ever
comes on and stays on, it means
that something may be wrong
with the airbag system. To help
avoid injury to yourself or others,
have the vehicle serviced right
(Continued)
Warning (Continued)
away. SeeAirbag Readiness
Light 0148 for more information,
including important safety
information.
Charging System Light
The charging system light comes on
briefly when the ignition is turned
on, but the engine is not running, as
a check to show the light is working.
It should go out when the engine is
started.
If the light stays on, or comes on
while driving, there may be a
problem with the electrical charging
system. Have it checked by your
dealer. Driving while this light is on
could drain the battery.
Page 208 of 474

Chevrolet Silverado Owner Manual (GMNA-Localizing-U.S./Canada/Mexico-
1500-11698642) - 2019 - CRC - 2/20/19
Driving and Operating 207
wet enough and you are going fast
enough. When the vehicle is
hydroplaning, it has little or no
contact with the road.
There is no hard and fast rule about
hydroplaning. The best advice is to
slow down when the road is wet.
Other Rainy Weather Tips
Besides slowing down, other wet
weather driving tips include:
.Allow extra following distance.
. Pass with caution.
. Keep windshield wiping
equipment in good shape.
. Keep the windshield washer fluid
reservoir filled.
. Have good tires with proper
tread depth. See Tires0360.
. Turn off cruise control.
Hill and Mountain Roads
Driving on steep hills or through
mountains is different than driving
on flat or rolling terrain. Tips include: .
Keep the vehicle serviced and in
good shape.
. Check all fluid levels, brakes,
tires, and cooling system.
. Shift to a lower gear when going
down steep or long hills.
{Warning
Using the brakes to slow the
vehicle on a long downhill slope
can cause brake overheating, can
reduce brake performance, and
could result in a loss of braking.
Shift the transmission to a lower
gear to let the engine assist the
brakes on a steep downhill slope.
{Warning
Coasting downhill in N (Neutral)
or with the ignition off is
dangerous. This can cause
overheating of the brakes and
(Continued)
Warning (Continued)
loss of steering assist. Always
have the engine running and the
vehicle in gear.
. Drive at speeds that keep the
vehicle in its own lane. Do not
swing wide or cross the
center line.
. Be alert on top of hills;
something could be in your lane
(e.g., stalled car, crash).
. Pay attention to special road
signs (e.g., falling rocks area,
winding roads, long grades,
passing or no-passing zones)
and take appropriate action.
Winter Driving
Driving on Snow or Ice
Snow or ice between the tires and
the road creates less traction or
grip, so drive carefully. Wet ice can
occur at about 0 °C (32 °F) when
Page 291 of 474

Chevrolet Silverado Owner Manual (GMNA-Localizing-U.S./Canada/Mexico-
1500-11698642) - 2019 - CRC - 2/20/19
290 Driving and Operating
1. Left Turn/Brake
2. Taillamps
3. Reverse Lamps
4. Battery Feed
5. Right Turn/Brake
6. Electric Brakes
7. Ground
Use only a round, seven-wire
connector with flat blade terminals
meeting SAE J2863 specifications
for proper electrical connectivity.
Electric Brake Control Wiring
Provisions
If the vehicle is not equipped with
an integrated trailer brake controller,
and the trailer has electric brakes, a
trailer brake controller needs to be
installed on the vehicle. The brake
controller should be installed by
your dealer or a qualified service
center.
If equipped, there is a trailer brake
jumper harness provided with the
vehicle. The connector on the trailer
brake jumper harness is attached to
a mating connector to the left of the
steering wheel behind the knee
bolster. The four blunt cut wires on
the jumper harness need to be
connected to an aftermarket electric
trailer brake controller. The harness
contains the following circuits:Electric Trailer
Brakes Blue
Battery Feed Red/Violet or
Red/Black
Brake Apply
Signal White/Blue Ground Black
The fuse for the electric trailer brake
circuit is in the engine compartment
fuse block, but the wires may not be
connected. They should be
connected by your dealer or a
qualified service center.
Refer to the aftermarket electric
trailer brake controller owner's
manual to determine wire color
coding of the electric trailer brake
controller. The wire colors on the
brake controller may be different
from the vehicle.
Trailer Lamps
Always check all trailer lamps are
working at the beginning of each
trip, and periodically on longer trips.
If equipped, the Trailering App will
monitor the RH turn/brake lamp
circuit, LH turn/brake lamp circuit,
running lamp circuit, and reverse
lamp circuits on the trailer. DIC
messages and Trailering App alerts
may be displayed if lighting circuit
issues are detected on the trailer.
Page 397 of 474

Chevrolet Silverado Owner Manual (GMNA-Localizing-U.S./Canada/Mexico-
1500-11698642) - 2019 - CRC - 2/20/19
396 Vehicle Care
should not be driven on over
112 km/h (70 mph), or 88 km/h
(55 mph) when pulling a trailer, at
the proper inflation pressure. Repair
and replace the road tire as soon as
it is convenient, and stow the spare
tire for future use.
Caution
If the vehicle has four-wheel drive
and a different size spare tire is
installed, do not drive in
four-wheel drive until the flat tire
is repaired and/or replaced. The
vehicle could be damaged and
the repairs would not be covered
by the warranty. Never use
four-wheel drive when a different
size spare tire is installed on the
vehicle.
The vehicle may have a different
size spare tire than the road tires
originally installed on the vehicle.
This spare tire was developed for
use on this vehicle, so it is all right
to drive on it. If the vehicle has four-wheel drive and a different size
spare tire is installed, drive only in
two-wheel drive.
After installing the spare tire on the
vehicle, stop as soon as possible
and check that the spare tire is
correctly inflated.
Have the damaged or flat road tire
repaired or replaced and installed
back onto the vehicle as soon as
possible so the spare tire will be
available in case it is needed again.
Do not mix tires and wheels of
different sizes, because they will not
fit. Keep your spare tire and its
wheel together. If the vehicle has a
spare tire that does not match the
original road tires and wheels in size
and type, do not include the spare in
the tire rotation.
Jump Starting
Jump Starting - North
America
For more information about the
vehicle battery, see
Battery - North
America 0338.
If the vehicle's battery (or batteries)
has run down, you may want to use
another vehicle and some jumper
cables to start your vehicle. Be sure
to use the following steps to do it
safely.
{Warning
WARNING: Battery posts,
terminals, and related
accessories contain lead and lead
compounds, chemicals known to
the State of California to cause
cancer and birth defects or other
reproductive harm. Batteries also
contain other chemicals known to
the State of California to cause
cancer. WASH HANDS AFTER
(Continued)
Page 401 of 474

Chevrolet Silverado Owner Manual (GMNA-Localizing-U.S./Canada/Mexico-
1500-11698642) - 2019 - CRC - 2/20/19
400 Vehicle Care
11. Start the vehicle with the goodbattery and run the engine for a
while.
12. Try to start the vehicle that had the dead battery. If it will not
start after a few tries, it
probably needs service.
Caution
If the jumper cables are
connected or removed in the
wrong order, electrical shorting
may occur and damage the
vehicle. The repairs would not be
covered by the vehicle warranty.
Always connect and remove the
jumper cables in the correct order,
making sure that the cables do
not touch each other or other
metal.
Jumper Cable Removal
Reverse the sequence exactly when
removing the jumper cables.
After starting the disabled vehicle
and removing the jumper cables,
allow it to idle for several minutes.
Towing the Vehicle
Caution
Incorrectly towing a disabled
vehicle may cause damage. The
damage would not be covered by
the vehicle warranty. Do not lash
or hook to suspension
components. Use the proper
straps around the tires to secure
the vehicle. Do not drag a locked
wheel/tire while loading the
vehicle. Do not use a sling type
lift to tow the vehicle. This could
damage the vehicle.
GM recommends a flatbed tow truck
to transport a disabled vehicle. Use
ramps to help reduce approach
angles, if necessary. A towed
vehicle should have its drive wheels
off the ground. Contact Roadside
Assistance or a professional towing
service if the disabled vehicle must
be towed.
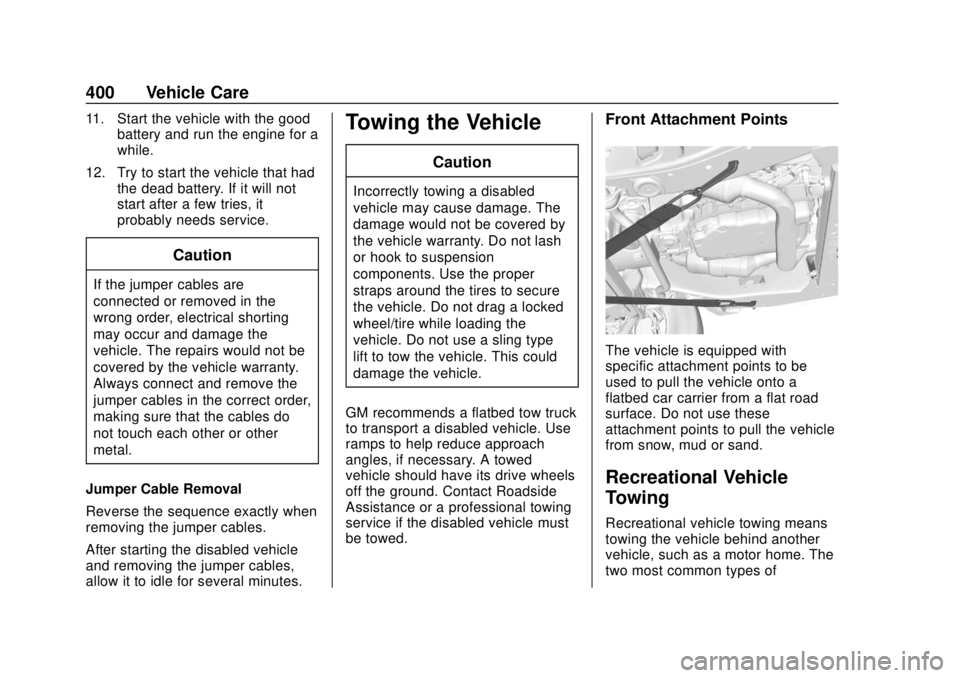
Front Attachment Points
The vehicle is equipped with
specific attachment points to be
used to pull the vehicle onto a
flatbed car carrier from a flat road
surface. Do not use these
attachment points to pull the vehicle
from snow, mud or sand.
Recreational Vehicle
Towing
Recreational vehicle towing means
towing the vehicle behind another
vehicle, such as a motor home. The
two most common types of