2019 BUICK REGAL SPORTBACK center console
[x] Cancel search: center consolePage 13 of 20

13F Optional equipment
BLUETOOTH® SYSTEM
Refer to your Owner’s Manual for important information about using the Bluetooth system while driving.
Before using a Bluetooth-enabled device in the vehicle, it must be paired with the in-vehicle Bluetooth system. The pairing process is disabled when the vehicle is moving. Not all devic-es will support all functions. Visit my.buick.com/learn for more information.
Pair a Phone
1. To use voice recognition, press the
Push to Talk button; after the prompt, say “Pair phone.”
To use the infotainment screen buttons, select the Phone icon > Connect Device > Add Device.
2. Start the pairing process on the phone. From your phone’s Bluetooth settings, select the name shown on the infotainment screen.
3. Confirm the codes that appear on the infotainment screen and the phone.
4. When pairing is complete, the phone screen is displayed. Depending on the phone, your phone book may be downloaded automatically.
Stream AudioF
To stream audio from a paired device connected via Bluetooth, select the Audio icon on the infotainment screen and then touch Bluetooth from the recent sources list. Control audio operation using the device controls or infotainment controls.
See your Infotainment System Manual.
INFOTAINMENT SYSTEM
AppsF
In-vehicle apps — connecting to music, news, weather, travel information, sports, entertain-ment and more — are available for download to the radio through the Apps icon on the Home page. Downloading and using the apps requires internet connectivity, and may require a data plan, accessed through the vehicle’s 4G LTE Wi-Fi hotspot, if active, or a mobile device hotspot.
Portable Audio Devices
An iPod®, iPhone®, MP3 Player, a USB flash drive or a portable USB hard drive can be connected to a USB data port located inside the center console storage compartment.
Select the Audio icon and then touch More to select a portable device as the audio source.
The USB ports on the rear of the center
console are for charging only.
See your Infotainment System Manual.
Page 15 of 20

15
Driver Shift Control
Driver Shift Control is a manual mode that allows the driver to shift gears manually. This feature can be used to drive the vehicle in a sportier manner, or to downshift when driv-ing on a downhill grade to provide engine braking.
1. From the Drive (D) position, move the shift lever left to the +/– position.
2. Tap the shift lever forward (+) to upshift or rearward (–) to downshift. The current gear will be displayed on the Driver Information Center.
If vehicle speed is too high or too low for the requested gear, the shift will not occur. When coming to a stop, the transmission will downshift automatically.
See Driving and Operating in your Owner’s Manual.
Selective Ride Control adapts to your driving style and preference with one of three driving modes. Each mode automatically adjusts suspension, steering, automatic transmission, and all-wheel drive settings in real time. System controls are located by the shift lever on the front of the center console.
Normal (Default) — Use for normal city and highway driving; it is active each time the vehicle is started. The vehicle is in Normal mode when the Sport and GS button indicators are off.
SPORT — Press the SPORT button for more responsive, controlled handling.
GS — Press the GS button for the highest level of responsiveness, controlled handling and performance.
See Driving and Operating in your Owner’s Manual.
AUTOMATIC TRANSMISSION
SELECTIVE RIDE CONTROL (GS MODELS)
F Optional equipment
The Wireless Charging system for smartphones is located in a pocket under the center console armrest. Visit my.buick.com/learn to check device compatibility. See your phone retailer for details on required phone accessories.
1. The vehicle must be on, or Retained Accessory Power must be active.
2. Remove all objects from the charging pocket.
3. Place the smartphone in the pocket with the screen facing the rear of the vehicle.
4. The charging symbol will appear on the infotainment screen when charging.
See Instruments and Controls in your Owner’s Manual.
WIRELESS CHARGINGF
Page 17 of 20

17F Optional equipment
Lane Change Alert with Side Blind Zone AlertF — While driving, the system displays a
warning symbol on the left or right side mirror when a vehicle is detected in that side blind zone area or rapidly approaching that area. The warning symbol flashes if a turn
signal is activated when a vehicle has been detected on the same side.
To turn the system on or off, go to Settings > Vehicle > Collision/Detection Systems > Lane Change Alert.
Lane Keep Assist with Lane Departure WarningF — The system may help you avoid col-lisions due to unintentional lane departures. The Lane Keep Assist Indicator is green on the instrument cluster if the system is available to assist. If the vehicle approaches a detected lane marking without using a turn signal in that direction, the system may assist by gently turning the steering wheel and displaying an amber .
If active driver steering is not detected, the amber may flash and 3 beeps may sound on the side of the departure direction as the lane marking is crossed. The Lane Keep Assist system does not continuously steer the vehicle; the driver needs to steer and be in complete control of the vehicle.
To turn the system on or off, press the
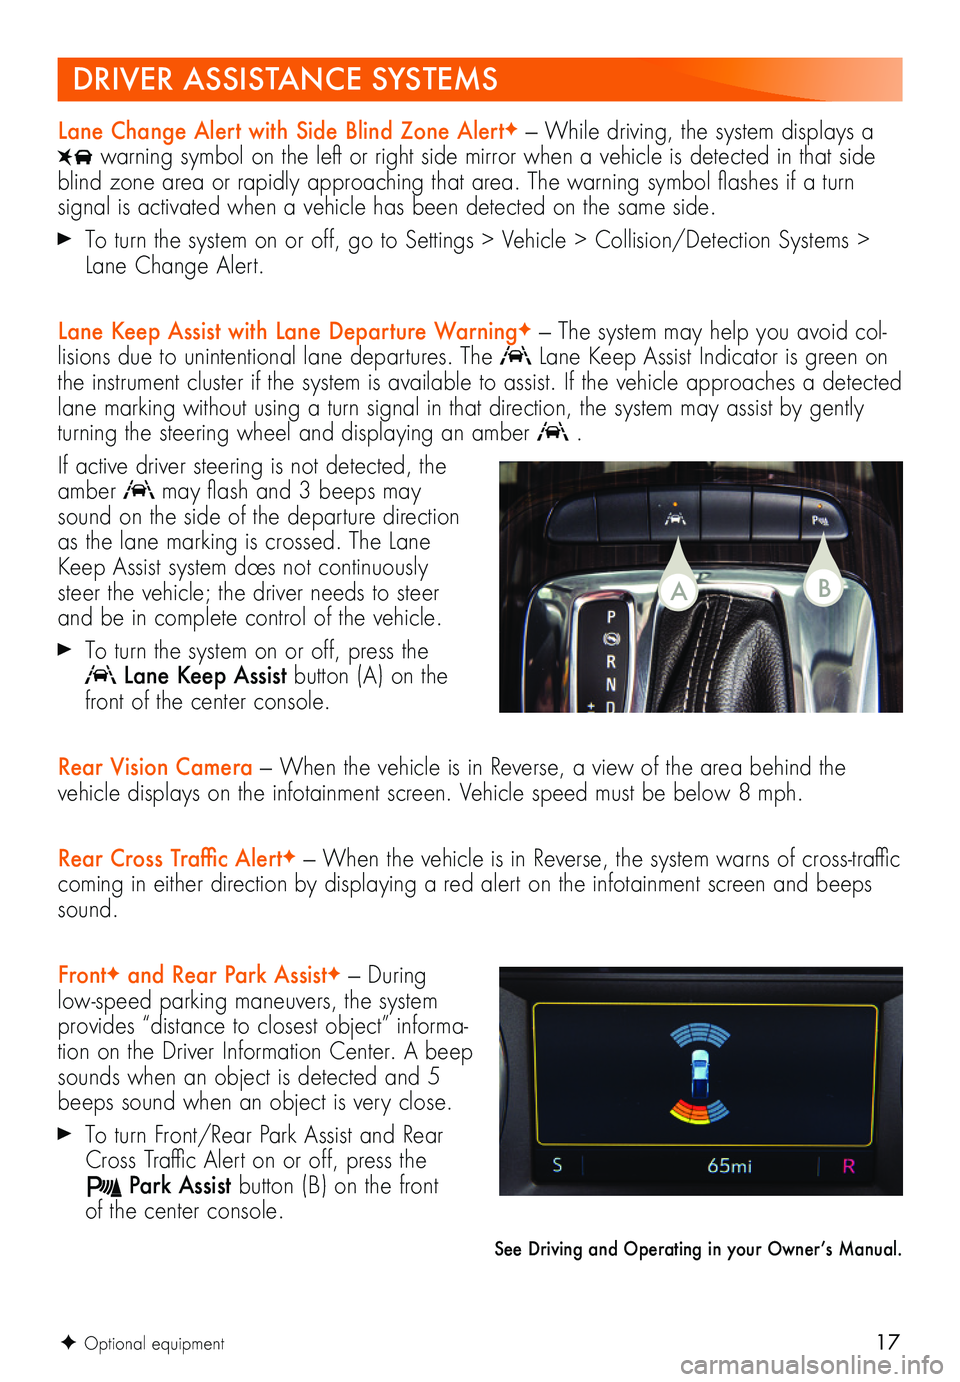
Lane Keep Assist button (A) on the front of the center console.
Rear Vision Camera — When the vehicle is in Reverse, a view of the area behind the vehicle displays on the infotainment screen. Vehicle speed must be below 8 mph.
Rear Cross Traffic AlertF — When the vehicle is in Reverse, the system warns of cross-traffic coming in either direction by displaying a red alert on the infotainment screen and beeps sound.
FrontF and Rear Park AssistF — During low-speed parking maneuvers, the system provides “distance to closest object” informa-tion on the Driver Information Center. A beep sounds when an object is detected and 5 beeps sound when an object is very close.
To turn Front/Rear Park Assist and Rear Cross Traffic Alert on or off, press the
Park Assist button (B) on the front of the center console.
See Driving and Operating in your Owner’s Manual.
DRIVER ASSISTANCE SYSTEMS
BA
Page 18 of 20

18F Optional equipment
CRUISE CONTROL
Setting Cruise Control1. Press the On/Off button. The Cruise Control symbol will illuminate in white on the instrument cluster.
2. When traveling at the desired speed, press down the SET– switch to set the speed. The symbol will illuminate in green on the instrument cluster.
Adjusting Cruise Control
RES+ Resume/Accelerate
Press up to resume a set speed. When active, press up to increase speed.
SET– Set/Coast
When active, press down to decrease speed.
Cancel
Press the button, or press the brake pedal, to cancel the Cruise Control without erasing the set speed from memory.
The set speed is erased when Cruise Control or the vehicle ignition is turned off.
Adaptive Cruise ControlF
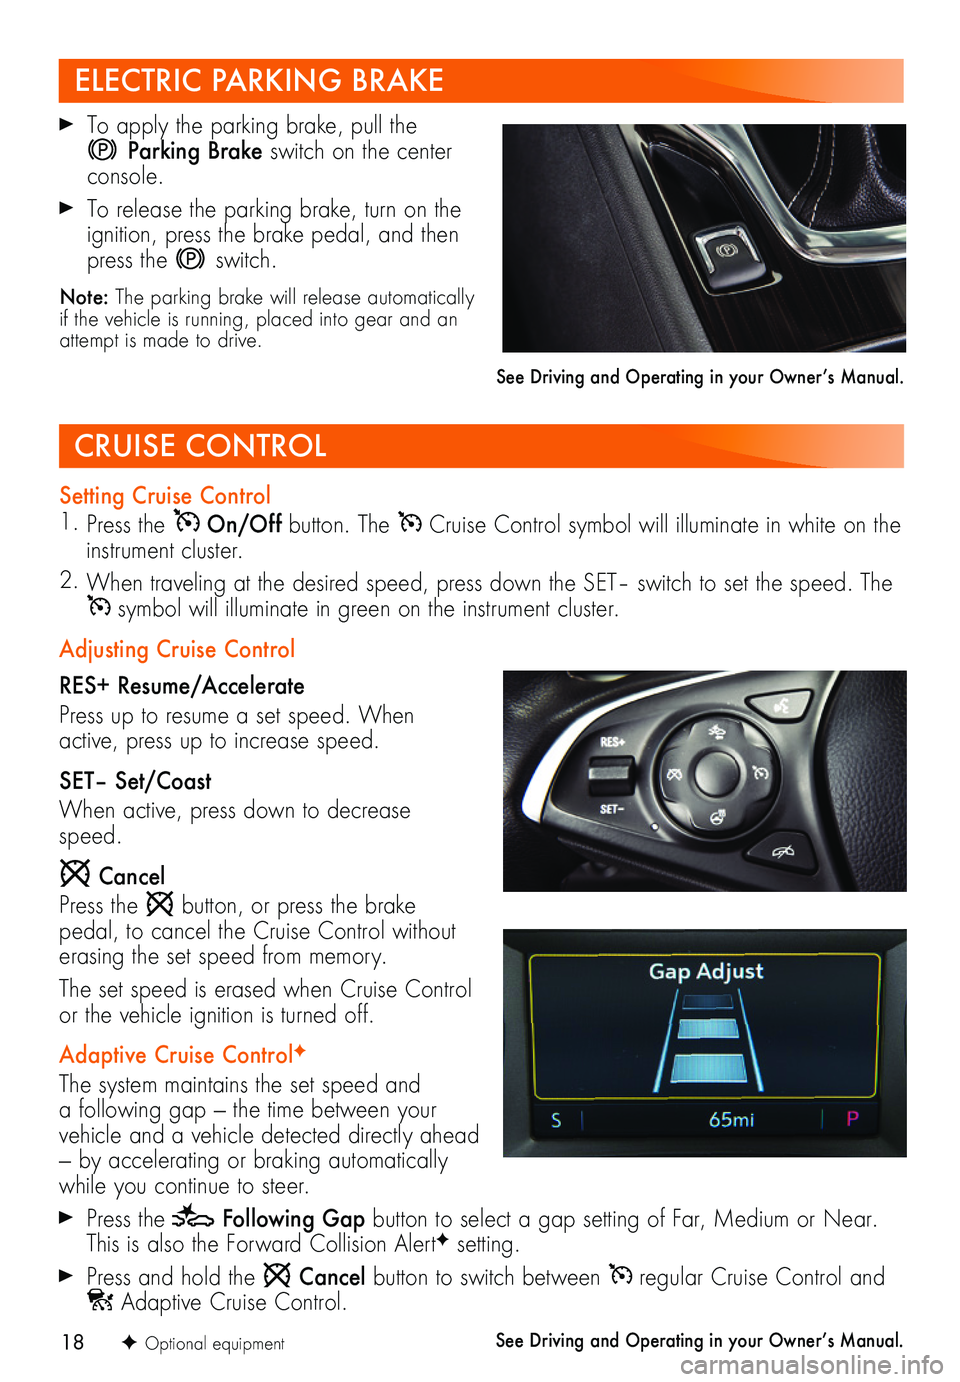
The system maintains the set speed and a following gap — the time between your
vehicle and a vehicle detected directly ahead — by accelerating or braking automatically while you continue to steer.
Press the Following Gap button to select a gap setting of Far, Medium or Near. This is also the Forward Collision AlertF setting.
Press and hold the Cancel button to switch between regular Cruise Control and Adaptive Cruise Control.
See Driving and Operating in your Owner’s Manual.
To apply the parking brake, pull the
Parking Brake switch on the center console.
To release the parking brake, turn on the ignition, press the brake pedal, and then press the switch.
Note: The parking brake will release automatically if the vehicle is running, placed into gear and an attempt is made to drive.
See Driving and Operating in your Owner’s Manual.
ELECTRIC PARKING BRAKE