2018 TESLA MODEL 3 service
[x] Cancel search: servicePage 107 of 165

High Voltage Components
1.Air Conditioning Compressor
2. Cabin Heater
3. High Voltage Battery
4. High Voltage Battery Service Panel
5. Rear Motor
6. High Voltage Cabling
7. Charge Port
Warning:
The high voltage system has no user serviceable parts. Do not disassemble, remove
or replace high voltage components, cables or connectors. High voltage cables are typically colored orange for easy
identification.
Warning: Read and follow all instructions provided on the labels that are attached to Model 3.
These labels are there for your safety.Warning: In the unlikely event that a fire occurs, immediately contact your local fireemergency responders.
Electric Vehicle Components
Charging105
Page 114 of 165

Service Intervals
Regular maintenance is the key to ensuring
the continued reliability and
efficiency of your
Model 3.
Rotate the tires every 6,250 miles
(10,000 km). Maintain the correct tire
pressures. It is also important to perform the
daily and monthly checks described below.
Note: View tire pressures in the "Cards" area,
located toward the bottom on the left side of the touchscreen, as described in Touchscreen
Overview on page 4.
Model 3 should be serviced by
Tesla-certifiedtechnicians. Damages or failures caused by
maintenance or repairs performed by non-
Tesla
certified technicians are not covered by
the warranty.
Daily Checks
Page 116 of 165

Inspecting and Maintaining TiresRegularly inspect the tread and side walls for
any sign of distortion (bulges), foreign objects,
cuts or wear.Warning: Do not drive Model 3 if a tire is
damaged, excessively worn, or inflated to
an incorrect pressure. Check tires
regularly for wear, and ensure there are
no cuts, bulges or exposure of the ply/
cord structure.
Tire Wear
Adequate tread depth is important for proper
tire performance. Tires with a tread depth less
than 4/32” (3 mm) are more likely to
hydroplane in wet conditions and should not be used. Tires with a tread depth less than5/32” (4 mm) do not perform well in snow andslush and should not be used when driving inwinter conditions.
Model 3 is originally
fitted with tires that have
wear indicators molded into the tread pattern.
When the tread has been worn down to 4/32”
(3 mm), the indicators start to appear at the surface of the tread pattern, producing the
effect of a continuous band of rubber across
the width of the tire. For optimal performance
and safety, Tesla recommends replacing tires
before the wear indicators are visible.
Tire Rotation, Balance, and Wheel Alignment
Tesla recommends rotating the tires every
6,250 miles (10,000 km).
Unbalanced wheels (sometimes noticeable as
vibration through the steering wheel)
affectvehicle handling and tire life. Even with regular
use, wheels can get out of balance. Therefore,
they should be balanced as required.
If tire wear is uneven (on one side of the tire
only) or becomes abnormally excessive, check
the alignment of wheels.
Note: When replacing only two tires, always
install the new tires on the rear.
Punctured Tires
A puncture eventually causes the tire to lose
pressure, which is why it is important to check
tire pressures frequently. Permanently repair
or replace punctured or damaged tires as
soon as possible.
Your tubeless tires may not leak when
penetrated, provided the object remains in the tire. If, however, you feel a sudden vibration or
ride disturbance while driving, or you suspect a tire is damaged, immediately reduce your
speed. Drive slowly, while avoiding heavy
braking or sharp steering and, when safe to do so, stop the vehicle. Arrange to have Model 3
transported to a Tesla Service Center, or to a nearby tire repair center.
Note: In some cases, you can temporarily
repair small tire punctures (under 1/4” (6
mm)) using an optional tire repair kit available
from Tesla. This allows you to slowly drive
Model 3 to Tesla or to a nearby tire repair
facility.Warning: Do not drive with a punctured
tire, even if the puncture has not caused the tire to
deflate. A punctured tire candeflate suddenly at any time.
Flat Spots
If Model 3 is stationary for a long period in
high temperatures, tires can form
flat spots.
When Model 3 is driven, these flat spots cause
a vibration which gradually disappears as the
tires warm up and regain their original shape.
To minimize
flat spots during storage, inflatetires to the maximum pressure indicated on the tire wall. Then, before driving, release airto adjust tire pressure to the recommendedlevels.
Improving Tire Mileage
To improve the mileage you get from your
tires, maintain tires at the recommended tire
pressures, observe speed limits and advisory
speeds, and avoid:
Page 120 of 165

driven 15 mph (25 km/h) for longer than 10
minutes.
Replacing a Tire Sensor
If the Tire Pressure warning indicator displays frequently, contact Tesla to determine if a tire
sensor needs to be replaced. If a non-Tesla Service Center repairs or replaces a tire, the
tire sensor may not work until Tesla performs
the setup procedure.
TPMS Malfunction
Model 3 has also been equipped with a TPMS
malfunction indicator to indicate when the
system is not operating properly.The TPMS malfunction indicator is
combined with the tire pressure
indicator light. When the system
detects a malfunction, the indicator
flashes for approximately one minute
after Model 3 powers on, and then
remains continuously lit. This
sequence continues upon
subsequent vehicle start-ups as long
as the malfunction exists. When the
TPMS malfunction indicator is on,
the system might not be able to
detect or signal under- and
over-
inflated tires as intended.
TPMS malfunctions can occur for a variety of
reasons, including installing replacement or
alternate tires or wheels that prevent the
TPMS from functioning properly. Always check
the TPMS malfunction indicator light after replacing one or more tires or wheels on yourvehicle to ensure that the replacement tires or
wheels allow the TPMS to continue to function
properly.
Note: If a tire has been replaced or repaired
using a
different tire sealant than the one
available from Tesla, and a low tire pressure is
detected, it is possible that the tire sensor has been damaged. Contact Tesla to have the fault
repaired as soon as possible.
Tire Care and Maintenance
118Model 3 Owner
Page 124 of 165

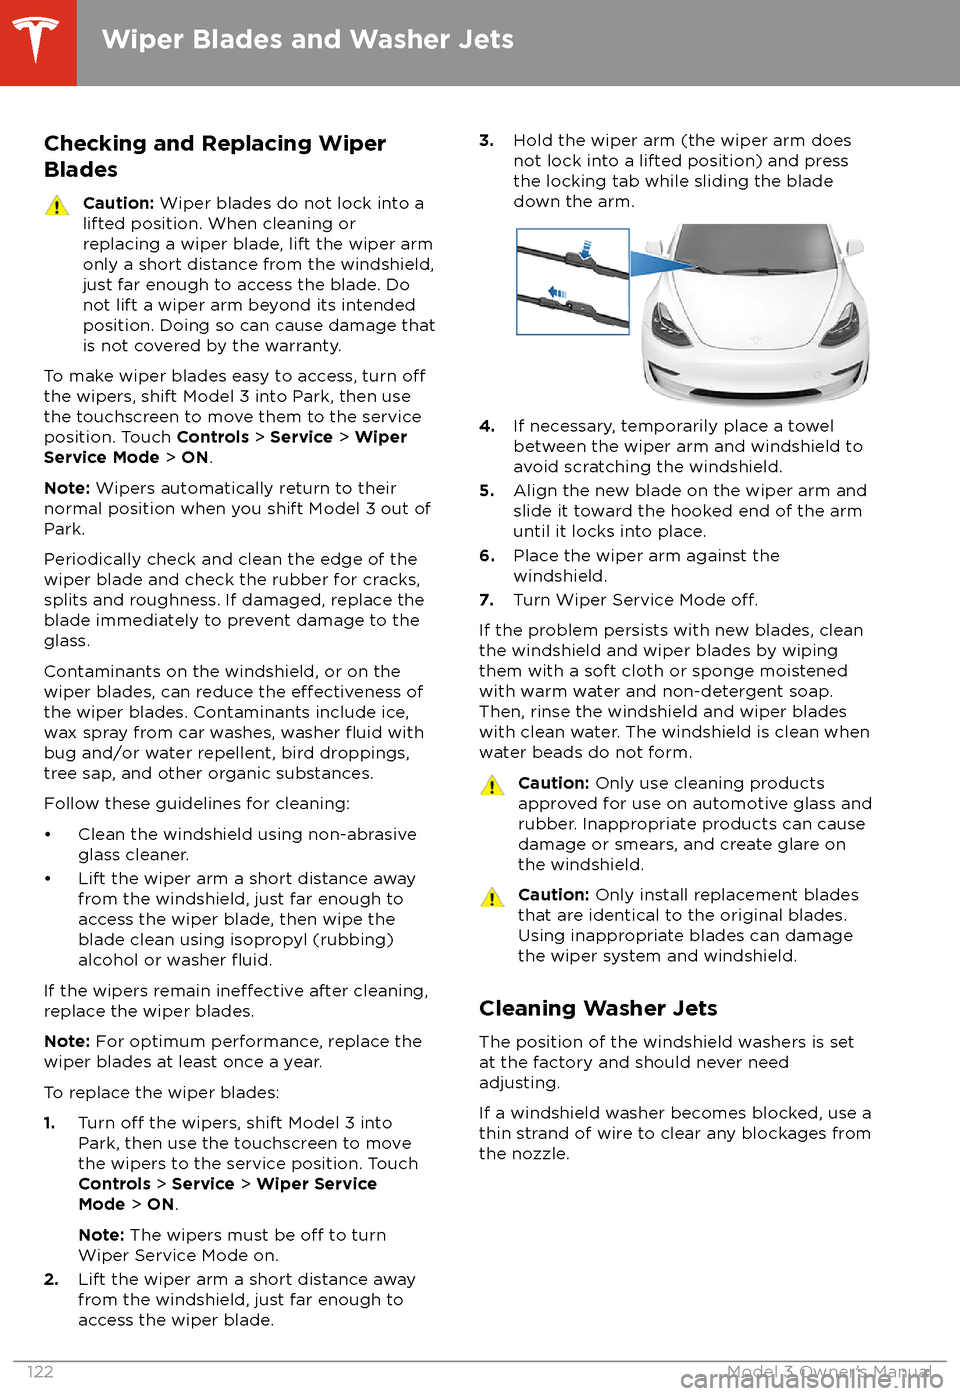
Checking and Replacing WiperBladesCaution: Wiper blades do not lock into a
lifted position. When cleaning or
replacing a wiper blade, lift the wiper arm
only a short distance from the windshield,
just far enough to access the blade. Do
not lift a wiper arm beyond its intended
position. Doing so can cause damage that
is not covered by the warranty.
To make wiper blades easy to access, turn offthe wipers, shift Model 3 into Park, then use the touchscreen to move them to the service
position. Touch Controls > Service > Wiper
Service Mode > ON .
Note: Wipers automatically return to their
normal position when you shift Model 3 out of Park.
Periodically check and clean the edge of the wiper blade and check the rubber for cracks,
splits and roughness. If damaged, replace the blade immediately to prevent damage to the
glass.
Contaminants on the windshield, or on the wiper blades, can reduce the
effectiveness of
the wiper blades. Contaminants include ice,
wax spray from car washes, washer
fluid with
bug and/or water repellent, bird droppings,
tree sap, and other organic substances.
Follow these guidelines for cleaning:
Page 138 of 165

TransmissionTypeSingle speed fixed gearGearbox Ratio9:1
Brakes
Type
4-wheel anti-lock braking system (ABS)
with Electronic Brake Force Distribution,
Integrated Advanced Stability Control and
Electronic Accelerator pedal actuated
regenerative braking systemCalipersFront: Four piston fixedRear: Integrated Electronic Parking Brake
SlidingRotor Diameters (ventilated)Front: 12.6"/320 mm
Rear: 13.2"/335 mmFront Rotor thicknessNew: 0.98"/25 mm
Service limit: 0.91”/23 mmRear Rotor thicknessNew: 0.79"/20 mm
Service limit: 0.71”/18 mmFront Brake Pad Thickness (excluding back plate)New: 0.393"/10 mm
Service limit: 0.110"/2.8 mmRear Brake Pad Thickness (excluding back plate)New: 0.354"/9 mm
Service limit: 0.078"/2 mmParking brakeElectrically actuated parking brake
integrated into rear caliper
Suspension
FrontIndependent, double wishbone, coil
spring/telescopic damper, sway barRearIndependent, multi-link, coil spring/
telescopic damper
Battery - 12V
Rating33 amp hour or higherVoltage and Polarity12V negative (-) ground
Battery - High Voltage
TypeLiquid-cooled lithium ion (Li-ion)
Subsystems
136Model 3 Owner
Page 162 of 165

Home location 98HomeLinkFCC certification 156
programming and using 101
hood 14
horn 37
hub caps 115
I
IC
certifications 155identification labels 130
interiorcleaning 120
dimensions 134
lights 45
overview 2
temperature control 86
Internet radio 91
J
J1772 106
jacking 126
jump starting 148
K
keyFCC and IC certifications 155
key card 7
keyless entry 9
keysdeleting phone authenticated phones 7
displaying a list of 7
overview 6
L
labelTire and Loading Information 131
vehicle certification 131
lane assist 74
lane change, automatic 70
lane departure warning 74
LATCH child seats, installing 26
lifting 126
lightshazard warning 47
headlights after exit 46
turn signals 46
load limits 131
location tracking 95
locking 9
lug nut covers 116
lumbar adjustment (premium)
18
Mmaintenancebrake fluid, checking 124
cleaning 119
daily and monthly checks 112
fluid replacement intervals 112
panel, removing 124
replacing wiper blades 122
service intervals 112
tires 113
washer
fluid, topping up 125
washer jets, cleaning 122
map orientation 95
map updates 98
mats 121
media 90
mileage upon delivery 153
mirrors 38
mobile app 7
Mobile Connectordescription 106
using 108
modifications 127
my car does what? 150
N naming 85
navigating 95
NCC
certifications 155
Neutral gear 41
NHTSA, contacting 154
O occupancy sensor 32
odometer 5
offset from speed limit 79
Online Routing 97
opening hood without power 148
overhang dimensions 134
overtake acceleration 61
Owner Information, about 151
P Park Assist 52
Park gear 41
parking brake 50
parking, automatic 72
parts replacement 127
passenger detection 32
Index
160Model 3 Owner
Page 163 of 165

passenger front airbag 32phoneauthenticating as a key 6
pairing and using 93
removing as a key 7
phone key 6
PIN 34
power socket 17
power windows 11
powering on and
off 39
Proposition 65 153
public charging stations 106
R radar 58
radio 90
Radio Frequency information 155
rangeregenerative braking 49
range assurance 55
Re-route 97
rear seats, folding and raising 19
rear view camera 56
rear window switches, disabling 11
Recent (Media Player) 91
Recents (navigation) 95
regenerative braking 49
relative speed limit 79
release notes 104
restarting the touchscreen 39
Reverse gear 41
RFID transponders 127
roadside assistance 145
roof racks 133
rotating tires 114
Round Trip Energy (navigating) 97
Routing Preferences 97
S safety defects, reporting 154
safety informationairbags 33
child seats 28
seat belts 23seat beltscleaning 120
in a collision 22
overview of 21
pre-tensioners 22
wearing when pregnant 22
seat covers 20
seat heaters 86, 89
seating capacity 131
seatsadjusting 18seats (continued)heaters 86
security settings 100
sensors 58
service data recording 152
service intervals 112
shifting gears 41
side collision warning 74
slip start 51
smartphoneauthenticating as a key 6
removing as a key 7
software updates 104
software version 5
specificationscargo volume 135
dimensions 134
exterior 134
interior 134
tires 138
weights 135
wheels 138
speed assist 79
speed limit warning 79
stability control 51
starting 39
steering wheeladjusting position 36
adjusting sensitivity 36
buttons 36
lights, controlling 45
scroll buttons 36
steering, automatic 67
Streaming radio 91
summer tires 116
superchargingdescribed 111
idle fees 111
pay-per-use fees 111
suspension specifications 136
T telematics 152
temperatureBattery (high voltage), limits 107
cabin, controls for 86
outside 42
tires 141
tie-down straps 147
Tire and Loading Information label 131
tire noise 116
Tire Pressure Monitoring SystemFCC certification 156
overview of 117
tire pressures, checking 113
tiresall-season 116
Index
Index161