Page 70 of 165
In most cases, Autosteer attempts to centerModel 3 in the driving lane. However, if the
sensors detect the presence of an obstacle (such as a vehicle or guard rail), Autosteer
may steer Model 3 in a driving path that is
offset from the center of the lane.
Warning: Autosteer is not designed to,
and will not, steer Model 3 around objects
partially or completely in the driving lane.
Always watch the road in front of you and stay prepared to take appropriate action.It is the driver
Page 72 of 165
Warning: Auto Lane Change is designed
to be used only when driving on
restricted-access highways (i.e. with on-
ramps and
off-ramps).
If you have purchased the optional Enhanced Autopilot or Full Self-Driving Capabilitypackages, you can use Auto Lane Change to
move Model 3 into an adjacent lane without
moving the steering wheel (which would
cancel Autosteer). When both
Traffic-AwareCruise Control and Autosteer are active, Auto
Lane Change intelligently steers Model 3 into an adjacent driving lane. Using the forwardlooking camera(s), the radar sensor, and
ultrasonic sensors, Model 3 detects lane markings and the presence of other vehicles.
Auto Lane Change is designed for use on
restricted-access highways with visible lane markings and under relatively predictable
circumstances in which minimal steering and
driver intervention is needed.
Warning: It is the driver
Page 78 of 165
The following collision avoidance features are
designed to increase the safety of you and your passengers:
Page 79 of 165

Warning: Forward Collision Warning may
provide a warning in situations where the
likelihood of collision may not exist. Stay
alert and always pay attention to the area
in front of Model 3 so you can anticipate whether any action is required.Warning: Forward Collision Warning
operates only when driving between
approximately 7 mph (10 km/h) and 90
mph (150 km/h).Warning: Forward Collision Warning does
not provide a warning when the driver is
already applying the brake.
Automatic Emergency Braking
The forward looking camera(s) and the radar
sensor are designed to determine the distance
from an object (vehicle, motorcycle, bicycle, or
pedestrian) traveling in front of Model 3.
When a frontal collision is considered
unavoidable, Automatic Emergency Braking is
designed to apply the brakes to reduce the
severity of the impact.
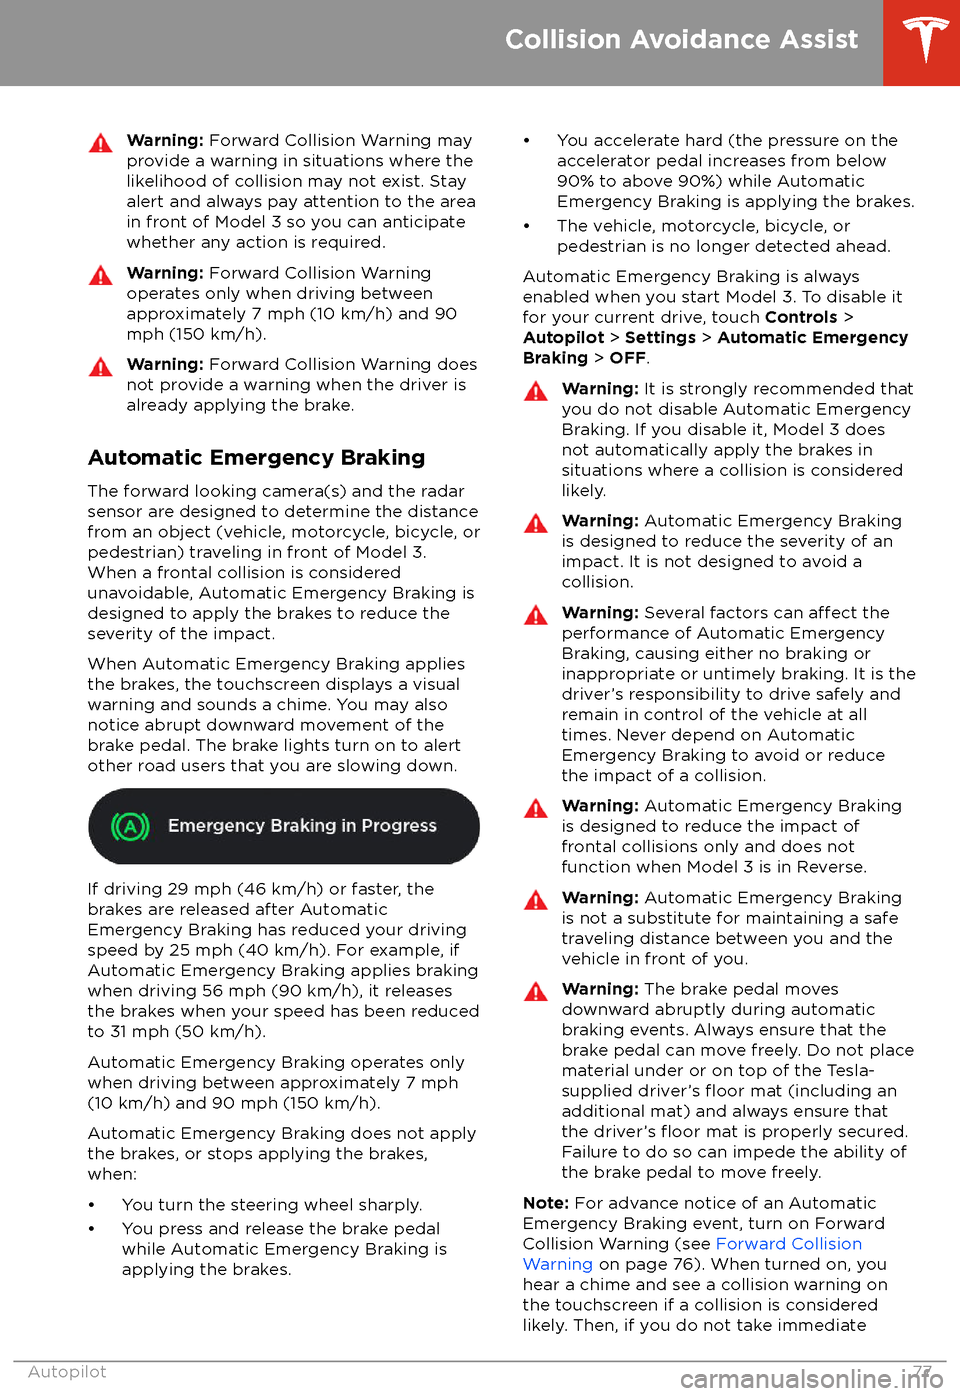
When Automatic Emergency Braking applies
the brakes, the touchscreen displays a visual
warning and sounds a chime. You may also
notice abrupt downward movement of the
brake pedal. The brake lights turn on to alert
other road users that you are slowing down.
If driving 29 mph (46 km/h) or faster, the
brakes are released after Automatic
Emergency Braking has reduced your driving
speed by 25 mph (40 km/h). For example, if
Automatic Emergency Braking applies braking
when driving 56 mph (90 km/h), it releases
the brakes when your speed has been reduced to 31 mph (50 km/h).
Automatic Emergency Braking operates only
when driving between approximately 7 mph (10 km/h) and 90 mph (150 km/h).
Automatic Emergency Braking does not apply the brakes, or stops applying the brakes,when:
Page 108 of 165
Charging EquipmentCharging equipment designed
specifically to
charge your Model 3 is available from Tesla. A
Tesla Wall Connector, which installs in your
garage, is the fastest way to charge Model 3 at
home.
In several market regions, Model 3 is equipped
with a Mobile Connector and the adapter(s)
you need to plug into commonly used power outlets. When using the Mobile Connector,
first plug the Mobile Connector into the power
outlet, and then plug in Model 3. For more
information about your Mobile Connector, see
the Mobile Connector Owner
Page 113 of 165

8.Set a recurring charging schedule for the
location. When you set a scheduled
charging time, Model 3 displays the set
time when you are parked at the
scheduled location. If, at the scheduled
time, Model 3 is not plugged in at the location, charging starts as soon as you
plug it in, provided you plug it in within six
hours of the scheduled time. If plugged in
after six hours, charging does not start
until the scheduled time on the next day.
To override this setting, touch Start
Charging or Stop Charging (see item 4).
Note: If charging at a Tesla Supercharger, the
charging screen also displays information
about your previous or current Supercharger session (see Supercharger Usage Fees and
Idle Fees on page 111).
Supercharger Usage Fees and Idle Fees
When charging using a Tesla supercharger,
PAID SUPERCHARGING information displays
at the bottom of the charging screen. This
information includes the location, the time
that charging started, and an estimate of how
much the session will cost. When you stop
charging, the
final cost displays until a new
Supercharging session begins.
When charging at a Tesla supercharger, you
are subject to idle fees. Idle fees are designed to encourage drivers to move their vehiclefrom the Supercharger when charging iscomplete and are in
effect whenever at least
half of the Superchargers at a site are
occupied. The Tesla mobile app
notifies you
when charging nears completion, and again when charging is complete. Additional
notifications are sent if idle fees are incurred.
Idle fees are waived if you move your vehicle
within
five minutes of charging completion.
Log into your Tesla Account to view fees and
details about Supercharger sessions, set up a payment method, and make payments. Once a
payment method is saved, fees are
automatically paid from your account.
Charging Instructions
Charging111
Page 118 of 165

Removing and Installing Lug Nut Covers
If your Model 3 is equipped with lug nut covers, you must remove them to access the
lug nuts.
To remove a lug nut cover:
1. Insert the curved part of the lug nut cover
tool (located in your glovebox) into the hole at the base of the Tesla "T".
2. Maneuver the lug nut cover tool so that it
is fully inserted into the hole in the lug nut
cover.
3. Twist the lug nut cover tool so that the
curved part is touching the middle of the
lug nut cover.
4. Firmly pull the lug nut tool away from the
wheel until the lug nut cover is released.
To install the lug nut cover, align it into
position and push firmly until it fully snaps into
place.
Seasonal Tire Types
Summer Tires
Your vehicle may be originally equipped with high performance summer tires or all season
tires. Tesla recommends using winter tires if
driving in cold temperatures or on roads
where snow or ice may be present. Contact Tesla for winter tire recommendations.Warning: In cold temperatures or on
snow or ice, summer tires do not provide adequate traction. Selecting and installingthe appropriate tires for winter conditions
is important to ensure the safety and
optimum performance of your Model 3.
All-Season Tires
Your Model 3 may be originally equipped with
all-season tires. These tires are designed to provide adequate traction in most conditions
year-round, but may not provide the same level of traction as winter tires in snowy or icy
conditions. All-season tires can be
identifiedby “ALL SEASON" and/or "M+S” (mud and
snow) on the tire sidewall.
Winter Tires
Use winter tires to increase traction in snowy
or icy conditions. When installing winter tires,
always install a complete set of four tires at
the same time. Winter tires must be the same
size, brand, construction and tread pattern on all four wheels. Contact Tesla for winter tire
recommendations.
Winter tires can be identified by amountain/snowflake symbol on the
tire
Page 122 of 165

Cleaning the Interior
Frequently inspect and clean the interior to maintain its appearance and to prevent
premature wear. If possible, immediately wipe up spills and remove marks. For general
cleaning, wipe interior surfaces using a soft
cloth (such as
microfiber) dampened with a
mixture of warm water and mild non-
detergent cleaner (test all cleaners on a
concealed area before use). To avoid streaks,
dry immediately with a soft lint-free cloth.
Interior Glass
Do not scrape, or use any abrasive cleaning
fluid on glass or mirrored surfaces. This can
damage the reflective surface of the mirror
and the heating elements in the rear window.
Airbags
Do not allow any substance to enter an airbag
cover. This could
affect correct operation.
Dashboard and Plastic Surfaces
Do not polish the upper surfaces of the
dashboard. Polished surfaces are
reflectiveand could interfere with your driving view.
Polyurethane Seats
Wipe spills as soon as possible using a soft
cloth moistened with warm water and non-
detergent soap. Wipe gently in a circular
motion. After cleaning, allow the seats to air
dry.
Cloth Seats
Wipe spills as soon as possible using a soft
cloth moistened with warm water and non-
detergent soap. Wipe gently in a circular
motion. Then wipe dry using a soft, lint-free
cloth. Vacuum the seats as needed to remove
any loose dirt.
Carpets
Avoid over-wetting carpets. For heavily soiled
areas, use a diluted upholstery cleaner.
Seat Belts
Extend the belts to wipe. Do not use any type
of detergent or chemical cleaning agent.
Allow the belts to dry naturally while
extended, preferably away from direct
sunlight.
Touchscreen
Clean the touchscreen using a soft lint-free
cloth
specifically designed to clean monitors
and displays. Do not use cleaners (such as a glass cleaner) and do not use a wet wipe or a
dry statically-charged cloth (such as a recently washed
microfiber). To wipe the
touchscreen without activating buttons and
changing settings, you can enable clean mode.
Touch Controls > Display > Screen Clean
Mode . The display darkens to make it easy to
see dust and smudges.
Chrome and Metal Surfaces
Polish, abrasive cleaners or hard cloths can
damage the
finish on chrome and metal
surfaces.
Cautions for Interior Cleaning
Caution: Using solvents (including
alcohol), bleach, citrus, naphtha, or silicone-based products or additives on
interior components can cause damage.Caution: Statically-charged materials can
cause damage to the touchscreen.Warning: If you notice any damage on an
airbag or seat belt, contact Tesla
immediately.Warning: Do not allow any water,
cleaners, or fabric to enter a seat belt
mechanism.Warning: Exposure to chemical cleaners
can be hazardous and can irritate eyes
and skin. Read and observe the
instructions provided by the
manufacturer of the chemical cleaner.
Polishing, Touch Up, and Body
Repair
To preserve the cosmetic appearance of the
body, you can occasionally treat the paint
surfaces with an approved polish containing: