2018 Ram ProMaster lock
[x] Cancel search: lockPage 113 of 204

3. Pull the spare tire out from under thevehicle to gain access to the spare tire
retainer. 4. Lift the spare tire with one hand to give
clearance to tilt the retainer at the end of
the cable.
5. Pull the retainer through the center of the wheel.
Preparations For Jacking
1. Park the vehicle on a firm, level surface.
Avoid ice or slippery areas.
WARNING!
Do not attempt to change a tire on the side
of the vehicle close to moving traffic, pull
far enough off the road to avoid being hit
when operating the jack or changing the
wheel.
2. Turn on the Hazard Warning flasher.
3. Apply the parking brake firmly.
4. Place the transmission in PARK (RE- VERSE for manual transmission) .
5. Turn the ignition OFF.
6. Block both the front and rear of the wheel diagonally opposite the jacking position.
For example, if the right front wheel is
being changed, block the left rear wheel.
Lowering Spare Tire
Spare Tire
Retainer
111
Page 114 of 204

NOTE:
Passengers should not remain in the vehicle
when the vehicle is being jacked.
Jacking Instructions
WARNING!
Carefully follow these tire changing warn-
ings to help prevent personal injury or
damage to your vehicle:
• Always park on a firm, level surface asfar from the edge of the roadway as
possible before raising the vehicle.
WARNING!
• Turn on the Hazard Warning flashers.
• Block the wheel diagonally opposite thewheel to be raised.
• Set the parking brake firmly and set an
automatic transmission in PARK; a
manual transmission in REVERSE.
• Never start or run the engine with the
vehicle on a jack.
• Do not let anyone sit in the vehicle when
it is on a jack.
• Do not get under the vehicle when it is
on a jack. If you need to get under a
raised vehicle, take it to a service center
where it can be raised on a lift.
• Only use the jack in the positions indi-
cated and for lifting this vehicle during a
tire change.
• If working on or near a roadway, be
extremely careful of motor traffic.
• To assure that spare tires, flat or in-
flated, are securely stowed, spares must
be stowed with the valve stem facing the
ground.
CAUTION!
Do not attempt to raise the vehicle by
jacking on locations other than those indi-
cated in the Jacking Instructions for this
vehicle.
Wheel Blocked
Jack Warning Label
IN CASE OF EMERGENCY
112
Page 117 of 204

CAUTION!
Be sure to mount the spare tire with the
valve stem facing outward. The vehicle
could be damaged if the spare tire is
mounted incorrectly.NOTE:
Do not install the wheel cover on the spare
tire.
7. Lower the vehicle by turning the jack screw to the left.
8. Refer to “Wheel And Tire Torque Specifi- cations” in “Technical Specifications” for
proper wheel lug bolt torque.
9. Lower the jack to its fully-closed position.
10. Stow the damaged wheel/spare tire with the cable and wheel spacer before driv-
ing the vehicle.
11. Install the winch extension and rotate the
wrench handle clockwise until the winch
mechanism operator hears “3 clicks” from
the device to indicate the wheel is properly
stowed under the vehicle. 12. Stow the jack, jack handle and winch
handle tools back in the storage
compartment.
WARNING!
A loose tire or jack thrown forward in a
collision or hard stop could endanger the
occupants of the vehicle. Always stow the
jack parts and the spare tire in the places
provided. Have the deflated (flat) tire re-
paired or replaced immediately.
13. Check the spare tire pressure as soon as possible. Correct the tire pressure, as
required.
For vehicles with aluminum wheels:
The center cap must be pushed out from the
rear to install the retainer and stow the tire.
Wheel Covers
CAUTION!
Use a back-and-forth motion to remove the
hub cap. Do not use a twisting motion when
removing the hub cap, damage to the hub
cap finish may occur.
The wheel covers on the vehicle are held in
place by the wheel lug bolts and can be
removed after the wheel lug bolts are taken
off.
JUMP STARTING
If your vehicle has a discharged battery, it can
be jump started using a set of jumper cables
and a battery in another vehicle or by using a
portable battery booster pack. Jump starting
can be dangerous if done improperly, so
please follow the procedures in this section
carefully.
NOTE:
When using a portable battery booster pack,
follow the manufacturer’s operating instruc-
tions and precautions.
115
Page 163 of 204

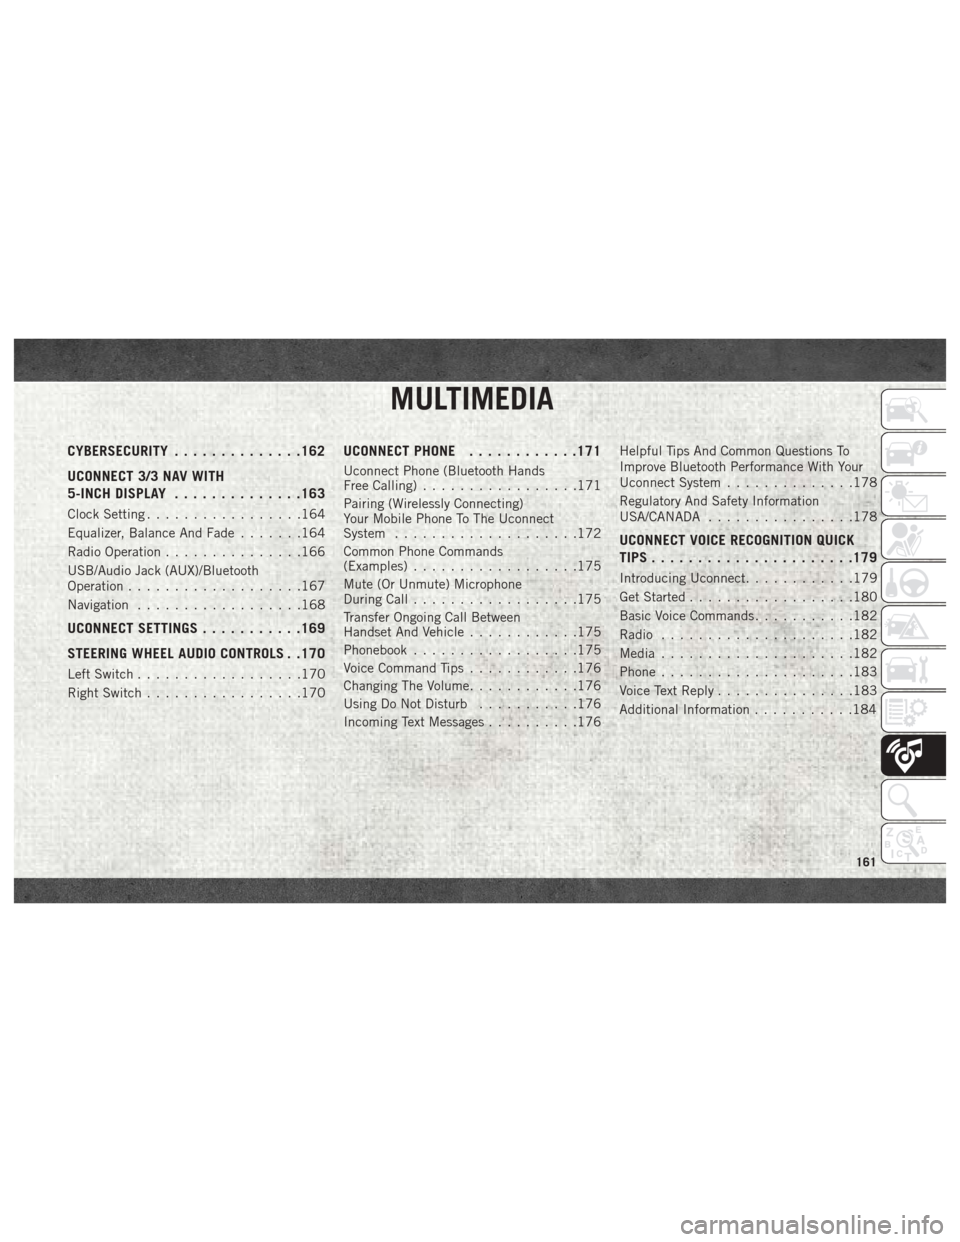
MULTIMEDIA
CYBERSECURITY..............162
UCONNECT 3/3 NAV WITH
5-INCH DISPLAY ..............163
Clock Setting.................164
Equalizer, Balance And Fade .......164
Radio Operation ...............166
USB/Audio Jack (AUX)/Bluetooth
Operation ...................167
Navigation ..................168
UCONNECT SETTINGS ...........169
STEERING WHEEL AUDIO CONTROLS . .170
Left Switch ..................170
Right Switch .................170
UCONNECT PHONE ............171
Uconnect Phone (Bluetooth Hands
Free Calling).................171
Pairing (Wirelessly Connecting)
Your Mobile Phone To The Uconnect
System ....................172
Common Phone Commands
(Examples) ..................175
Mute (Or Unmute) Microphone
During Call ..................175
Transfer Ongoing Call Between
Handset And Vehicle ............175
Phonebook ..................175
Voice Command Tips ............176
Changing The Volume ............176
Using Do Not Disturb ...........176
Incoming Text Messages ..........176Helpful Tips And Common Questions To
Improve Bluetooth Performance With Your
Uconnect System
..............178
Regulatory And Safety Information
USA/CANADA ................178
UCONNECT VOICE RECOGNITION QUICK
TIPS..................... .179
Introducing Uconnect............179
Get Started ..................180
Basic Voice Commands ...........182
Radio .....................182
Media .....................182
Phone .....................183
Voice Text Reply ...............183
Additional Information ...........184
MULTIMEDIA
161
Page 166 of 204

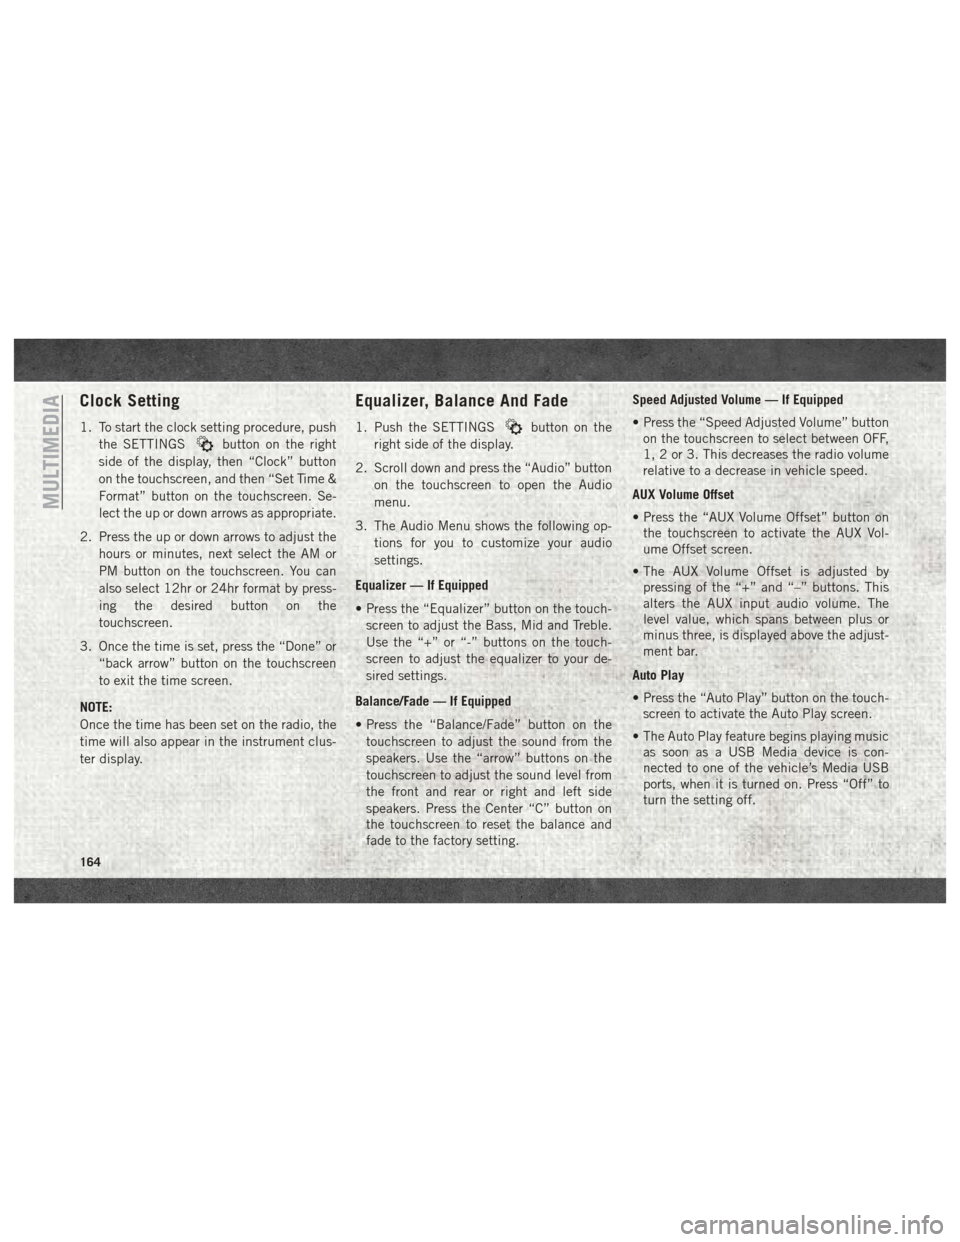
Clock Setting
1. To start the clock setting procedure, pushthe SETTINGS
button on the right
side of the display, then “Clock” button
on the touchscreen, and then “Set Time &
Format” button on the touchscreen. Se-
lect the up or down arrows as appropriate.
2. Press the up or down arrows to adjust the hours or minutes, next select the AM or
PM button on the touchscreen. You can
also select 12hr or 24hr format by press-
ing the desired button on the
touchscreen.
3. Once the time is set, press the “Done” or “back arrow” button on the touchscreen
to exit the time screen.
NOTE:
Once the time has been set on the radio, the
time will also appear in the instrument clus-
ter display.
Equalizer, Balance And Fade
1. Push the SETTINGSbutton on the
right side of the display.
2. Scroll down and press the “Audio” button on the touchscreen to open the Audio
menu.
3. The Audio Menu shows the following op- tions for you to customize your audio
settings.
Equalizer — If Equipped
• Press the “Equalizer” button on the touch- screen to adjust the Bass, Mid and Treble.
Use the “+” or “-” buttons on the touch-
screen to adjust the equalizer to your de-
sired settings.
Balance/Fade — If Equipped
• Press the “Balance/Fade” button on the touchscreen to adjust the sound from the
speakers. Use the “arrow” buttons on the
touchscreen to adjust the sound level from
the front and rear or right and left side
speakers. Press the Center “C” button on
the touchscreen to reset the balance and
fade to the factory setting. Speed Adjusted Volume — If Equipped
• Press the “Speed Adjusted Volume” button
on the touchscreen to select between OFF,
1, 2 or 3. This decreases the radio volume
relative to a decrease in vehicle speed.
AUX Volume Offset
• Press the “AUX Volume Offset” button on the touchscreen to activate the AUX Vol-
ume Offset screen.
• The AUX Volume Offset is adjusted by pressing of the “+” and “–” buttons. This
alters the AUX input audio volume. The
level value, which spans between plus or
minus three, is displayed above the adjust-
ment bar.
Auto Play
• Press the “Auto Play” button on the touch- screen to activate the Auto Play screen.
• The Auto Play feature begins playing music as soon as a USB Media device is con-
nected to one of the vehicle’s Media USB
ports, when it is turned on. Press “Off” to
turn the setting off.
MULTIMEDIA
164
Page 171 of 204

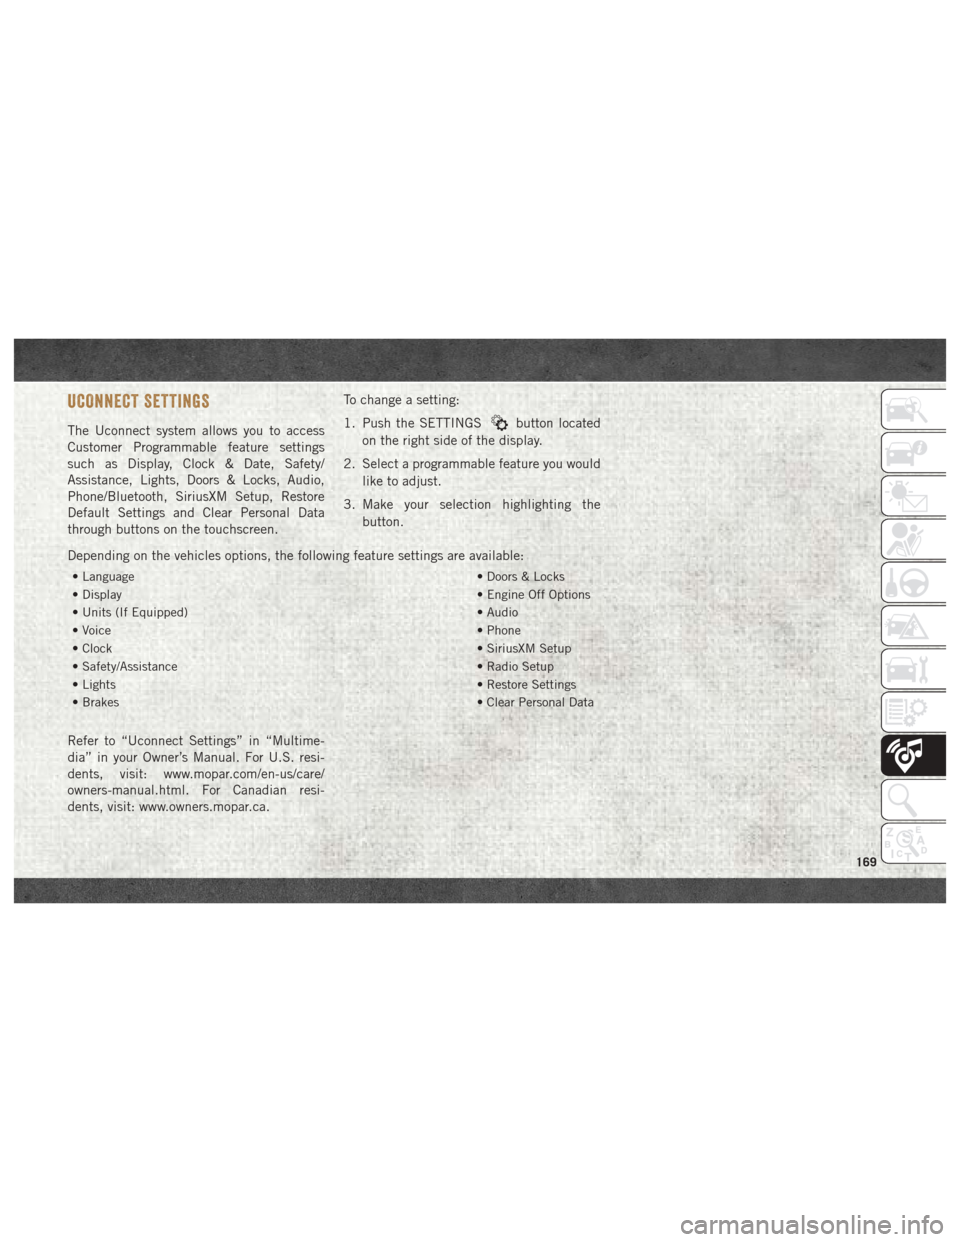
UCONNECT SETTINGS
The Uconnect system allows you to access
Customer Programmable feature settings
such as Display, Clock & Date, Safety/
Assistance, Lights, Doors & Locks, Audio,
Phone/Bluetooth, SiriusXM Setup, Restore
Default Settings and Clear Personal Data
through buttons on the touchscreen.To change a setting:
1. Push the SETTINGSbutton located
on the right side of the display.
2. Select a programmable feature you would like to adjust.
3. Make your selection highlighting the button.
Depending on the vehicles options, the following feature settings are available:
• Language • Doors & Locks
• Display • Engine Off Options
• Units (If Equipped) • Audio
• Voice • Phone
• Clock • SiriusXM Setup
• Safety/Assistance • Radio Setup
• Lights • Restore Settings
• Brakes • Clear Personal Data
Refer to “Uconnect Settings” in “Multime-
dia” in your Owner’s Manual. For U.S. resi-
dents, visit: www.mopar.com/en-us/care/
owners-manual.html. For Canadian resi-
dents, visit: www.owners.mopar.ca.
169
Page 191 of 204

Accessories..................160
Mopar ...................160
Adding Fuel ..................92
Additives, Fuel ................92
AirBag .....................56 Air Bag Operation .............57
Air Bag Warning Light ..........55
Enhanced Accident Response . . . .122
Event Data Recorder (EDR) ......122
If A Deployment Occurs .........61
Maintaining Your Air Bag System . . .63
Side Air Bags ...............58
Transporting Pets ............69
Air Bag Light ............34, 55, 70
Air Bag Maintenance .............63
Air Conditioning Filter ............24
Air Conditioning, Operating Tips ......23
Air Pressure, Tires ..............143
Antifreeze (Engine Coolant) ........155
Anti-Lock Warning Light ...........39
Automated Manual Transmission ......81
Fluid Type ................159
Automatic Transmission Fluid Type ................157 Back-Up
....................91
Back-Up Camera ...............91
Battery .....................35
Charging System Light .........35
Belts, Seat ...................70
B-Pillar Location ..............139
Brake Fluid ..............157, 159
Brake System Warning Light ...............34
Bulb Replacement .............100
Bulbs, Light ...............72, 100
Camera .....................91
Capacities, Fluid ..............155
Caps, Filler Fuel ....................91
Oil (Engine) ...............132
Carbon Monoxide Warning ..........69
Changing A Flat Tire .........108, 134
Chart, Tire Sizing ..............135
Checking Your Vehicle For Safety .....69
Checks, Safety .................69
Child Restraint ................64
Child
Restraints
Booster Seats ...............66 Child Restraints
..............64
Child Seat Installation ..........68
Infants And Child Restraints ......65
Older Children And Child Restraints. .66
Cleaning Wheels ..................149
Climate Control ................19
Clock Setting .................164
Compact Spare Tire .............147
Contract, Service ..............187
Cooling System Coolant Capacity ............155
Selection Of Coolant
(Antifreeze) ........155, 156, 157
Cruise Light ..................41
Customer Assistance ............186
Customer Programmable Features . . . .169
Defroster, Windshield ............70
Diagnostic System, Onboard ........42
Diesel Exhaust Fluid (DEF) ........157
Diesel Fuel ..................157
Diesel Fuel Requirements .........157
Dimmer Switch, Headlight .........17
Disabled Vehicle Towing ..........121
INDEX
189
Page 194 of 204

Presets..................166
Radio Frequency General Information ...........13
Radio Operation ...............166
Radio (Sound Systems) ..........182
Rear Camera ..................91
Rear Seat, Folding ..............13
Recreational Towing .............96
Release, Hood .................24
Reminder, Seat Belt .............48
Replacement Bulbs .............100
Replacement Tires .............145
Reporting Safety Defects .........187
Restraint, Head ................14
Restraints, Child ...............64
Roll Over Warning ...............2
Safety Checks Inside Vehicle ........70
Safety Checks Outside Vehicle .......72
Safety Defects, Reporting .........187
Safety, Exhaust Gas .............69
Safety Information, Tire ..........134
Safety Tips ...................69
Schedule, Maintenance .......124, 128
Seat Belt Adjustable Upper Shoulder Belt
Anchorage .................51 Automatic Locking Retractor (ALR) . .53
Energy Management Feature
......53
Lap/Shoulder Belt Operation ......50
Lap/Shoulder Belts ............49
Lap/Shoulder Belt Untwisting .....51
Pregnant Women .............52
Seat Belt Pretensioner .........53
Seat Belt Reminder ...........48
Seat Belt Reminder ..............48
Seat Belts .................48, 70
Adjustable Shoulder Belt ........51
Adjustable Upper Shoulder
Anchorage .................51
Child Restraint ..............64
Front Seat ............48, 49, 50
Inspection .................70
Operating Instructions .........50
Pregnant Women .............52
Pretensioners ...............53
Rear Seat .................49
Untwisting Procedure ..........51
Seats ......................13
Adjustment ................13
Easy
Entry .................13
Heated ...................13
Memory ..................13
Rear Folding ...............13 Seatback Release
............13
Tilting ...................13
Vented ...................13
Ventilated .................13
Selection Of Coolant (Antifreeze) .............156, 157
Service Assistance .............186
Service Contract ...............187
Service Manuals ...............188
Shift Lever Override .............119
Shoulder Belts .................49
Signals, Turn ...............41, 72
Snow Tires ..................147
Spare Tire ............147, 148, 149
Spark Plugs .................156
Speed Control Accel/Decel ................90
Speed Control (Cruise Control) .......89
Starting .....................74
Starting Procedures ..............74
Starting Procedures (Diesel Engines) . . .74
Steering .....................16
Column Lock ...............16
Steering Wheel Audio Controls ......170
Storage, Vehicle ................23
INDEX
192