2018 Ram ProMaster City lock
[x] Cancel search: lockPage 106 of 180

2. Connect the opposite end of the positive(+) jumper cable to the positive (+)post of
the booster battery.
3. Connect the negative (-)end of the jumper
cable to the negative (-)post of the
booster battery.
4. Connect the opposite end of the negative (-)jumper cable to a good engine ground
(exposed metal part of the discharged
vehicle’s engine) away from the battery
and the fuel injection system.
WARNING!
Do not connect the jumper cable to the
negative (-) post of the discharged battery.
The resulting electrical spark could cause
the battery to explode and could result in
personal injury. Only use the specific
ground point, do not use any other exposed
metal parts.
5. Start the engine in the vehicle that has the booster battery, let the engine idle a
few minutes, and then start the engine in
the vehicle with the discharged battery. 6. Once the engine is started, remove the
jumper cables in the reverse sequence:
Disconnecting The Jumper Cables
1. Disconnect the negative (-)end of the
jumper cable from the engine ground of
the vehicle with the discharged battery.
2. Disconnect the opposite end of the nega- tive (-)jumper cable from the negative (-)
post of the booster battery.
3. Disconnect the positive (+)end of the
jumper cable from the positive (+)post of
the booster battery.
4. Disconnect the opposite end of the posi- tive (+)jumper cable from the positive (+)
post of the vehicle with the discharged
battery.
If frequent jump-starting is required to start
your vehicle you should have the battery and
charging system inspected at an authorized
dealer.
CAUTION!
Accessories plugged into the vehicle
power outlets draw power from the vehi-
cle’s battery, even when not in use (i.e.,
cellular devices, etc.). Eventually, if
plugged in long enough without engine
operation, the vehicle’s battery will dis-
charge sufficiently to degrade battery life
and/or prevent the engine from starting.
IGNITION KEY REMOVAL OVERRIDE
This vehicle is equipped with a Key Ignition
Park Interlock which requires the transmis-
sion to be in PARK before the ignition switch
can be turned to the LOCK/OFF (key removal)
position. To remove the key manually, pro-
ceed as follows:
1. Firmly apply the parking brake.
2. Remove the Allen Key located in the rear cargo area, in the tool bag (if equipped) or
on the left side in the cargo box.
3. Unlock the steering column, pull the tilt/ telescoping control handle down.IN CASE OF EMERGENCY
104
Page 107 of 180

4. Pull the steering wheel outward until it isin the end of the travel position, then lock
the steering column in position, push the
control handle up until fully engaged.
5. Using the Allen Key, undo the lower steer- ing column cover screws, and remove the
lower cover.
6. Pull the release tab downwards using one hand and with the other one remove the
key, sliding it outwards.
7. Once the key is removed, reinstall the steering column cover.
CAUTION!
It is advisable to contact your authorized
dealer to have the reinstall procedure car-
ried out. If you would like to proceed in
performing the reinstall procedure special
attention must be paid to the correct cou-
pling of the clips. Otherwise damage to the
cover or noise might be heard due to incor-
rect fastening of the lower cover.
GEAR SELECTOR OVERRIDE
If a malfunction occurs and the gear selector
cannot be moved out of the PARK position,
you can use the following procedure to tem-
porarily move the gear selector:
1. Turn the engine OFF.
2. Firmly apply the parking brake.
3. Using a screwdriver or similar tool, care-
fully separate the gear selector boot from
the center console. 4. Press and maintain firm pressure on the
brake pedal.
5. Insert a small screwdriver or a similar tool into the gear selector override access hole
(at the right front corner of the gear selec-
tor assembly), then push and hold the
override release lever down. While holding
the override release lever down, push the
lock button on the gear selector and move
the gear selector to the NEUTRAL
position.
Gear Selector Boot LocationGear Selector Override Access Hole
105
Page 108 of 180

6. The vehicle may then be started inNEUTRAL.
7. Reinstall the gear selector boot.
IF YOUR ENGINE OVERHEATS
In any of the following situations, you can
reduce the potential for overheating by taking
the appropriate action.
• On the highways — slow down.
• In city traffic — while stopped, place the transmission in NEUTRAL, but do not in-
crease the engine idle speed while prevent-
ing vehicle motion with the brakes.
NOTE:
There are steps that you can take to slow
down an impending overheat condition:
• If your air conditioner (A/C) is on, turn it off. The A/C system adds heat to the engine
cooling system and turning the A/C off can
help remove this heat. • You can also turn the temperature control
to maximum heat, the mode control to floor
and the blower control to high. This allows
the heater core to act as a supplement to
the radiator and aids in removing heat from
the engine cooling system.
WARNING!
You or others can be badly burned by hot
engine coolant (antifreeze) or steam from
your radiator. If you see or hear steam
coming from under the hood, do not open
the hood until the radiator has had time to
cool. Never try to open a cooling system
pressure cap when the radiator or coolant
bottle is hot.
CAUTION!
Driving with a hot cooling system could
damage your vehicle. If the temperature
gauge reads HOT (H), pull over and stop
the vehicle. Idle the vehicle with the air
conditioner turned off until the pointer
drops back into the normal range. If the
pointer remains on HOT (H), and you hear
CAUTION!
continuous chimes, turn the engine off
immediately and call for service.
FREEING A STUCK VEHICLE
If your vehicle becomes stuck in mud, sand,
or snow, it can often be moved using a rock-
ing motion. Turn the steering wheel right and
left to clear the area around the front wheels.
Push and hold the lock button on the gear
selector. Then shift back and forth between
DRIVE and REVERSE, while gently pressing
the accelerator. Use the least amount of ac-
celerator pedal pressure that will maintain
the rocking motion, without spinning the
wheels or racing the engine.
NOTE:
Shifts between DRIVE and REVERSE can
only be achieved at wheel speeds of 5 mph
(8 km/h) or less. Whenever the transmission
remains in NEUTRAL for more than two sec-
onds, you must press the brake pedal to
engage DRIVE or REVERSE.
IN CASE OF EMERGENCY
106
Page 141 of 180

MOPAR ACCESSORIES
Authentic Accessories By Mopar
• In choosing Authentic Accessories you gainfar more than expressive style, premium
protection, or extreme entertainment, you
also benefit from enhancing your vehicle
with accessories that have been thoroughly
tested and factory-approved. • The following highlights just some of the
many Authentic Ram Accessories by Mopar
featuring a fit, finish, and functionality spe-
cifically for your Ram.
• For the full line of Authentic Ram Accesso- ries by Mopar, visit your local dealership or
online at mopar.com for U.S. residents and
mopar.ca for Canadian residents. NOTE:
All parts are subject to availability.
EXTERIOR:
• Utility Roof Rack
• Side Window Deflector• Hitch Receiver
• Molded Splash Guards • Full Size Spare Tire• Bike Carriers
• Ski Carriers • Water Sports Carriers• Wheel Locks
INTERIOR:
• Premium Carpet Mats • Roadside Safety Kit• Slush Mats
• Floor Liner
ELECTRONICS:
• Rear Backup Camera • Hands Free Phone• Mopar Connect
• Electronic Vehicle Tracking • Cargo Lighting
139
Page 143 of 180

MULTIMEDIA
CYBERSECURITY..............142
UCONNECT 3/3 NAV WITH 5-INCH
DISPLAY .................. .143
Clock Setting.................144
Equalizer, Balance And Fade .......144
Radio Operation ...............146
USB/Audio Jack (AUX)/Bluetooth
Operation ...................147
Navigation ..................148
UCONNECT SETTINGS ...........148
STEERING WHEEL AUDIO CONTROLS . .149
Left Switch ..................149
Right Switch .................149
UCONNECT PHONE ............150
Uconnect Phone (Bluetooth Hands Free
Calling)....................150 Pairing (Wirelessly Connecting) Your
Mobile Phone To The Uconnect
System
....................151
Common Phone Commands
(Examples) ..................154
Mute (Or Unmute) Microphone
During Call ..................154
Transfer Ongoing Call Between Handset
And Vehicle .................154
Phonebook ..................154
Voice Command Tips ............154
Changing The Volume ............155
Using Do Not Disturb ...........155
Incoming Text Messages ..........156
Helpful Tips And Common Questions To
Improve Bluetooth Performance With
Your Uconnect System ...........157 Regulatory And Safety Information
USA/CANADA
................157
UCONNECT VOICE RECOGNITION
QUICK TIPS................ .158
Introducing Uconnect............158
Get Started ..................159
Basic Voice Commands ...........159
Radio .....................160
Media .....................160
Phone .....................160
Voice Text Reply ...............161
General Information .............162
Additional Information ...........162
MULTIMEDIA
141
Page 146 of 180

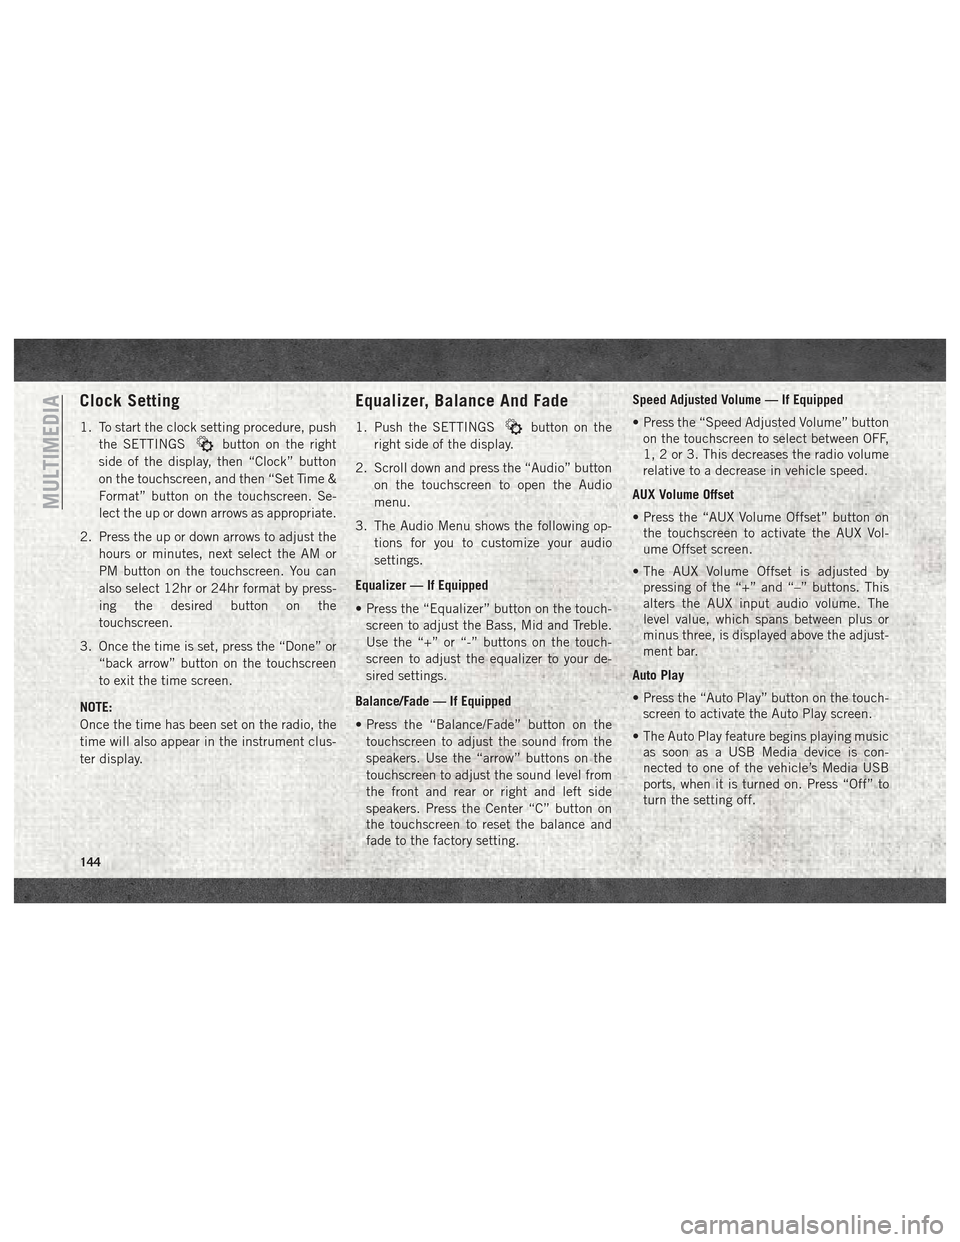
Clock Setting
1. To start the clock setting procedure, pushthe SETTINGS
button on the right
side of the display, then “Clock” button
on the touchscreen, and then “Set Time &
Format” button on the touchscreen. Se-
lect the up or down arrows as appropriate.
2. Press the up or down arrows to adjust the hours or minutes, next select the AM or
PM button on the touchscreen. You can
also select 12hr or 24hr format by press-
ing the desired button on the
touchscreen.
3. Once the time is set, press the “Done” or “back arrow” button on the touchscreen
to exit the time screen.
NOTE:
Once the time has been set on the radio, the
time will also appear in the instrument clus-
ter display.
Equalizer, Balance And Fade
1. Push the SETTINGSbutton on the
right side of the display.
2. Scroll down and press the “Audio” button on the touchscreen to open the Audio
menu.
3. The Audio Menu shows the following op- tions for you to customize your audio
settings.
Equalizer — If Equipped
• Press the “Equalizer” button on the touch- screen to adjust the Bass, Mid and Treble.
Use the “+” or “-” buttons on the touch-
screen to adjust the equalizer to your de-
sired settings.
Balance/Fade — If Equipped
• Press the “Balance/Fade” button on the touchscreen to adjust the sound from the
speakers. Use the “arrow” buttons on the
touchscreen to adjust the sound level from
the front and rear or right and left side
speakers. Press the Center “C” button on
the touchscreen to reset the balance and
fade to the factory setting. Speed Adjusted Volume — If Equipped
• Press the “Speed Adjusted Volume” button
on the touchscreen to select between OFF,
1, 2 or 3. This decreases the radio volume
relative to a decrease in vehicle speed.
AUX Volume Offset
• Press the “AUX Volume Offset” button on the touchscreen to activate the AUX Vol-
ume Offset screen.
• The AUX Volume Offset is adjusted by pressing of the “+” and “–” buttons. This
alters the AUX input audio volume. The
level value, which spans between plus or
minus three, is displayed above the adjust-
ment bar.
Auto Play
• Press the “Auto Play” button on the touch- screen to activate the Auto Play screen.
• The Auto Play feature begins playing music as soon as a USB Media device is con-
nected to one of the vehicle’s Media USB
ports, when it is turned on. Press “Off” to
turn the setting off.
MULTIMEDIA
144
Page 150 of 180

• Push the MEDIA button on the faceplate;press the “Source” button on the touch-
screen then select AUX to change the mode
to the AUX device. If the device is con-
nected in play mode, music from your por-
table device will play through the vehicle's
speakers.
• The functions of the portable device are controlled using the device. However, the
volume may be controlled using the radio or
portable device.
Bluetooth
If using a Bluetooth - equipped device, you
may also be able to stream music through
your vehicle's sound system.
• Push the MEDIA button on the faceplate, press the “Source” button on the touch-
screen then select Bluetooth to change the
mode to Bluetooth. If the device is paired,
music from your portable device plays
through the vehicle's speakers. Uconnect 3/3 NAV Available Media Hubs
Uconnect 3/3 NAV
Media Hub (USB,
AUX Ports)
S
S = Standard Equipment
Navigation
If your vehicle is equipped with Navigation,
there will be a NAV button on the faceplate in
place of the COMPASS button on the face-
plate. See your Uconnect Owner’s Manual
Supplement manual or
www.mopar.com/en-us/
care/owners-manual.html for U.S. residents or
www.owners.mopar.ca for Canadian residents for
additional information.
UCONNECT SETTINGS
The Uconnect system allows you to access
Customer Programmable feature settings
such as Display, Clock & Date, Safety/
Assistance, Lights, Doors & Locks, Audio,
Phone/Bluetooth, SiriusXM Setup, Restore
Default Settings and Clear Personal Data
through buttons on the touchscreen.
To change a setting:
1. Push the SETTINGS
button located
on the right side of the display.
2. Select a programmable feature you would like to adjust.
3. Make your selection highlighting the button.
MULTIMEDIA
148
Page 151 of 180

Depending on the vehicles options, the following feature settings are available:
• Language• Doors & Locks
• Display • Engine Options
• Units (If Equipped) • Audio
• Voice • Phone (If Equipped)
• Clock • SiriusXM Setup (If Equipped)
• Brakes • Radio Setup
• Safety & Driving Assistance (If Equipped) • Restore Settings
• Lights • Clear Personal Data
Refer to “Uconnect Settings” in “Multime-
dia” in your Owner’s Manual on
www.mopar.com/en-us/care/owners-manual.html
(U.S. Residents) or www.owners.mopar.ca
(Canadian Residents) for further information.
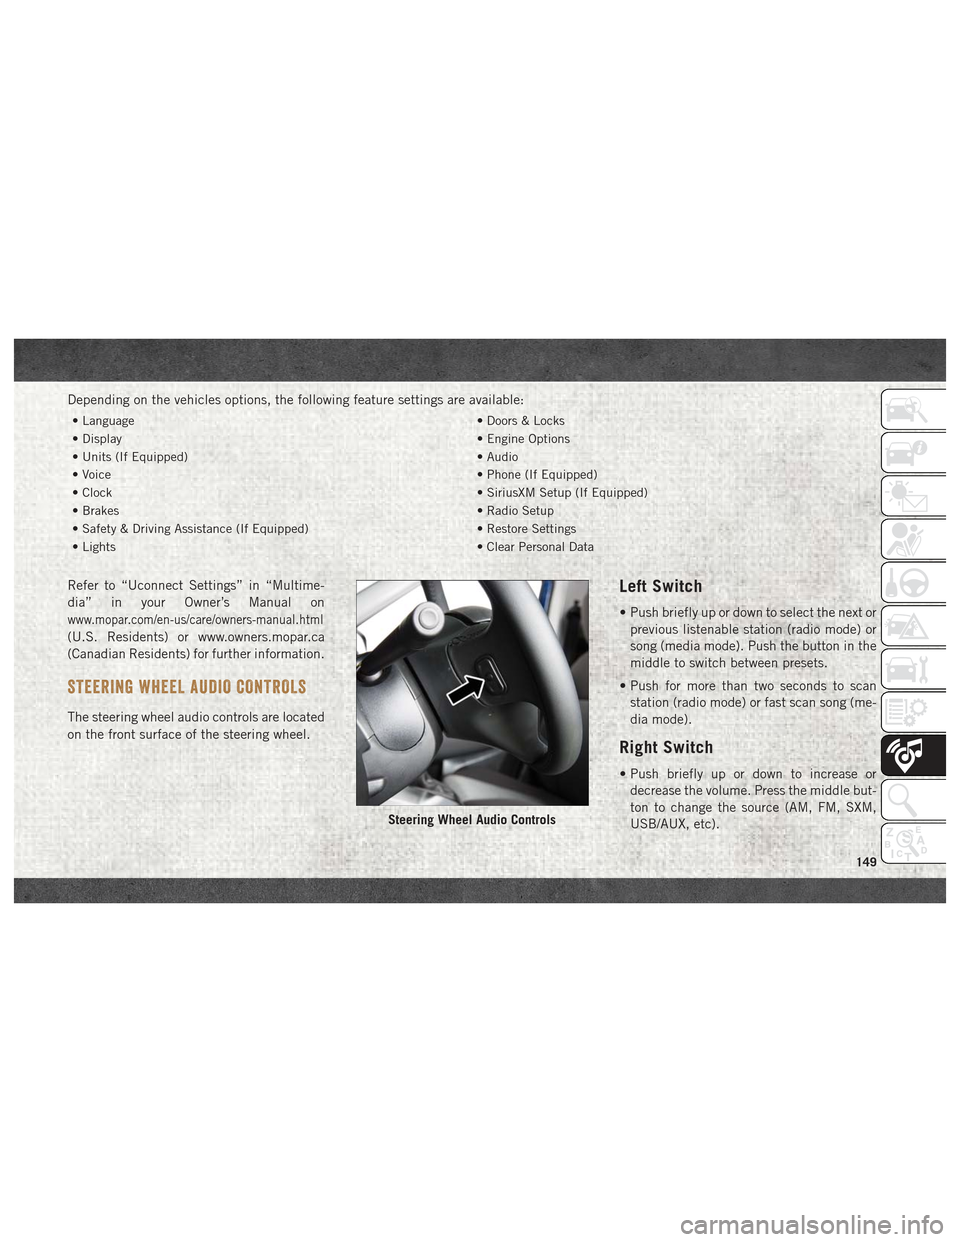
STEERING WHEEL AUDIO CONTROLS
The steering wheel audio controls are located
on the front surface of the steering wheel.
Left Switch
• Push briefly up or down to select the next or
previous listenable station (radio mode) or
song (media mode). Push the button in the
middle to switch between presets.
• Push for more than two seconds to scan station (radio mode) or fast scan song (me-
dia mode).
Right Switch
• Push briefly up or down to increase ordecrease the volume. Press the middle but-
ton to change the source (AM, FM, SXM,
USB/AUX, etc).
Steering Wheel Audio Controls
149