2018 PEUGEOT 108 check engine
[x] Cancel search: check enginePage 103 of 180
101
Topping up the engine oil level
The location of the oil filler cap is shown in the
corresponding underbonnet layout view.
F
U
nscrew the oil filler cap to access the filler
opening.
F
A
dd oil in small quantities, avoiding any
spills on engine components (risk of fire).
F
W
ait a few minutes before checking the
level again using the dipstick.
F
A
dd more oil if necessary.
F
A
fter checking the level, carefully refit the oil
filler cap and the dipstick in its tube.
Engine oil change
In order to maintain the reliability of the engine
and emissions control system, never use
additives in the engine oil.
Brake fluid level
The fluid level should be close to the
"MA X" mark. If it is not, check the
brake pad wear.
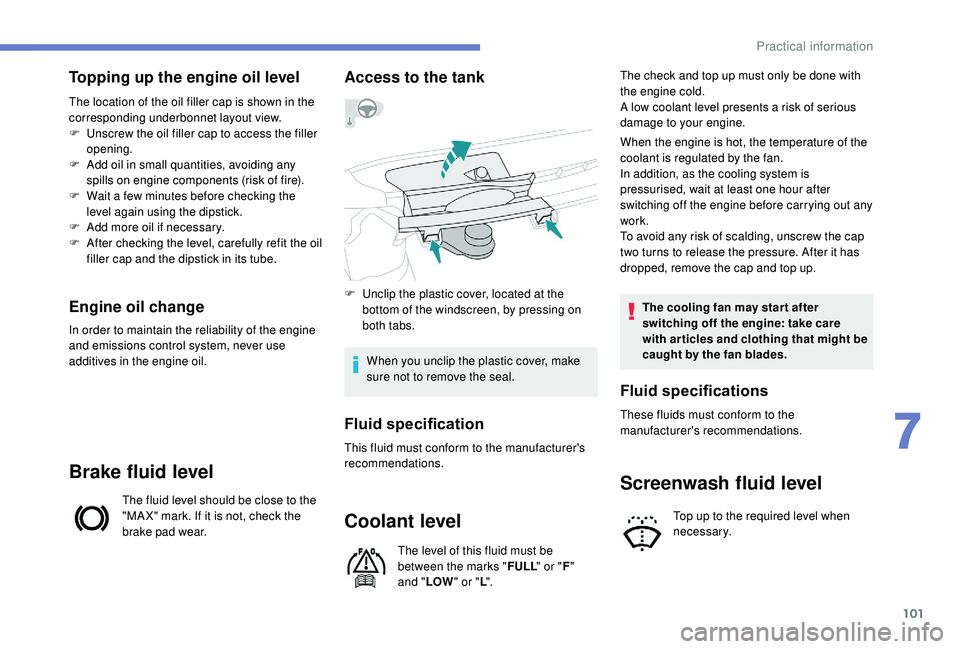
Access to the tank
F Unclip the plastic cover, located at the bottom of the windscreen, by pressing on
both tabs.
When you unclip the plastic cover, make
sure not to remove the seal.
Fluid specification
This fluid must conform to the manufacturer's
recommendations.
Coolant level
The level of this fluid must be
between the marks " FULL" or "F"
and " LOW " or "L". The check and top up must only be done with
the engine cold.
A low coolant level presents a
risk of serious
damage to your engine.
When the engine is hot, the temperature of the
coolant is regulated by the fan.
In addition, as the cooling system is
pressurised, wait at least one hour after
switching off the engine before carrying out any
work.
To avoid any risk of scalding, unscrew the cap
two turns to release the pressure. After it has
dropped, remove the cap and top up.
The cooling fan may star t after
switching off the engine: take care
with articles and clothing that might be
caught by the fan blades.
Screenwash fluid level
Top up to the required level when
necessary.
Fluid specifications
These fluids must conform to the
manufacturer's recommendations.
7
Practical information
Page 104 of 180

102
Checks
Unless otherwise indicated, check these
components in accordance with the
manufacturer's service schedule.
Other wise, have them checked by a PEUGEOT
dealer or a
qualified workshop.
12 V battery
The battery does not require any
maintenance.
However, check regularly that the
terminals are correctly tightened
(versions without quick release terminals)
and that the connections are clean.
For more information on the precautions
to take before starting work on the 12 V
battery , refer to the corresponding
section.
Air filter
Depending on the environment
(e.g. dusty atmosphere) and the
use of the vehicle (e.g. city driving),
replace it twice as often if
necessary .
Passenger compartment
filter
Depending on the environment
(e.g. dusty atmosphere) and the
use of the vehicle (e.g. city driving),
replace it twice as often if
necessary. A clogged passenger compartment
filter may have an adverse effect on
the per formance of the air conditioning
system and generate undesirable odours.
Oil filter
Change the oil filter each time the
engine oil is changed.
Manual gearbox
The gearbox does not require any
maintenance (no oil change).
Clutch
Versions equipped with Stop & Start are
fitted with a
12 V lead-acid battery of
specific technology and specification.
Its replacement should be carried out
only by a
PEUGEOT dealer or a qualified
workshop.
The clutch is mechanically operated and
requires regular adjustment.If there is a
malfunction (for example,
difficulty in pulling away), contact
a
PEUGEOT dealer or a qualified
workshop.
Fluid specification
The screenwash fluid must be topped up with
a ready for use mix.
In winter (temperatures below zero), a fluid with
antifreeze must be used that is appropriate for
the prevailing conditions, in order to preser ve
the elements of the system (pump, tank, ducts,
e t c .) .
Filling with pure water is prohibited under all
circumstances (risk of freezing, limestone
deposits, etc.).
Practical information
Page 124 of 180
122
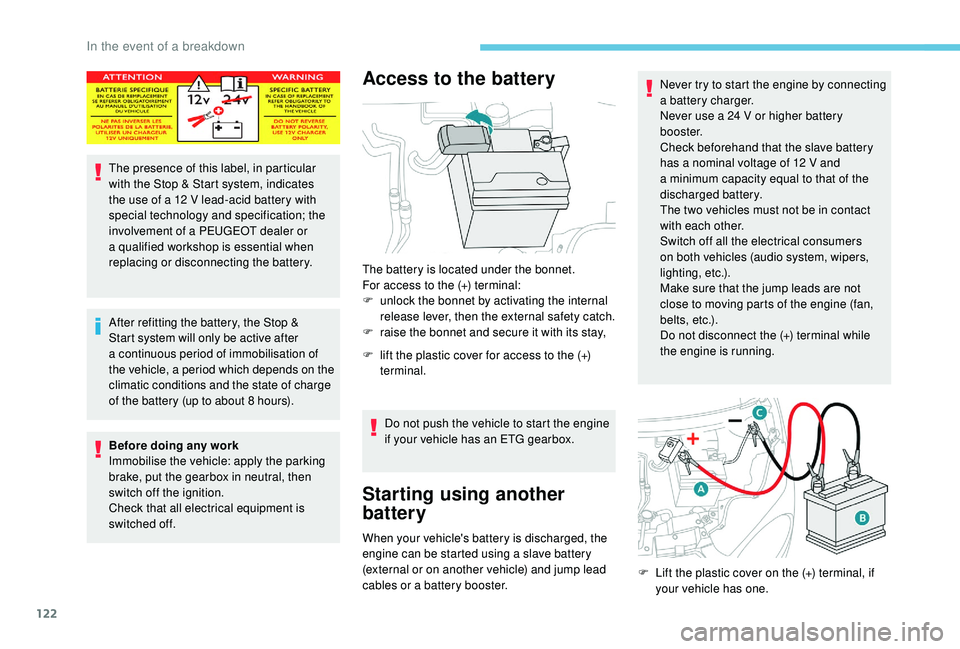
The presence of this label, in particular
with the Stop & Start system, indicates
the use of a 12 V lead-acid battery with
special technology and specification; the
involvement of a
PEUGEOT dealer or
a
qualified workshop is essential when
replacing or disconnecting the battery.
After refitting the battery, the Stop &
Start system will only be active after
a
continuous period of immobilisation of
the vehicle, a period which depends on the
climatic conditions and the state of charge
of the battery (up to about 8
hours).
Before doing any work
Immobilise the vehicle: apply the parking
brake, put the gearbox in neutral, then
switch off the ignition.
Check that all electrical equipment is
switched off.
Access to the battery
The battery is located under the bonnet.
For access to the (+) terminal:
F
u
nlock the bonnet by activating the internal
release lever, then the external safety catch.
F
r
aise the bonnet and secure it with its stay,
F
l
ift the plastic cover for access to the (+)
terminal.
Do not push the vehicle to start the engine
if your vehicle has an ETG gearbox.
Starting using another
battery
When your vehicle's battery is discharged, the
engine can be started using a slave battery
(external or on another vehicle) and jump lead
cables or a
battery booster. Never try to start the engine by connecting
a
battery charger.
Never use a 24 V or higher battery
b o o s t e r.
Check beforehand that the slave battery
has a nominal voltage of 12 V and
a
minimum capacity equal to that of the
discharged battery.
The two vehicles must not be in contact
with each other.
Switch off all the electrical consumers
on both vehicles (audio system, wipers,
lighting, etc.).
Make sure that the jump leads are not
close to moving parts of the engine (fan,
belts, etc.).
Do not disconnect the (+) terminal while
the engine is running.
F
L
ift the plastic cover on the (+) terminal, if
your vehicle has one.
In the event of a breakdown
Page 125 of 180
123
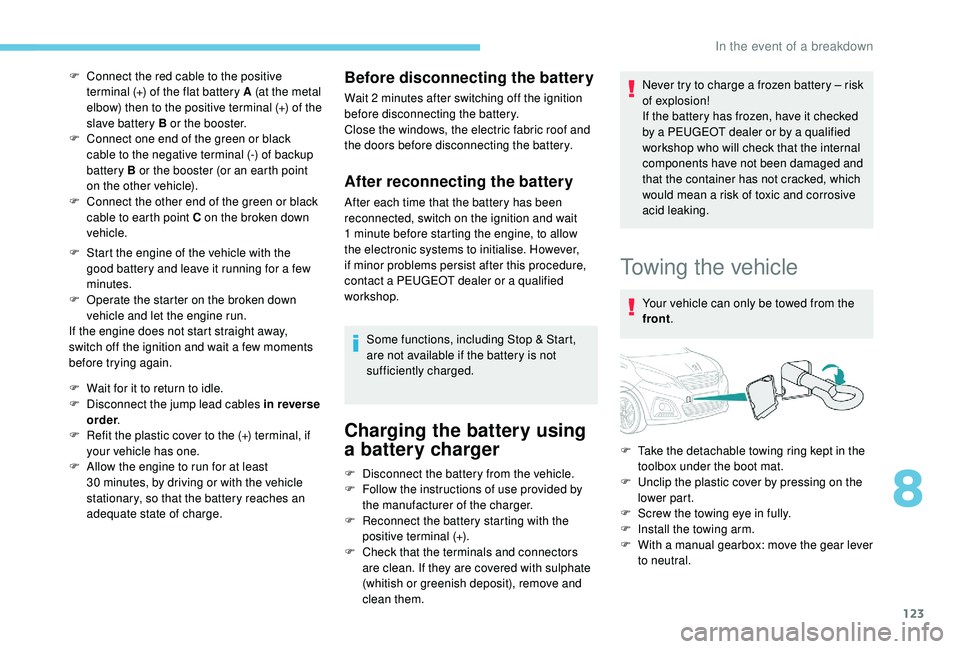
F Connect the red cable to the positive terminal (+) of the flat battery A (at the metal
elbow) then to the positive terminal (+) of the
slave battery B or the booster.
F
C
onnect one end of the green or black
cable to the negative terminal (-) of backup
battery B or the booster (or an earth point
on the other vehicle).
F
C
onnect the other end of the green or black
cable to earth point C on the broken down
vehicle.
F
S
tart the engine of the vehicle with the
good battery and leave it running for a
few
minutes.
F
O
perate the starter on the broken down
vehicle and let the engine run.
If the engine does not start straight away,
switch off the ignition and wait a
few moments
before trying again.
F
W
ait for it to return to idle.
F
D
isconnect the jump lead cables in reverse
order .
F
R
efit the plastic cover to the (+) terminal, if
your vehicle has one.
F
A
llow the engine to run for at least
30
minutes, by driving or with the vehicle
stationary, so that the battery reaches an
adequate state of charge.Before disconnecting the battery
Wait 2 minutes after switching off the ignition
b efore disconnecting the battery.
Close the windows, the electric fabric roof and
the doors before disconnecting the battery.
After reconnecting the battery
After each time that the battery has been
reconnected, switch on the ignition and wait
1
minute before starting the engine, to allow
the electronic systems to initialise. However,
if minor problems persist after this procedure,
contact a
PEUGEOT dealer or a qualified
workshop.
Some functions, including Stop & Start,
are not available if the battery is not
sufficiently charged.
Charging the battery using
a battery charger
Never try to charge a frozen battery – risk
o f explosion!
If the battery has frozen, have it checked
by a
PEUGEOT dealer or by a qualified
workshop who will check that the internal
components have not been damaged and
that the container has not cracked, which
would mean a
risk of toxic and corrosive
acid leaking.
Towing the vehicle
Your vehicle can only be towed from the
front .
F
D
isconnect the battery from the vehicle.
F
F
ollow the instructions of use provided by
the manufacturer of the charger.
F
R
econnect the battery starting with the
positive terminal (+).
F
C
heck that the terminals and connectors
are clean. If they are covered with sulphate
(whitish or greenish deposit), remove and
clean them. F
T
ake the detachable towing ring kept in the
toolbox under the boot mat.
F
U
nclip the plastic cover by pressing on the
lower part.
F
S
crew the towing eye in fully.
F
I
nstall the towing arm.
F
W
ith a manual gearbox: move the gear lever
to neutral.
8
In the event of a breakdown
Page 147 of 180
17
I cannot find some radio stations in the list of
stations received.The station is no longer being received or its
name has changed in the list.
The name of the radio station changes. Instead of their names, some radio stations
transmit other information (song title, for
example).
The system interprets this data as the name of
the station.
QUESTION RESPONSESOLUTION
There is a
difference in sound quality between
the various audio sources (radio, USB, etc.). To enable optimum listening quality, the audio
settings (Volume, Treble, Medium, Bass)
can be adapted to different sound sources,
which may generate audible differences when
changing source (radio, USB, etc.).Check that the audio settings are suited to the
sources being listened to. It is recommended
to set automatic adjustment of sound (Low,
Medium, High) in the audio configurations.
Check the quality and format of your recording.
With the engine off, the system cuts off after
several minutes of use. When the engine is switched off, the time for
which the system will operate depends on the
state of charge of the battery.
The cut off is normal: the system switches to
energy economy mode and cuts off to prevent
the vehicle's battery becoming discharged.Start the vehicle's engine to increase the state
of charge of the battery.
Settings, configuration
.
Radio
Page 164 of 180
16
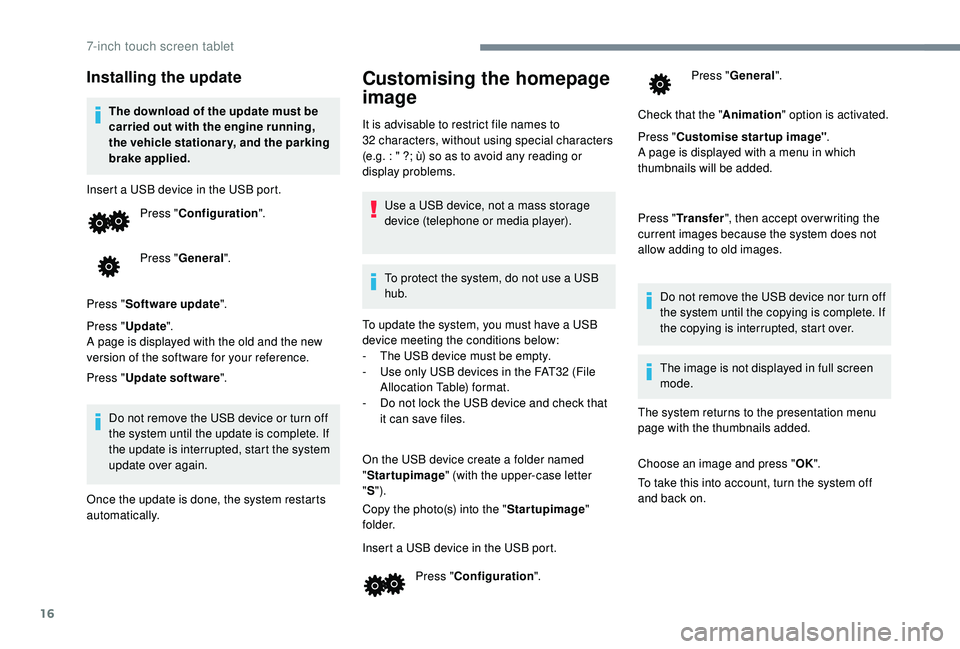
Installing the update
The download of the update must be
carried out with the engine running,
the vehicle stationary, and the parking
brake applied.
Insert a
USB device in the USB port.Press " Configuration ".
Press " General ".
Press " Software update ".
Press " Update ".
A page is displayed with the old and the new
version of the software for your reference.
Press " Update software ".
Do not remove the USB device or turn off
the system until the update is complete. If
the update is interrupted, start the system
update over again.
Once the update is done, the system restarts
automatically.
Customising the homepage
image
It is advisable to restrict file names to
32 characters, without using special characters
(e.g. : " ?; ù) so as to avoid any reading or
display problems.
Use a
USB device, not a mass storage
device (telephone or media player).
To protect the system, do not use a
USB
hub.
To update the system, you must have a
USB
device meeting the conditions below:
-
T
he USB device must be empty.
-
U
se only USB devices in the FAT32 (File
Allocation Table) format.
-
D
o not lock the USB device and check that
it can save files.
On the USB device create a
folder named
" Startupimage " (with the upper-case letter
" S ").
Copy the photo(s) into the " Startupimage"
f o l d e r.
Insert a
USB device in the USB port.Press " Configuration ". Press "
General ".
Check that the " Animation" option is activated.
Press " Customise startup image" .
A page is displayed with a
menu in which
thumbnails will be added.
Press " Transfer ", then accept over writing the
current images because the system does not
allow adding to old images.
Do not remove the USB device nor turn off
the system until the copying is complete. If
the copying is interrupted, start over.
The system returns to the presentation menu
page with the thumbnails added.
Choose an image and press " OK".
To take this into account, turn the system off
and back on. The image is not displayed in full screen
mode.
7-inch touch screen tablet
Page 171 of 180
23
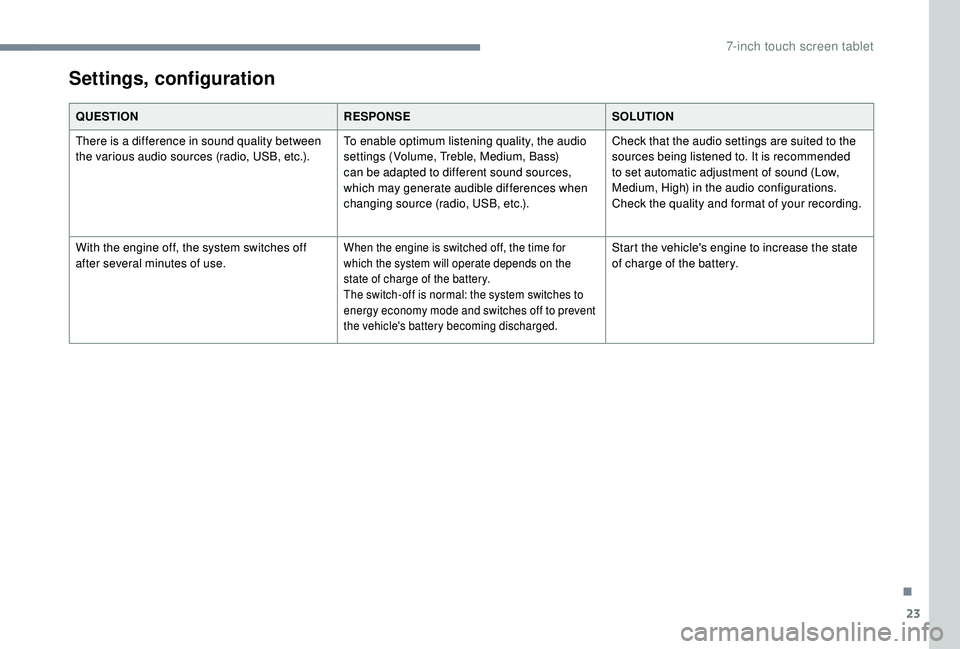
QUESTIONRESPONSESOLUTION
There is a difference in sound quality between
the various audio sources (radio, USB, etc.). To enable optimum listening quality, the audio
settings (Volume, Treble, Medium, Bass)
can be adapted to different sound sources,
which may generate audible differences when
changing source (radio, USB, etc.).Check that the audio settings are suited to the
sources being listened to. It is recommended
to set automatic adjustment of sound (Low,
Medium, High) in the audio configurations.
Check the quality and format of your recording.
With the engine off, the system switches off
after several minutes of use.
When the engine is switched off, the time for
which the system will operate depends on the
state of charge of the battery.
The switch-off is normal: the system switches to
energy economy mode and switches off to prevent
the vehicle's battery becoming discharged.Start the vehicle's engine to increase the state
of charge of the battery.
Settings, configuration
.
7-inch touch screen tablet
Page 174 of 180
172
Safety, children ......57, 59 - 61, 64, 66 - 68, 70 -71
Screen, colour ............................................... 3-
4
Screenwash
.................................................... 49
Screenwash, rear
............................................ 50
Seat belts
................................ 12, 34, 54-56, 64
Seats, front
...............................
.......................32
Seats, heated
.................................................. 33
Seats, rear
................................................. 33-34
Selector, gear
............................................ 76 -79
Servicing
........................................................... 6
M
aintenance, routine
........................................
6
Manual mode
............................................
76 -79
Mat
..................................................................
44
Mirror, rear view
..............................................
35
Mirror, vanity
...................................................
42
Mirrors, door .................................................... 35
Mode, driving
............................................
76 -79
Mode, Easy (automatic mode)
.................. 76 -79
Mountings, ISOFIX
................................... 66, 69
Lamp, boot
......................................................
41
Lamps, front
..................................................
112
Lamps, rear
...................................................
113
Lane Departure Warning System (LDWS)
...........................
15 -16 , 9 0 - 91
Level, brake fluid
...........................................
101
Level, engine coolant
....................................
101
Level, engine oil
.....................................
10 0 -101
Level, screenwash fluid
.........................
10
1-102
Levels and checks
..............................
....
9 9 -10 2
Lighting
..........................................................
112
Lighting, guide-me home
................................
48
Lighting dimmer
.........................................
18 -19
Loading
.............................................................
6
Locating your vehicle
......................................
23
Locking/unlocking a door from the inside...26-27
Low fuel level
............................................ 18
, 9 6 OIl, engine
...............................
...............10 0 -101
Oil change
.............................................. 10
0 -101
Oil consumption
.....................................
10 0 -101
Opening the bonnet
..................................
98-99
Opening the boot
................................
23 -24, 27
Opening the doors
....................................
23 -24
Number plate lamps
......................................
113
Pads, brake
................................................... 103
Parcel shelf, rear
.............................................44
Parking brake
..........................................76, 103
Pedal, clutch.................................................. 102
Plates, identification ...................................... 127
Player, USB
................................................... 9, 9
Port, USB
.......................................... 42- 43, 9, 9
Power steering
...............................
.................12
Pressures, tyres
............................103, 107, 127
Pre-tensioning seat belts
..........................55-56
Protecting children
.......57, 59 - 61, 64, 66 - 68, 70
Puncture
..........................104, 10 6 -108, 110 -111 Radio
.......................................................
7, 7, 1 0
Radio, digital (Digital Audio Broadcasting – DAB) ..............................
8, 8 -9
RDS
................
...................................................
8
Rear screen, demisting
...................................
41
Recharging the battery
.................................
123
Recirculation, air
.......................................
38-40
Reinitialisation of the under- inflation detection system
.............................
93
Reminder, lighting on
...................................... 47
R
emote control
....................................
22-23, 26
Removing and fitting a fuse
............
11
4 -11 6 , 11 9
Removing a wheel ..................
1 0 7-1 0 8 , 11 0 -111
Removing the mat
...........................................
44
Replacing bulbs ...................................... 111 -112
Replacing the air filter ................................... 10
2
Replacing the oil filter ................................... 10
2
Replacing the passenger compartment filter ...102
Reservoir, screenwash
.......................... 101-102
Reversing camera
...............................
............ 91
Reversing lamps
..............................
............. 113
Roof, electric fabric
......................................... 29
Roof bars
......................................................... 98
S
M
L
O
N
P
R
Alphabetical index