2018 NISSAN VERSA SEDAN bluetooth
[x] Cancel search: bluetoothPage 172 of 702

Audio
Bluetooth Takes you to the Bluetooth menu.
Bass Adjusts the bass to the desired level.
Treble Adjusts the treble to the desired level.
Balance Adjusts the balance to the desired level. Balance adjusts the sound level between the lef t and
right speakers.
Fade Adjusts the fade to the desired level. Fade adjusts the sound level between the front and rear
speakers.
Brightness Adjust to brightness to adjust the appearance of the display screen.
Contrast Adjust the contrast to adjust the appearance of the display screen.
Clock Adjust Allows the user to set time manually.
On-Screen Clock Toggles ON or OFF the clock display on the upper right corner of the display screen.
RDS Display Toggles ON or OFF the RDS information displayed on the screen while the radio is playing.
Speed Sensitive Vol. Adjusts the speed sensitive volume function, which increases the volume of the audio system as
the speed of the vehicle increases. Set to “OFF” to disable the feature. The higher the setting, the
more the volume increases in relation to vehicle speed.
AUX Vol. Choose a setting from 0 to +3 to control the boost of incoming auxiliary device volume. A setting
of 0 provides no additional boost in volume. A setting of +3 provides the greatest boost in volume.
Language Select Select the desired language for the system from the available options.
Bass, treble, balance and fade can also be adjusted by pressing the ENTER/SETTING button and turning the TUNE/SCROLL control knob
to select the item to adjust. When the desired item is shown on the display, turn the tuning to adjust and then press the ENTER/SETTING
button until the display returns to the main audio screen. If the button is not pressed for approximately 10 seconds, the radio or CD display
will automatically reappear.
Display screen, heater, air conditioner, audio and phone systems4-37
Page 175 of 702
RPT (repeat) button
When the RPT button is pressed while a
compact disc is playing, the play pattern
can be changed as follows:
CD:
1 Track Repeat←→OFF
CD with MP3 or WMA:
1 Folder Repeat→1 Track Repeat→OFF
1 Track Repeat: the current track will be
repeated.
1 Folder Repeat: the current folder will be
repeated.
OFF: No repeat play pattern is applied. The
indicator on the display will turn off.
The current play pattern of the CD is dis-
played on the screen unless no pattern is
applied.
RDM (random) button
When the RDM button is pressed while a
compact disc is playing, the play pattern
can be changed as follows:
CD:
1 Disc Random←→OFFCD with MP3 or WMA:
1 Disc Random→1 Folder Random→OFF
1 Disc Random: all tracks on the disc will be
played randomly.
1 Folder Random: all tracks in the current
folder will be played randomly.
OFF: No random play pattern is applied. The
indicator on the display will turn off.
The current play pattern of the CD is dis-
played on the screen unless no pattern is
applied.
EJECT button
When the
button is pressed with a
compact disc loaded, the compact disc will
eject and the last source will be played.
When the
button is pressed twice
with a compact disc loaded, the compact
disc will be ejected further for easier CD
removal. If the disc is not removed within
20 seconds, the disc will reload.
Additional features
For additional information, refer to “iPod®
player operation” in this section.
For additional information, refer to “USB
(Universal Serial Bus) connection port” in
this section.
For additional information, refer to
“Bluetooth® streaming audio” in this sec-
tion.
4-40Display screen, heater, air conditioner, audio and phone systems
Page 180 of 702
(RDM) RANDOM
When the RDM button is pressed while a
track is being played, the play pattern can
be changed as follows:
Shuffle Off→Track Shuffle→Album Shuffle
→Shuffle Off
Track Shuffle: the tracks in the current list
will be played randomly.
Album Shuffle: the albums in the current list
will be played randomly.
Shuffle Off: no random play pattern is ap-
plied.
BACK button
When the
BACK button is pressed, it
returns to the previous menu.
BLUETOOTH® STREAMING AUDIO
(if so equipped)
If you have a compatible Bluetooth® audio
device that is capable of playing audio files,
the device can be connected to the vehi-
cle’s audio system so that the audio files on
the device play through the vehicle’s
speakers. For additional information, refer
to “FM/AM/SAT radio with compact disc
(CD) player” in this section.NOTE:
For additional information, refer to the
cellular phone Owner’s Manual.
Connecting Bluetooth® audio
To connect your Bluetooth® audio device
to the vehicle, follow the procedure below:
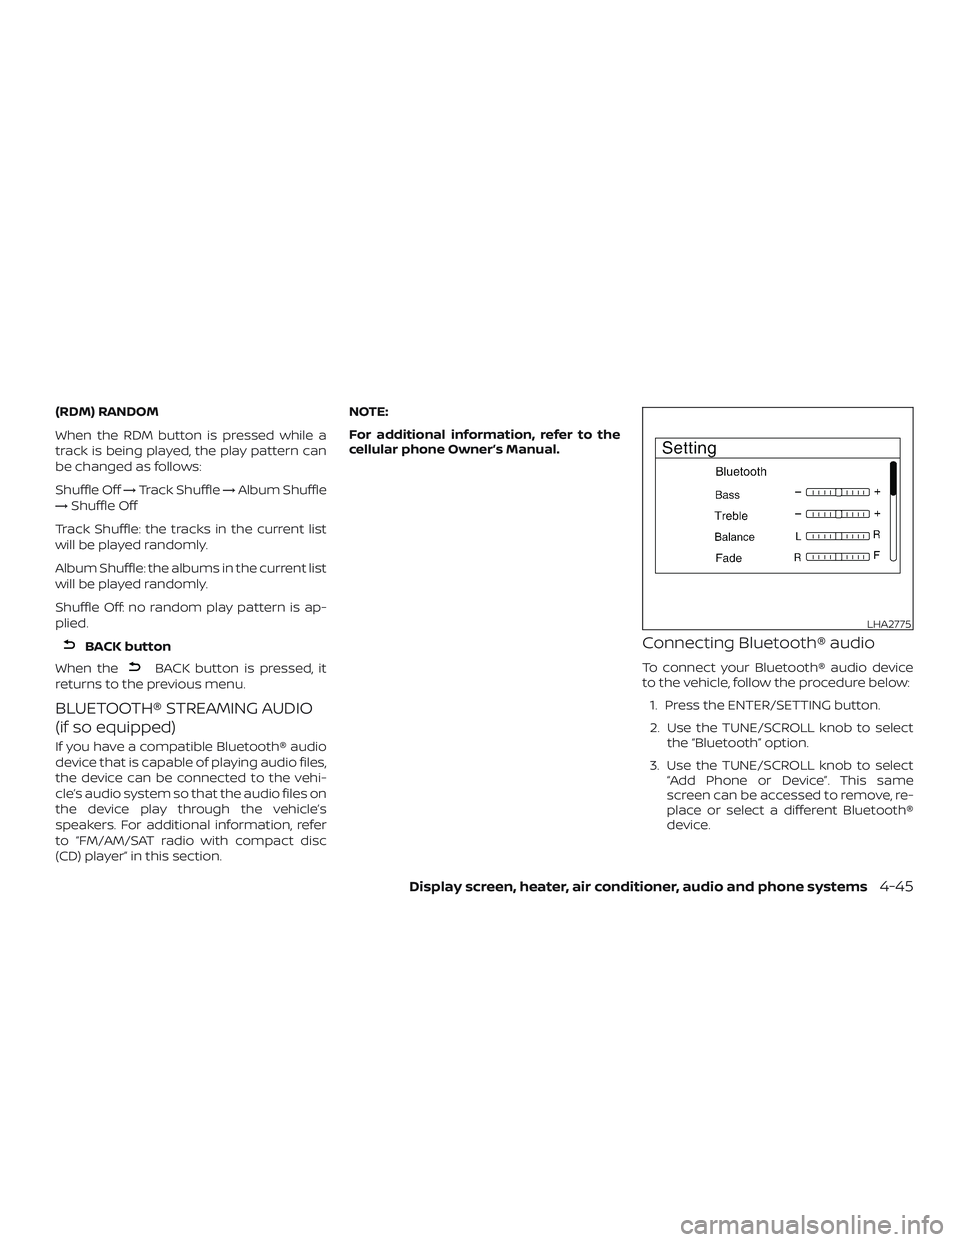
1. Press the ENTER/SETTING button.
2. Use the TUNE/SCROLL knob to select
the “Bluetooth” option.
3. Use the TUNE/SCROLL knob to select
“Add Phone or Device”. This same
screen can be accessed to remove, re-
place or select a different Bluetooth®
device.
LHA2775
Display screen, heater, air conditioner, audio and phone systems4-45
Page 181 of 702
4. The system acknowledges the com-
mand and asks you to initiate connect-
ing from the phone handset. The con-
necting procedure of the cellular
phone varies according to each cellular
phone model. For additional informa-
tion, refer to the cellular phone Owner’s
Manual.
Audio main operation
To switch to the Bluetooth® audio mode,
press the MEDIA button repeatedly until the
Bluetooth® audio mode is displayed on the
screen with the following information
listed:
∙ Album
∙ Song
∙ Artist
CD CARE AND CLEANING
∙ Handle a CD by its edges. Do not bend
the disc. Never touch the surface of the
disc.
∙ Always place the discs in the storage
case when they are not being used.
∙ To clean a disc, wipe the surface from
the center to the outer edge using a
clean, sof t cloth. Do not wipe the disc
using a circular motion.
∙ Do not use a conventional record
cleaner or alcohol intended for indus-
trial use.∙ A new disc may be rough on the inner
and outer edges. Remove the rough
edges by rubbing the inner and outer
edges with the side of a pen or pencil as
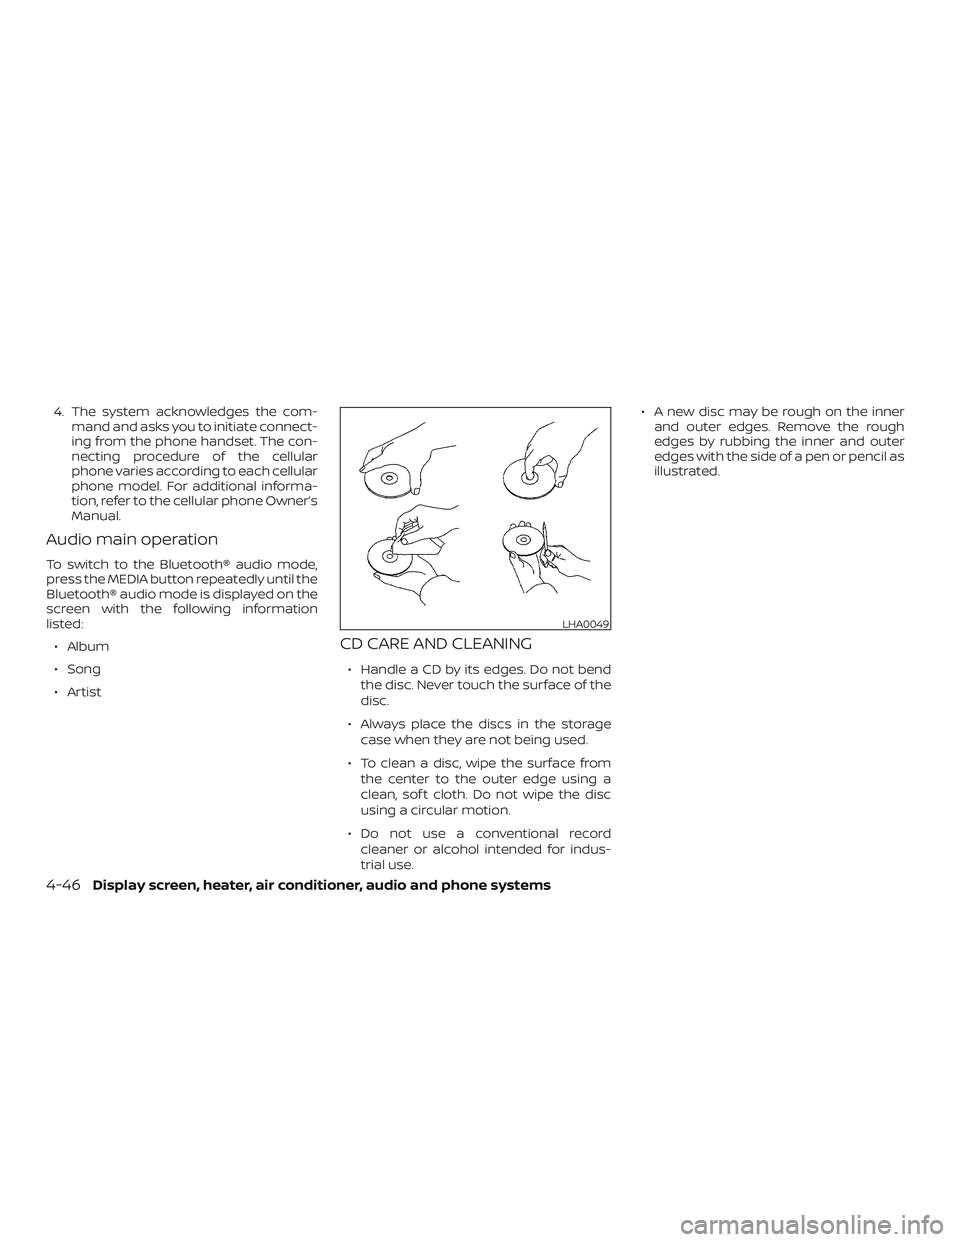
illustrated.
LHA0049
4-46Display screen, heater, air conditioner, audio and phone systems
Page 182 of 702
STEERING WHEEL SWITCH FOR
AUDIO CONTROL
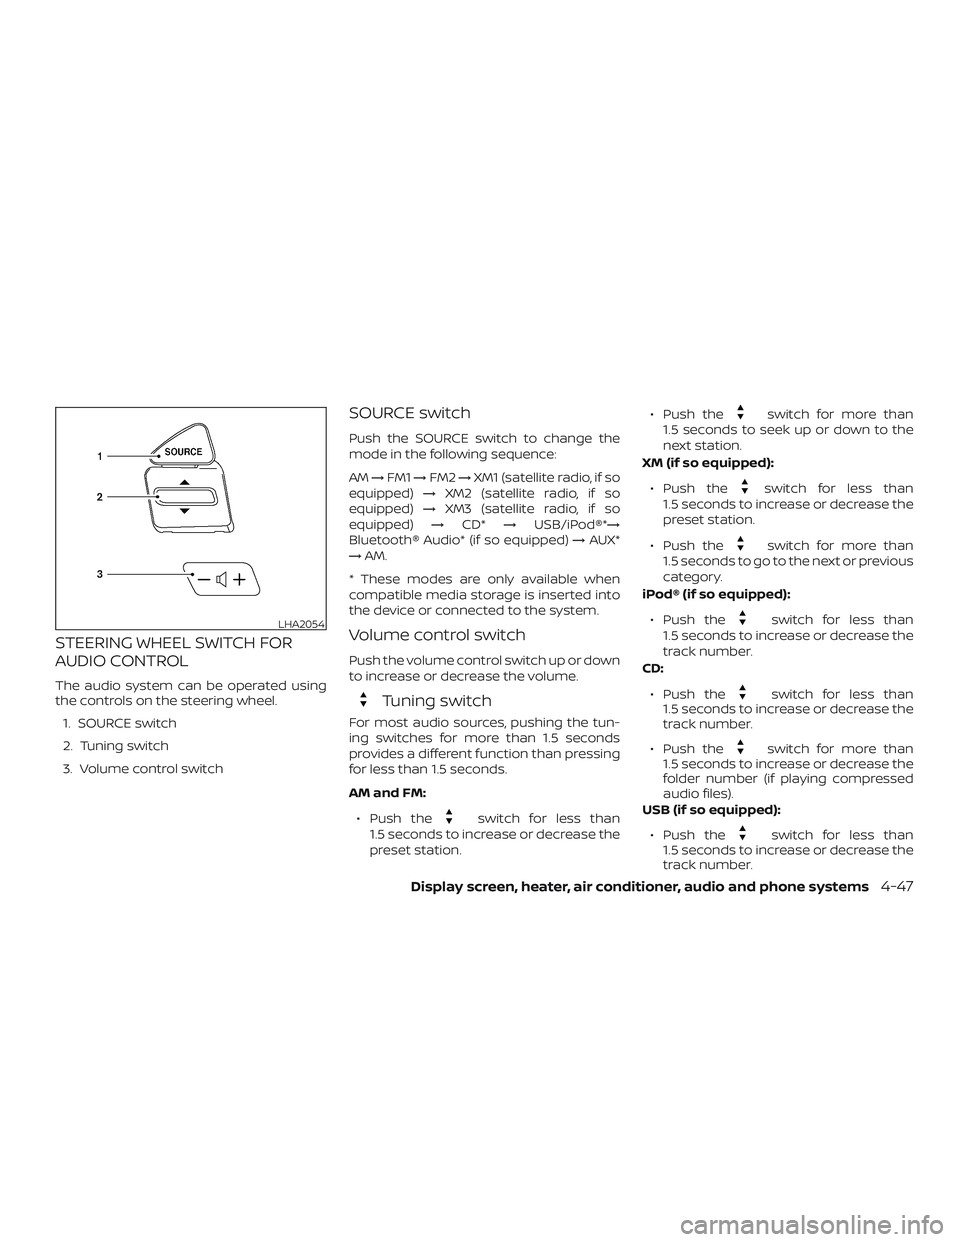
The audio system can be operated using
the controls on the steering wheel.
1. SOURCE switch
2. Tuning switch
3. Volume control switch
SOURCE switch
Push the SOURCE switch to change the
mode in the following sequence:
AM→FM1→FM2→XM1 (satellite radio, if so
equipped)→XM2 (satellite radio, if so
equipped)→XM3 (satellite radio, if so
equipped)→CD*→USB/iPod®*→
Bluetooth® Audio* (if so equipped)→AUX*
→AM.
* These modes are only available when
compatible media storage is inserted into
the device or connected to the system.
Volume control switch
Push the volume control switch up or down
to increase or decrease the volume.
Tuning switch
For most audio sources, pushing the tun-
ing switches for more than 1.5 seconds
provides a different function than pressing
for less than 1.5 seconds.
AM and FM:
∙ Push the
switch for less than
1.5 seconds to increase or decrease the
preset station.∙ Push the
switch for more than
1.5 seconds to seek up or down to the
next station.
XM (if so equipped):
∙ Push the
switch for less than
1.5 seconds to increase or decrease the
preset station.
∙ Push the
switch for more than
1.5 seconds to go to the next or previous
category.
iPod® (if so equipped):
∙ Push the
switch for less than
1.5 seconds to increase or decrease the
track number.
CD:
∙ Push the
switch for less than
1.5 seconds to increase or decrease the
track number.
∙ Push the
switch for more than
1.5 seconds to increase or decrease the
folder number (if playing compressed
audio files).
USB (if so equipped):
∙ Push the
switch for less than
1.5 seconds to increase or decrease the
track number.
LHA2054
Display screen, heater, air conditioner, audio and phone systems4-47
Page 183 of 702
∙ Push theswitch for more than
1.5 seconds to increase or decrease the
folder number.
Bluetooth®Audio (if so equipped):
∙ Push the
switch for less than
1.5 seconds to skip ahead or back to the
next song.
∙ Push the
switch for more than
1.5 seconds to reverse or fast forward
the current song.
ANTENNA
The antenna cannot be shortened, but can
be removed. When you need to remove the
antenna, turn the antenna rod counter-
clockwise.
To install the antenna rod, turn the antenna
rod clockwise and hand tighten.
CAUTION
∙ Always properly tighten the antenna
rod during installation or the antenna
rod may break during vehicle
operation.
∙ Be sure that the antenna is removed
before the vehicle enters an auto-
matic car wash.When installing a CB, ham radio or car
phone in your vehicle, be sure to observe
the following precautions; otherwise, the
new equipment may adversely affect the
engine control system and other electronic
parts.
WARNING
∙ A cellular phone should not be used
for any purpose while driving so full
attention may be given to vehicle op-
eration. Some jurisdictions prohibit
the use of cellular phones while
driving.
∙ If you must make a call while your ve-
hicle is in motion, the hands free cellu-
lar phone operational mode (if so
equipped) is highly recommended.
Exercise extreme caution at all times
so full attention may be given to ve-
hicle operation.
∙ If you are unable to devote full atten-
tion to vehicle operation while talking
on the phone, pull off the road to a
safe location and stop your vehicle.
CAUTION
∙ Keep the antenna as far away as pos-
sible from the electronic control
modules.
∙ Keep the antenna wire more than 8 in
(20 cm) away from the electronic con-
trol system harnesses. Do not route
the antenna wire next to any harness.
∙ Adjust the antenna standing-wave
ratio as recommended by the
manufacturer.
∙ Connect the ground wire from the CB
radio chassis to the body.
∙ For additional information, it is rec-
ommended that you visit a NISSAN
dealer for this service.
CAR PHONE OR CB RADIO
4-48Display screen, heater, air conditioner, audio and phone systems
Page 184 of 702

WARNING
∙ Use a phone af ter stopping your ve-
hicle in a safe location. If you have to
use a phone while driving, exercise ex-
treme caution at all times so full at-
tention may be given to vehicle
operation.
∙ If you are unable to devote full atten-
tion to vehicle operation while talking
on the phone, pull off the road to a
safe location and stop your vehicle.
CAUTION
To avoid discharging the vehicle bat-
tery, use a phone af ter starting the
engine.
Your NISSAN is equipped with the
Bluetooth® Hands-Free Phone System. If
you have a compatible Bluetooth® enabled
cellular phone, you can set up the wireless
connection between your cellular phone
and the in-vehicle phone module. With
Bluetooth® wireless technology, you canmake or receive a hands-free telephone
call with your cellular phone in the vehicle.
Once your cellular phone is connected to
the in-vehicle phone module, no other
phone connecting procedure is required.
Your phone is automatically connected
LHA3662
BLUETOOTH® HANDS-FREE PHONE
SYSTEM (Type A) (if so equipped)
Display screen, heater, air conditioner, audio and phone systems4-49
Page 185 of 702
with the in-vehicle phone module when
the ignition switch is placed in the ON po-
sition with the previously connected cellu-
lar phone turned on and carried in the ve-
hicle.
You can connect up to five different
Bluetooth® cellular phones to the in-
vehicle phone module. However, you can
talk on only one cellular phone at a time.
Before using the Bluetooth® Hands-Free
Phone System, refer to the following notes.
∙ Set up the wireless connection be-
tween a cellular phone and the in-
vehicle phone module before using the
hands-free phone system.
∙ Some Bluetooth® enabled cellular
phones may not be recognized by the
in-vehicle phone module. Please visit
www.nissanusa.com/bluetooth for a
recommended phone list and connect-
ing instructions.
∙ You will not be able to use a hands-free
phone under the following conditions:
– Your vehicle is outside of the cellular
service area.
– Your vehicle is in an area where it is
difficult to receive a cellular signal;such as in a tunnel, in an under-
ground parking garage, near a tall
building or in a mountainous area.
– Your cellular phone is locked to pre-
vent it from being dialed.
∙ When the radio wave condition is not
ideal or ambient sound is too loud, it
may be difficult to hear the other per-
son’s voice during a call.
∙ Do not place the cellular phone in an
area surrounded by metal or far away
from the in-vehicle phone module to
prevent tone quality degradation and
wireless connection disruption.
∙ While a cellular phone is connected
through the Bluetooth® wireless con-
nection, the battery power of the cellu-
lar phone may discharge quicker than
usual. The Bluetooth® Hands-Free
Phone System cannot charge cellular
phones.
∙ For additional information, refer to
“Troubleshooting guide” in this section.
You can also visit
www.nissanusa.com/bluetooth or
www.nissan.ca/bluetooth for trouble-
shooting help.∙ Some cellular phones or other devices
may cause interference or a buzzing
noise to come from the audio system
speakers. Storing the device in a differ-
ent location may reduce or eliminate
the noise.
∙ For additional information, refer to the
cellular phone Owner’s Manual regard-
ing the telephone charges, cellular
phone antenna and body, etc.
REGULATORY INFORMATION
FCC Regulatory information
– CAUTION: To maintain compliance with
FCC’s RF exposure guidelines, use only
the supplied antenna. Unauthorized an-
tenna, modification, or attachments
could damage the transmitter and may
violate FCC regulations.
– Operation is subject to the following two
conditions:
1. This device may not cause interference
and
2. this device must accept any interfer-
ence, including interference that may
cause undesired operation of the de-
vice.
IC Regulatory information
4-50Display screen, heater, air conditioner, audio and phone systems