2018 NISSAN PATHFINDER air conditioner
[x] Cancel search: air conditionerPage 149 of 474

12V OUTLETS
The power outlets are for powering electri-
cal accessories such as cellular tele-
phones. They are rated at 12 volt, 120W (10A)
maximum.
The instrument panel and center console
power outlets are powered only when the
ignition switch is in the ACC or ON position.
CAUTION
∙ The outlet and plug may be hot duringor immediately af ter use.
∙ Only certain power outlets are de- signed for use with a cigarette lighter
unit. Do not use any other power out-
let for an accessory lighter. It is rec-
ommended that you visit a NISSAN
dealer for additional information.
∙ Do not use with accessories that ex- ceed a 12 volt, 120W (10A) power draw. ∙ Do not use double adapters or more
than one electrical accessory.
∙ Use power outlets with the engine running to avoid discharging the ve-
hicle battery.
∙ Avoid using power outlets when the air conditioner, headlights, or rear
window defroster is on.
∙ Before inserting or disconnecting a plug, be sure the electrical accessory
being used is turned off.
Instrument Panel
LIC3345
Center Console (if so equipped)
LIC3737
Cargo Area (if so equipped)
LIC2236
POWER OUTLETS
2-54Instruments and controls
Page 150 of 474

∙ Push the plug in as far as it will go. Ifgood contact is not made, the plug
may overheat or the internal tem-
perature fuse may open.
∙ When not in use, be sure to close the cap. Do not allow water or any other
liquid to contact the outlet.
120V OUTLET (if so equipped)
CAUTION
∙ The outlet and plug may be hot duringor immediately af ter use.
∙ Use power outlets with the engine running to avoid discharging the ve-
hicle battery.
∙ Do not use double adaptors or more than one electrical accessory. ∙ Avoid using power outlets when the
air conditioner, headlights or rear win-
dow defroster is on.
∙ Before inserting or disconnecting a plug, be sure the electrical accessory
being used is turned off.
∙ Push the plug in as far as it will go. If good contact is not made, the plug
may overheat or the internal tem-
perature fuse may open.
∙ When not in use, be sure to close the cap. Do not allow water or any other
liquid to contact the outlet.
2nd Row
LIC2407
Instruments and controls2-55
Page 222 of 474

ENTRY/EXIT FUNCTION
This system is designed so that the driver’s
seat and steering column will automati-
cally move when the shif t lever is in the P
(Park) position. This allows the driver to
easily get in and out of the driver’s seat.
The driver’s seat will slide backward and
the steering column will move up:∙ When the driver’s door is opened with the ignition switch in the OFF position.
∙ When the ignition switch is changed from ACC to OFF with the driver’s door
open.
The driver’s seat and steering wheel will
return to the previous position: ∙ When the ignition switch is changed from ACC or ON while the shif t lever is in
the P (Park) position.
The entry/exit function can be adjusted or
canceled through “Vehicle Settings” in the
vehicle information display by performing
the following: ∙ Switch the Exit Seat Slide from on to off.
∙ Switch the Exit Steering UP from on to off.
Restarting the entry/exit function
If the battery cable is disconnected, or if the
fuse opens, the stored memory positions
will be lost and some of the functions will
be restricted:
1. Drive the vehicle over 25 mph (40 km/h).
OR 2. Open and close the driver’s door more than two times with the ignition switch
in the OFF position.
The entry/exit function should now work
properly.
SETTING MEMORY FUNCTION
The position of the following settings can
be linked to the Intelligent Key and the
memorized settings can be available for
each Intelligent Key. ∙ Climate control system
∙ Navigation system (if so equipped)
∙ Audio system
To use the memory function, set the cli-
mate, navigation and audio systems to the
driver’s preferred settings. Lock the doors
with the Intelligent Key. Each Intelligent Key
may be set with the driver’s individual pref- erences. When a new Intelligent Key is used,
“Connection with the key has been done”
will be displayed on the screen and the
memorized settings are available.
To engage the memorized settings, per-
form the following:
1. Carry the Intelligent Key that is linked to the memorized settings.
2. Unlock the doors by pushing the driv- er’s door handle request switch or
the
button on the Intelligent Key.
3. Place the ignition switch in the “ON” po- sition. The settings linked to the Intelli-
gent Key will start.
For additional information, refer to “Heater
and air conditioner (automatic)” in the
“Monitor, climate, audio, phone and voice
recognition systems” section of this
manual.
For additional information on using the
Navigation System, refer to the Navigation
System Owner’s Manual.
For additional information on using the Au-
dio system, refer to “Audio system” in the
“Monitor, climate, audio, phone and voice
recognition systems” section of this
manual.
Pre-driving checks and adjustments3-49
Page 225 of 474

4 Monitor, climate, audio, phone and
voice recognition systems
NissanConnect® Owner’s Manual................4-2
RearView Monitor (if so equipped) ...............4-3
RearView Monitor system operation ..........4-4
How to read the displayed lines ...............4-5
Difference between predicted and
actual distances ..............................4-5
How to park with predicted course
lines ..........................................4-7
Adjusting the screen .........................4-9
How to turn on and off predicted
course lines ..................................4-9
RearView Monitor system limitations .........4-9
System maintenance ........................ 4-10
Intelligent Around View Monitor
(if so equipped) .................................. 4-11
Intelligent Around View Monitor system
operation .................................... 4-12
Difference between predicted and
actual distances ............................. 4-16
How to park with predicted course
lines ......................................... 4-17
How to switch the display ...................4-19
Adjusting the screen ........................ 4-19Intelligent Around View Monitor system
limitations
................................... 4-20
System maintenance ........................ 4-22
Camera Aiding Sonar (parking sensor)
(if so equipped) ................................. 4-23
Sonar system operation .....................4-23
Turning ON and OFF the sonar function .....4-24
Sonar system limitations ....................4-25
System maintenance ........................ 4-26
Moving Object Detection (MOD)
(if so equipped) ................................. 4-27
MOD system operation ......................4-28
Turning MOD on and off .....................4-30
MOD system limitations .....................4-30
System maintenance ........................ 4-31
Vents ........................................... 4-31
Heater and air conditioner (automatic)
(if so equipped) ................................. 4-32
Automatic operation ........................ 4-33
Manual operation ........................... 4-34
Operating tips ............................... 4-35
Rear automatic air conditioning system .....4-37
Ser
vicing air conditioner ........................ 4-40
Page 257 of 474

1.Air recirculation button
2. A/C (air conditioner) ON-OFF but-
ton
3. MODE (manual air flow control)
button
4. REAR (ON-OFF) button
5. DUAL (ON-OFF) button/
Temperature control dial (passen-
ger’s side)
6.
REAR window and outside
mirror (if so equipped) defroster
switch 7.
ON-OFF button/
Fan speed
control dial
8.
Front defroster button
9. AUTO (automatic) climate control
ON-OFF button/Temperature con-
trol dial (driver’s side)
WARNING
∙ The air conditioner cooling functionoperates only when the engine is
running.
∙ Do not leave children or adults who would normally require the assis-
tance of others alone in your vehicle.
Pets should also not be lef t alone.
They could accidentally injure them-
selves or others through inadvertent
operation of the vehicle. Also, on hot,
sunny days, temperatures in a closed
vehicle could quickly become high
enough to cause severe or possibly
fatal injuries to people or animals.
∙ Do not use the recirculation mode for long periods as it may cause the inte-
rior air to become stale and the win-
dows to fog up.
Start the engine and operate the controls
to activate the air conditioner.
LHA4423
HEATER AND AIR CONDITIONER
(automatic) (if so equipped)
4-32Monitor, climate, audio, phone and voice recognition systems
Page 258 of 474

NOTE:∙ Odors from inside and outside the ve- hicle can build up in the air conditioner
unit. Odor can enter the passenger
compartment through the vents.
∙ When parking, set the heater and air conditioner controls to turn off air recir-
culation to allow fresh air into the pas-
senger compartment. This should help
reduce odors inside the vehicle.
AUTOMATIC OPERATION
Cooling and/or dehumidified
heating (AUTO)
This mode may be used all year round as
the system automatically works to keep a
constant temperature. Air flow distribution,
air intake control, and fan speed are also
controlled automatically.
1. Press the AUTO button on.
2. Turn the temperature control dial to the lef t or right to set the desired tem-
perature.
∙ Adjust the temperature display to about 75°F (24°C) for normal operation. ∙ The temperature of the passenger
compartment will be maintained auto-
matically. Air flow distribution, air intake
control and fan speed are also con-
trolled automatically.
∙ A visible mist may be seen coming from the vents in hot, humid conditions as
the air is cooled rapidly. This does not
indicate a malfunction.
3. You can individually set driver’s and front passenger’s side temperature us-
ing each temperature control dial.
When the DUAL button is pressed, the
DUAL indicator will come on. To turn off
the passenger’s side temperature con-
trol, press the DUAL button.
Heating (A/C OFF)
The air conditioner does not activate. When
you need to heat only, use this mode.
1. If the air conditioner is on, press the A/C button. The A/C indicator will turn off.
2. Turn the temperature control dial to set the desired temperature. ∙ The temperature of the passenger
compartment will be maintained auto-
matically. Air flow distribution, air intake
control and fan speed are also con-
trolled automatically.
∙ Do not set the temperature lower than the outside air temperature. Otherwise,
the system may not work properly.
∙ Not recommended if windows fog up.
Dehumidified defrosting or
defogging
1. Press thefront defroster button
on. (The indicator light on the button
will come on.)
2. Turn the temperature control dial to set the desired temperature.
∙ To quickly remove ice from the outside of the windows, use the
fan speed
control dial to set the fan speed to
maximum.
∙ As soon as possible af ter the wind- shield is clean, press the AUTO button to
return to the automatic mode.
Monitor, climate, audio, phone and voice recognition systems4-33
Page 259 of 474

∙ When thefront defroster button is
pressed, the air conditioner will auto-
matically be turned on at outside tem-
peratures above 36°F (2°C). The air recir-
culate mode automatically turns off,
allowing outside air to be drawn into the
passenger compartment to further im-
prove the defogging performance.
Remote Engine Start with
Intelligent Climate Control (if so
equipped)
Vehicles equipped with automatic climate
controls and Remote Engine Start function
may go into automatic heating or cooling
mode when Remote Engine Start is acti-
vated depending on outside and cabin
temperatures. During this period, the cli-
mate control display and buttons will be
inoperable until the ignition switch is
turned on. In Remote Engine Start defrost-
ing mode, the rear window defroster and
heated steering wheel (if so equipped) may
be activated automatically.
Voice Recognition logic (if so
equipped)
When the climate control system is on, the
front and rear fan speeds may be auto-
matically lowered so that commands are more easily recognized. Fan speed can be
adjusted using the fan speed decrease and
increase buttons, if desired.
MANUAL OPERATION
Fan speed control
Turn thefan speed control dial to
manually control the fan speed.
Press the AUTO button to return to auto-
matic control of the fan speed.
Temperature control dial
The temperature control dial allows you to
adjust the temperature of the outlet air. To
lower the temperature, turn the dial to the
lef t. To increase the temperature, turn the
dial to the right. Temperature can be ad-
justed on the driver’s and passenger’s side.
Air recirculation
Press theair recirculation button to
recirculate interior air inside the vehicle.
The
indicator light on the button will
come on.
The air recirculation cannot be activated
when the air conditioner is in the
front defrosting mode. When the outside temperature exceeds
70°F (21°C), the air conditioning system may
default to air recirculation mode automati-
cally to reduce overall power consumption.
To exit air recirculation mode, deselect the
air recirculation button (indicator will turn
off ) to enter fresh air mode.
Automatic intake air control
In the AUTO mode, the intake air will be
controlled automatically. To manually con-
trol the intake air, press the
air recir-
culation button. To return to the automatic
control mode, press and hold the
air
recirculation button for about 2 seconds.
The indicator light will flash twice, and then
the intake air will be controlled automati-
cally.
Air conditioner button
Start the engine, turn thefan speed
control dial to the desired position and
press the
button to turn on the air
conditioner. To turn off the air conditioner,
press the
button again.
The air conditioner cooling function op-
erates only when the engine is running.
4-34Monitor, climate, audio, phone and voice recognition systems
Page 260 of 474
Air flow control
Pressing the MODE button manually con-
trols air flow and selects the air outlet:
— Air flows from center and sidevents.
— Air flows from center and sidevents and foot outlets.
— Air flows mainly from footoutlets.
— Air flows from defroster andfoot outlets.
To turn system off
Press the ON-OFF button to turn the sys-
tem off.
To turn system on
Press the ON-OFF button when the heater
or air conditioner is off. The system will turn
on with the settings that were used imme-
diately before the system was turned off.
CLIMATE button
Press the CLIMATE button on the multi-
function control panel to display the screen
for front air conditioner operations.
Rear window and outside mirror
(if so equipped) defroster switch
For additional information, refer to “Rear
window and outside mirror (if so equipped)
defroster switch” in the “Instruments and
controls” section of this manual.
OPERATING TIPS
The sunload sensor, located on the top
driver’s side of the instrument panel, helps
the system maintain a constant tempera-
ture. Do not put anything on or around this
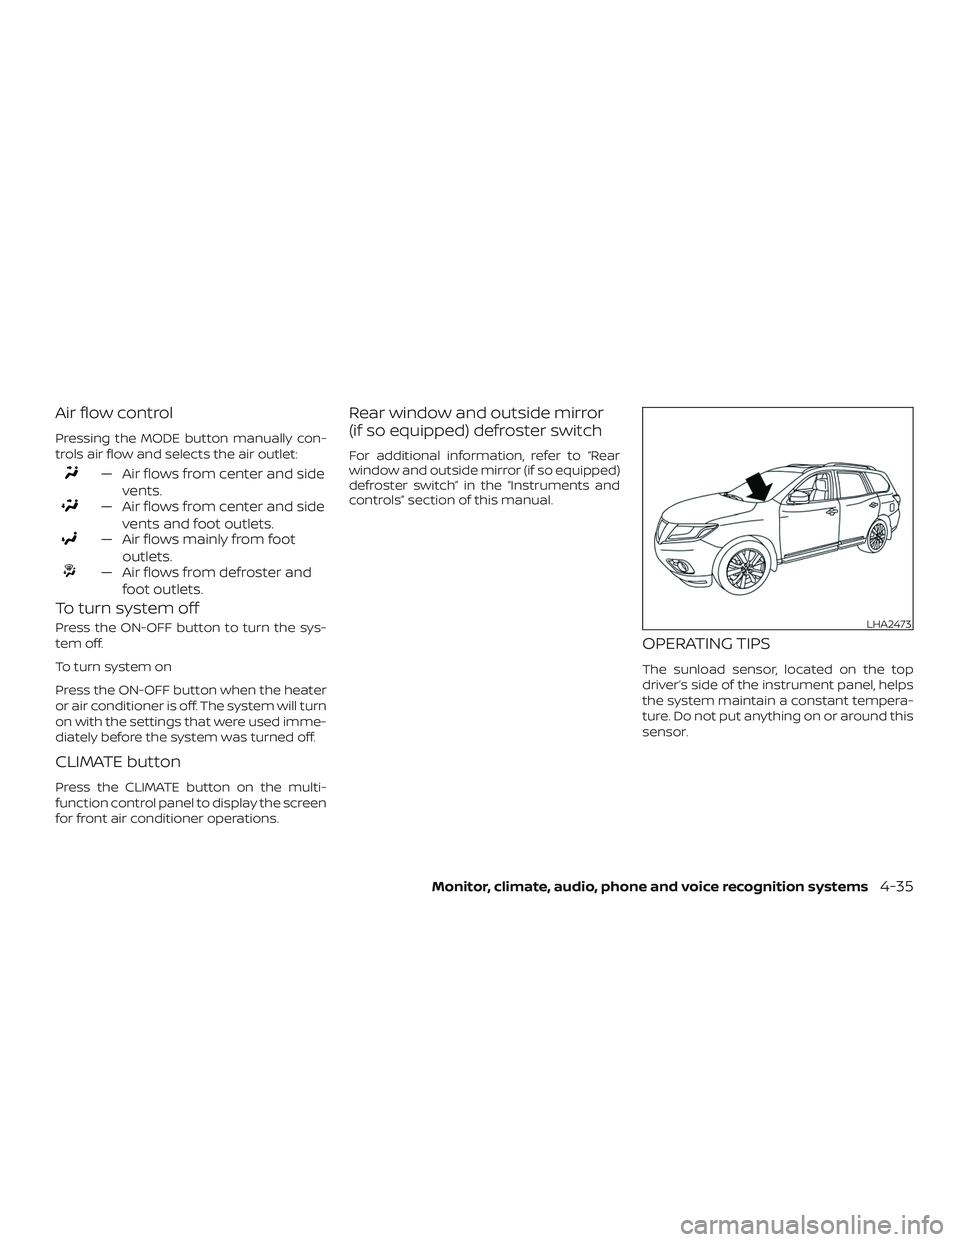
sensor.
LHA2473
Monitor, climate, audio, phone and voice recognition systems4-35