Page 133 of 460
FOG LIGHT SWITCH (if so
equipped)
To turn the fog lights on, turn the headlight
switch to the
position, then turn the
fog light switch to the
position.
To turn the fog lights on with the headlight
switch in the AUTO position, the headlights
must be on, then turn the fog light switch to
the
position.
To turn the fog lights off, turn the fog light
switch to the OFF position. The headlights must be on and the low
beams selected for the fog lights to oper-
ate. The fog lights automatically turn off
when the high beam headlights are se-
lected.
To sound the horn, push near the horn icon
on the steering wheel.
WARNING
Do not disassemble the horn. Doing so
could affect proper operation of the
supplemental front air bag system.
Tampering with the supplemental front
air bag system may result in serious
personal injury.
LIC3256LIC2227
HORN
Instruments and controls2-41
Page 140 of 460
∙ Do not use double adapters or morethan one electrical accessory.
∙ Use power outlets with the engine running to avoid discharging the ve-
hicle battery.
∙ Avoid using power outlets when the air conditioner, headlights or rear win-
dow defroster is on.
∙ Before inserting or disconnecting a plug, be sure the electrical accessory
being used is turned off. ∙ Push the plug in as far as it will go. If
good contact is not made, the plug
may overheat or the internal tem-
perature fuse may open.
∙ When not in use, be sure to close the cap. Do not allow water or any other
liquid to contact the outlet.
Cargo Area
LIC3199LDI2758
EXTENDED STORAGE SWITCH
2-48Instruments and controls
Page 154 of 460

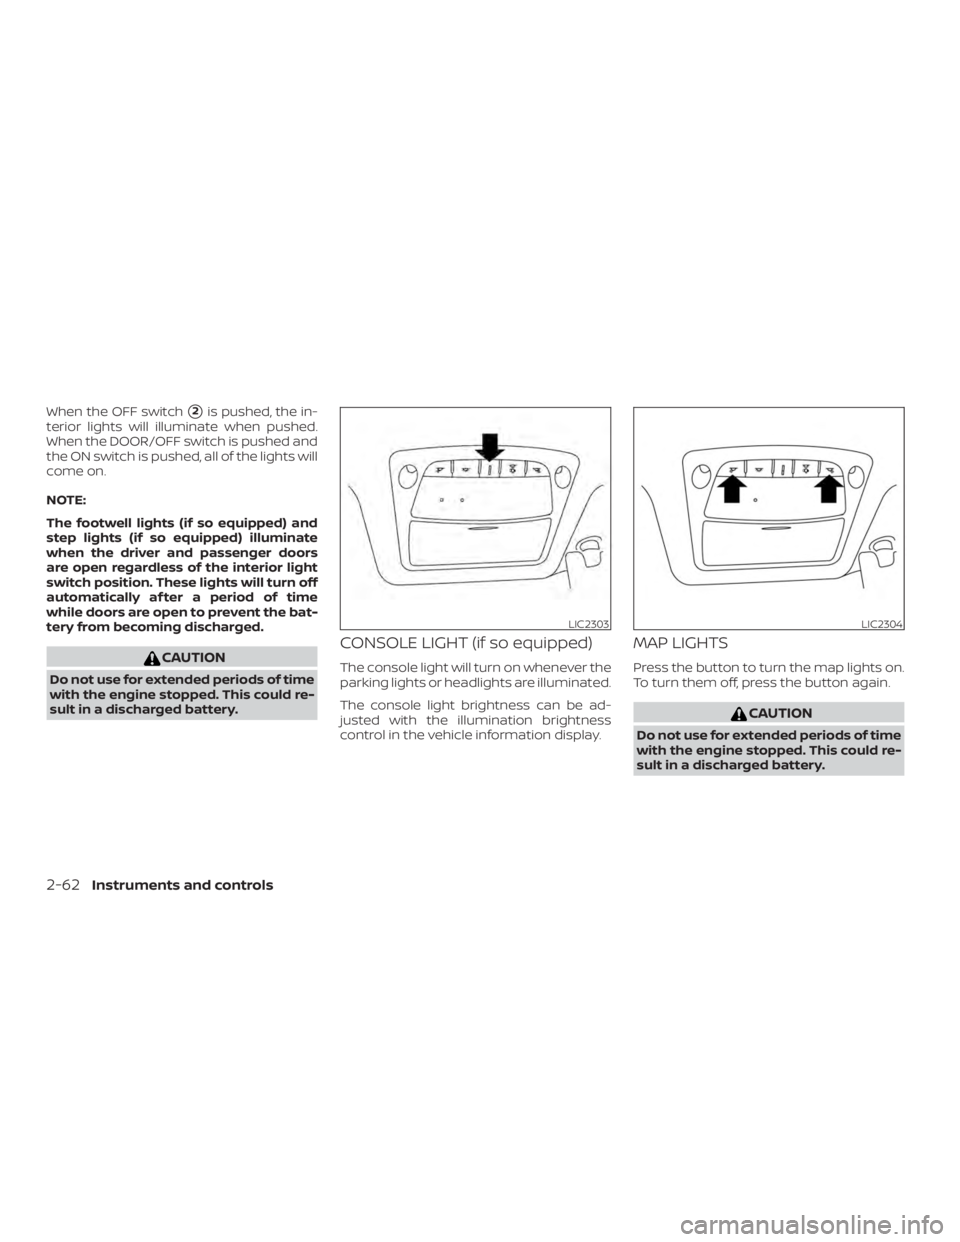
When the OFF switch�2is pushed, the in-
terior lights will illuminate when pushed.
When the DOOR/OFF switch is pushed and
the ON switch is pushed, all of the lights will
come on.
NOTE:
The footwell lights (if so equipped) and
step lights (if so equipped) illuminate
when the driver and passenger doors
are open regardless of the interior light
switch position. These lights will turn off
automatically af ter a period of time
while doors are open to prevent the bat-
tery from becoming discharged.
CAUTION
Do not use for extended periods of time
with the engine stopped. This could re-
sult in a discharged battery.
CONSOLE LIGHT (if so equipped)
The console light will turn on whenever the
parking lights or headlights are illuminated.
The console light brightness can be ad-
justed with the illumination brightness
control in the vehicle information display.
MAP LIGHTS
Press the button to turn the map lights on.
To turn them off, press the button again.
CAUTION
Do not use for extended periods of time
with the engine stopped. This could re-
sult in a discharged battery.
LIC2303LIC2304
2-62Instruments and controls
Page 177 of 460

Releasing the rear lif tgate (if so
equipped)
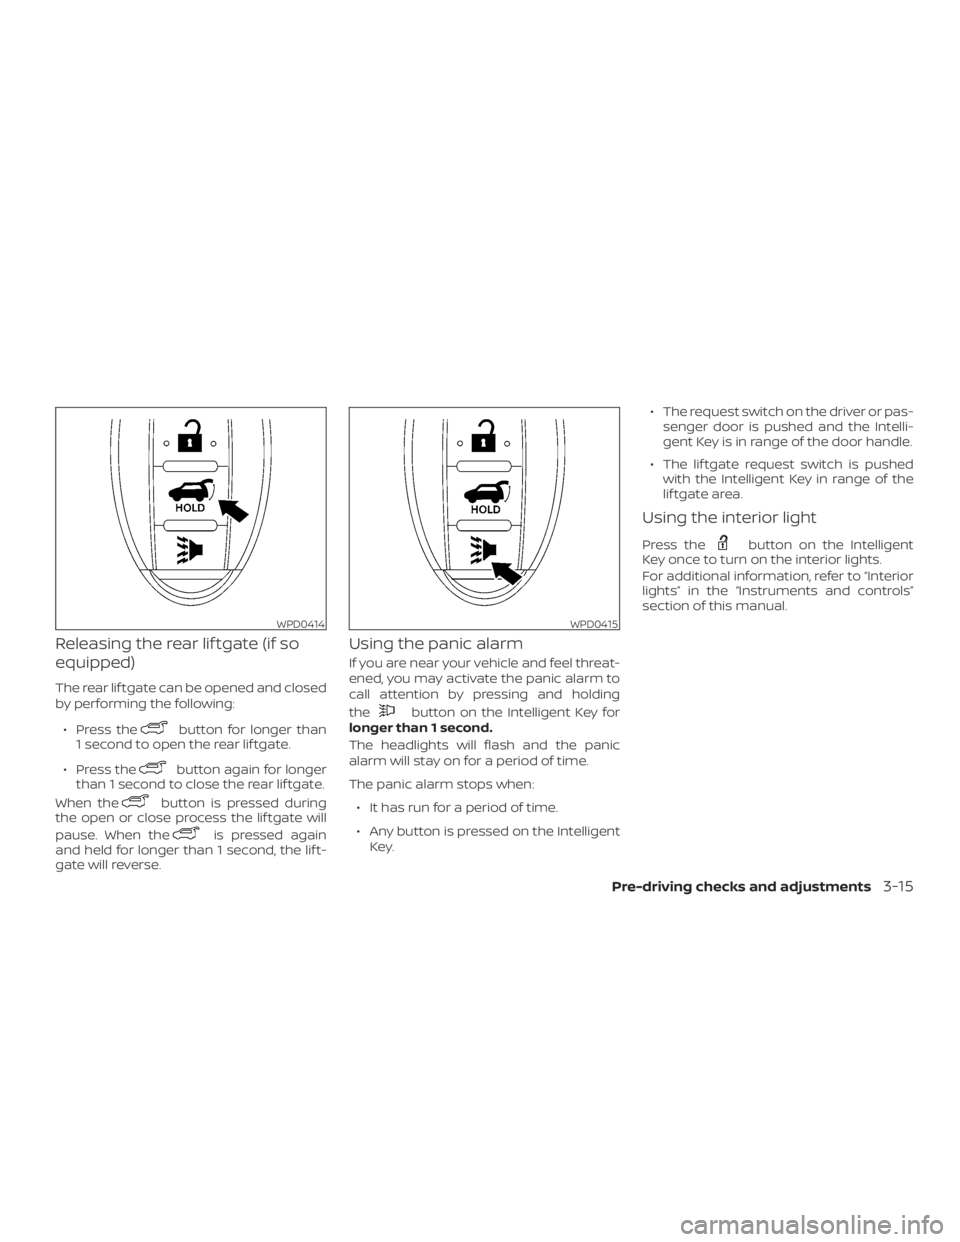
The rear lif tgate can be opened and closed
by performing the following:∙ Press the
button for longer than
1 second to open the rear lif tgate.
∙ Press the
button again for longer
than 1 second to close the rear lif tgate.
When the
button is pressed during
the open or close process the lif tgate will
pause. When the
is pressed again
and held for longer than 1 second, the lif t-
gate will reverse.
Using the panic alarm
If you are near your vehicle and feel threat-
ened, you may activate the panic alarm to
call attention by pressing and holding
the
button on the Intelligent Key for
longer than 1 second.
The headlights will flash and the panic
alarm will stay on for a period of time.
The panic alarm stops when:
∙ It has run for a period of time.
∙ Any button is pressed on the Intelligent Key. ∙ The request switch on the driver or pas-
senger door is pushed and the Intelli-
gent Key is in range of the door handle.
∙ The lif tgate request switch is pushed with the Intelligent Key in range of the
lif tgate area.
Using the interior light
Press thebutton on the Intelligent
Key once to turn on the interior lights.
For additional information, refer to “Interior
lights” in the “Instruments and controls”
section of this manual.
WPD0414WPD0415
Pre-driving checks and adjustments3-15
Page 198 of 460
VANITY MIRRORS
To access the vanity mirror, pull the sun
visor down and flip open the mirror cover.
The vanity mirror will illuminate when the
mirror cover is open.CARD HOLDER
To use the card holder, slide card into the
clip. Do not view information while operat-
ing the vehicle.
MANUAL ANTI-GLARE REARVIEW
MIRROR (if so equipped)
Use the night position�1to reduce glare
from the headlights of vehicles behind you
at night.
Use the day position
�2when driving in
daylight hours.
WARNING
Use the night position only when neces-
sary, because it reduces rear view
clarity.
LPD2703
Driver’s and passenger’s side
LPD2340WPD0126
MIRRORS
3-36Pre-driving checks and adjustments
Page 199 of 460

AUTOMATIC ANTI-GLARE
REARVIEW MIRROR (if so equipped)
The inside mirror is designed so that it au-
tomatically dims during night time condi-
tions and according to the intensity of the
headlights of the vehicle following you. The
automatic anti-glare feature is activated
when the ignition switch is in the ON posi-
tion.NOTE:
Do not hang any objects over the sen-
sors
�1or apply glass cleaner to the sen-
sors. Doing so will reduce the sensitivity
of the sensors, resulting in improper op-
eration.
The indicator light
�2will illuminate when
the automatic anti-glare feature is operat-
ing.
∙ To turn off the anti-glare feature, press the O button. The indicator light will
turn off.
∙ To turn on the anti-glare feature, press the | button. The indicator light will turn
on.
For information on HomeLink® Universal
Transceiver operation, refer to the
“HomeLink® Universal Transceiver” in the
“Instruments and controls” section of this
manual.
OUTSIDE MIRRORS
WARNING
∙ Do not adjust the mirrors while driv- ing. You could lose control of your ve-
hicle and cause an accident.
∙ Objects viewed in the outside mirror on the passenger side are closer than
they appear. Be careful when moving
to the right. Using only this mirror
could cause an accident. Use the in-
side mirror or glance over your shoul-
der to properly judge distances to
other objects.
LPD0469
Pre-driving checks and adjustments3-37
Page 357 of 460

8 Do-it-yourself
Maintenance precautions.......................8-2
Engine compartment check locations ...........8-3
Engine cooling system ..........................8-4
Checking engine coolant level ................8-5
Changing engine coolant .....................8-5
Engine oil ........................................8-6
Checking engine oil level .....................8-6
Changing engine oil ..........................8-7
Changing engine oil filter .....................8-8
Continuously Variable Transmission (CVT)
fluid .............................................8-9
Power Steering Fluid (PSF) ......................8-10
Brake fluid ...................................... 8-10
Windshield-washer fluid .........................8-11
Windshield-washer fluid reservoir .............8-11
Battery......................................... 8-13
Jump starting ............................... 8-15
Drive belt ....................................... 8-16
Spark plugs .................................... 8-16
Replacing spark plugs .......................8-16
Air cleaner ...................................... 8-17In-cabin microfilter
.......................... 8-17
Windshield wiper blades ........................8-18
Cleaning .................................... 8-18
Replacing ................................... 8-18
Brakes.......................................... 8-20
Fuses ........................................... 8-20
Engine compartment ....................... 8-21
Passenger compartment ....................8-22
Battery replacement ........................... 8-23
NISSAN Intelligent Key® ......................8-24
Lights .......................................... 8-25
Headlights ................................... 8-25
Fog lights (if so equipped) ...................8-26
Exterior and interior lights ...................8-27
Wheels and tires ................................ 8-29
Tire pressure ................................ 8-29
Tire labeling ................................. 8-32
Types of tires ................................ 8-35
Tir
e chains .................................. 8-36
Changing wheels and tires ..................8-37
Page 381 of 460

3. Replace the battery with a new one.Recommended battery: CR2032 or
equivalent.
∙ Do not touch the internal circuit andelectric terminals as doing so could
cause a malfunction.
∙ Hold the battery by the edges. Hold- ing the battery across the contact
points will seriously deplete the stor-
age capacity.
∙ Make sure that the + side faces the bottom of the lower part.
4. Close the lid securely as illustrated with
�Cand�D.
5. Operate the buttons to check the op- eration.
If you need assistance with replacement, it
is recommended that you visit a NISSAN
dealer for this service. FCC Notice:
For USA:
This device complies with Part 15 of the
FCC Rules. Operation is subject to the fol-
lowing two conditions: (1) This device
may not cause harmful interference, and
(2) this device must accept any interfer-
ence received, including interference
that may cause undesired operation.
Note:
Changes or modifications not expressly
approved by the party responsible for
compliance could void the user’s author-
ity to operate the equipment.
For Canada:
This device complies with Industry
Canada licence-exempt RSS standard(s).
Operation is subject to the following two
conditions: (1) this device may not cause
interference, and (2) this device must ac-
cept any interference, including interfer-
ence that may cause undesired opera-
tion of the device.
HEADLIGHTS
For additional information on headlight
bulb replacement, refer to the instructions
outlined in this section.
Replacing the halogen headlight
bulb (if so equipped)
If bulb replacement is required, it is recom-
mended that you visit a NISSAN dealer for
this service.
CAUTION
∙ Aiming is not necessary af ter replac-
ing the bulb. When aiming adjustment
is necessary, it is recommended that
you visit a NISSAN dealer for this
service.
∙ Do not leave the headlight assembly open without a bulb installed for a
long period of time. Dust, moisture,
smoke, etc. entering the headlight
body may affect bulb performance.
Remove the bulb from the headlight
assembly just before a replacement
bulb is installed.
LIGHTS
Do-it-yourself8-25