2018 NISSAN 370Z key
[x] Cancel search: keyPage 162 of 453
3-36Pre-driving checks and adjustments
To lock, close the fuel-filler door securely
and lock all doors by operating the door
handle request switch, the LOCK button
on the Intelligent Key, the mechanical key
or the power door lock switch.
FUEL-FILLER CAP
WARNING
.Gasoline is extremely flammable
and highly explosive under cer-
tain conditions. You could be
burned or seriously injured if it is
misused or mishandled. Always
stop engine and do not smoke or
allow open flames or sparks near
the vehicle when refueling.
. Do not attempt to top off the fuel
tank after the fuel pump nozzle
shuts off automatically. Contin-
ued refueling may cause fuel
overflow, resulting in fuel spray
and possibly a fire.
. Use only an original equipment
type fuel-filler cap as a replace-
ment. It has a built-in safety valve
needed for proper operation of
the fuel system and emission
control system. An incorrect cap
can result in a serious malfunc-
tion and possible injury. It could also cause the malfunction indi-
cator light to come on.
. Never pour fuel into the throttle
body to attempt to start your
vehicle.
. Do not fill a portable fuel contain-
er in the vehicle or trailer. Static
electricity can cause an explosion
of flammable liquid, vapor or gas
in any vehicle or trailer. To reduce
the risk of serious injury or death
when filling portable fuel contain-
ers:
— Always place the container on
the ground when filling.
— Do not use electronic devices when filling.
— Keep the pump nozzle in con- tact with the container while
you are filling it.
— Use only approved portable fuel containers for flammable
liquid.
CAUTION
. If fuel is spilled on the vehicle
body, flush it away with water to avoid paint damage.
. Insert the cap straight into the
fuel-filler tube, then tighten until
the fuel-filler cap clicks. Failure to
tighten the fuel-filler cap properly
may cause the
malfunction
indicator light (MIL) to illuminate.
If the
light illuminates be-
cause the fuel-filler cap is loose
or missing, tighten or install the
cap and continue to drive the
vehicle. The
light should turn
off after a few driving trips. If the
light does not turn off after a
few driving trips, have the vehicle
inspected. It is recommended you
visit a NISSAN dealer for this
service.
. The LOOSE FUEL CAP warning will
appear if the fuel-filler cap is not
properly tightened. It may take a
few driving trips for the message
to be displayed. Failure to tighten
the fuel-filler cap properly after
the LOOSE FUEL CAP warning
appears may cause the
Mal-
function Indicator Light (MIL) to
illuminate.
Page 175 of 453
SAA2143
MENU OPTIONS
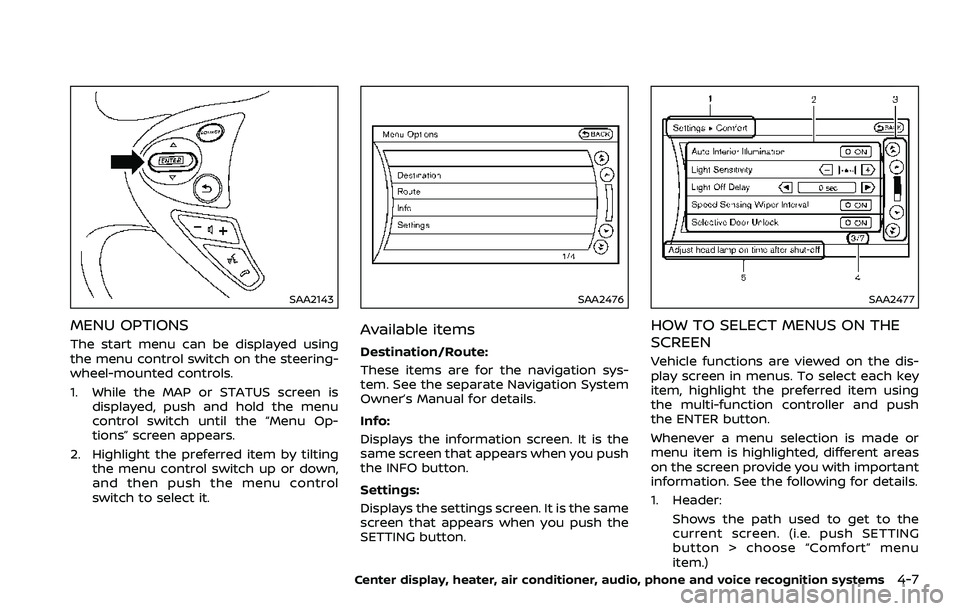
The start menu can be displayed using
the menu control switch on the steering-
wheel-mounted controls.
1. While the MAP or STATUS screen isdisplayed, push and hold the menu
control switch until the “Menu Op-
tions” screen appears.
2. Highlight the preferred item by tilting the menu control switch up or down,
and then push the menu control
switch to select it.
SAA2476
Available items
Destination/Route:
These items are for the navigation sys-
tem. See the separate Navigation System
Owner’s Manual for details.
Info:
Displays the information screen. It is the
same screen that appears when you push
the INFO button.
Settings:
Displays the settings screen. It is the same
screen that appears when you push the
SETTING button.
SAA2477
HOW TO SELECT MENUS ON THE
SCREEN
Vehicle functions are viewed on the dis-
play screen in menus. To select each key
item, highlight the preferred item using
the multi-function controller and push
the ENTER button.
Whenever a menu selection is made or
menu item is highlighted, different areas
on the screen provide you with important
information. See the following for details.
1. Header:
Shows the path used to get to the
current screen. (i.e. push SETTING
button > choose “Comfort” menu
item.)
Center display, heater, air conditioner, audio, phone and voice recognition systems4-7
Page 177 of 453
position, the “Navigation Version” key is
displayed after selecting the “Others” key.
SAA2479
SAA2480
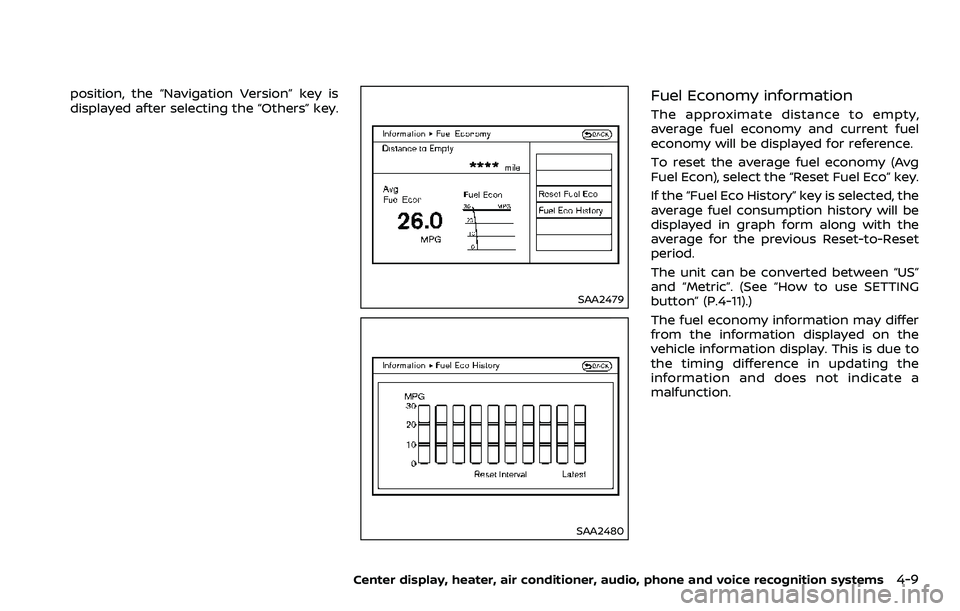
Fuel Economy information
The approximate distance to empty,
average fuel economy and current fuel
economy will be displayed for reference.
To reset the average fuel economy (Avg
Fuel Econ), select the “Reset Fuel Eco” key.
If the “Fuel Eco History” key is selected, the
average fuel consumption history will be
displayed in graph form along with the
average for the previous Reset-to-Reset
period.
The unit can be converted between “US”
and “Metric”. (See “How to use SETTING
button” (P.4-11).)
The fuel economy information may differ
from the information displayed on the
vehicle information display. This is due to
the timing difference in updating the
information and does not indicate a
malfunction.
Center display, heater, air conditioner, audio, phone and voice recognition systems4-9
Page 178 of 453
4-10Center display, heater, air conditioner, audio, phone and voice recognition systems
SAA2481
Maintenance information
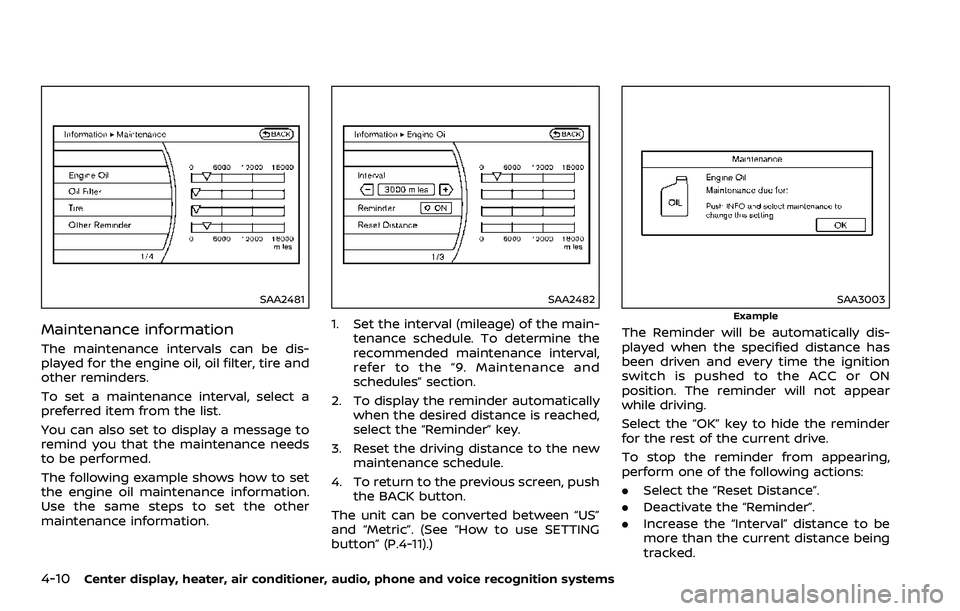
The maintenance intervals can be dis-
played for the engine oil, oil filter, tire and
other reminders.
To set a maintenance interval, select a
preferred item from the list.
You can also set to display a message to
remind you that the maintenance needs
to be performed.
The following example shows how to set
the engine oil maintenance information.
Use the same steps to set the other
maintenance information.
SAA2482
1. Set the interval (mileage) of the main-tenance schedule. To determine the
recommended maintenance interval,
refer to the “9. Maintenance and
schedules” section.
2. To display the reminder automatically when the desired distance is reached,
select the “Reminder” key.
3. Reset the driving distance to the new maintenance schedule.
4. To return to the previous screen, push the BACK button.
The unit can be converted between “US”
and “Metric”. (See “How to use SETTING
button” (P.4-11).)
SAA3003
Example
The Reminder will be automatically dis-
played when the specified distance has
been driven and every time the ignition
switch is pushed to the ACC or ON
position. The reminder will not appear
while driving.
Select the “OK” key to hide the reminder
for the rest of the current drive.
To stop the reminder from appearing,
perform one of the following actions:
. Select the “Reset Distance”.
. Deactivate the “Reminder”.
. Increase the “Interval” distance to be
more than the current distance being
tracked.
Page 179 of 453
SAA2483
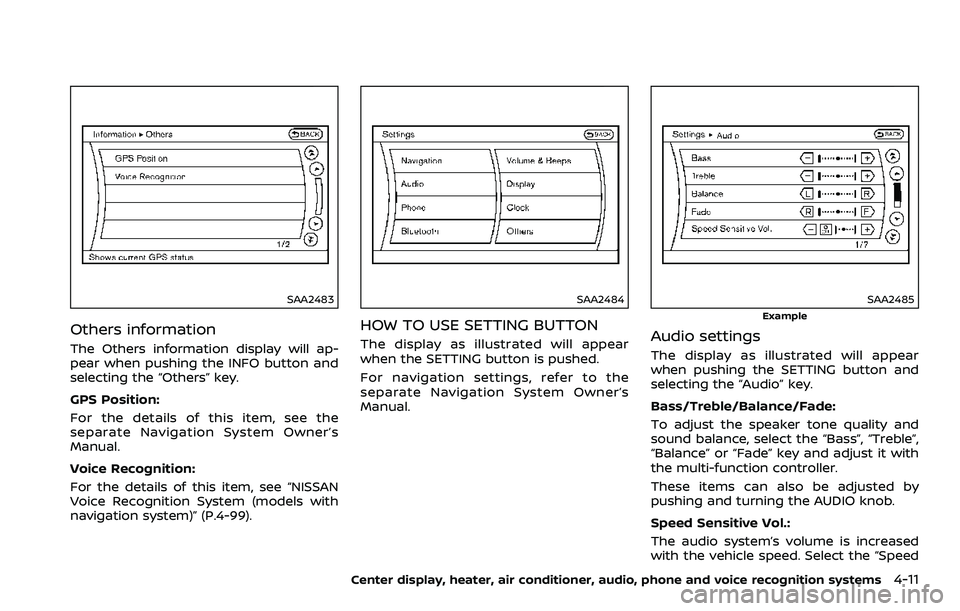
Others information
The Others information display will ap-
pear when pushing the INFO button and
selecting the “Others” key.
GPS Position:
For the details of this item, see the
separate Navigation System Owner’s
Manual.
Voice Recognition:
For the details of this item, see “NISSAN
Voice Recognition System (models with
navigation system)” (P.4-99).
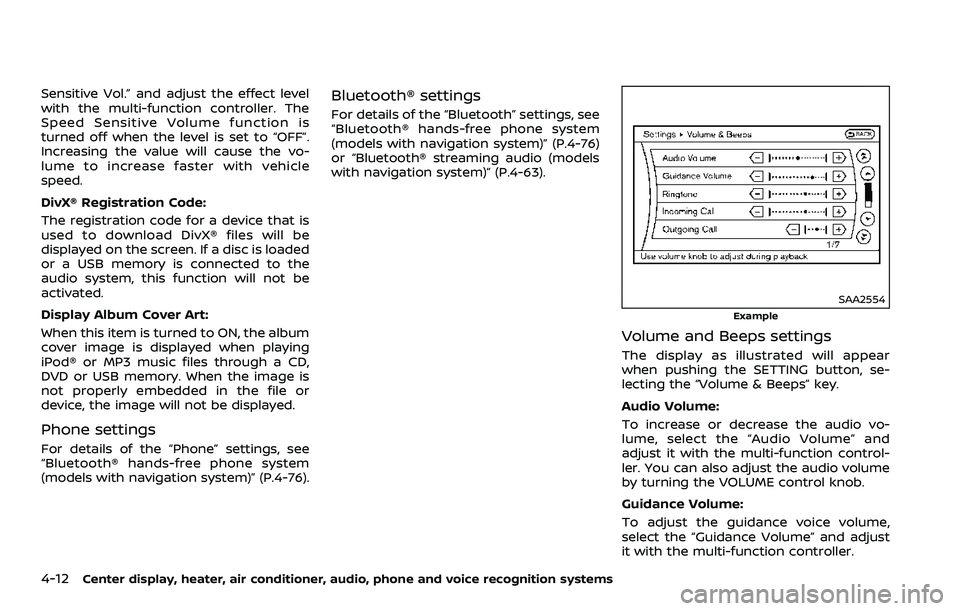
SAA2484
HOW TO USE SETTING BUTTON
The display as illustrated will appear
when the SETTING button is pushed.
For navigation settings, refer to the
separate Navigation System Owner’s
Manual.
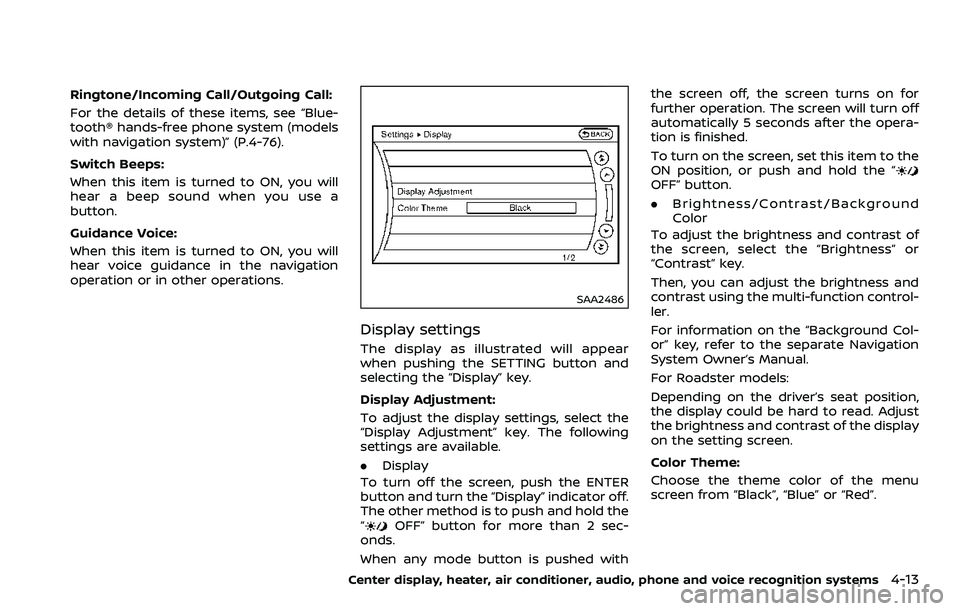
SAA2485
Example
Audio settings
The display as illustrated will appear
when pushing the SETTING button and
selecting the “Audio” key.
Bass/Treble/Balance/Fade:
To adjust the speaker tone quality and
sound balance, select the “Bass”, “Treble”,
“Balance” or “Fade” key and adjust it with
the multi-function controller.
These items can also be adjusted by
pushing and turning the AUDIO knob.
Speed Sensitive Vol.:
The audio system’s volume is increased
with the vehicle speed. Select the “Speed
Center display, heater, air conditioner, audio, phone and voice recognition systems4-11
Page 180 of 453
4-12Center display, heater, air conditioner, audio, phone and voice recognition systems
Sensitive Vol.” and adjust the effect level
with the multi-function controller. The
Speed Sensitive Volume function is
turned off when the level is set to “OFF”.
Increasing the value will cause the vo-
lume to increase faster with vehicle
speed.
DivX® Registration Code:
The registration code for a device that is
used to download DivX® files will be
displayed on the screen. If a disc is loaded
or a USB memory is connected to the
audio system, this function will not be
activated.
Display Album Cover Art:
When this item is turned to ON, the album
cover image is displayed when playing
iPod® or MP3 music files through a CD,
DVD or USB memory. When the image is
not properly embedded in the file or
device, the image will not be displayed.
Phone settings
For details of the “Phone” settings, see
“Bluetooth® hands-free phone system
(models with navigation system)” (P.4-76).
Bluetooth® settings
For details of the “Bluetooth” settings, see
“Bluetooth® hands-free phone system
(models with navigation system)” (P.4-76)
or “Bluetooth® streaming audio (models
with navigation system)” (P.4-63).
SAA2554
Example
Volume and Beeps settings
The display as illustrated will appear
when pushing the SETTING button, se-
lecting the “Volume & Beeps” key.
Audio Volume:
To increase or decrease the audio vo-
lume, select the “Audio Volume” and
adjust it with the multi-function control-
ler. You can also adjust the audio volume
by turning the VOLUME control knob.
Guidance Volume:
To adjust the guidance voice volume,
select the “Guidance Volume” and adjust
it with the multi-function controller.
Page 181 of 453
Ringtone/Incoming Call/Outgoing Call:
For the details of these items, see “Blue-
tooth® hands-free phone system (models
with navigation system)” (P.4-76).
Switch Beeps:
When this item is turned to ON, you will
hear a beep sound when you use a
button.
Guidance Voice:
When this item is turned to ON, you will
hear voice guidance in the navigation
operation or in other operations.
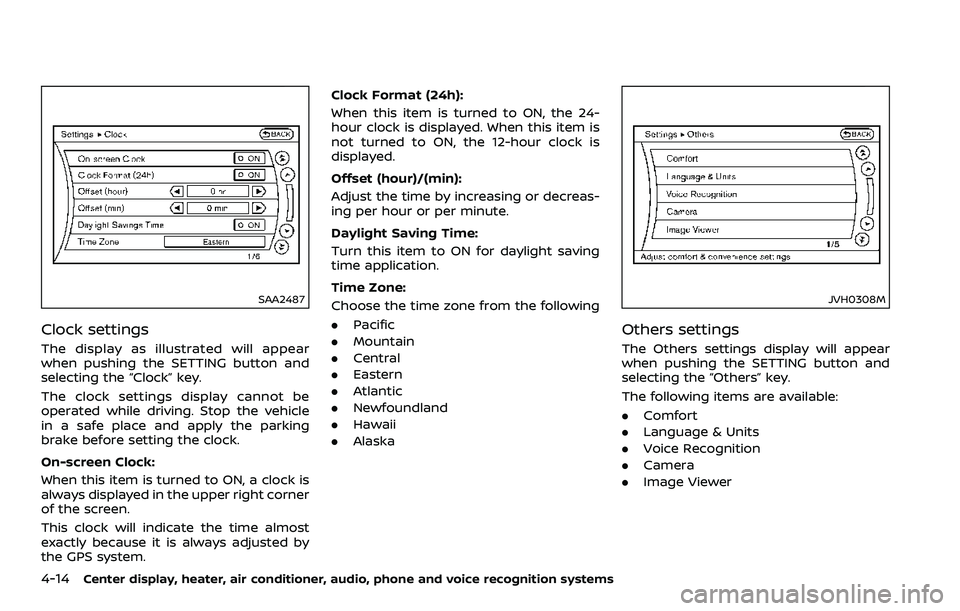
SAA2486
Display settings
The display as illustrated will appear
when pushing the SETTING button and
selecting the “Display” key.
Display Adjustment:
To adjust the display settings, select the
“Display Adjustment” key. The following
settings are available.
.Display
To turn off the screen, push the ENTER
button and turn the “Display” indicator off.
The other method is to push and hold the
“
OFF” button for more than 2 sec-
onds.
When any mode button is pushed with the screen off, the screen turns on for
further operation. The screen will turn off
automatically 5 seconds after the opera-
tion is finished.
To turn on the screen, set this item to the
ON position, or push and hold the “
OFF” button.
.
Brightness/Contrast/Background
Color
To adjust the brightness and contrast of
the screen, select the “Brightness” or
“Contrast” key.
Then, you can adjust the brightness and
contrast using the multi-function control-
ler.
For information on the “Background Col-
or” key, refer to the separate Navigation
System Owner’s Manual.
For Roadster models:
Depending on the driver’s seat position,
the display could be hard to read. Adjust
the brightness and contrast of the display
on the setting screen.
Color Theme:
Choose the theme color of the menu
screen from “Black”, “Blue” or “Red”.
Center display, heater, air conditioner, audio, phone and voice recognition systems4-13
Page 182 of 453
4-14Center display, heater, air conditioner, audio, phone and voice recognition systems
SAA2487
Clock settings
The display as illustrated will appear
when pushing the SETTING button and
selecting the “Clock” key.
The clock settings display cannot be
operated while driving. Stop the vehicle
in a safe place and apply the parking
brake before setting the clock.
On-screen Clock:
When this item is turned to ON, a clock is
always displayed in the upper right corner
of the screen.
This clock will indicate the time almost
exactly because it is always adjusted by
the GPS system.Clock Format (24h):
When this item is turned to ON, the 24-
hour clock is displayed. When this item is
not turned to ON, the 12-hour clock is
displayed.
Offset (hour)/(min):
Adjust the time by increasing or decreas-
ing per hour or per minute.
Daylight Saving Time:
Turn this item to ON for daylight saving
time application.
Time Zone:
Choose the time zone from the following
. Pacific
. Mountain
. Central
. Eastern
. Atlantic
. Newfoundland
. Hawaii
. Alaska
JVH0308M
Others settings
The Others settings display will appear
when pushing the SETTING button and
selecting the “Others” key.
The following items are available:
.Comfort
. Language & Units
. Voice Recognition
. Camera
. Image Viewer